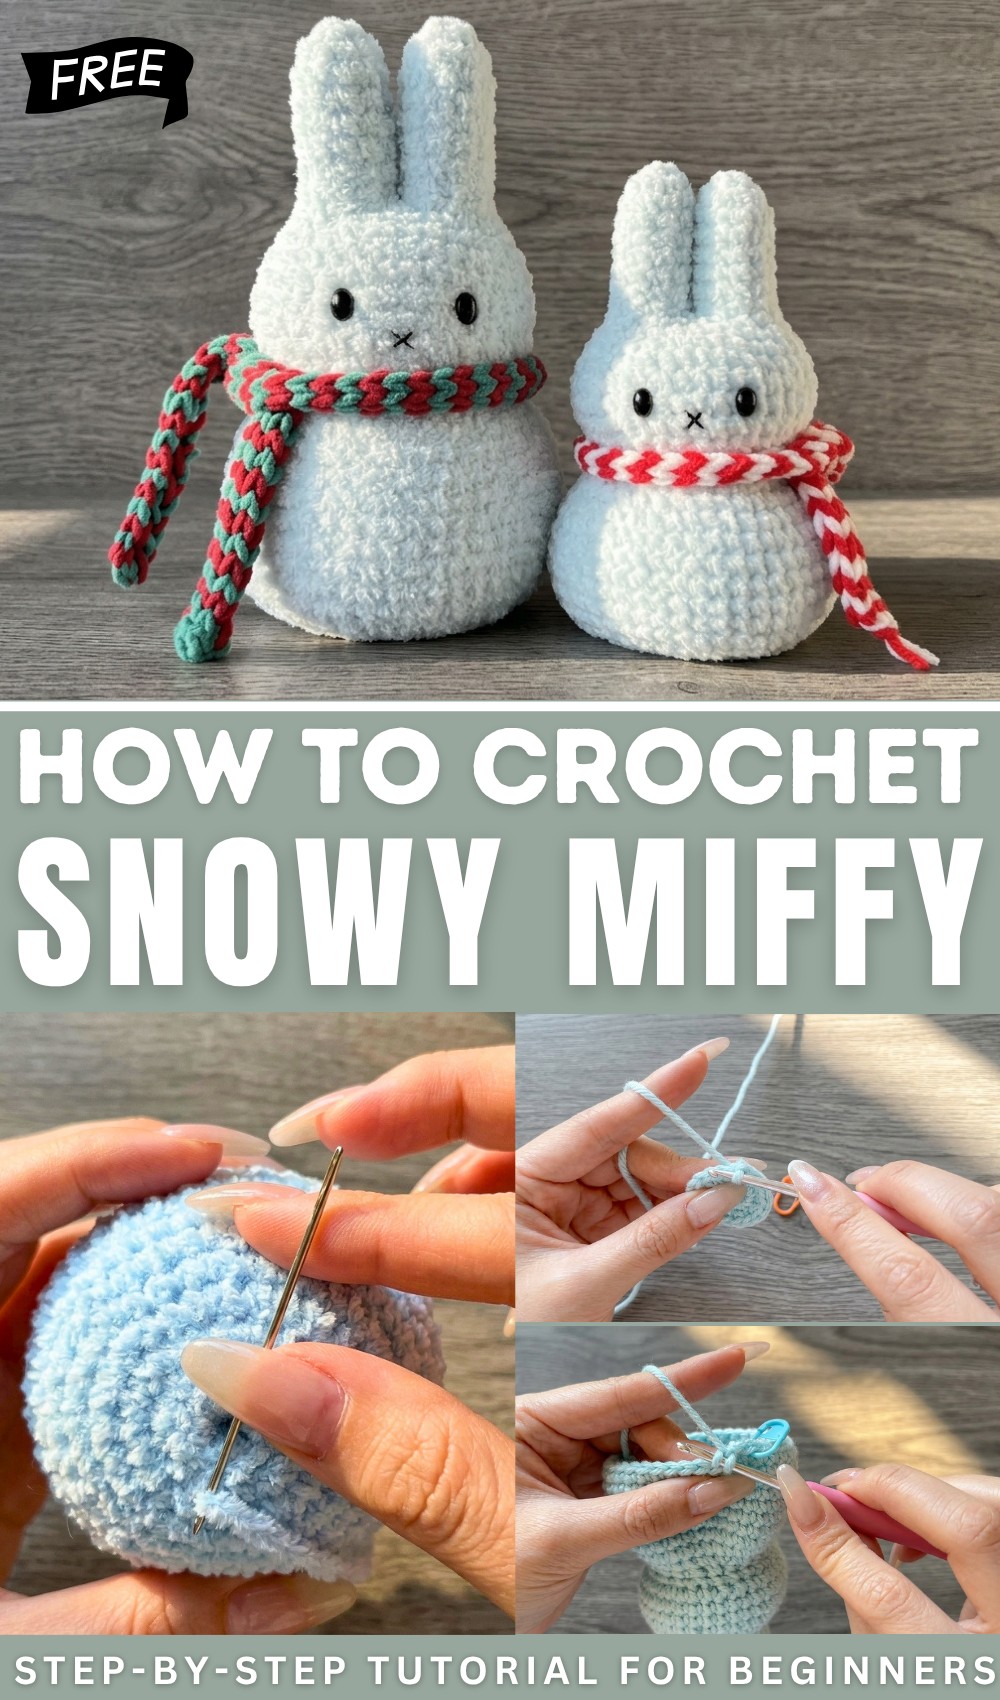
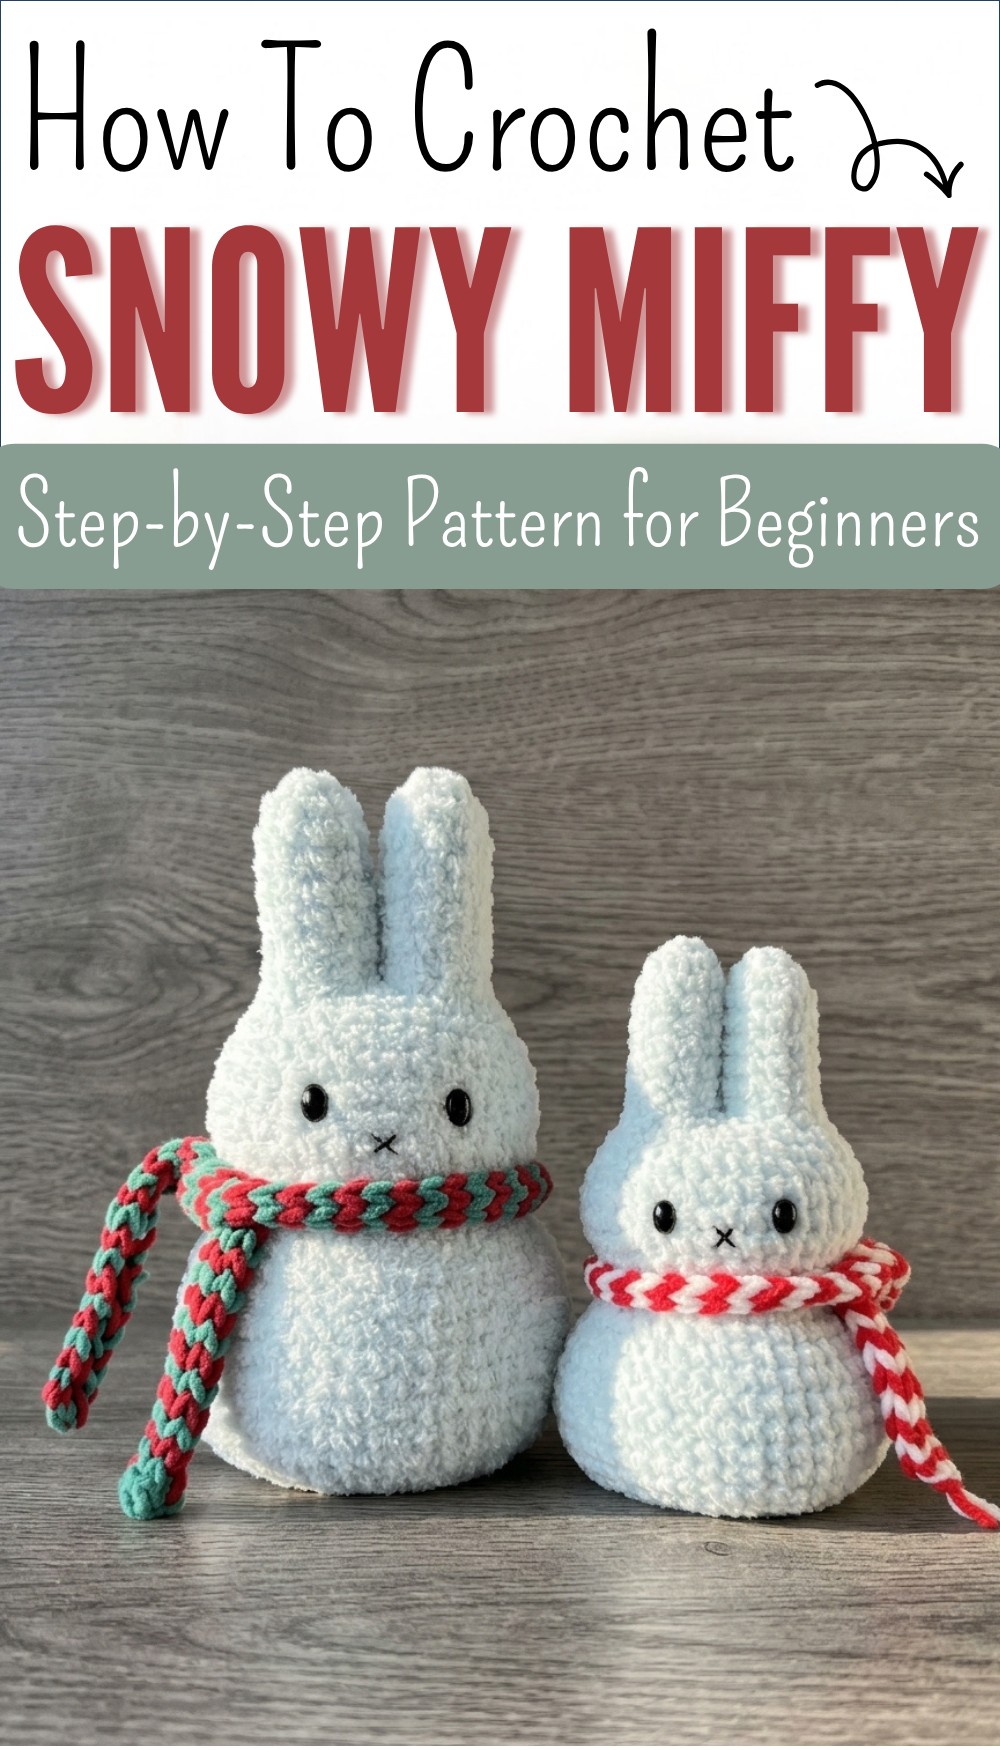
Whimsical Free Crochet Snowy Miffy Bunny Pattern
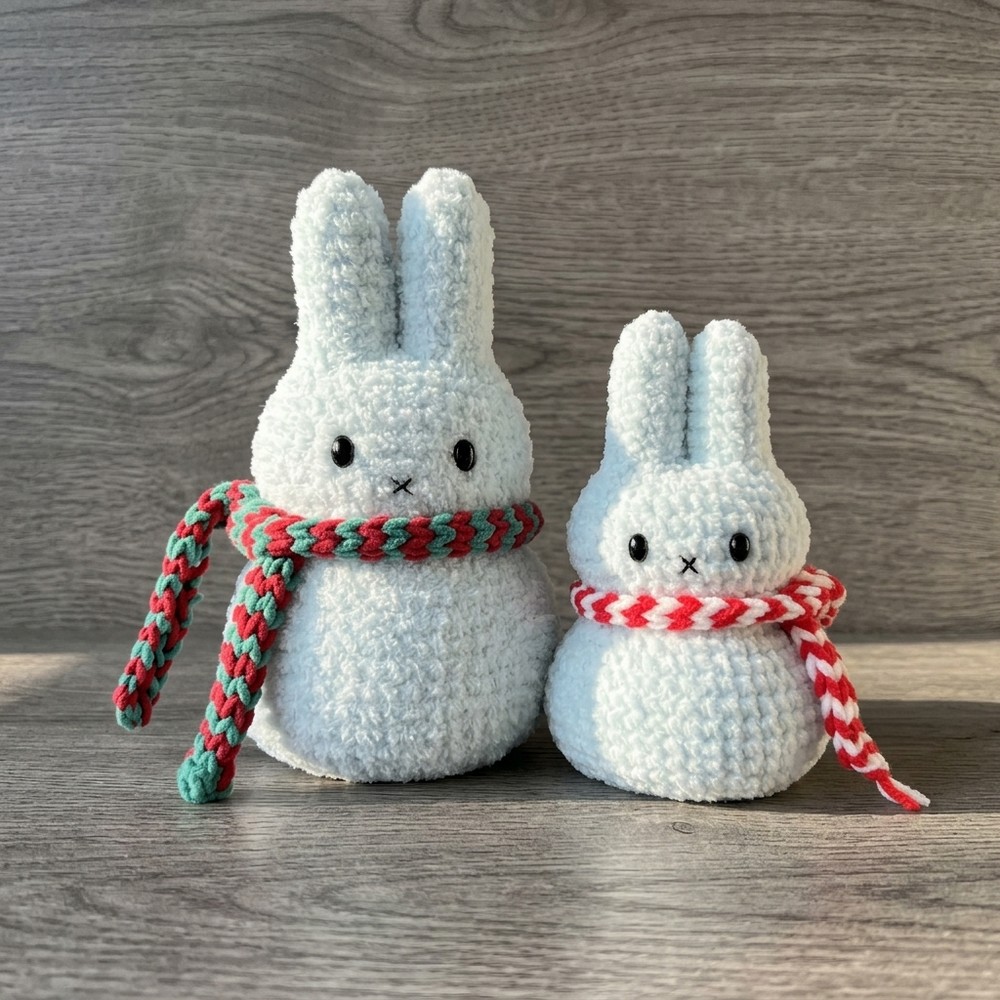
Cherish every moment with this Free Crochet Snowy Miffy Pattern, as you create a cute toy that fills your space with charm and handmade joy.
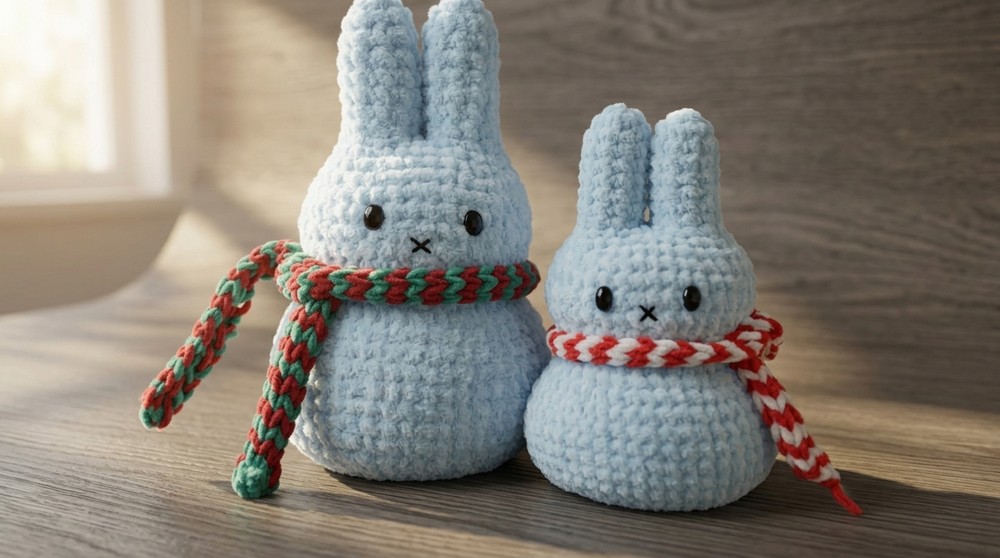
Have you ever wanted to make a sweet soft bunny with your own hands that can bring a smile to anyone’s face? A fluffy little friend with bright eyes and a cozy scarf looking just like a gentle snow bunny. With the Crochet Snowy Miffy pattern, you can easily create this adorable character even if you have little experience with yarn or hooks.
Easy Free Crochet Snowy Miffy Pattern You’ll Love
The simple shapes and easy steps help you watch Miffy grow as you stitch, and you only need a few basic colors and easy materials. This cute bunny is perfect as a gift, a cuddle toy, or a cheerful decoration for your home. Just choose your favorite scarf color to make your Miffy extra special and unique. Making this pattern brings happiness and pride, letting you enjoy every moment of creating something soft, charming, and full of heart.
Miffy Snowman Amigurumi Crochet Pattern
Materials
- Yarn:
- White (main color for snowman and ears)
- Red and White (for scarf)
- Hook: Size suitable for your yarn (most DK/light worsted yarns: 2.5–4 mm)
- Stuffing: Polyester fiberfill
- Notions:
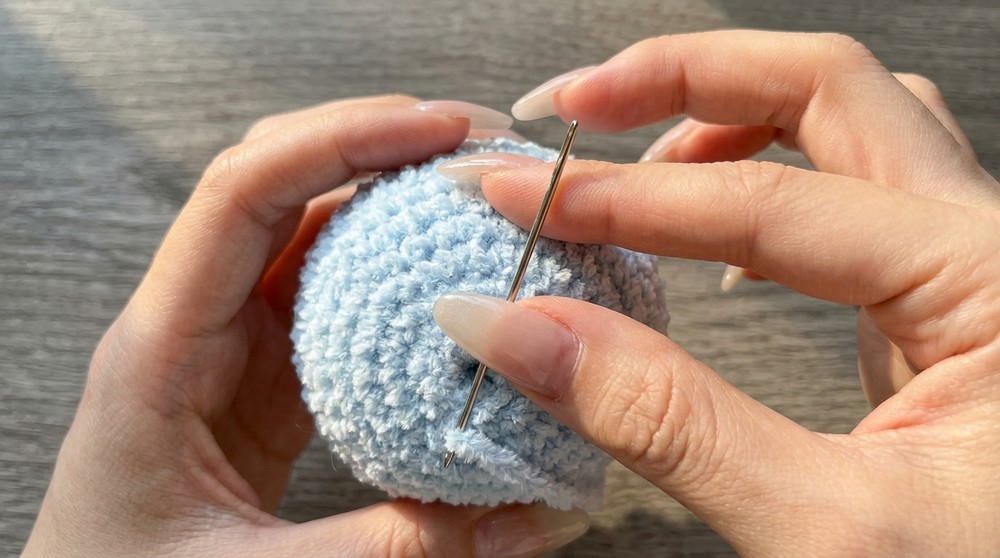
- Yarn needle (for sewing and weaving ends)
- Scissors
Key Abbreviations
| Abbreviation | Stitch/Action |
|---|---|
| sc | single crochet |
| inc | increase (2 sc in one st) |
| dec | decrease (sc2tog) |
| st(s) | stitch(es) |
| sl st | slip stitch |
| BLO | back loop only |
| FLO | front loop only |
| ch | chain |
Special Notes
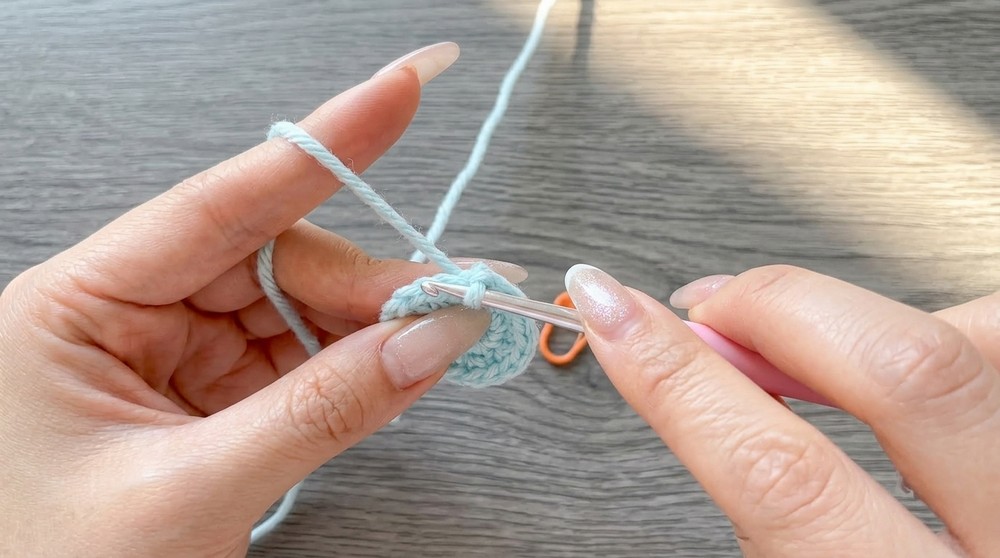
- Work in continuous rounds unless otherwise specified.
- Use standing stitch (start each round with sc in first stitch, not ch 1).
- For decreases, use invisible decrease (insert hook in FLO of next two stitches, pull up loop, yo, pull through all loops).
- The scarf uses color-changing and a three-loop technique (see scarf instructions).
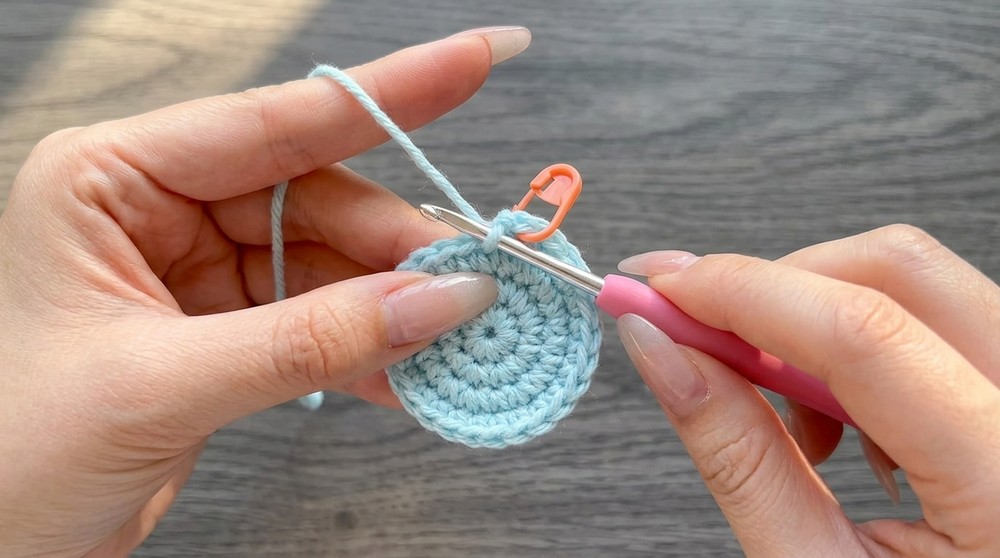
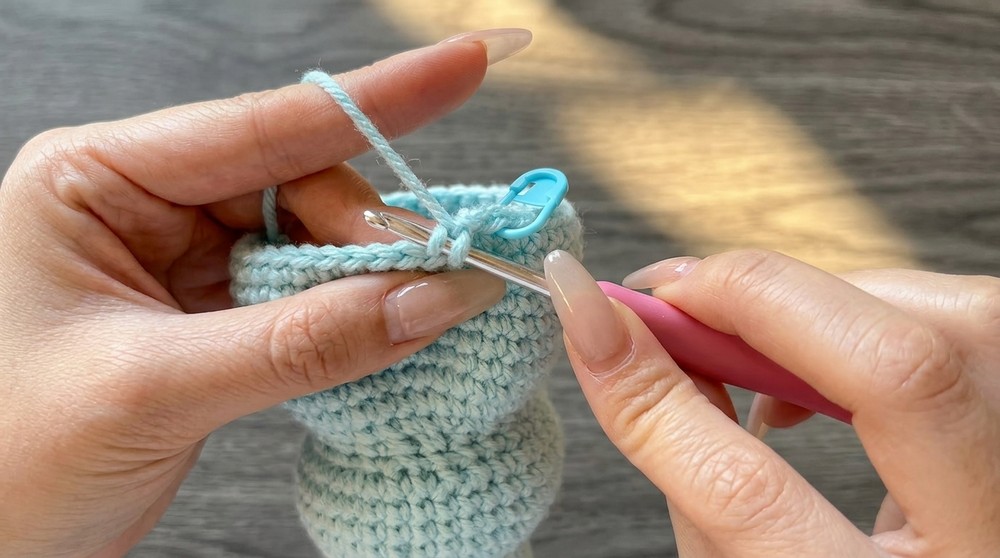
- Use a stitch marker to keep track of the first stitch in each round.
Snowman Instructions
Ears (Make 2)
- Magic ring, 6 sc in ring.
(Round 1: 6 sc) - Round 2: Start with a standing stitch.
- [sc in first st, inc in next st] x 3
(sc, inc, sc, inc, sc, inc. Total 9 sts)
- [sc in first st, inc in next st] x 3
- Round 3–8:
- Start with a standing stitch.
- Sc in each st around
- (9 sc per round)
- Finish first ear: Fasten off, leaving a tail.
- Second ear: Do not cut yarn; continue to join ears.
Joining Ears & Head
- Hold both ears. Insert hook into first st of the 1st ear.
- Sl st to join, then sc in first st of 1st ear.
- Begin next round:
- [sc, inc] x 6 around both ears (alternating sc, inc) for a total of 18 sts.
- (You now have a connected base for the head/upper body)
Body
Work the following rounds in continuous spiral.
- Round 10: [3 sc, inc] x 6
(24 sts) - Round 11: [2 sc, inc, 2 sc] x 6
(30 sts) - Rounds 12–15:
- Sc in each st around
- (36 sts per round, 4 rounds total)
- Round 16: [2 sc, dec, 2 sc] x 6
(30 sts) - Round 17: [3 sc, dec] x 6
(24 sts) - Round 18: [3 sc, inc] x 6
(30 sts) - Round 19: [2 sc, inc, 2 sc] x 6
(36 sts) - Round 20: [5 sc, inc] x 6
(42 sts) - Round 21: [3 sc, inc, 3 sc] x 6
(48 sts) - Rounds 22–27:
- Sc in each st around
- (48 sts per round, 6 rounds total)
Decreasing for Bottom
- Round 28: [3 sc, dec, 3 sc] x 6
(42 sts) - Round 29: [5 sc, dec] x 6
(36 sts) - Round 30: [2 sc, dec, 2 sc] x 6
(30 sts) - Round 31: [3 sc, dec] x 6
(24 sts) - Round 32: [sc, dec, sc] x 6
(18 sts) - Round 33: [sc, dec] x 6
(12 sts) - Fasten off, stuff well, and weave closed.
Scarf
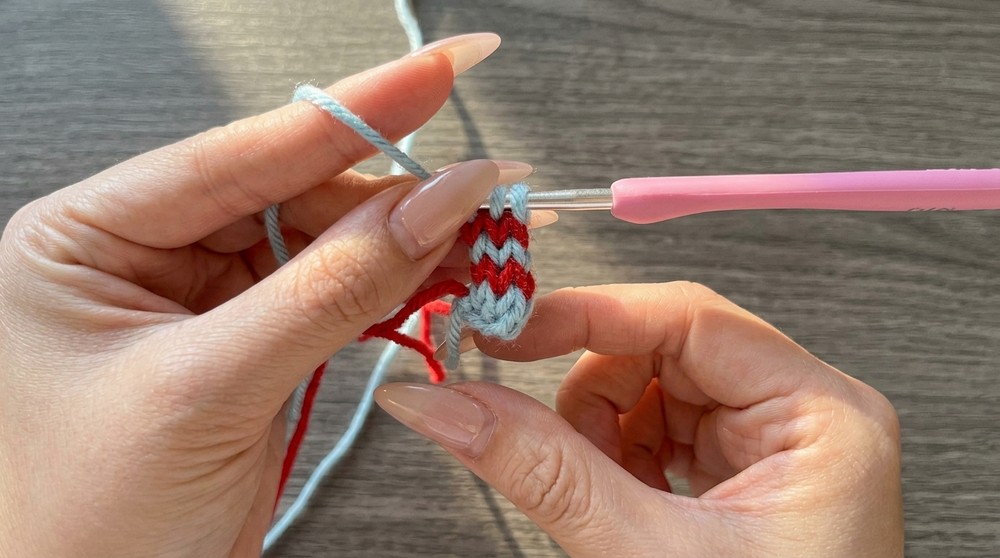
- Prepare two colors (Red & White).
Pattern:
- Make a slip knot.
- Ch 3.
- Insert hook into 2nd ch, pull up loop, keep on hook.
- Insert into next ch, pull up loop, (now 3 loops on hook).
- Join second color (red):
- Put red yarn to back, YO red, slip through first two white loops.
- Continue with red:
- Insert into 1st loop, pull up loop;
- Insert into 2nd loop, pull up loop;
- Insert into 3rd loop, pull up loop; (now 3 red loops on hook).
- Change color to white:
- YO white, slip through first two red loops.
- Repeat same steps, alternating colors every row.
- Continue until scarf is desired length.
- Fasten off, weave in ends.
- Wrap scarf around neck and secure as desired.
Pattern Correction
- Ensure all increases and decreases are performed as described for smooth shaping.
- Use invisible decrease for a neater finish.
- Regularly stuff the snowman for a plump, smooth form.
Tips
- Use cotton or acrylic yarn for crisp stitches.
- Adjust hook size for tighter or looser fabric as needed.
- Use a stitch marker for the first stitch of each round.
- Alternate scarf colors every row for the classic striped look.
Conclusion
Enjoy making your Miffy Snowman, perfect for holiday decor or gifting. This adaptable pattern lets you customize size and colors, provides practice in classic amigurumi shaping, and finishes with a playful multi-color scarf.