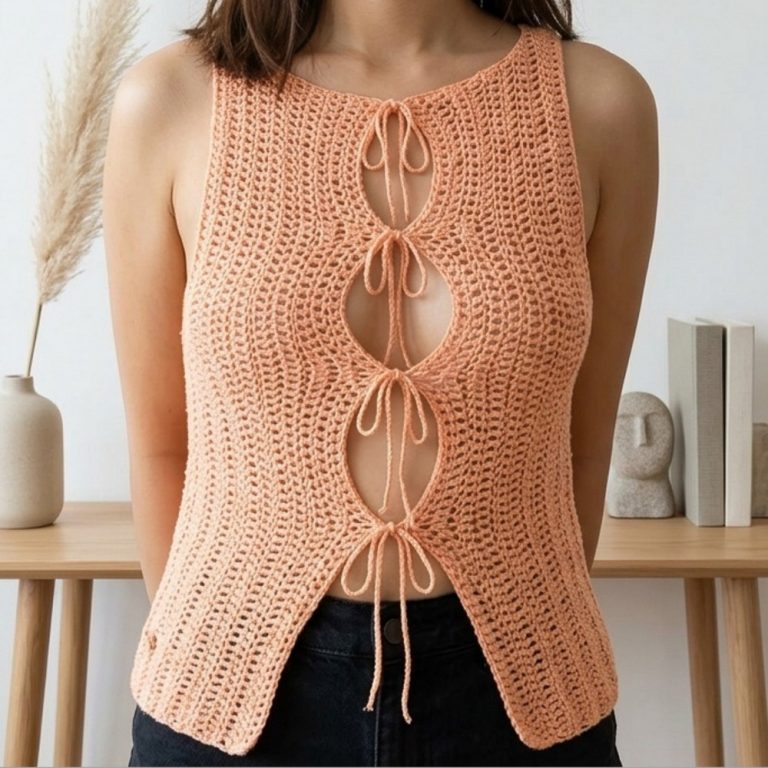
Free Crochet Bikini Pattern with Adjustable Straps
Slip into summer style with free crochet bikini pattern that lets you personalize your swimwear for comfortable and stunning fit all season.
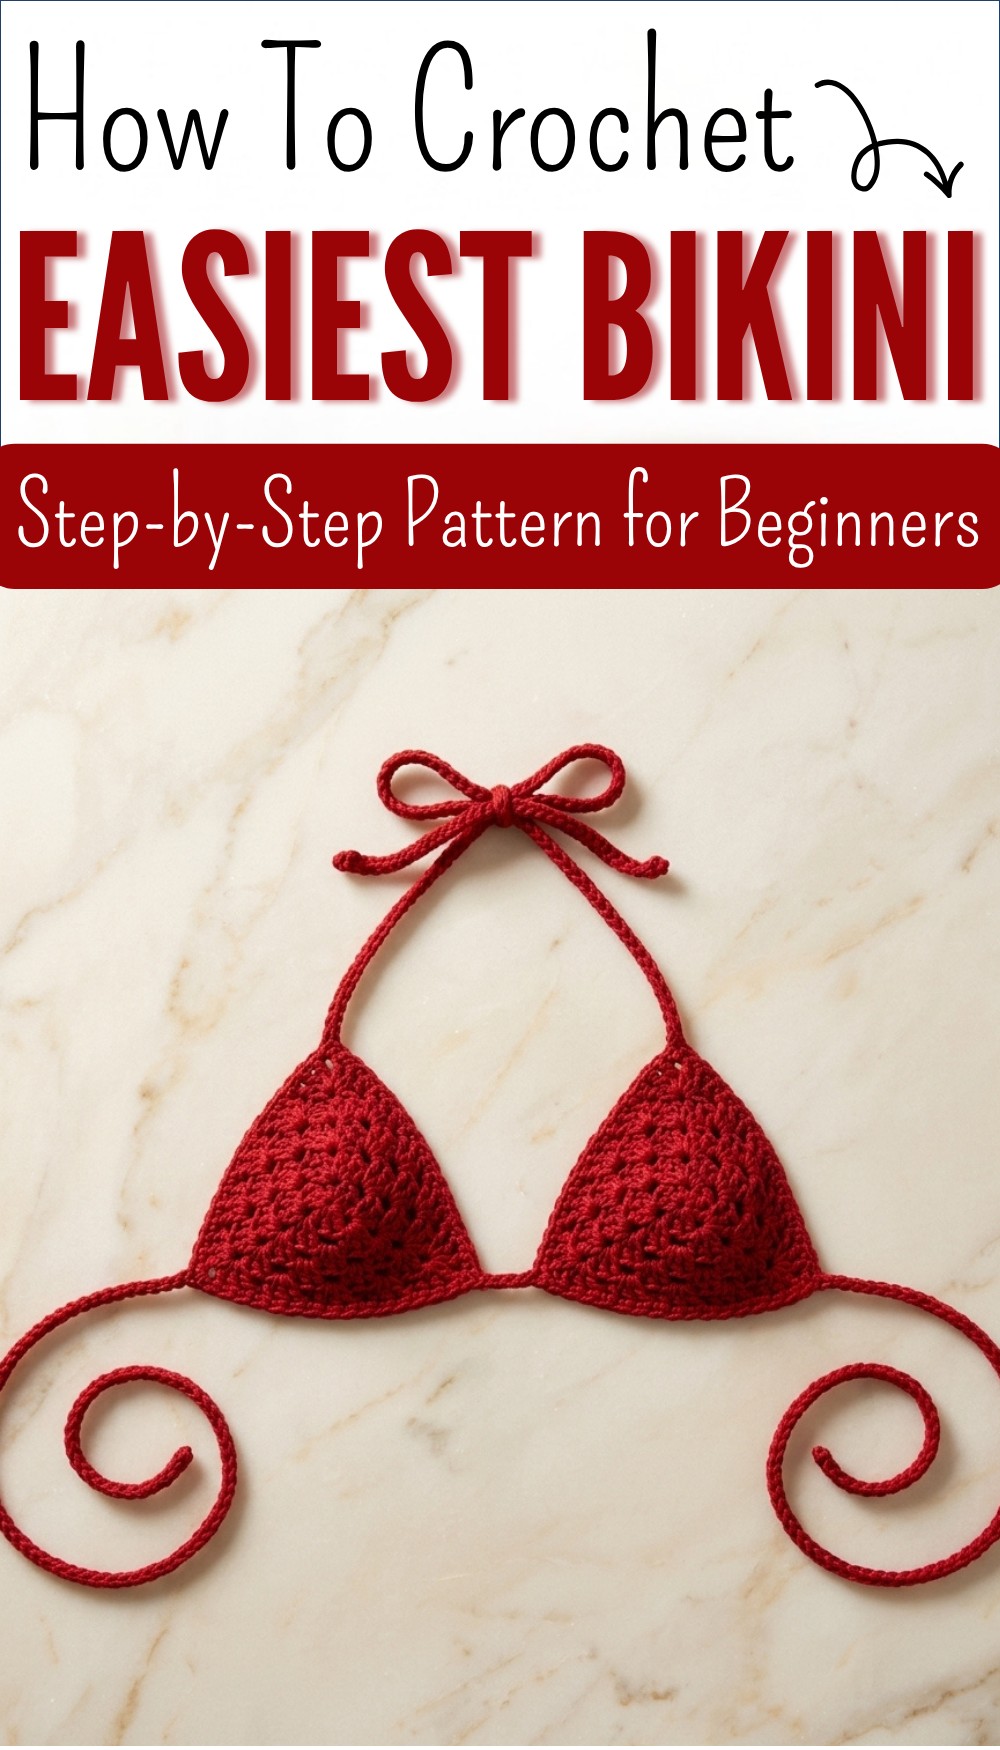
Making your own stylish swimwear by hand is a wonderful and rewarding experience. Using soft breathable yarn, you can shape the bikini cups to fit perfectly and choose your favorite colors for a fresh and bright look. The Crochet Bikini pattern is easy to follow with clear instructions, so even beginners can succeed. Adjustable straps let you tie it for a comfortable and secure fit, giving you confidence at the beach or by the pool.
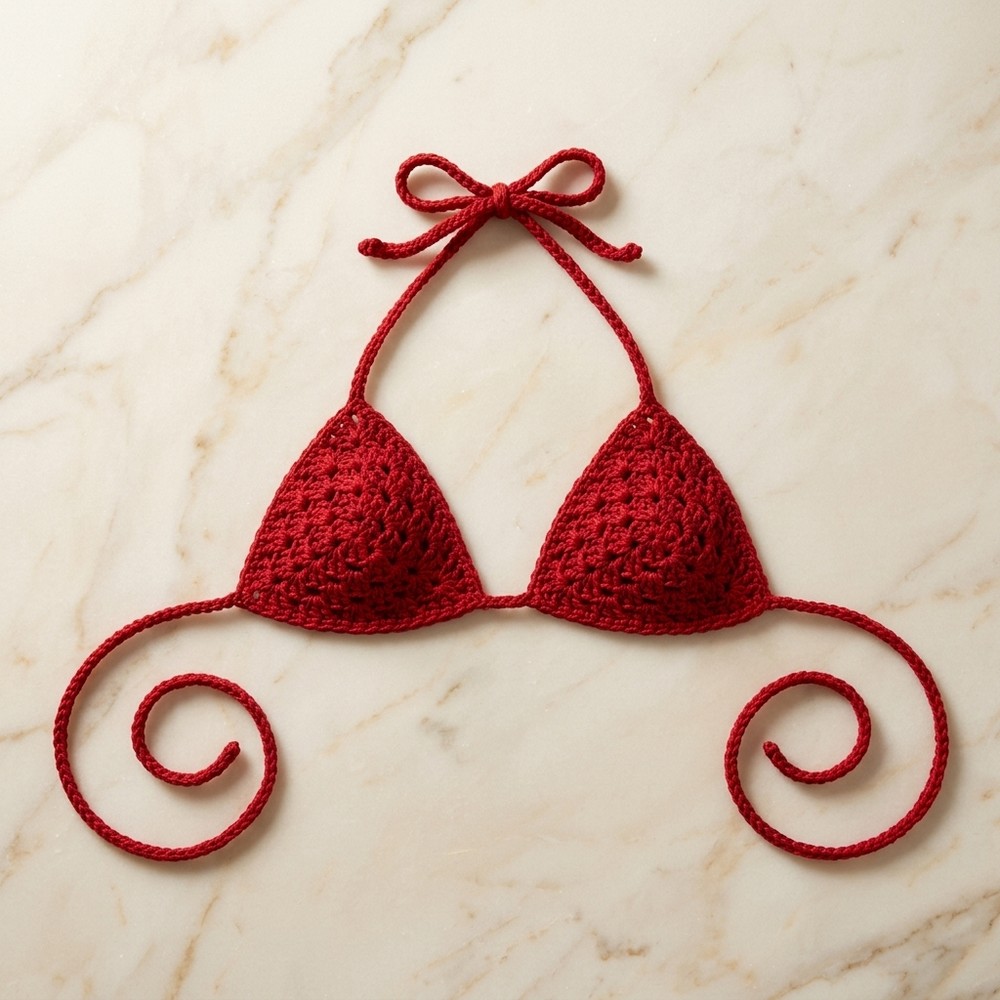
Beautiful Free Crochet Bikini Pattern for Summer Beach Days
This special piece can be lined with fabric for extra support or privacy, and it dries quickly after swimming, making it practical too. Crochet pattern for bikinis help you save money and avoid fast fashion by letting you design a bikini that matches your body and style. With a Crochet Bikini pattern, you get a unique look that stands out, plus the relaxing fun of crocheting something just for you.
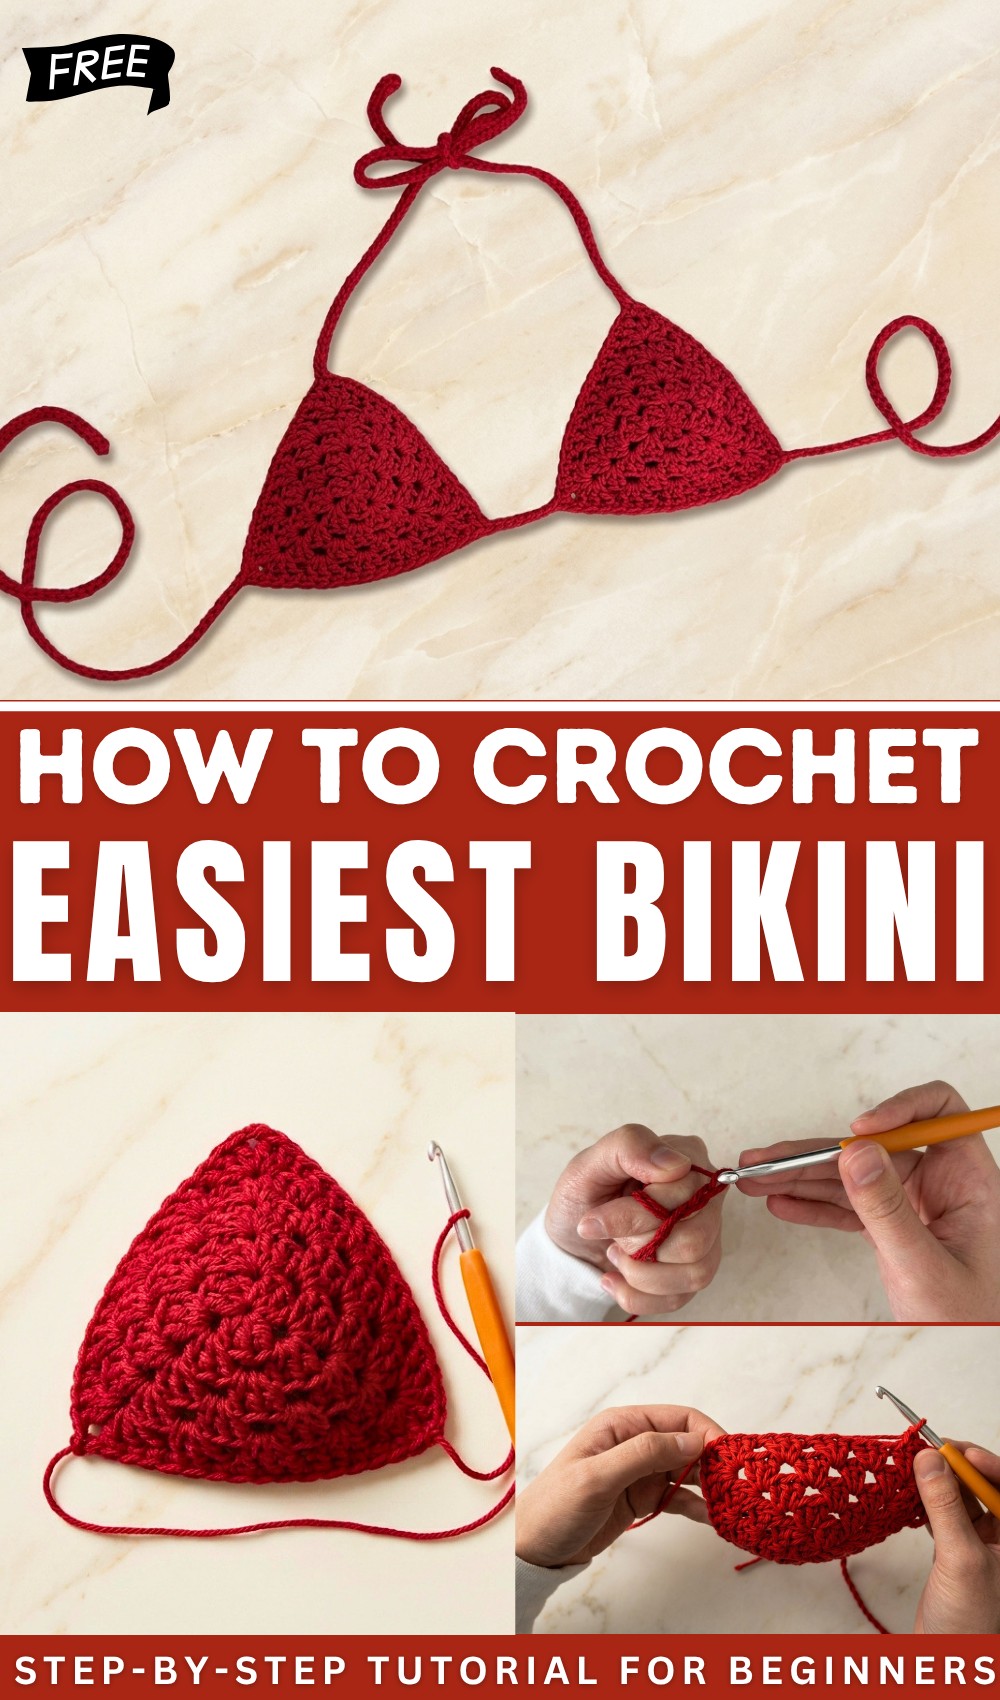
Easy Crochet Bikini Top Pattern
Materials
- Yarn: Worsted weight (weight 4) cotton yarn (example: Loops and Threads Classic Cotton).
Cotton is recommended for stability and comfort, but you may use any fiber or weight you prefer. - Hook: US H-8 (5.0 mm) or size appropriate for your yarn
- Notions:
- Darning needle (for weaving in ends)
- Scissors
Optional: Fabric for lining, sewing needle, and thread
Abbreviations (US Crochet Terminology)
| Abbreviation | Stitch |
|---|---|
| ch | chain |
| dc | double crochet |
| sc | single crochet |
| sl st | slip stitch |
| st(s) | stitch(es) |
| sp | space |
Special Notes
- The pattern is made in rounds for each cup.
- Adjust the number of rounds to fit your bust size (try 5 for a smaller bust, add or subtract as desired).
- Total number of starting chains for straps is fully customizable based on your personal measurements.
- You may line your bikini top with fabric for additional coverage.
Instructions
CUP (Make 2)
Foundation Ring
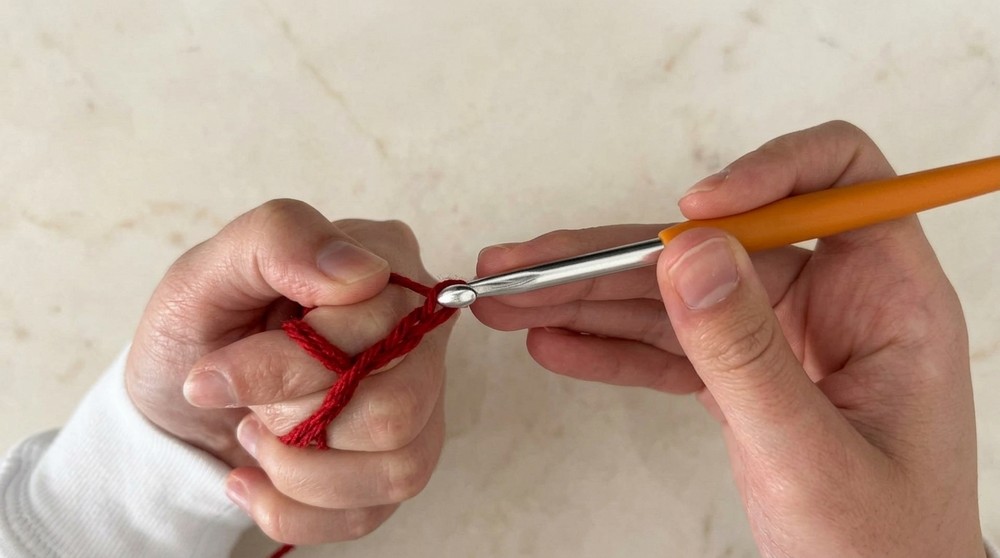
- Make a magic ring.
- Ch 3 (counts as first dc).
- 2 dc in ring, ch 1.
- [3-dc cluster, ch 1]
- [3 dc in ring, ch 1] repeat two more times (you should now have FOUR sets of 3 dc separated by ch 1).
- Close magic ring tightly by pulling the inner and outer loops as shown in the video.
- Sl st to the first ch-3 to join.
(You now have a triangular base with ch-1 corners.)
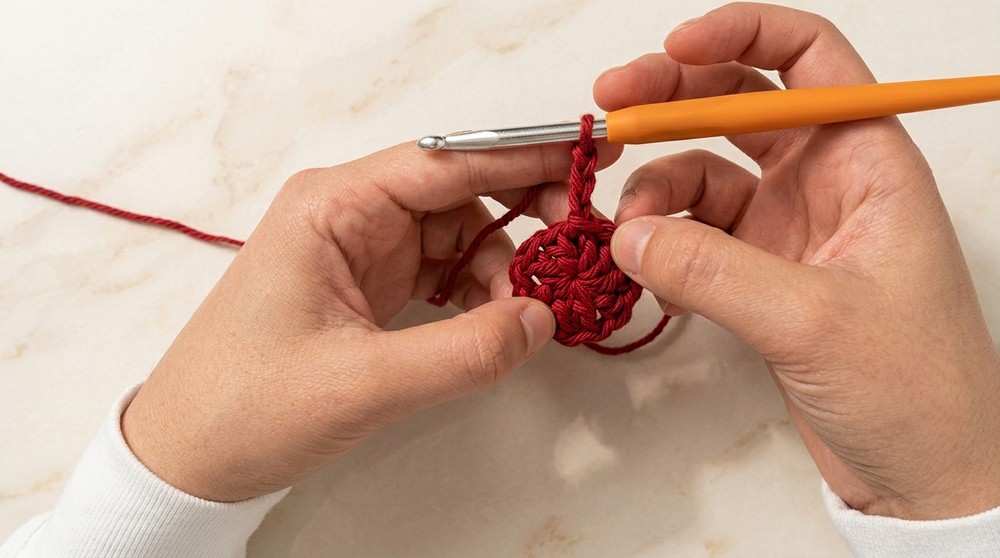
Round 2
- Ch 3 (counts as first dc).
- 2 dc in first ch-1 sp (finishing cluster).
- At each ch-1 corner:
[3 dc, ch 1, 3 dc] in ch-1 sp. - At each side ch-1 sp (not a corner):
3 dc in ch-1 sp. - After working around the triangle, add 3 dc in the first corner ch-1 sp (where you began the round).
- Ch 1, sl st to initial ch-3 to finish the round.
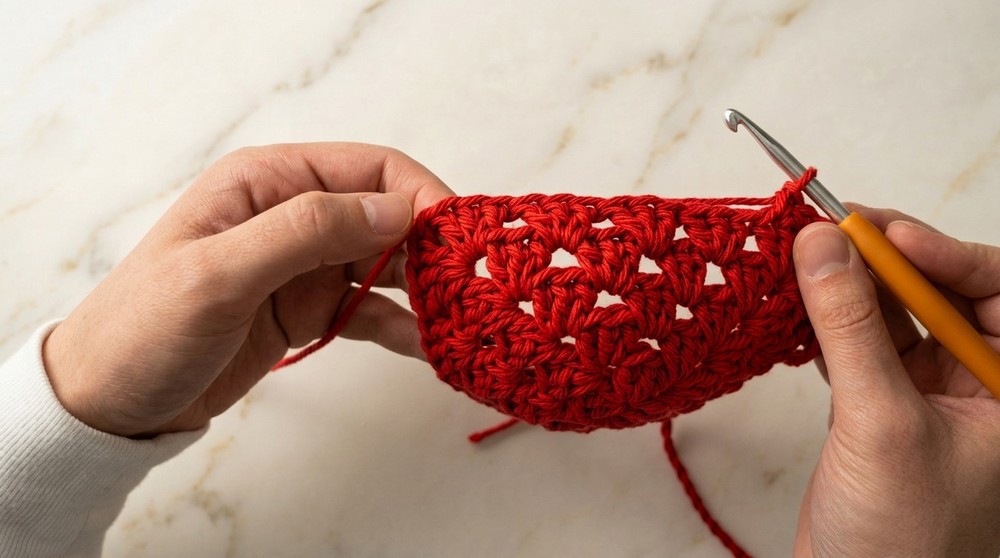
Round 3 and Beyond
- Ch 3 (counts as first dc).
- 2 dc in first ch-1 sp.
- At side ch-1 spaces:
3 dc in each. - At each corner:
[3 dc, ch 1, 3 dc] in ch-1 sp. - Repeat steps 3–4 for each side and corner, working your way around the triangle.
- At the end of each round, make a final 3-dc cluster in the starting corner.
- Ch 1 and sl st to initial ch-3 to join.
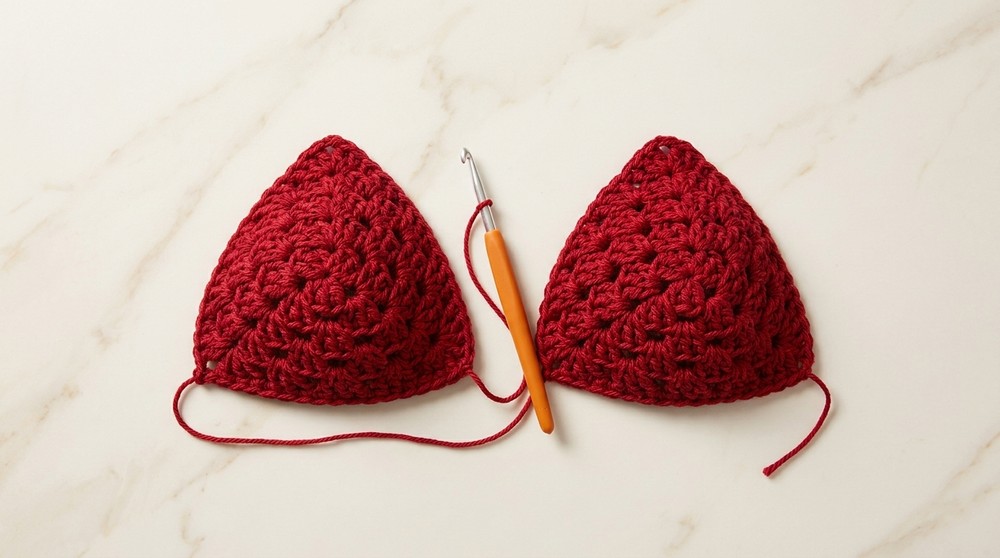
Repeat Round 3 for as many rounds as needed until each cup covers your bust as desired (for most, 5 rounds is sufficient for an A-B cup).
Fasten Off
- On the last round, ch 1, pull up a long tail, and cut yarn. Set aside first cup and repeat for the second cup.
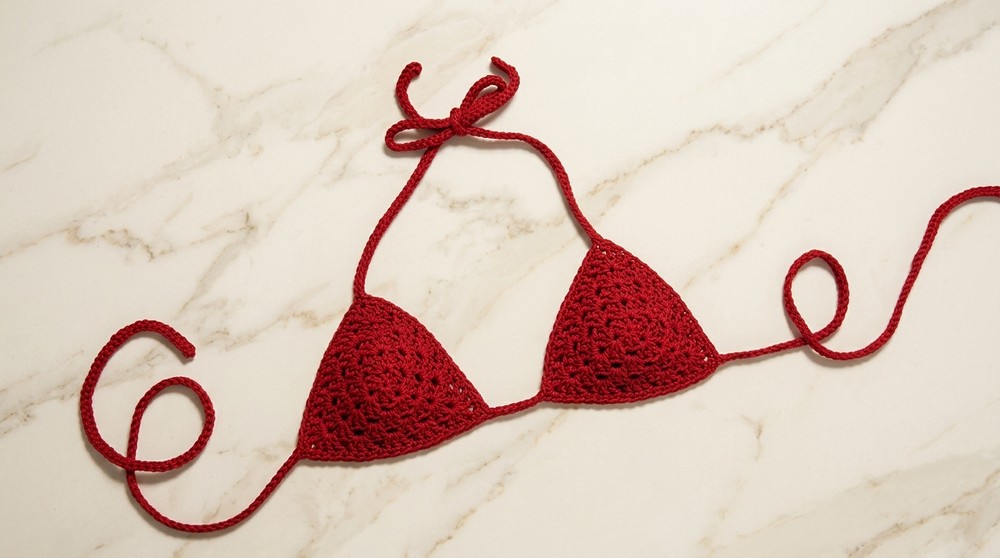
ASSEMBLY & STRAPS
1. Bottom Straps / Joining
- Make a slip knot and ch a length for your first bottom strap:
- Measure: Distance from the side of your bust to the middle of your back plus 10″ (25 cm) for tying.
- (e.g., if distance is 15″, chain 25″ long—roughly 100 chains, depending on your tension/yarn.)
- Using the right side facing you and starting at the bottom corner of one cup, sc in the ch-1 corner space, then sc across the base of the cup (work 1 sc in each st across to the opposite corner).
- Ch the separation width as needed for your chest (measure distance between cups, typically 6–10 ch).
- Join the second cup, sc across its base from the corner ch-1 sp to the other corner ch-1 sp.
- Ch again for the second bottom strap—match the length to the first side (e.g., ch 100).
2. Edging
- Optional for clean edge:
Work an additional round of sc evenly along the outer sides and top of both cups (excluding the base with the straps). - At the top corner of each cup, continue with the neck straps without breaking the yarn.
3. Neck Straps
- At the top corner ch-1 space of each cup, attach yarn (if not already present).
- Ch length desired for neck tie (suggestion: 80–100 ch, or measure as needed).
- Sl st back down the chain (into each back bar or back loop for neat edge) to the corner.
- Secure with a sl st or knot and weave in end securely.
4. Finish Other Side
- Repeat as above for the second neck strap at the other top corner.
5. Finishing Touches
- Weave in all yarn tails carefully using a darning needle.
- Try on your bikini top and adjust straps as needed.
- Optional: Line cups as desired for opacity and comfort.
Pattern Correction
- Ensure each corner always has [3 dc, ch 1, 3 dc]; only one cluster is placed on the sides.
- Starting chain length for straps and between the cups is highly personalizable. Always check fit and comfort.
Tips
- If you want thinner or thicker straps, adjust your yarn weight, hook size, or chain count.
- For seamless-looking ties, slip stitch in back bars of chain for all straps.
- If you plan to swim in your bikini, always use 100% cotton or suitable swimwear yarn and ensure tight stitches for stability.
Conclusion
With this adaptable pattern, you can make a stylish, supportive, and completely customizable crochet bikini top. The classic granny triangle method allows for easy size adjustment and rapid completion—perfect for a quick summer project or thoughtful handmade gift.