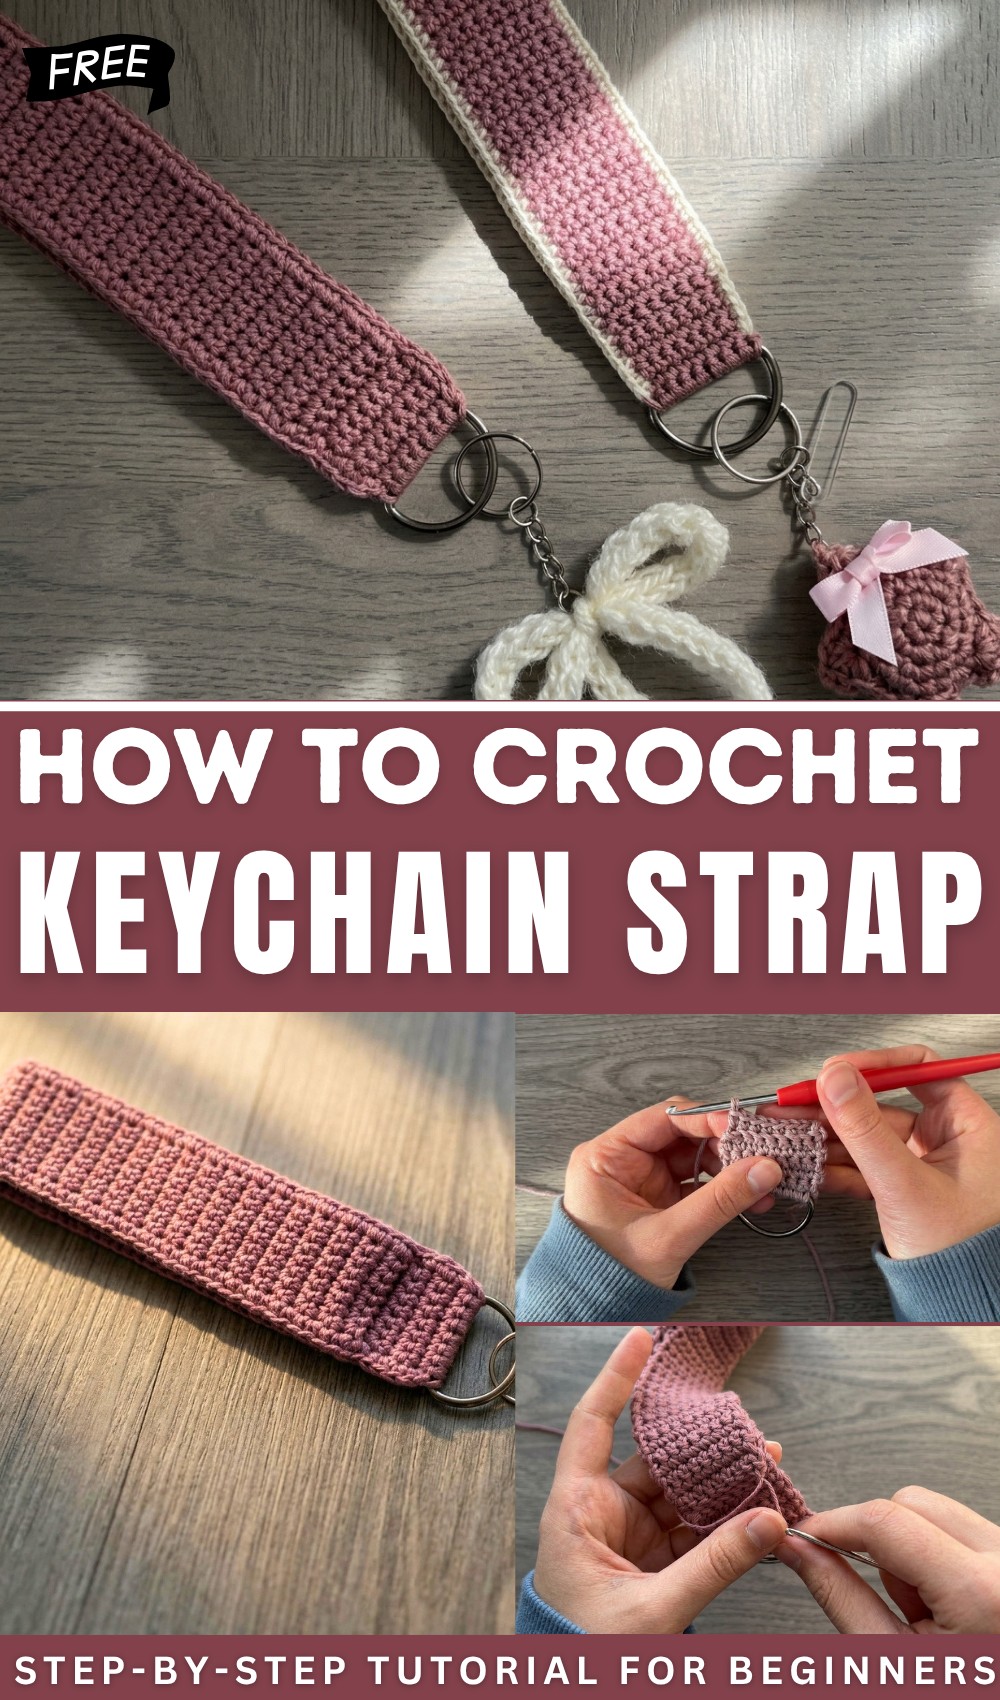
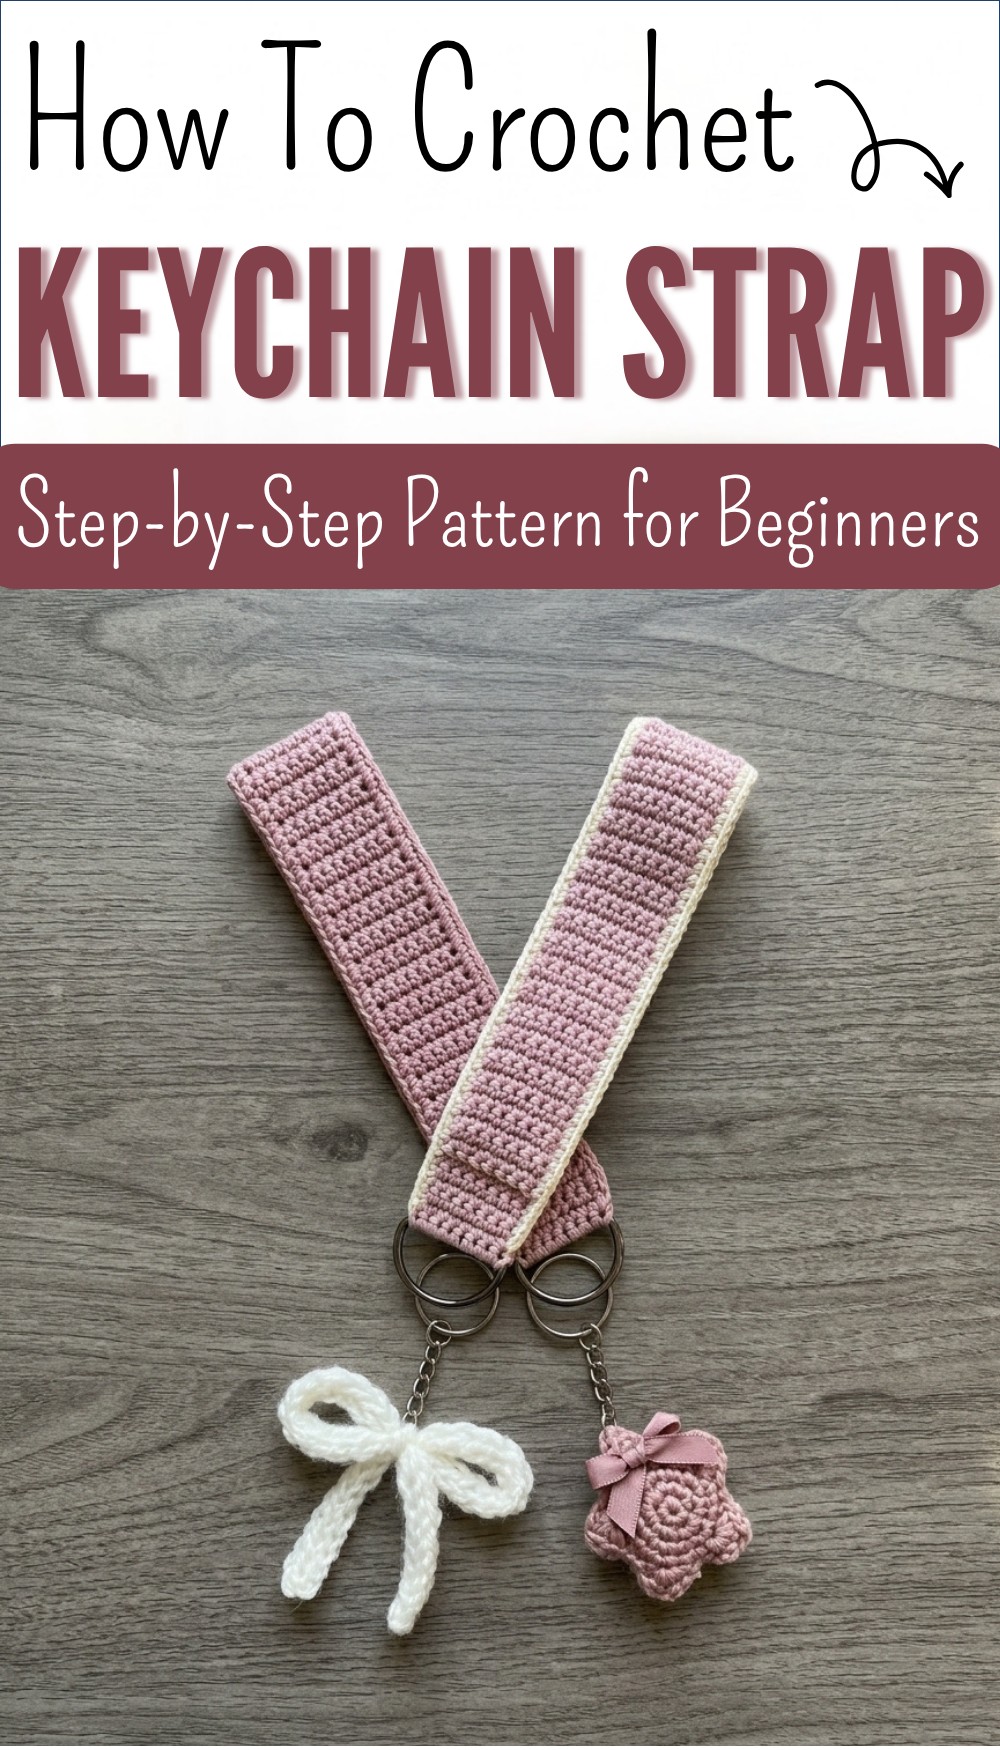
Crochet Keychain Strap Pattern Free
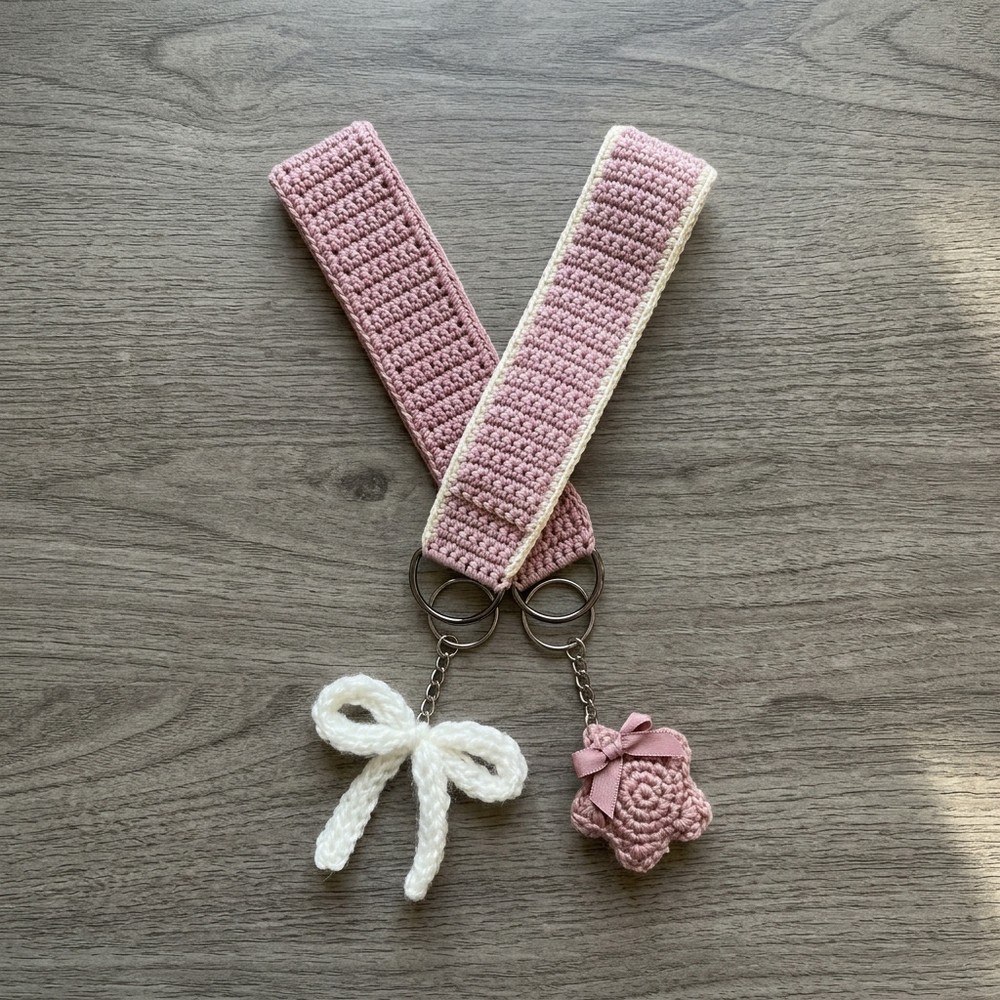
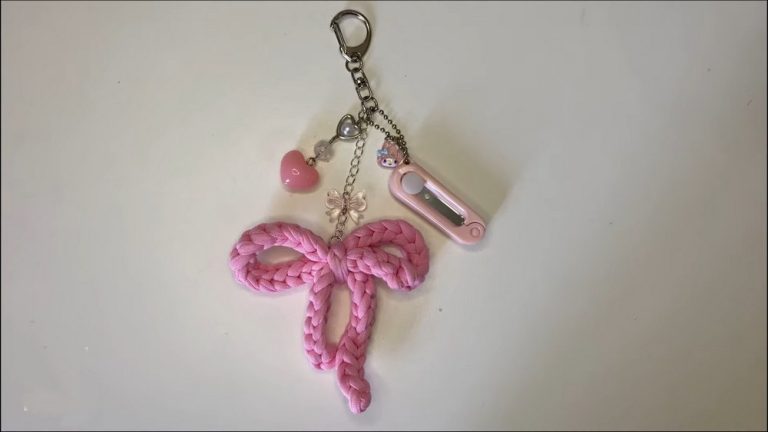
Sprinkle fun and color into your daily routine with Free Crochet Keychain Strap Pattern that turns simple keys & bags into cute accessories.
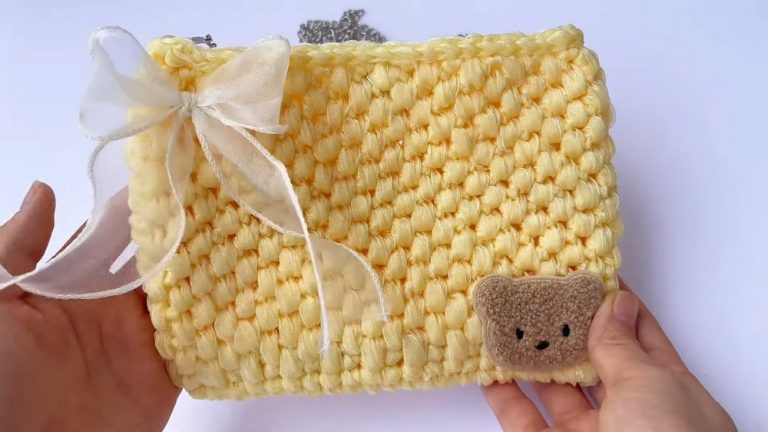
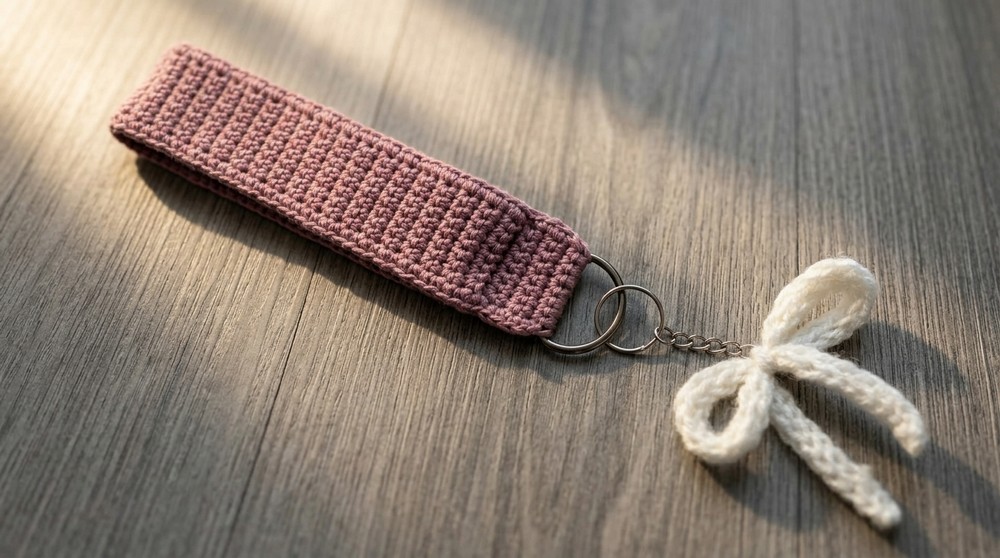
A bright and beautiful strap catches everyone’s eye as it hangs from your bag or key ring. It stands out with pretty colors and a smooth finish, making it a special touch for your everyday things. The Crochet Keychain Strap pattern is simple to follow, and uses a D-ring and cotton yarn that help it stay strong and last a long time. With this strap, your keys are always easy to find, and you can also use it on pouches or as a zipper pull for your backpack.
Beginner-Friendly Free Crochet Keychain Strap Pattern
No matter if you like thin or thick straps, it’s easy to adjust the size and follow along step by step. Finishing with neat edges gives it a tidy look, and shows off your style. People often smile when they hold a handmade item like this, because it feels personal and thoughtful. Friends and family will love getting one in their favorite colors, making the pattern a fun way to share something bright and useful.
Crochet Keychain Strap Pattern
Materials
- Yarn: Preferably 100% cotton (for minimal stretch)
- You may use any weight yarn. If using super fine or thin yarn, hold two strands together for thickness.
- Hook: Size suitable for your yarn (sample uses 3.5 mm)
- D-Ring: 4 cm (or any size you prefer)
- Notions:
- Yarn needle (for seaming and weaving ends)
- Scissors
Key Abbreviations (US Terminology)
| Abbreviation | Stitch |
|---|---|
| ch | chain |
| sc | single crochet |
| sl st | slip stitch |
| st(s) | stitch(es) |
| BLO | back loop only |
| YO | yarn over |
Special Notes
- The number of sc on your D-ring will depend on both ring size and yarn. Adjust as needed.
- For a neater look, use cotton yarn.
- Work sc in the back loop only (BLO) for the ‘fold’ row to create a crisp bend at the base of the strap.
- Adjust strap length as desired; sample makes a 13″ strap (approx. for wristlet).
Instructions
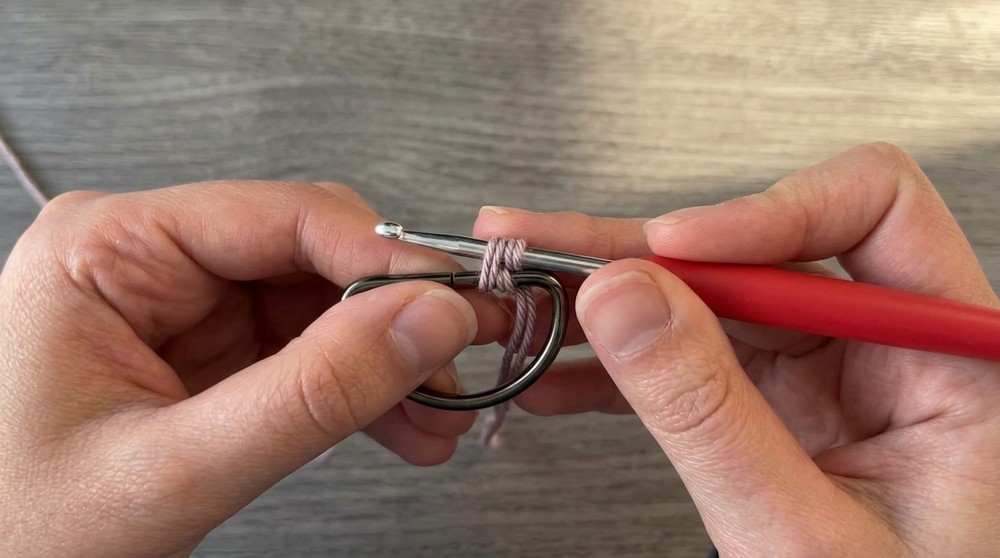
1. Attach Yarn to D-Ring
- Make a slip knot.
- Hold the D-ring with its flat side facing up.
- Insert hook into the ring, YO, pull up a loop. YO, pull through both loops on hook to form a sc on the ring.
- Repeat sc stitches evenly across the flat of the D-ring until you have covered it.
- Sample: 8 sc on a 4cm D-ring.
- The exact number will depend on your ring/yarn—cover the flat edge snugly and evenly.
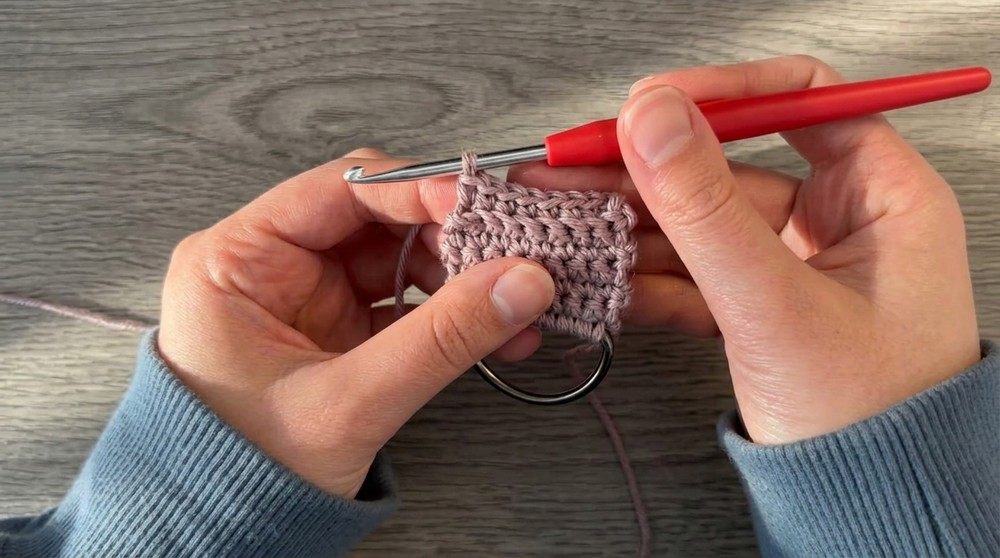
2. Strap Row Section
Rows 1–6 (or until piece measures about 1 inch):
- Ch 1, turn.
- Sc in each st across (through both loops).
- Repeat for a total of 6 rows (or until you reach approx. 1 inch in height).
3. Fold Row (Creates Crisp Bend)
- Ch 1, turn.
- Sc in each st across but through the back loop only (BLO).
- This row creates a defined fold for your strap.
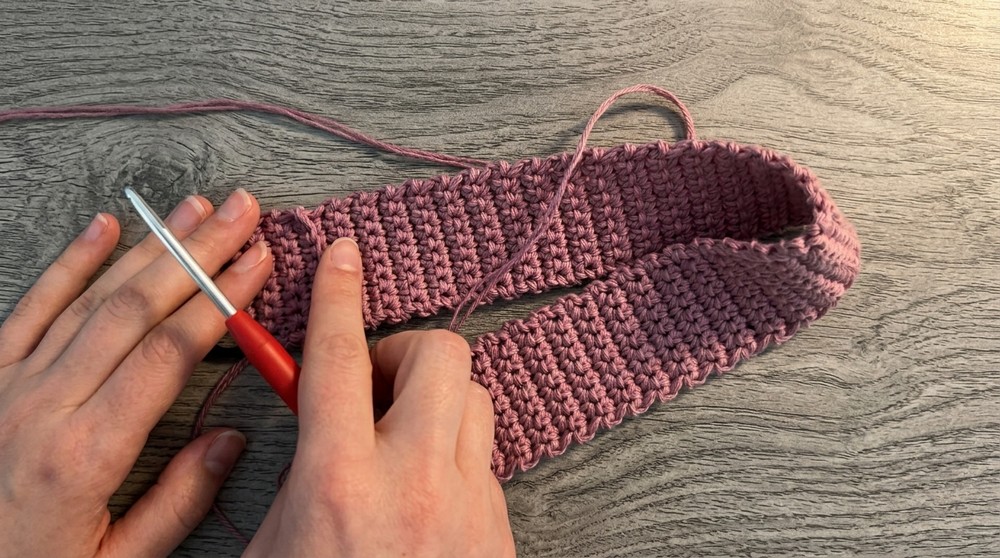
4. Main Strap – Regular Rows
- Ch 1, turn.
- Sc in each st across (through both loops).
- Repeat this row until the entire strap including the first 1″ section and bend measures about 13 inches (sample used a total of 79 rows after BLO row).
- Adjust total length to fit your wrist or desired usage.
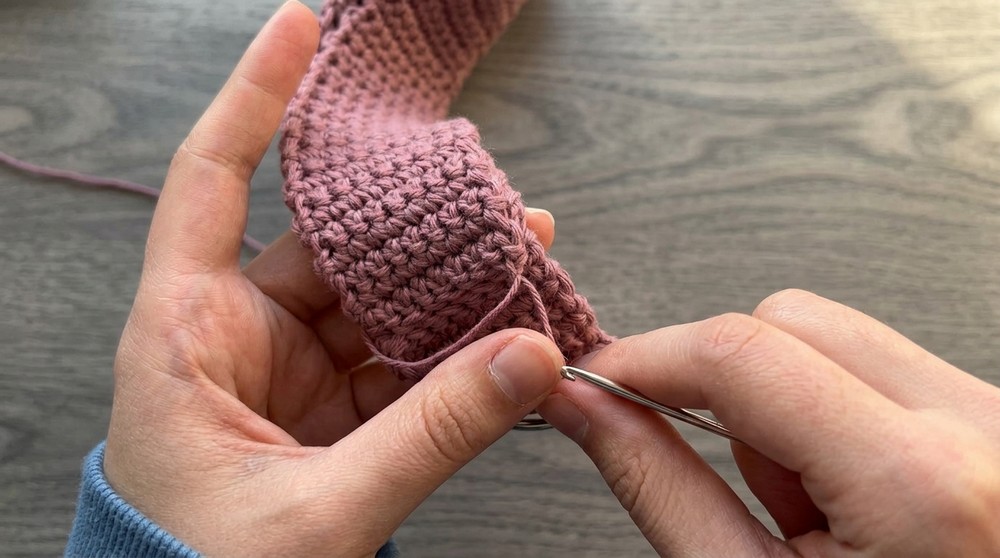
5. Assembly – Seaming Ends
- Fasten off, leaving a long tail (about 12″/30cm) for sewing.
- Fold the strap to bring the starting D-ring edge and the live working edge together, aligning both ends.
- With a yarn needle, sew through the front loops of both edges (from both the starting and final row), whip-stitching securely to join the strap into a loop.
- Weave the tail(s) in securely and knot as needed.
- If you only have one end/tail, make a knot as follows: insert needle under a nearby loop to form a small loop, then pass yarn tail through and pull snug. Weave in end to secure.
6. Finishing Edges (Optional)
For a clean and professional finish:
- Join yarn at the side edge.
- Sc evenly around all edges of the keychain (insert hook into natural row end “holes”), working sc into each spot around the entire loop.
- When you reach the beginning, fasten off and use your yarn needle to hide the end—pull it under edge stitches and knot subtly near sewing seam as needed.
- Repeat for the opposite edge if desired.
Pattern Correction
- The original instruction to “sc in BLO” is meant only for the designated bend/fold row. All other rows are worked through both loops unless otherwise noted.
- The number of sc on the D-ring and strap lengths are easily adjustable.
- The sample uses 8 sc on D-ring, 6 rows for initial 1″, followed by 1 BLO row, then 79 rows for total strap, but measure against your own wrist/desired length.
Tips
- Test fit length before sewing ends by wrapping around your wrist.
- If ends are uneven after sewing, edge rounds of sc will help smooth them.
- For a chunkier strap, use a thicker yarn or add more sc to both D-ring and rows.
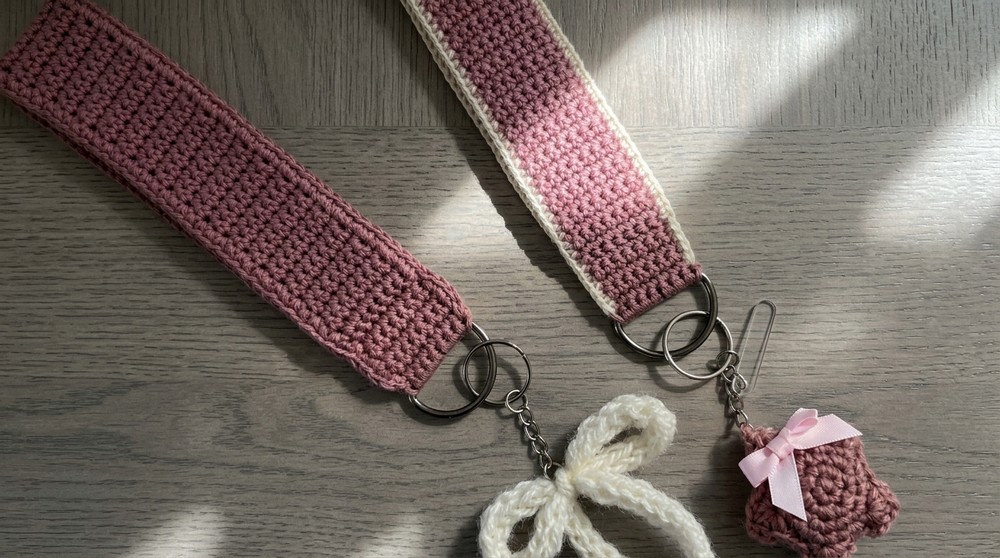
- To match store-bought straps, use bright solid or variegated cotton for impact.
Conclusion
With minimal supplies and basic crochet skills, you can quickly create a sturdy and stylish keychain strap. This project is ideal for customization and makes practical, beautiful gifts. The option to clean up edges with a sc border gives a highly finished look, comparable to high-end store brands.