How to Crochet Crossbody Bag for Gifting
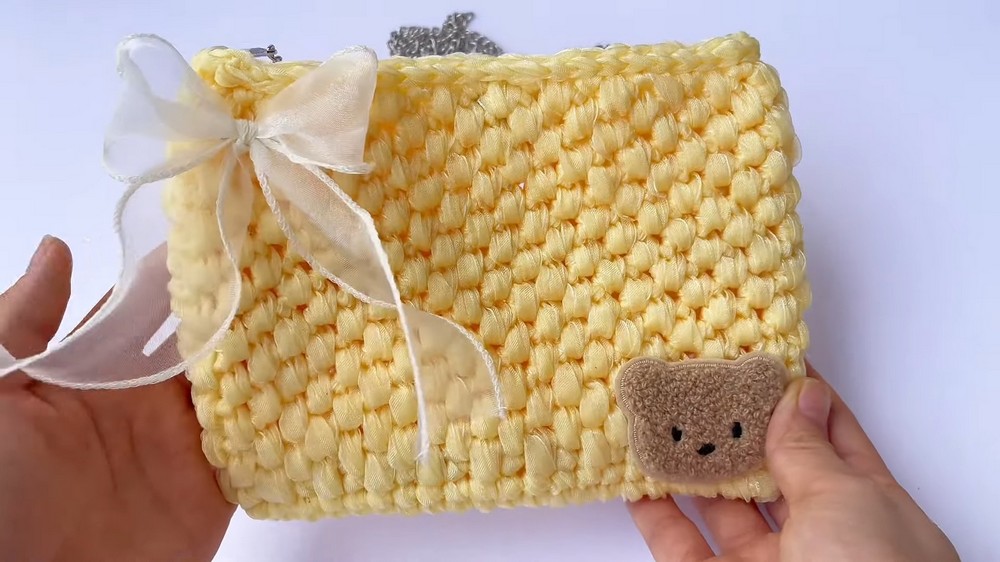
Here is a tutorial on crocheting a unique basketweave crossbody bag using 2.5cm ribbon yarn, including 21 rows of alternating single crochet stitches, creating a soft, sturdy bag shape. Finish with a slip stitch, hide the yarn, glue a bow, and decorate with your favorite motifs. The bag is finished with a magnetic snap for convenient use, suitable for everyday use or as a cute gift.

Crochet Crossbody Bag Tutorial
The video begins by showcasing a lovely crossbody crochet bag, decorated with a ribbon bow and teddy bear charm, featuring a side chain and a magnetic button to fasten the opening.
-
Materials and Tools
The project uses a 45-meter roll of 2.5 cm-wide ribbon yarn, along with a crochet hook suited for thick, sturdy stitches to form the bag’s base and body.
-
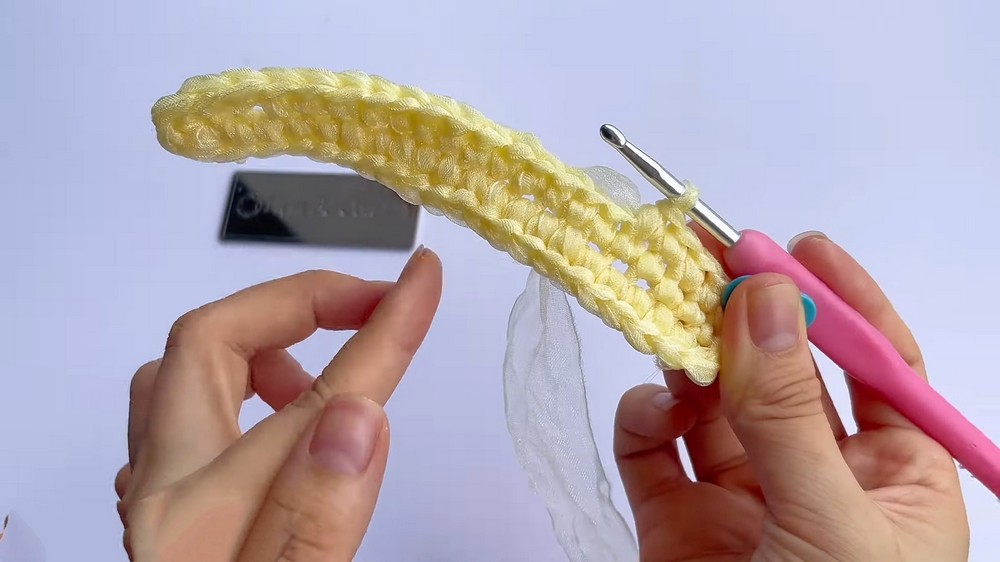
Starting the Bag – Foundation Chain
The tutorial starts by chaining 23 stitches. After skipping one stitch, single crochets are made into the second chain from the hook, continuing to create a flat base.
-
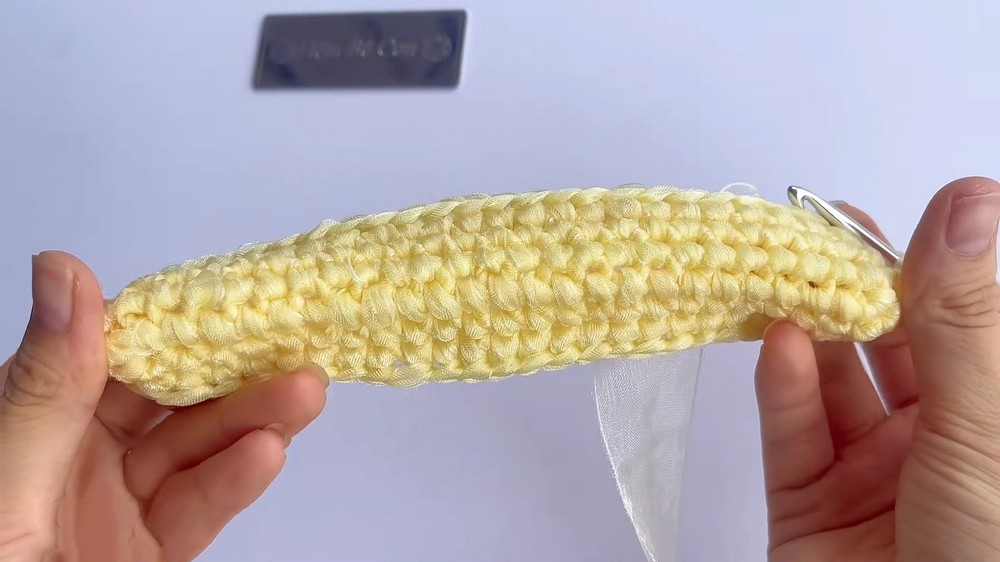
Rounding the Base
After reaching the end of the first row, the work is rotated to crochet along the opposite side of the chain, forming a complete oval base with single crochet stitches.
-
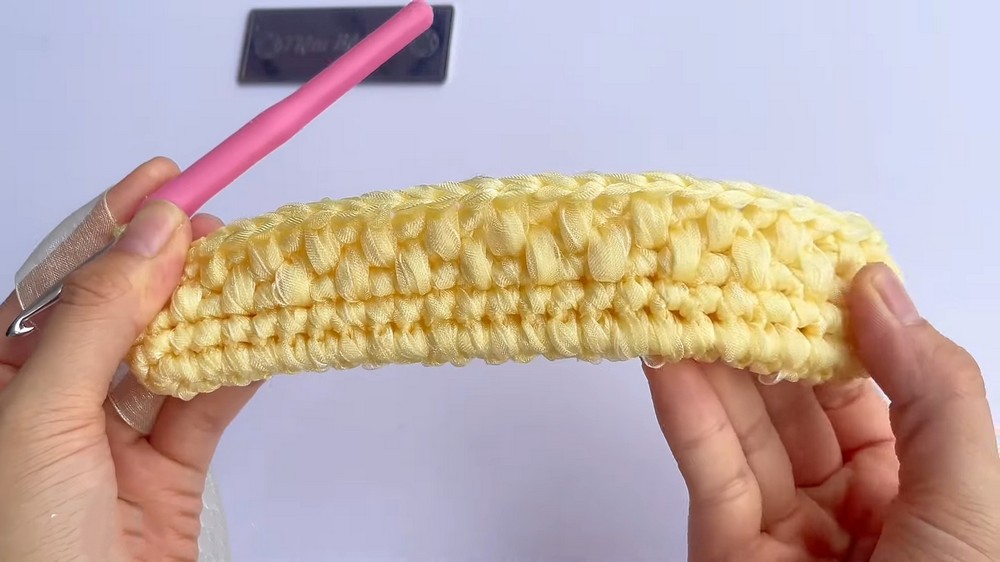
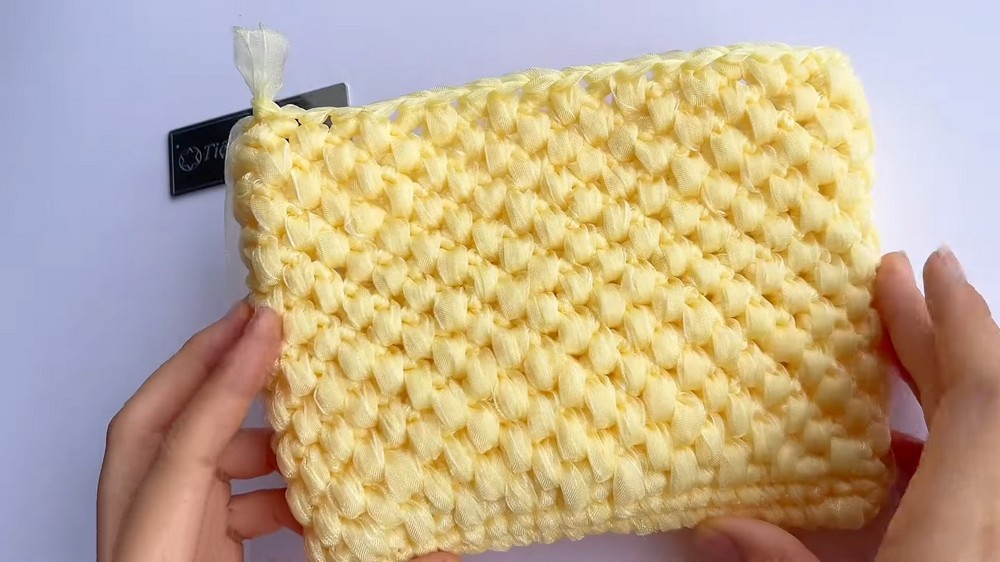
Building the Body
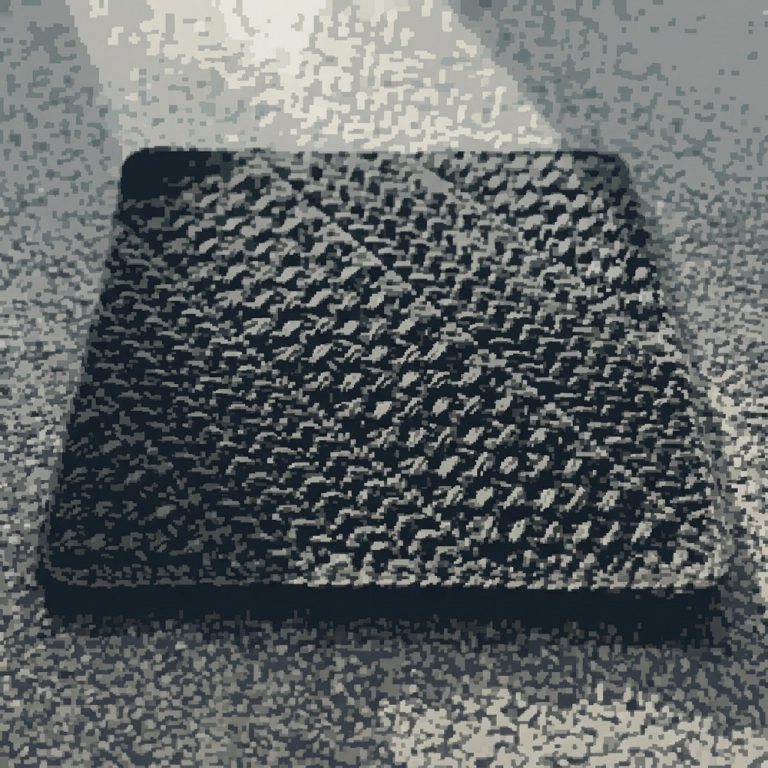
Successive rows of single crochet are added, increasing gradually. A mix of normal and back loop-only stitches are used alternately to shape the body and give texture. -
Completing the Sides
Rows are repeated up to 21 total rounds, ensuring symmetry and solidity. Each row ends with a slip stitch to maintain alignment.
-
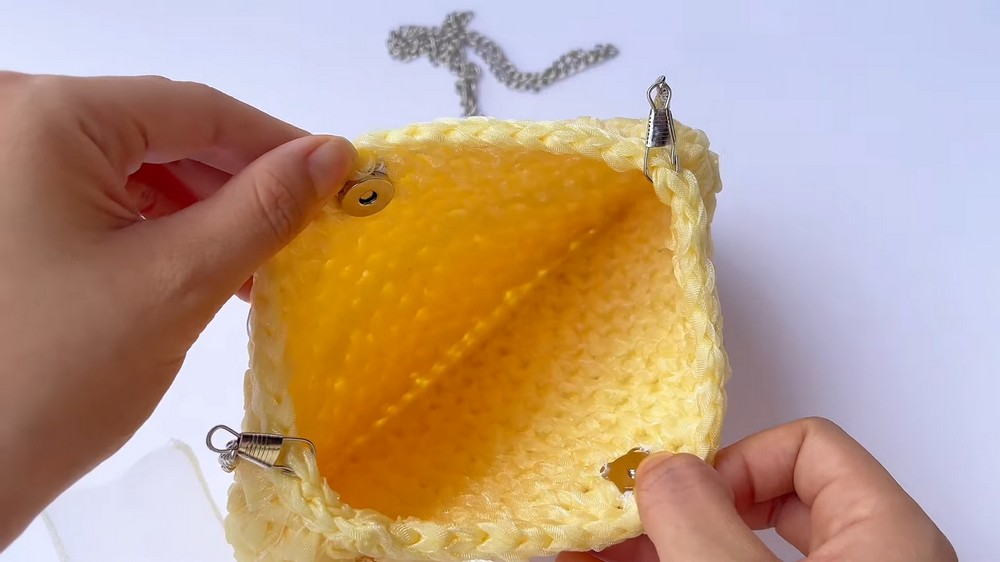
Finishing Touches
The bag is completed with a final round of slip stitches for a clean edge. Yarn tails are woven in with a needle. The bag is then adorned with optional decorative items like bows.
-
Practical Use and Aesthetic
The finished crochet bag is compact, stylish, and functional—perfect as a daily accessory or a handmade gift.