Pretty Crochet Rose Halter Top Pattern to Impress everyone
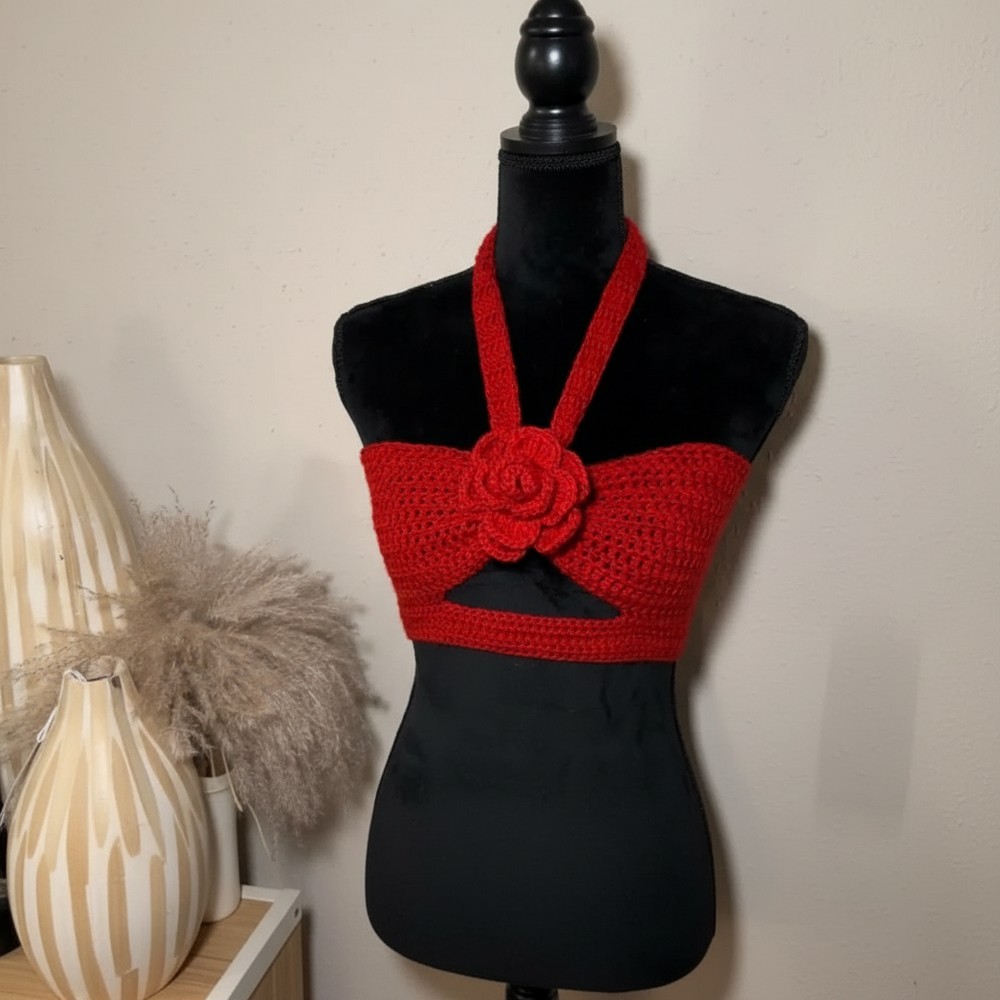
Bloom with elegance using this Crochet Rose Halter Top Pattern featuring floral detail and a flattering shape for warm days outdoors today.
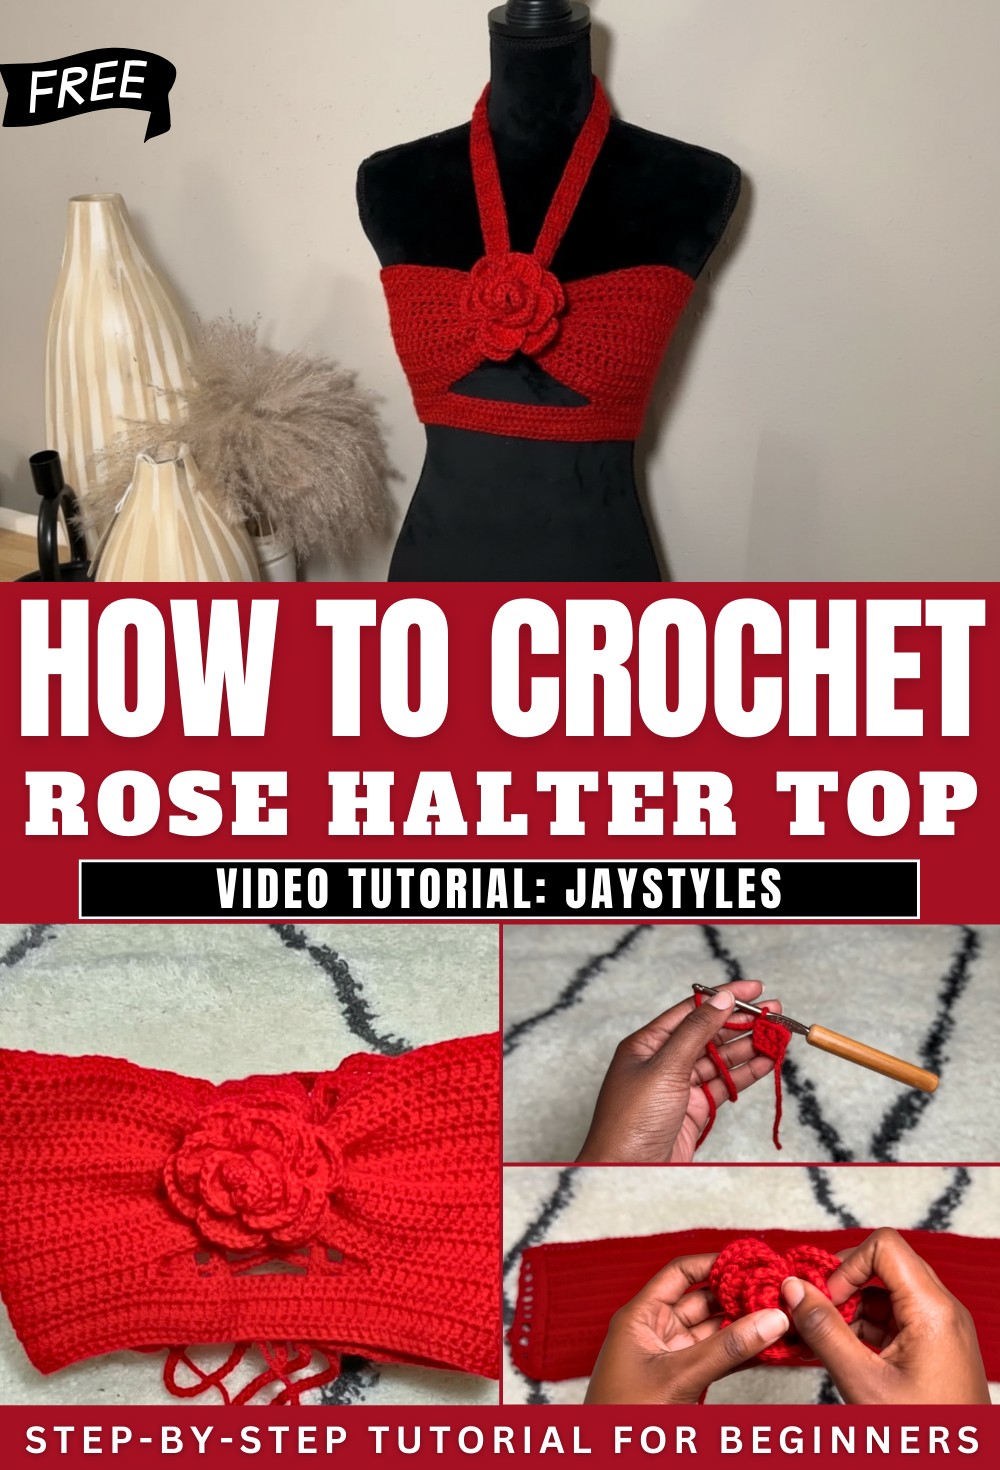
Floret Crochet Rose Halter Top Pattern Loved This Season
Loved for its lovely and stylish look, the crochet rose halter top pattern gives any outfit a fresh and pretty feel. This top stands out with its beautiful rose shapes woven right into the fabric, making it extra special and eye-catching. It’s a great choice for summer days, parties, picnics, or when you want to feel unique at festivals or the beach. The open design keeps you cool and comfortable on hot days, and the straps can be tied to fit any body shape well.
You can match it with shorts, jeans, or skirts for many fun looks. Making your own top also lets you pick your favorite colors and sizes, so it’s truly yours. This pattern’s real beauty is how it mixes trendy style with a soft, romantic feel, so you always look and feel your best with every wear.
Materials Needed
-
Yarn: I Love This Yarn (Medium Weight 4) in Red (or your choice).
-
Hook: 5.5 mm crochet hook.
-
Tools: Scissors, tapestry needle, and stitch markers.
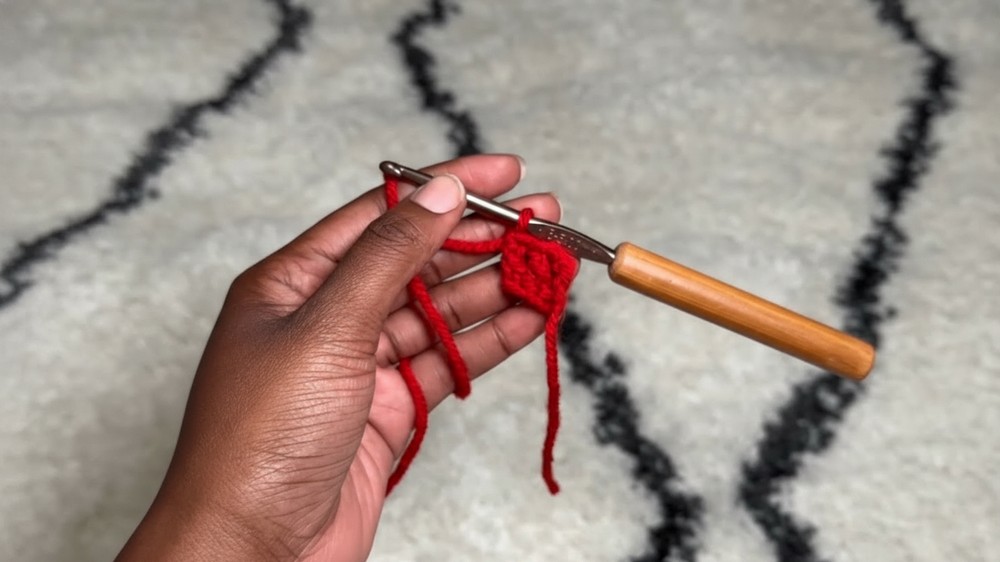
Part 1: The Main Body Panel
This panel is worked flat to wrap from armpit to armpit.
-
Foundation: Work 74 Foundation Double Crochets (Fdc).
-
Alternative: Chain 76, then double crochet (dc) in the 3rd chain from hook and each chain across.
-
-
Rows 2–3: Chain 2 (counts as dc), turn. dc in each stitch across.
-
Row 4 (The Keyhole Setup): * dc in the first 25 stitches.
-
Chain 27.
-
Skip 24 stitches of the previous row (ensure the chain isn’t twisted).
-
dc in the remaining 25 stitches to the end.
-
-
Row 5: dc across the first 25 stitches, work 1 dc into each of the 27 chains, then dc across the remaining 25 stitches.
-
Growth: Repeat straight dc rows until you reach your desired top length (approx. 13 rows total).
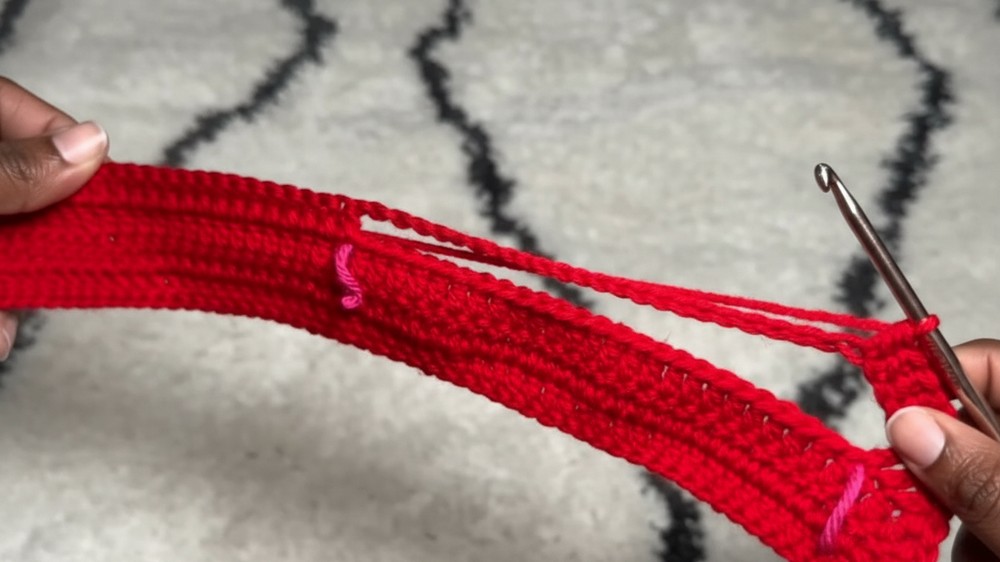
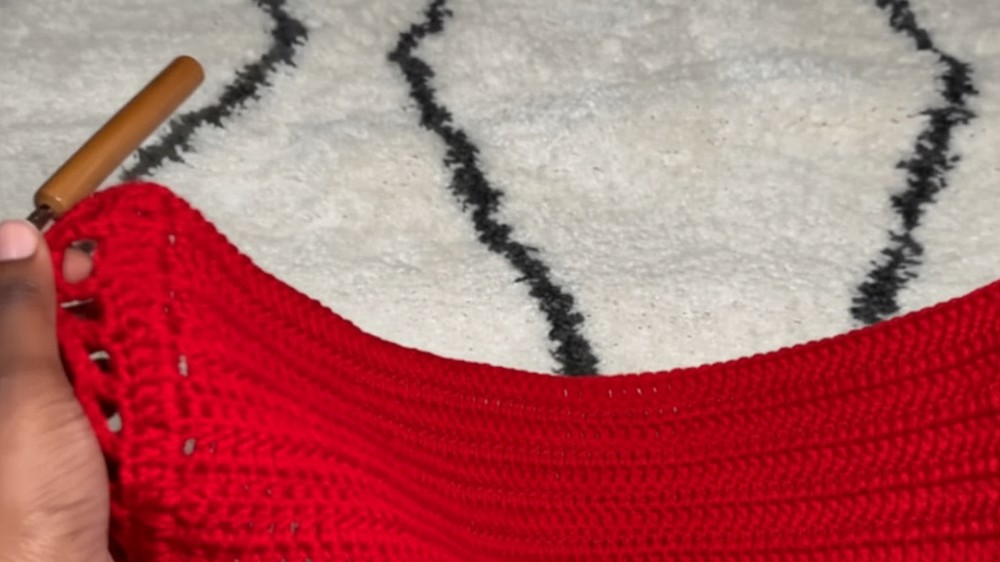
Part 2: Back Corset Edges
Work this section on both the left and right side ends of your main panel.
-
Row 1 (Foundation): Attach yarn at the top corner. Work 2 dc into every row-end space down the side.
-
Row 2 (Eyelets): Ch 4, turn. Skip 2, dc in next, ch 2. Repeat across to create lacing holes.
-
Row 3 (Border): Ch 1, turn. Work 2 single crochets (sc) in every ch-2 space and 1 sc in every dc stitch. Fasten off.
Part 3: The Center Gathering Tie
This long strap will be used to cinch the front keyhole.
-
Foundation: Work a Foundation Double Crochet of 5 stitches.
-
Length: Work straight dc rows (5 dc per row) for a total of 165 rows. Fasten off.
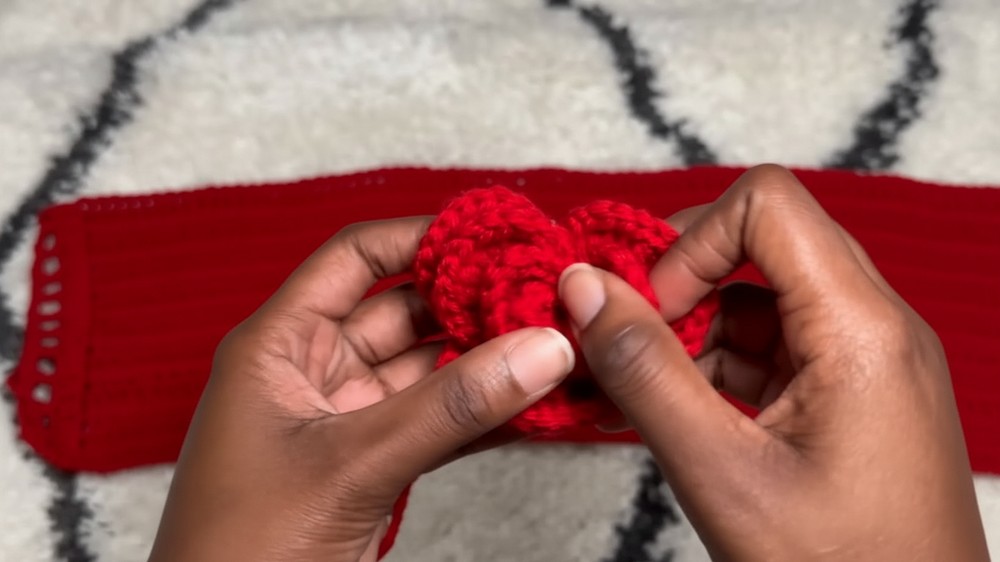
Part 4: The 3D Statement Flower (Rose)
-
Foundation: Work 45 Foundation Single Crochets (Fsc). (For a larger flower, work 85).
-
Row 2 (Petal Loops): Ch 5, turn. Skip 4, sc in next, ch 5. Repeat across.
-
Row 3 (Filling Petals): In each ch-5 loop, work the following sequence:
-
1 sc, 1 hdc, 1 dc, 3 tr (treble crochet), 1 dc, 1 hdc, 1 sc.
-
Repeat for every loop across. Fasten off, leaving a long tail.
-
-
Assembly: Roll the petal strip tightly into a spiral. Turn it over and use the long tail with a tapestry needle to sew through all layers at the base to secure the rose shape.
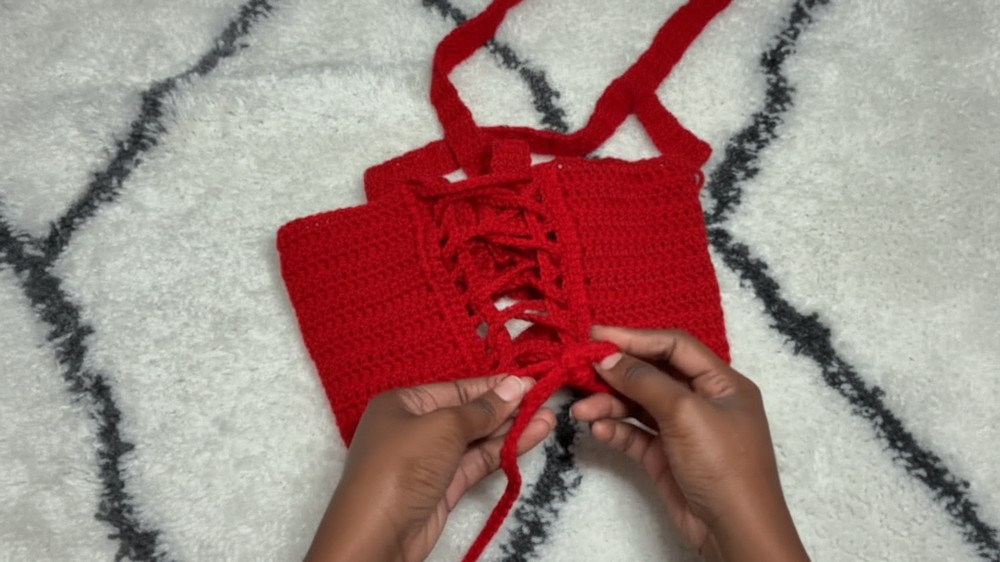
Part 5: Final Assembly
-
Gathering the Front: * Take your Gathering Tie (from Part 3) and feed it through the center keyhole of the top.
-
Pull the two ends of the tie upward and tie a tight knot at the top. This cinches the fabric to create the “ruched” bust look.
-
-
Attaching the Flower: Use the yarn tails from the flower to tie it onto the center knot of the gathering tie. Tie it in a bow for easy removal.
-
Back Closure: Chain a long cord (approx. 200 chains). Lace it through the eyelets on the back panels in a criss-cross pattern.
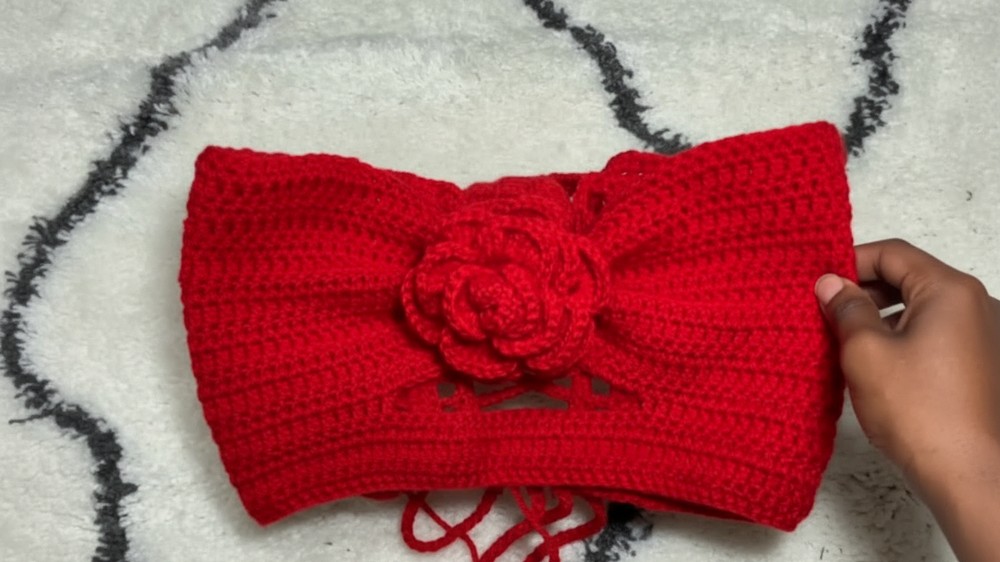
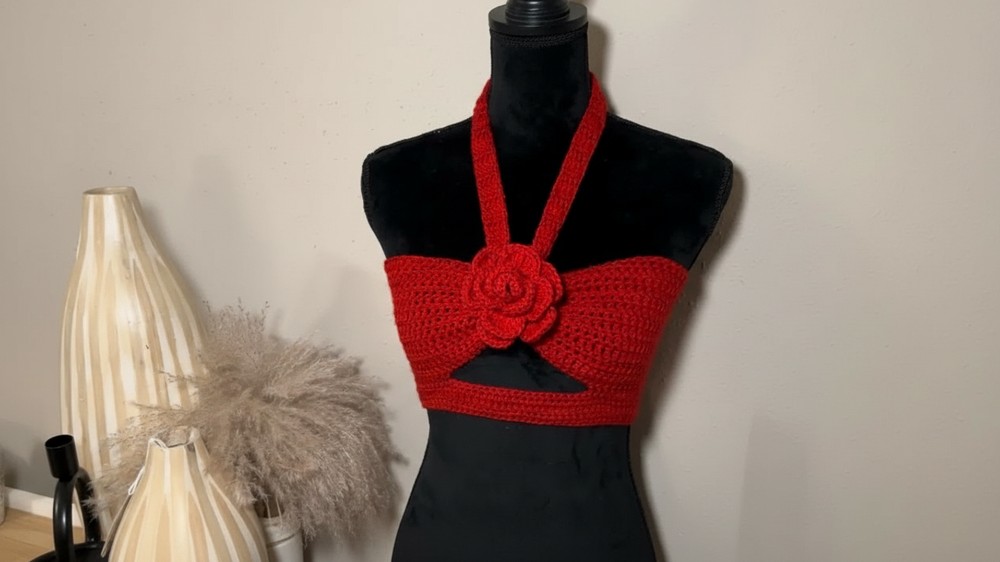
Conclusion
Weave in any remaining ends. Your halter top is adjustable—you can wear the gathering tie around your neck or crossed over the chest. The statement flower adds a high-fashion touch that is easily removable for washing.