
Trendy Hooded Blouse Free Crochet Pattern for Daily Wear
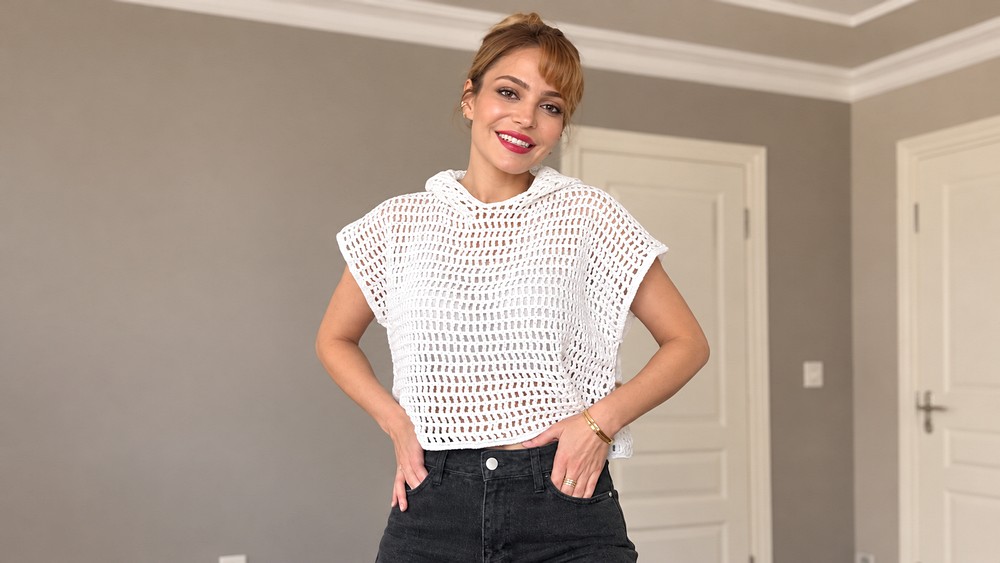
Slip into an easygoing look with this Free Crochet Hooded Blouse Pattern that’s a casual top that pairs nicely with jeans or a skirt.
A regular top does not always give an outfit the relaxed look you want. The Hooded Blouse Free Crochet Pattern combines the familiar shape of a blouse with a hood, so the finished piece feels casual without being ordinary.
Relaxed Hooded Blouse Free Crochet Pattern for Casual Outfits
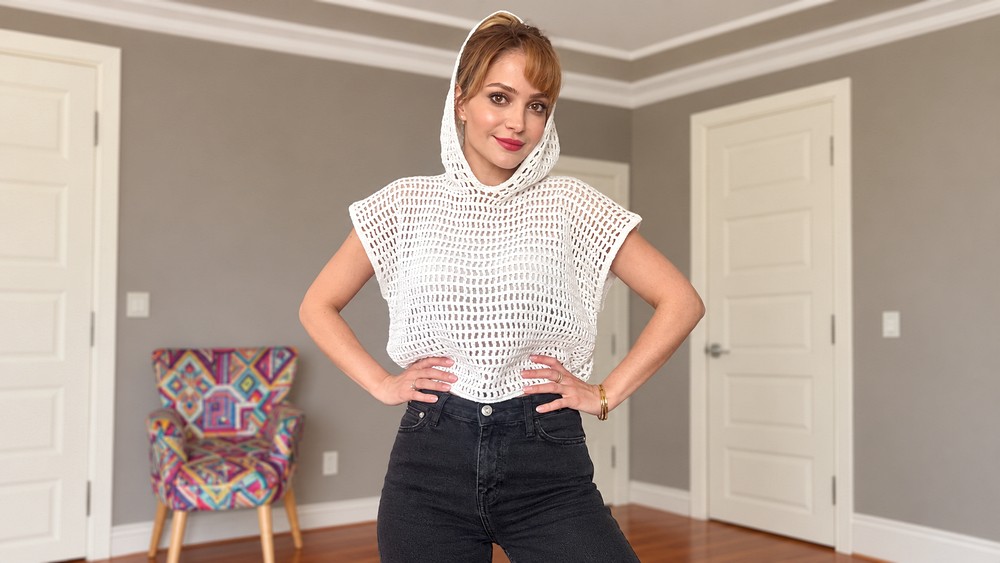
The hood is the first detail people may notice. It gives the neckline a different outline and can sit softly against the back when it is not being worn. The crocheted fabric also shows the texture of the stitches, which gives the blouse a personal appearance. Pair it with straight jeans and sneakers for a day outside, or wear it with a simple skirt when you want something a little softer. A plain inner top can work underneath, depending on how open the stitches are.
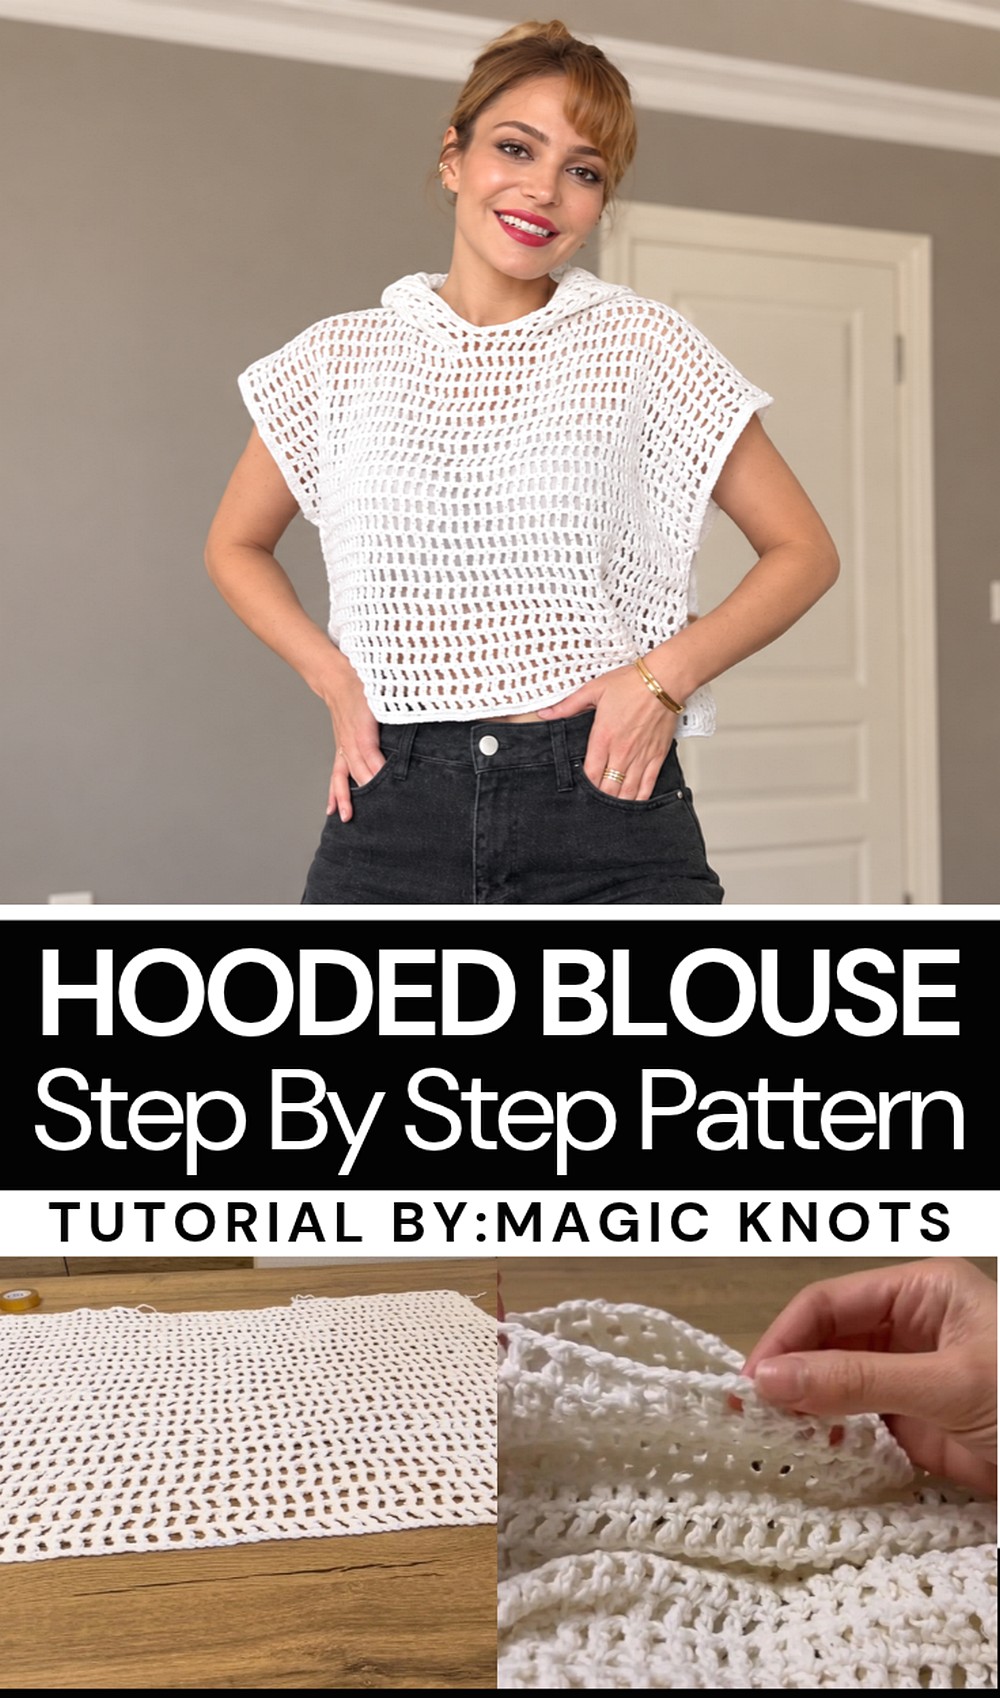
The Creator of the Hooded Blouse Tutorial
For anyone curious about hooded crochet tops, magic knots offers a video focused on this blouse style. The channel’s wider library also includes scarves, sweaters, bags, and other yarn projects. Its collection suits viewers who like switching between clothing pieces and many smaller accessories without leaving the same YouTube channel.
This project is a chance to practice keeping a wearable piece even as you work through the video. Follow each section in order, checking the body shape and hood as they develop. Take your time around the neck area because that is where the two main parts meet. The final fit will depend on your yarn, tension, and measurements.
The tutorial comes from magic knots. Watch it at a comfortable pace and replay any part you want to see again. The result can become a useful addition to your everyday clothing, especially when you prefer relaxed outfits with an interesting handmade detail.
Crochet Hooded Sweater Pattern
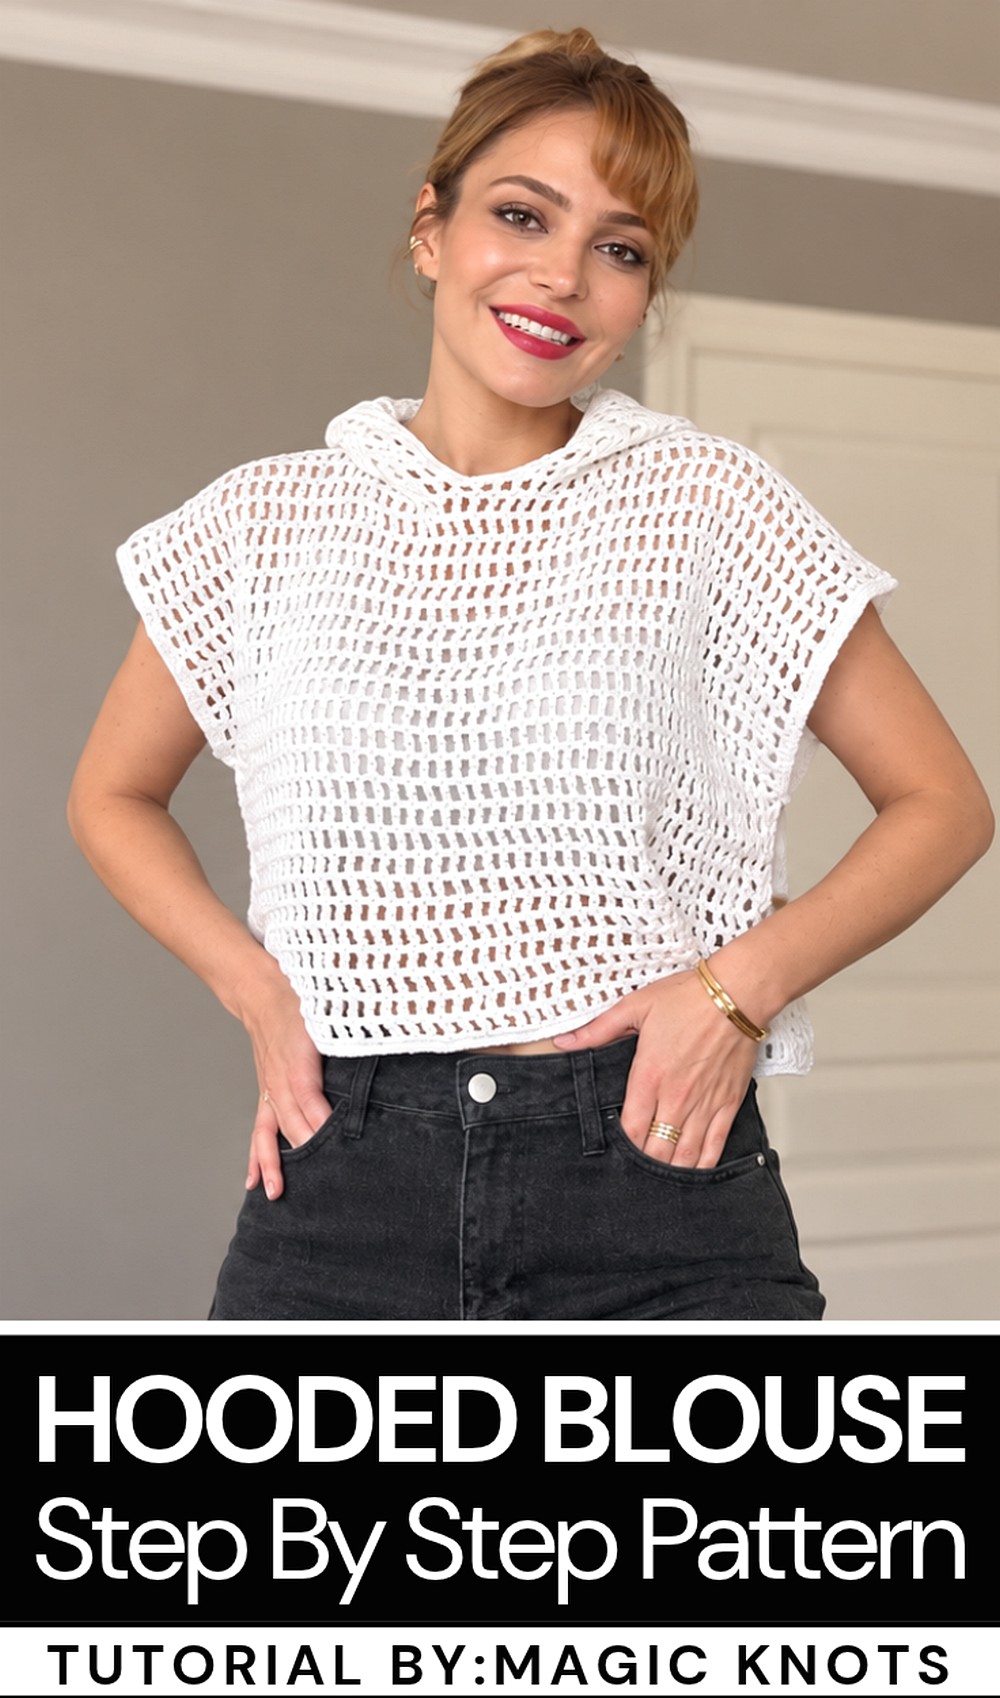
This hooded sweater is a stylish and versatile project, designed to provide a cozy and casual look. Made with simple stitches and basic shapes, it is accessible for crocheters of all levels. The project consists of two rectangular panels for the body, along with a functional hood and wide armpit openings for a relaxed fit. Customize the size easily by adjusting the stitch count or row count to meet your preferences.
Skill Level
Beginner to Intermediate
This pattern features only basic stitches like chains, triple crochets, and single crochets. Sewing pieces together and simple shaping are required, but the overall construction is straightforward.
Materials
- Yarn:
- Cotton yarn (recommended for breathability, comfort, and durability) – Approximately 250–300 grams total.
- Crochet Hook:
- 4 mm hook (for the hood and body sections).
- Optional: A smaller hook for tighter finishing details, if preferred.
- Notions:
- Scissors.
- Tapestry needle for sewing the pieces together and weaving in ends.
Stitch Abbreviations
- ch – Chain
- sc – Single Crochet
- tc – Triple Crochet
Helpful Tips
- Use Cotton Yarn: Cotton yarn ensures breathability and avoids stretching. It also maintains the shape of the sweater during wear.
- Sizing Adjustments: To increase or decrease the size, simply add more foundation chains for the width and work additional or fewer rows for the length. Choose a relaxed fit for maximum comfort.
- Maintain Tension: Keep handrails (triple crochet rows) evenly spaced to ensure consistent texture. Avoid making stitches too tight or loose to avoid puckering or gaps.
- Hood Increases: Pay close attention to where increases are made for the hood. This ensures symmetry and proper shaping.
- Steam Blocking: Light steam blocking can help flatten stitches and ensure the final piece looks polished.
Pattern Instructions
Back Panel
Foundation Chain:
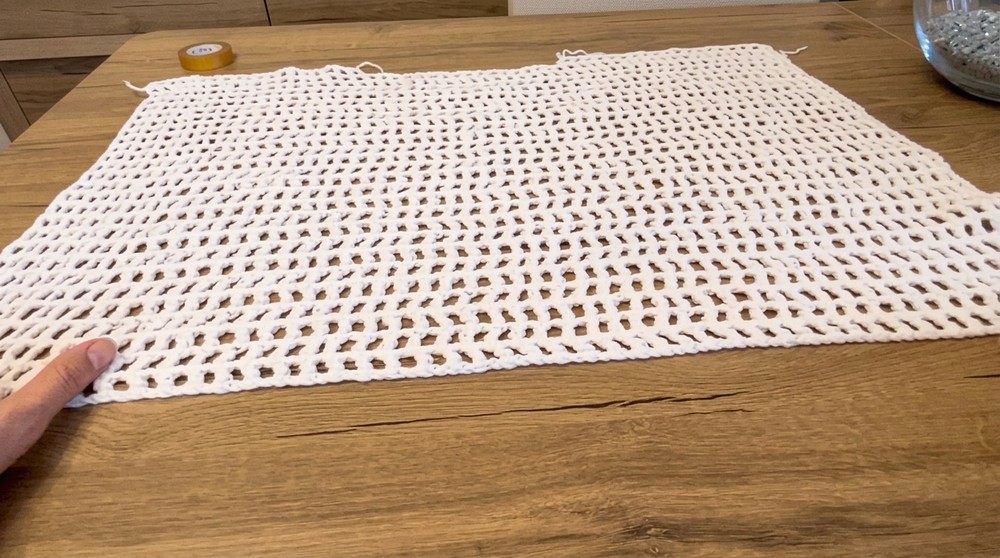
- Start by chaining 120 chains, which will result in a panel width of 64 cm (adjust the count for a larger or smaller size).
Row 1 (Triple Crochet):
- Ch 5 (counts as the first tc).
- Start working 57 tc across the length of the foundation chain, skipping the appropriate stitches between each tc. This forms the back panel width.
- Work a chain between each triple crochet stitch for a breathable look.
Rows 2–26:
- Ch 5, turn your work.
- Continue working tc stitches across each row with the same stitch count (57 tc per row).
- Work rows until the back panel reaches 26 rows.
Separating for Shoulders and Neckline
To shape the neckline and shoulders, the 57 triple crochets are divided as follows:
- 20 stitches for the left shoulder.
- 17 stitches for the neckline (center area).
- 20 stitches for the right shoulder.
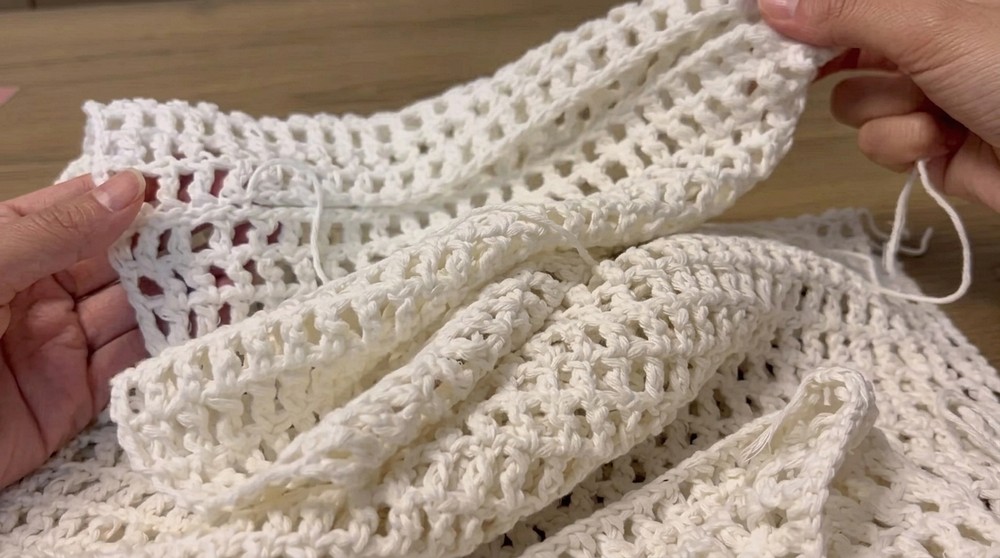
Leave a gap for the neckline without crocheting it.
Front Panel
Foundation Chain and Dimensions:
- Work the front panel in the same way as the back panel but with a neckline cut.
- Chain 120 stitches and work 57 tc across the foundation chain. Work rows until the panel measures 25 rows.
Front Neckline Split:
- On rows 26–27, divide the panel as follows:
- Leave 20 stitches for the left shoulder and 20 stitches for the right shoulder.
- Leave 17 stitches in the center for the neckline section (this will be slightly deeper than on the back).
Joining the Front and Back Panels
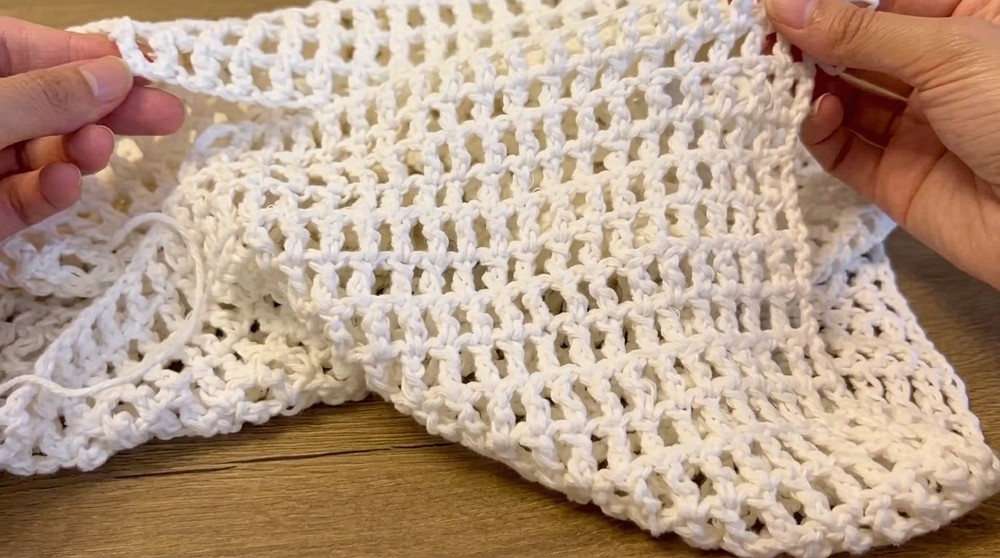
- Place the front body panel on top of the back panel with the wrong sides facing each other. Leave the flat side of the panels facing out.
- Use your tapestry needle to sew the two panels together.
- Shoulder Seams: Sew together 20 triple crochets on both the left and right shoulder edges. The middle edge will remain open for the neckline.
Hood Construction
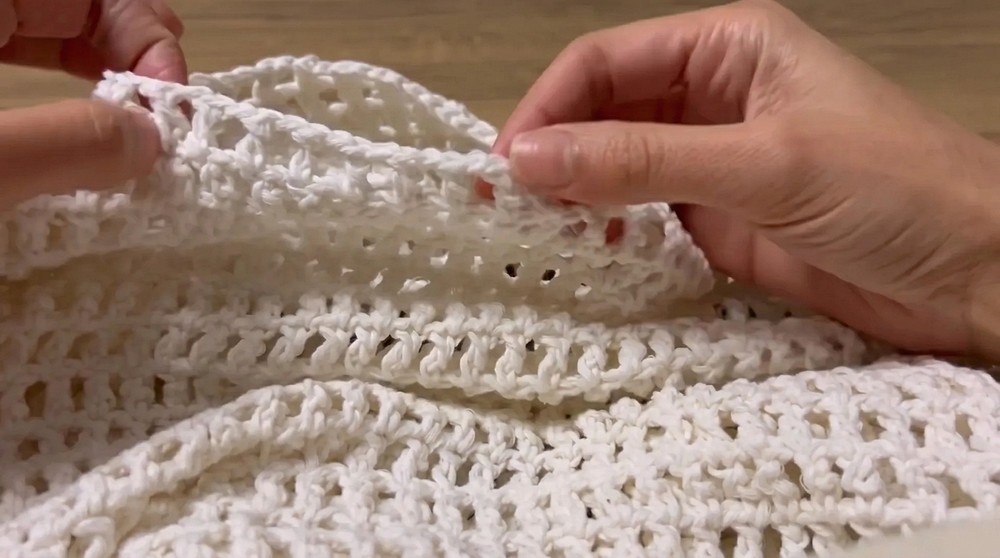
The hood is worked directly from the neckline section by picking up stitches along the edges.
Foundation Row:
- Start by making 42 tc evenly spaced along the edges of the neckline. Skip the 17 stitches left open for the neckline section.
- Work across the neckline opening, leaving space for the front center.
Row 2:
- Ch 5, turn your work. Begin working tc stitches across the neckline.
- Add increases at the following 5 points:
- Left shoulder seam.
- Right shoulder seam.
- Center back neckline seam.
- Left front and right front seams (where the front and back panels connect).
Increase by inserting a tc in the chain space near these junction points.
Rows 3 onward:
- Continue working one tc across each previous tc, maintaining the total stitch count (after increases).
- Work evenly until the desired hood height is achieved.
For this design, keep knitting straight rows of 47 tc per row until the hood reaches 35 cm long (approx. 21 rows).
Shaping the Hood
Sew the hood into its final shape.
- Fold the hood in half widthwise, aligning the top two edges.
- Use a tapestry needle to sew from the hood’s front edge (top) to the neckline edge (bottom).
- Secure the seam tightly and weave in any loose ends.
Optional Side Seam Adjustments
For a relaxed look, leave a 24 cm gap for wide armholes. You can make smaller armholes for a less relaxed fit. Sew the remaining side seams below this gap to complete the body.
Finishing the Edges
All edges, including the hood opening, sleeves, and bottom hem, are finished with single crochets.
Single Crochet Around the Edges:
- Start crocheting a continuous row of sc stitches along the desired edge. Insert your hook into gaps and stitch spaces evenly across the edge.
- Work 2 rows of sc around the edges. On the second row, crochet 1 sc into each sc from the previous row.
Finish with evenly spaced sc stitches around:
- Hood opening.
- Armholes.
- Bottom hem.
Conclusion
This crochet hooded sweater combines simplicity, comfort, and style. The relaxed fit and hood make it a versatile layering piece, perfect for casual outings or lounging at home. Adjust the size and length, and play with color combinations to reflect your own style. This project provides a great opportunity to enjoy the process of crocheting while creating a practical addition to your wardrobe.


