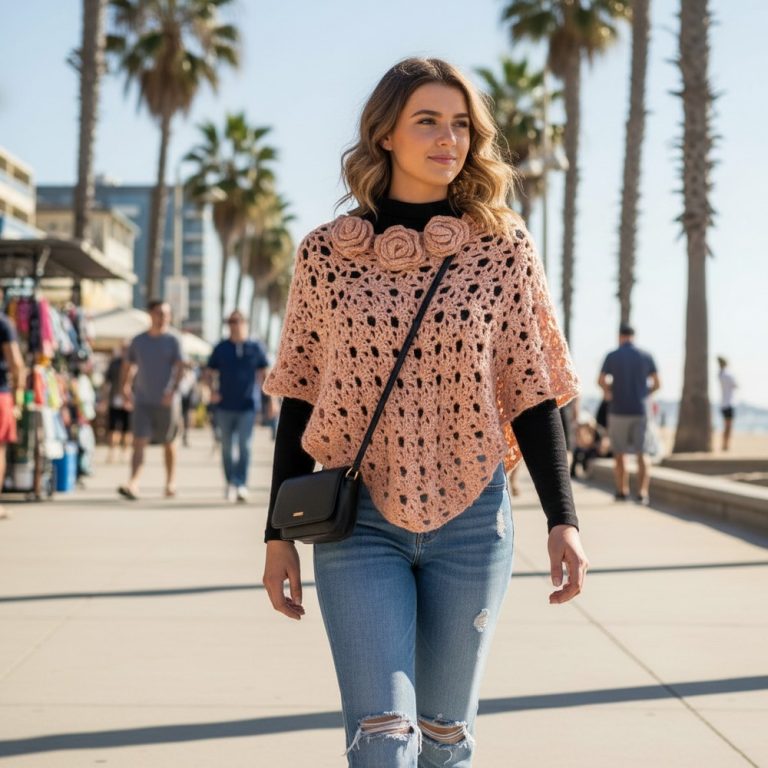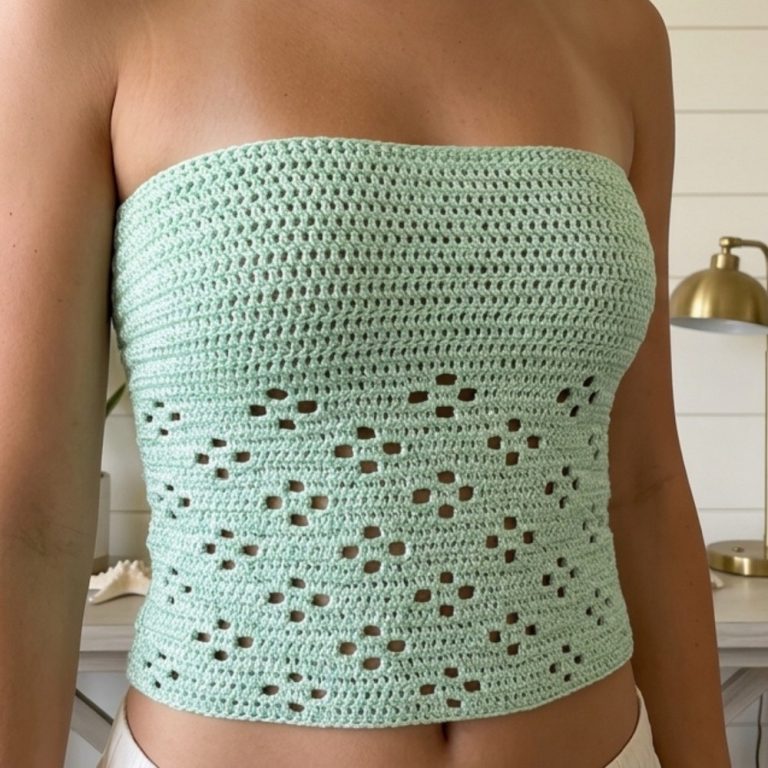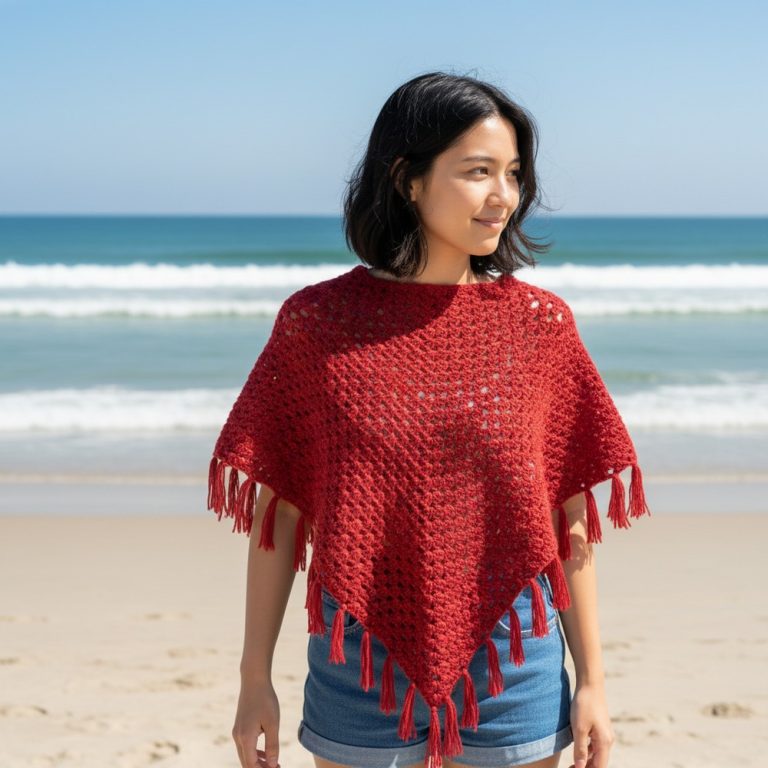
Free Crochet Spring Blouse Pattern You’ll Love to Wear
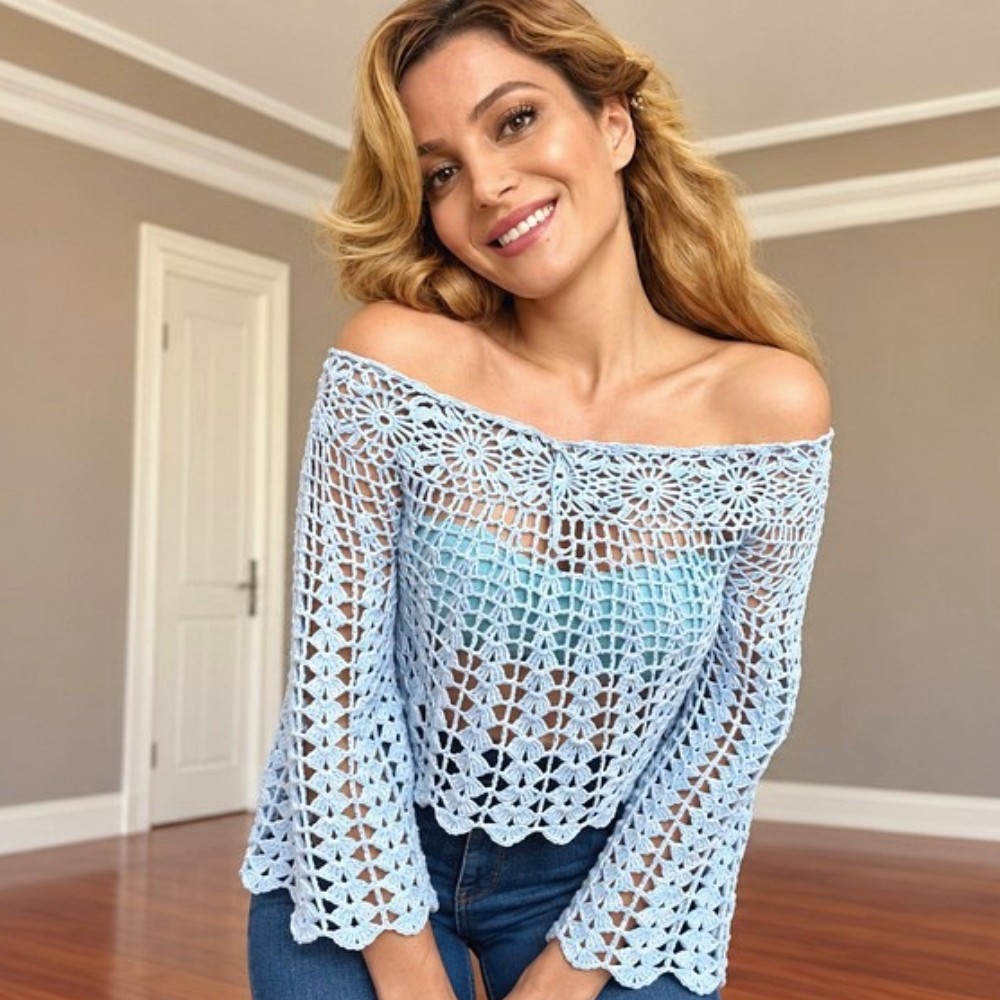
Start crocheting a cozy and fashionable spring blouse today with this free pattern designed to help you brighten your wardrobe with ease and charm
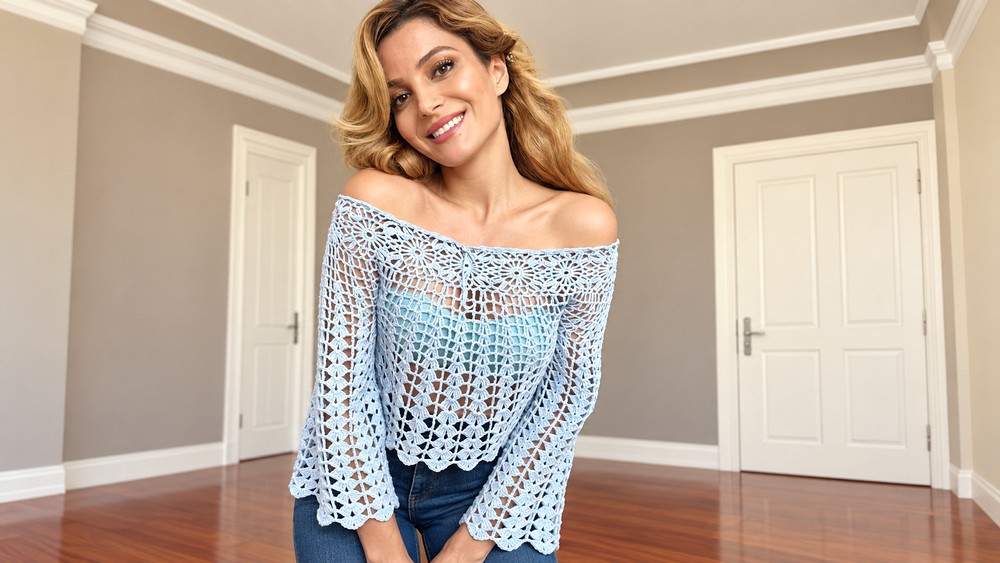
Spring is a wonderful time to refresh your wardrobe with light and airy garments that bring a fresh burst of charm and comfort. Imagine a blouse that flows gracefully, with elegant detailing and a design that invites versatility in styling. This is precisely what you get with the delightful creation showcased by magic knots, a talented crochet designer sharing her expertise through captivating videos.
Free Crochet Spring Blouse Pattern with Simple Steps
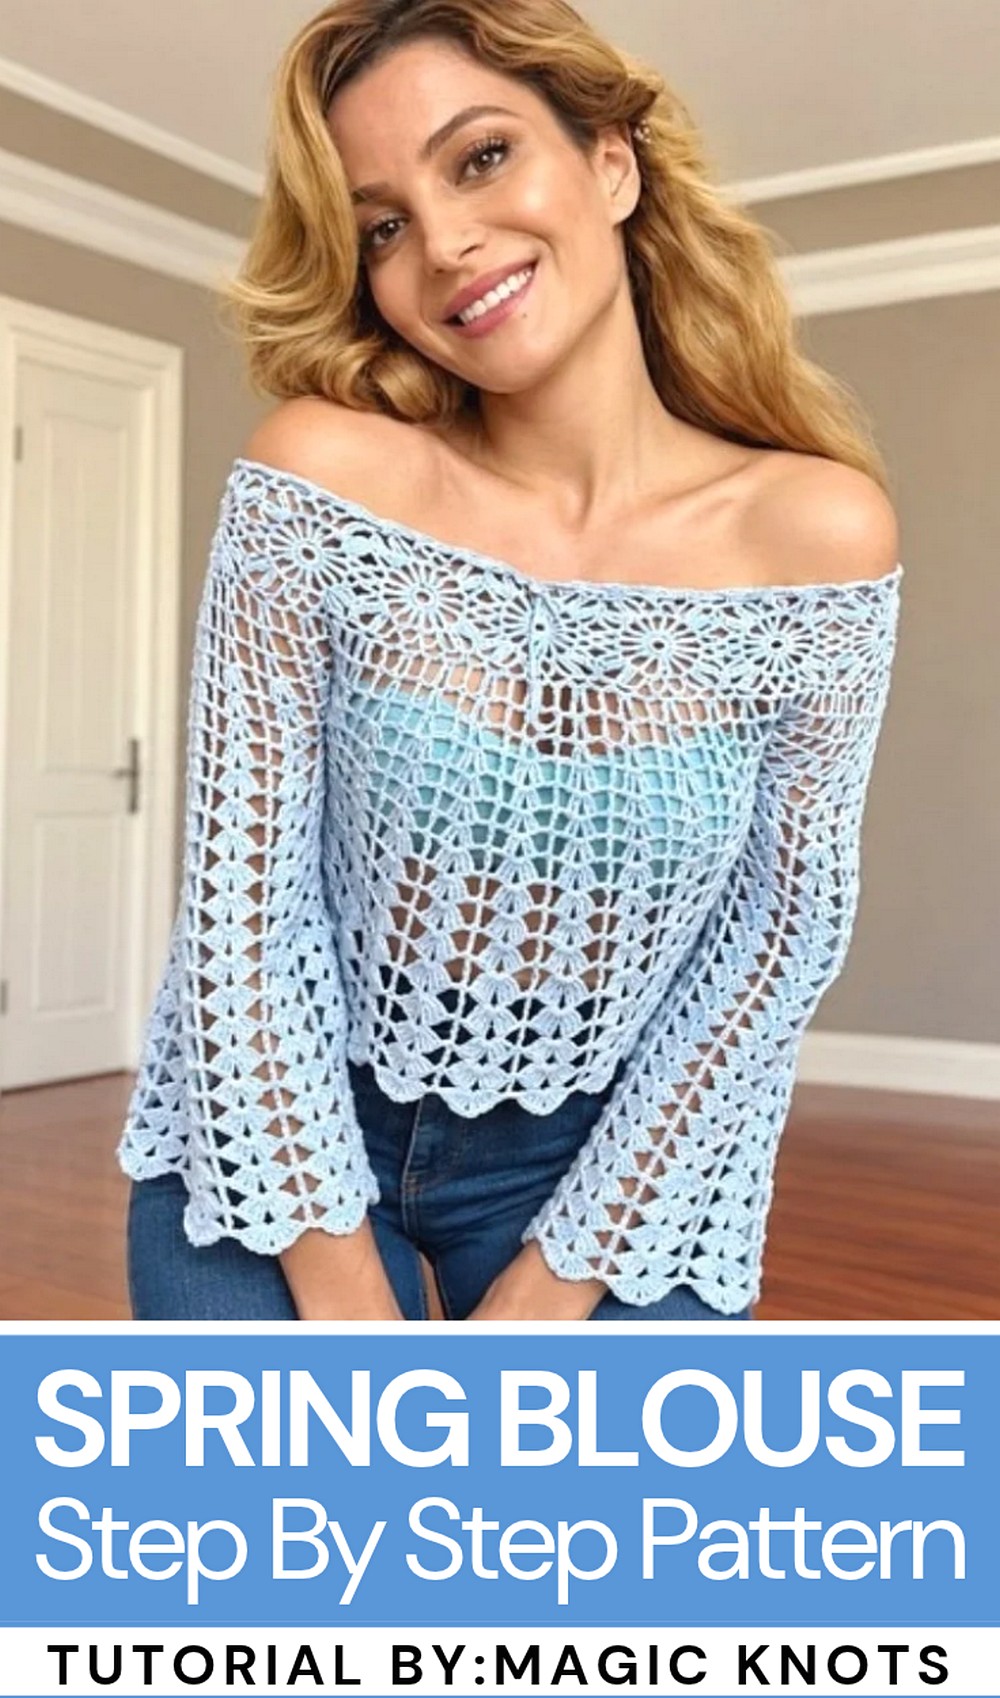
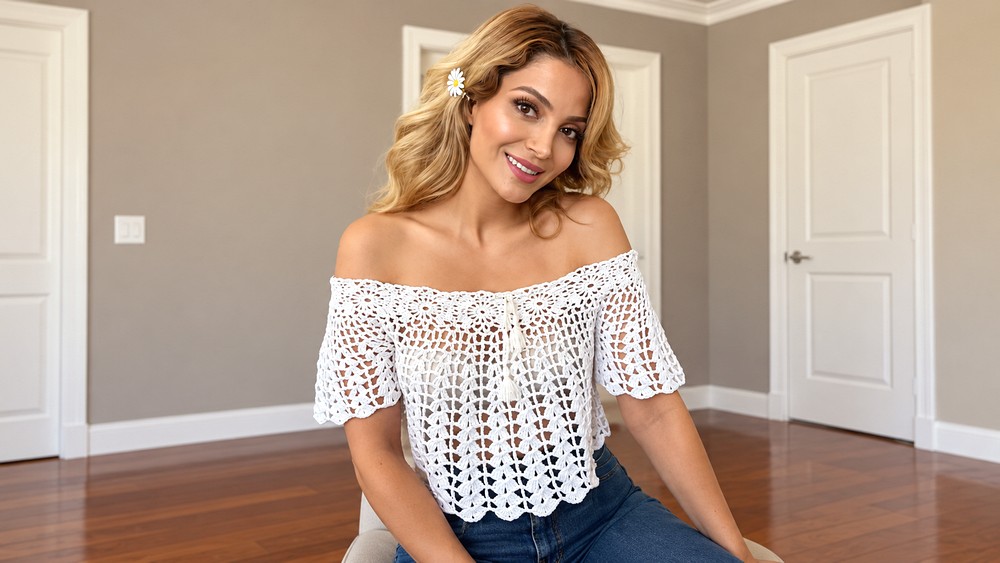
The free crochet Spring Blouse pattern offers a piece that beautifully blends simplicity with stylish charm. This blouse features a flowing silhouette that drapes gently over the body, perfect for layering over a camisole or pairing with your favorite jeans for a casual day out. Whether you prefer long sleeves to keep warm on cooler spring mornings or a short-sleeved version for sunny afternoons, this pattern allows flexibility in length and sleeve style, making it adaptable to your personal taste.
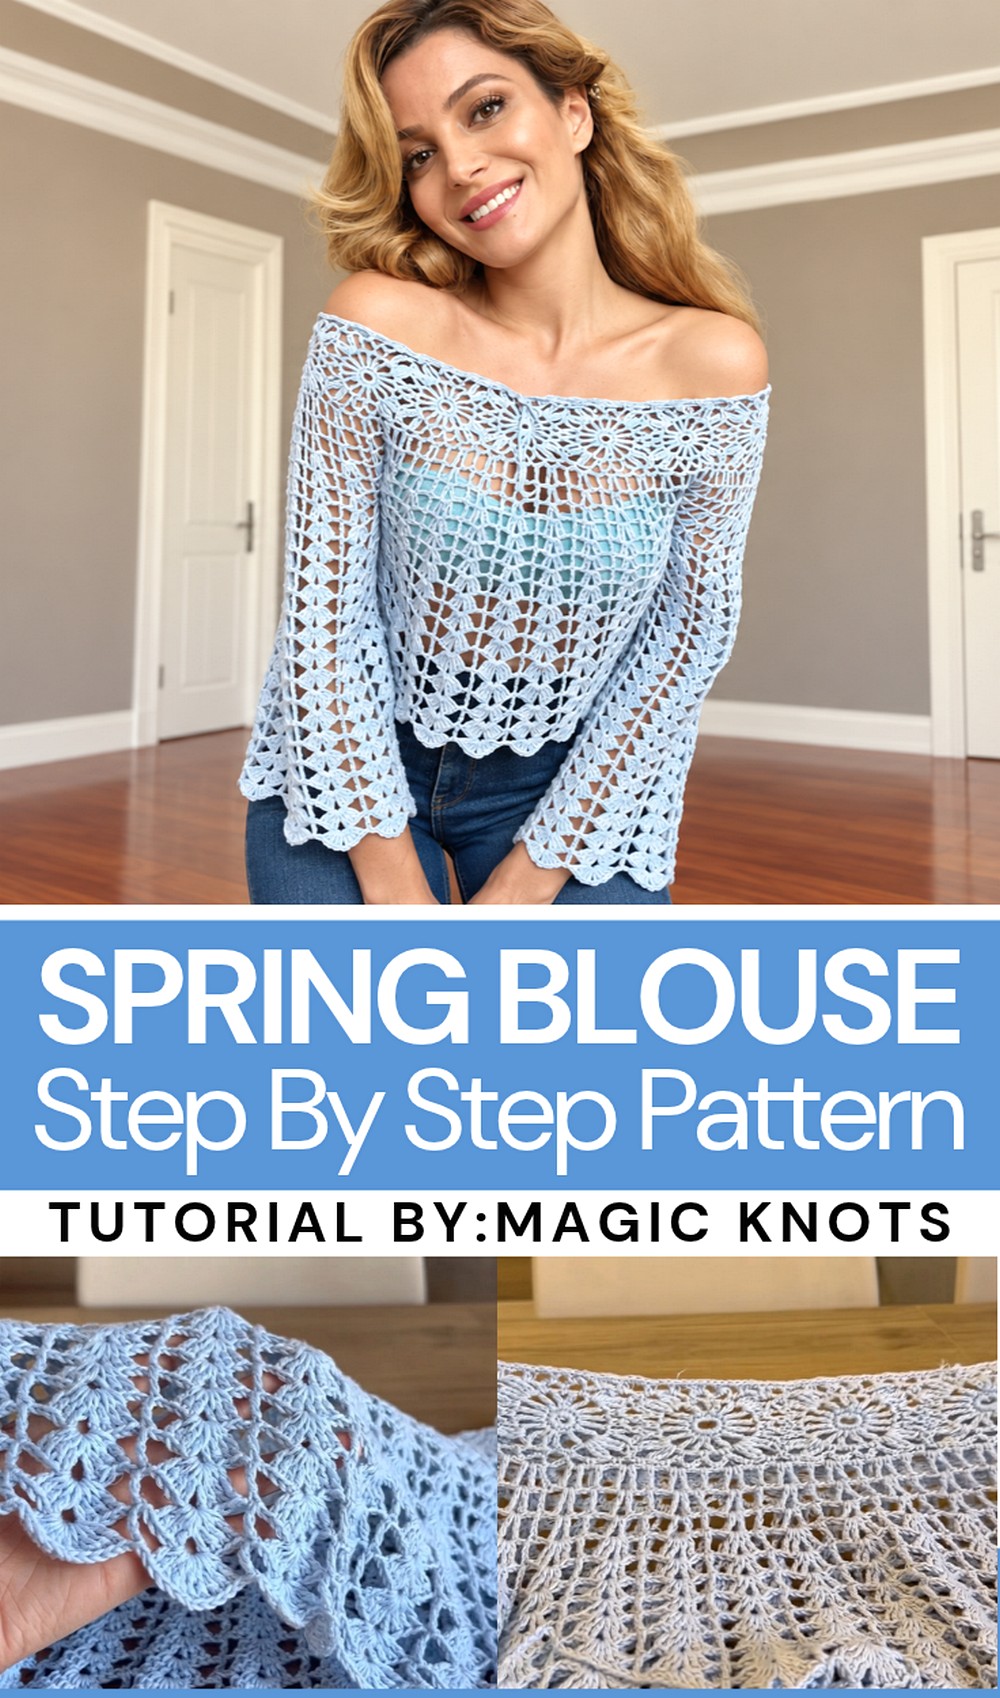
What makes this project truly special is its potential as a thoughtful, handmade gift. Whether for a loved one’s birthday, a seasonal celebration, or simply to share the joy of crochet, this blouse carries a personal touch that’s hard to match. Beyond gifting, it serves as an exquisite decorative addition to any wardrobe, with its delicate crocheted motifs and lace-like textures that add a feminine and vintage flair.
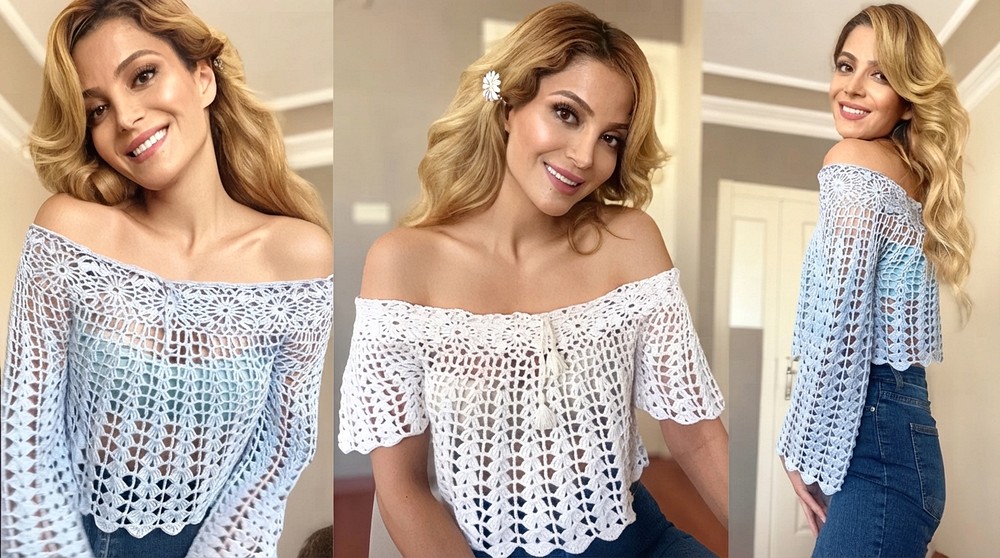
This blouse’s charm is in its airy design, relaxed fit, and the subtle details that highlight crochet’s artistry. It’s suitable for various occasions, from a casual coffee date to a garden party, adding a refreshing accent to springtime outfits.
Efil Efil Spring Blouse Crochet Pattern
Skill Level: Intermediate
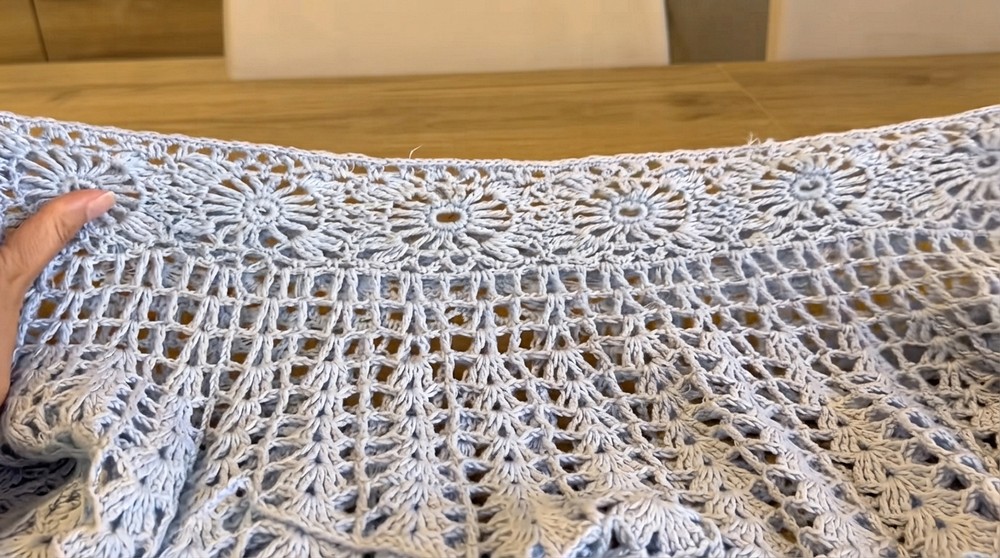
The Efil Efil Spring Blouse is a lightweight, breathable blouse featuring an intricate motif design, creating an elegant and delicate garment for spring or summer. Beginning with motifs that are joined to form the base of the blouse and working through shaping the body and sleeves, this project creates a comfortable yet stylish piece. It incorporates puff stitches, mesh sections, and a drawstring neckline, resulting in a gorgeous garment ideal for layering or standalone wear.
Materials
- Yarn: 200g of cotton yarn (e.g., Nako Estiva or any similarly weighted yarn).
- Crochet Hook: 3 mm crochet hook.
Stitch Abbreviations
- ch: Chain
- sc: Single Crochet
- tr: Triple Crochet
- dc: Double Crochet
- dtr: Double Triple Crochet
Helpful Tips
- Joining Motifs: When connecting motifs, ensure they are securely joined by replacing full chain spaces with partial chains that connect with adjacent motif chains. This prevents gaps and creates a cohesive structure.
- Maintaining Tension: Work with even tension to ensure uniform motif sizes. Uneven tension can affect the alignment and symmetry of the blouse.
- Customizing Fit: To adjust the fit, you can experiment with the number of motifs in the joining circle or alter the number of rows in the body or sleeve sections.
- Blocking: Blocking each motif after it is complete will help maintain a defined shape, making joining easier and resulting in a more polished finish.
- Chains as Drawstrings: Replace the neckline chain drawstring with a decorative cord, ribbon, or beaded string, depending on your preference.
Pattern Instructions
The instructions are broken into structured steps for creating motifs, joining them, shaping the body and sleeves, and completing the final details. Follow the pattern step-by-step to create your blouse.
Step 1: Motif Creation
The blouse is built from motifs that form squares with decorative corners.
Motif Rounds
- Round 1:
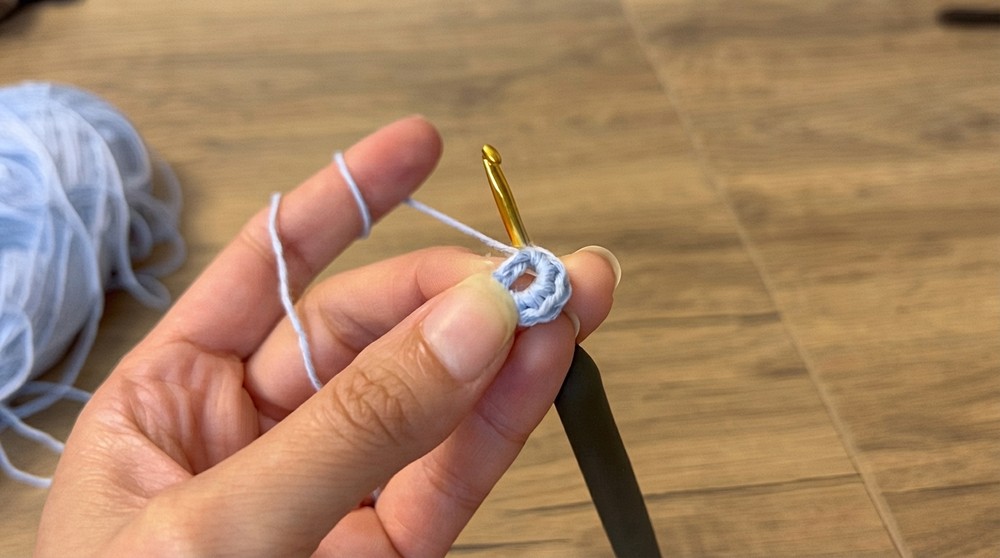
- Ch 6 and join to form a ring.
- Round 2:
- Work 16 sc into the ring.
- Round 3:
- Work 16 tr, with a ch 1 between each triple crochet.
- Round 4:
- In this round, corners and mesh are created.
- Form the corners by working “puff clusters” using dtr stitches, followed by ch 4 for spacing.
- Between corners, create two sections of 2-ch mesh. Repeat this around to complete the square motif.
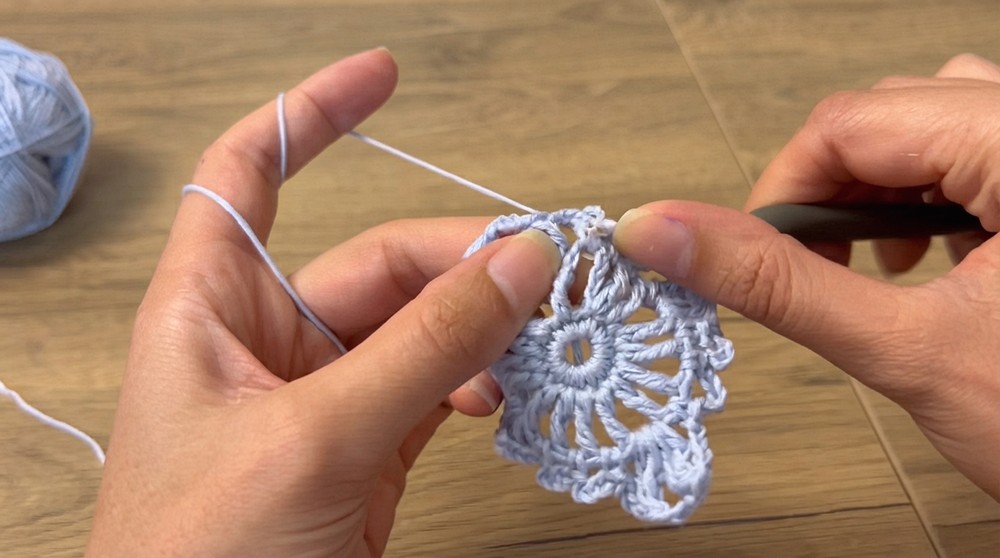
- Note: Create 14 motifs for the full circle required to start the blouse.
Step 2: Joining the Motifs
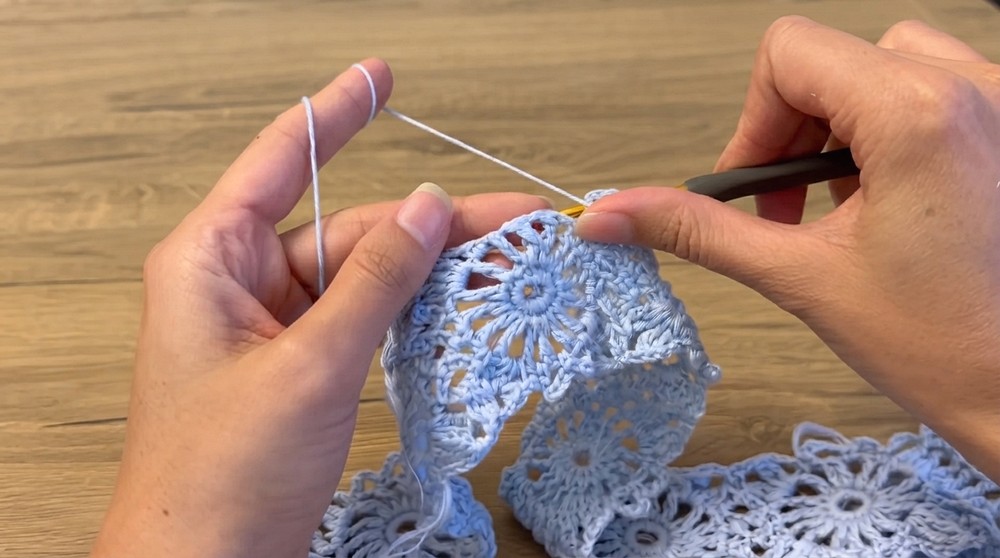
The motifs are joined together during the final round, forming a continuous circular base for the blouse.
Joining Process:
- First Motif:
- Complete the first motif without joining it. This motif serves as the starting piece.
- Subsequent Motifs:
- For every motif after the first, work the final round while joining it to adjacent motifs.
- Replace ch 4 at the corners with ch 2 + join to the adjacent motif at the corner and continue with ch 2 to complete the corner. Similarly, use small ch 2 joins in between motifs at designated points.
- Form the Circle:
- Join all 14 motifs into a continuous circular base, ensuring alignment of corners and spaces.
Step 3: Shaping the Body
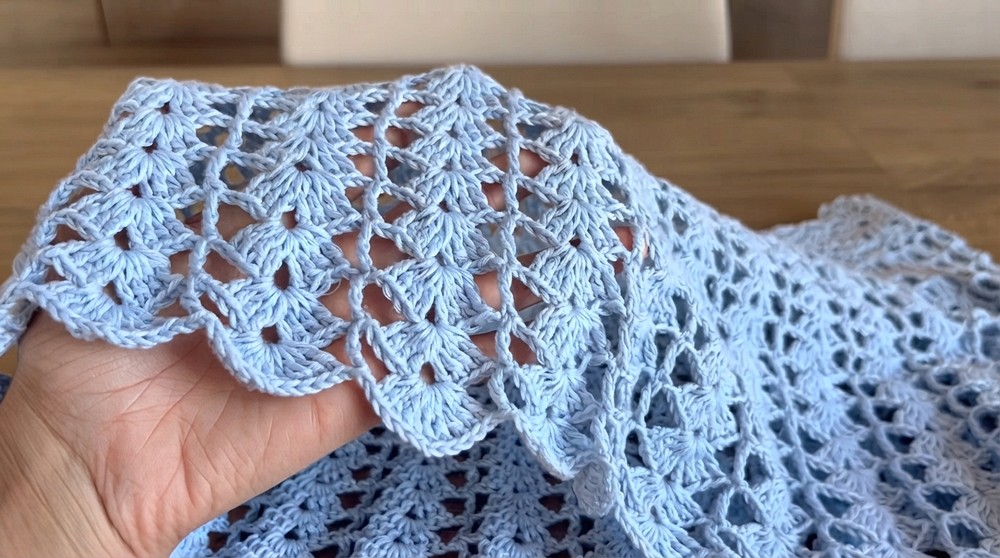
The circular motif base forms the foundation for the blouse’s body, which is shaped through rows of V-stitches and gradual increases.
Body Rows:
- Row 1:
- Pick up stitches from the top edge of the joined motifs.
- Work evenly spaced 3-ch spaces along the edge to create a foundation for the next round.
- Row 2:
- Start working V-stitches:
- A V-stitch consists of (tr + ch 1 + tr) in the same space.
- Place 1 tr in between every V-stitch for extra spacing.
- Start working V-stitches:
- Subsequent Rows:
- Gradually expand the body by increasing V-stitches. Transition to 2-triple crochet V-stitches in later rounds, and further expand to 3-triple crochet V-stitches as the blouse grows.
- Continue working in rounds until the body reaches the desired length before separating for armholes.
Step 4: Armhole Separation
Once the body is established, divide it into sections for the front, back, and sleeves.
Armhole Process:
- Dividing Section:
- Divide the circular base into three sections:
- Front: 12 motifs
- Back: 11 motifs
- Two Sleeves: 9 motifs each
- Divide the circular base into three sections:
- Joining Sections:
- Use stitch markers to define these sections.
- Join the front and back pieces at the designated points, leaving gaps for the sleeves.
Step 5: Completing the Body and Sleeves
Work outward from the established sections to shape the blouse and construct the sleeves.
Body:
- Continue working in rounds for the body section. Alternate V-stitches and mesh as needed.
- Gradually increase to 4-triple crochet V-stitches, adding volume to the lower bodice.
- Stop when you achieve your desired blouse length.
Sleeves:
- Reattach the yarn at the armhole opening.
- Begin with 3-triple crochet clusters, working three rows evenly around the armhole.
- Transition to 4-triple crochet clusters, with 2-ch spaces between each cluster.
- Continue for 15 rows, or until the sleeves reach your preferred length.
Step 6: Finishing Touches
Finalize the blouse with elegant details around the neckline and a functional drawstring.
Neckline and Drawstring:
- Neckline Border:
- Work 3-ch mesh around the neckline to create a decorative border.
- Add a final round of sc for a clean, polished edge.
- Drawstring Tie:
- Crochet a chain approximately 116–120 cm long.
- Thread the chain through the neckline mesh to create a drawstring tie that can adjust the fit and add decorative appeal.
Conclusion
The Efil Efil Spring Blouse is a uniquely elegant garment that combines motifs, mesh, and V-stitch techniques to create a flattering and breathable addition to your wardrobe. Its build-up from the motifs, joined seamlessly into a circular base, and the structured addition of body and sleeves ensure that the blouse is as functional as it is visually stunning. Personalize the fit and make minor adjustments to length and width for a truly custom-made piece you’ll be proud to wear or gift.