Crochet Chic Cardigan Free Pattern That’s Easy to Follow
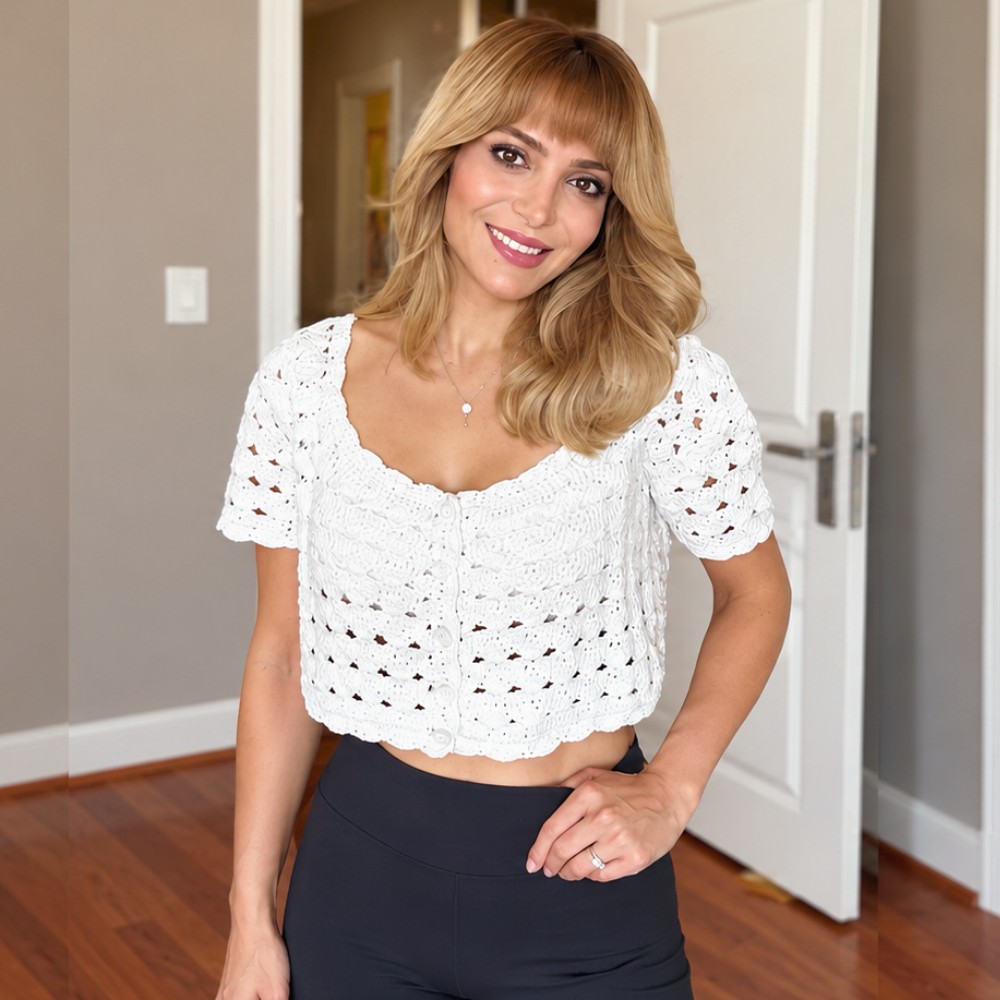
Design a versatile and stylish cardigan using this free crochet chic pattern and stay comfortable and chic all year round with your unique creation.
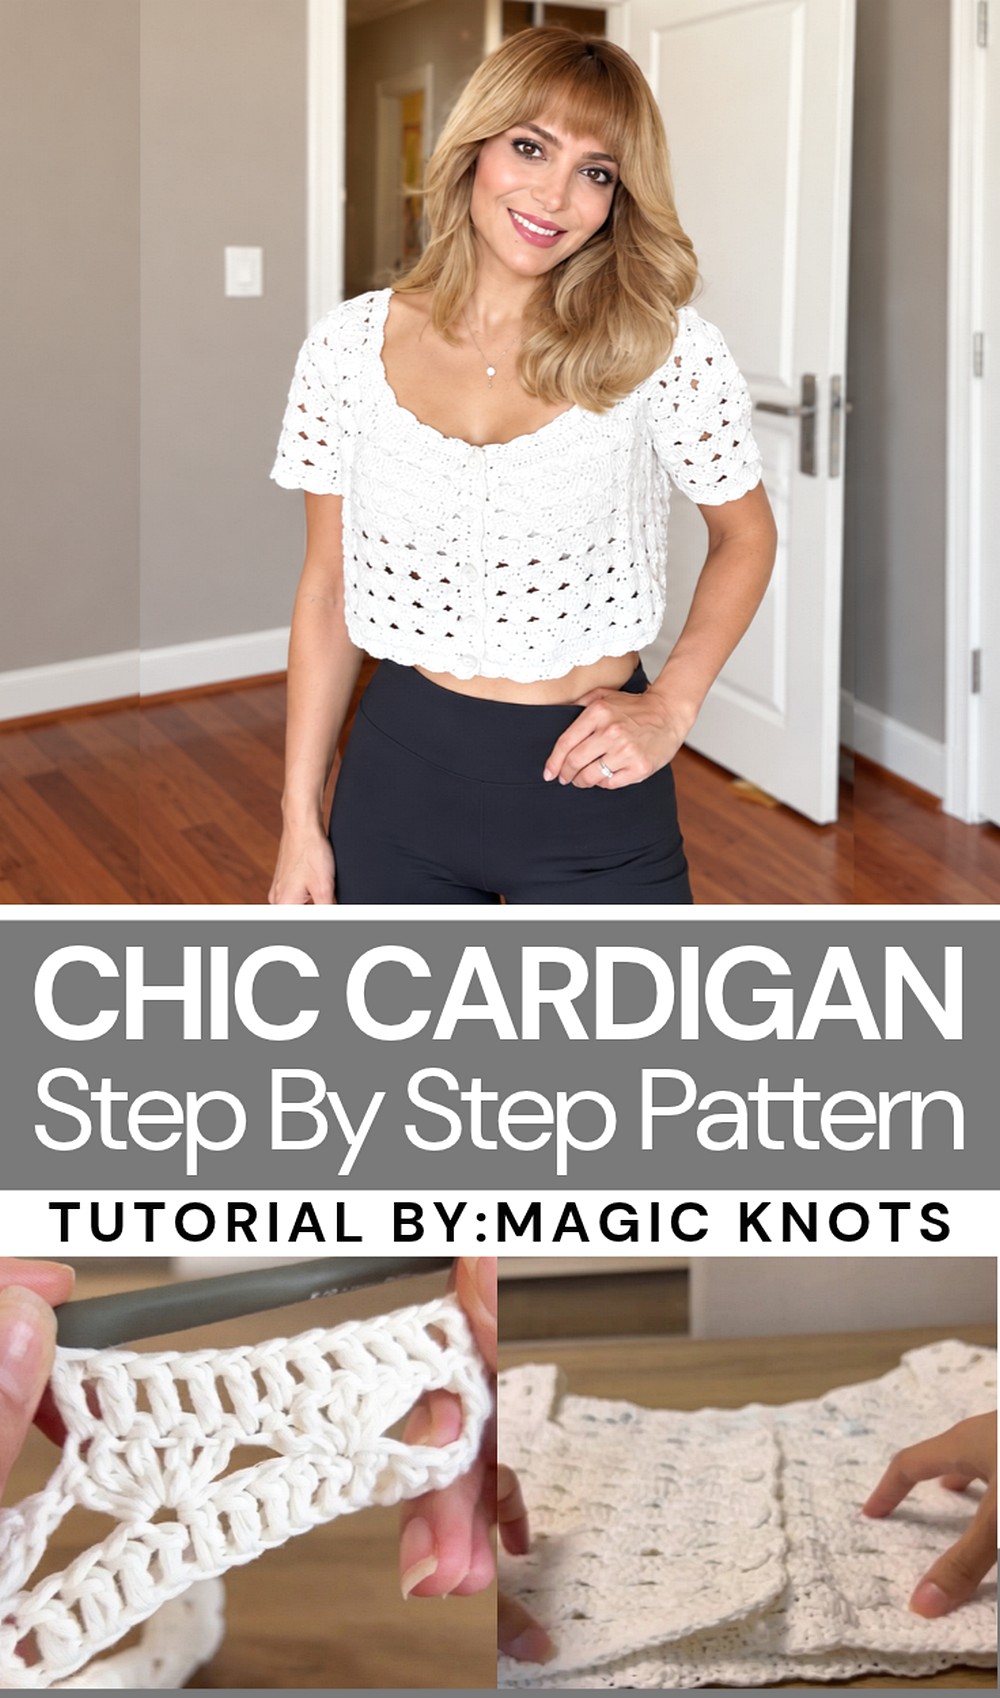
A warm and stylish cardigan is a great way to add comfort and beauty to your outfits. If you love crochet, the free crochet Chic Cardigan pattern is a perfect project to try. On the magic knots channel, you’ll find a clear and helpful video that shows how to make this lovely cardigan for sizes S and M.
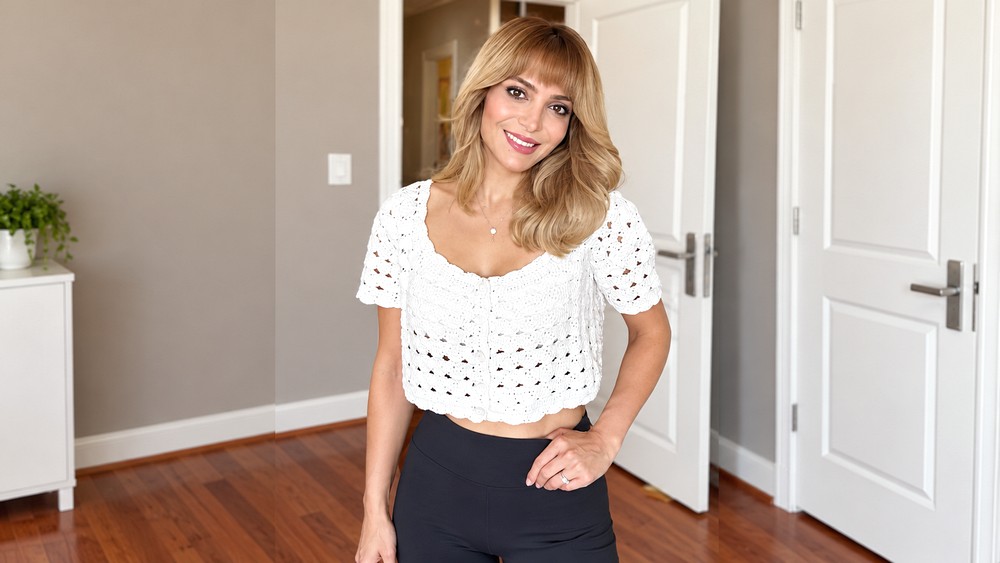
This cardigan has pretty fan-like designs and a wide collar that gives it a simple but elegant look. It is made to fit loosely so you can wear it comfortably over different clothes. The sleeves are designed to fit well and look neat, making the cardigan both cozy and nice to wear. Small details like the finished edges and special crochet buttons add extra charm.
Lovely Free Crochet Chic Cardigan Pattern for All Seasons
This cardigan is not just a nice piece for yourself, it also makes a great handmade gift. It shows care and time spent, making it a special present for family or friends. The pretty crochet work makes it more than just a cardigan, it can add a lovely touch to any outfit.
It’s easy to wear this cardigan for many occasions, whether you’re going out, working, or just relaxing at home. It combines style and comfort, so it will become a favorite in your wardrobe.
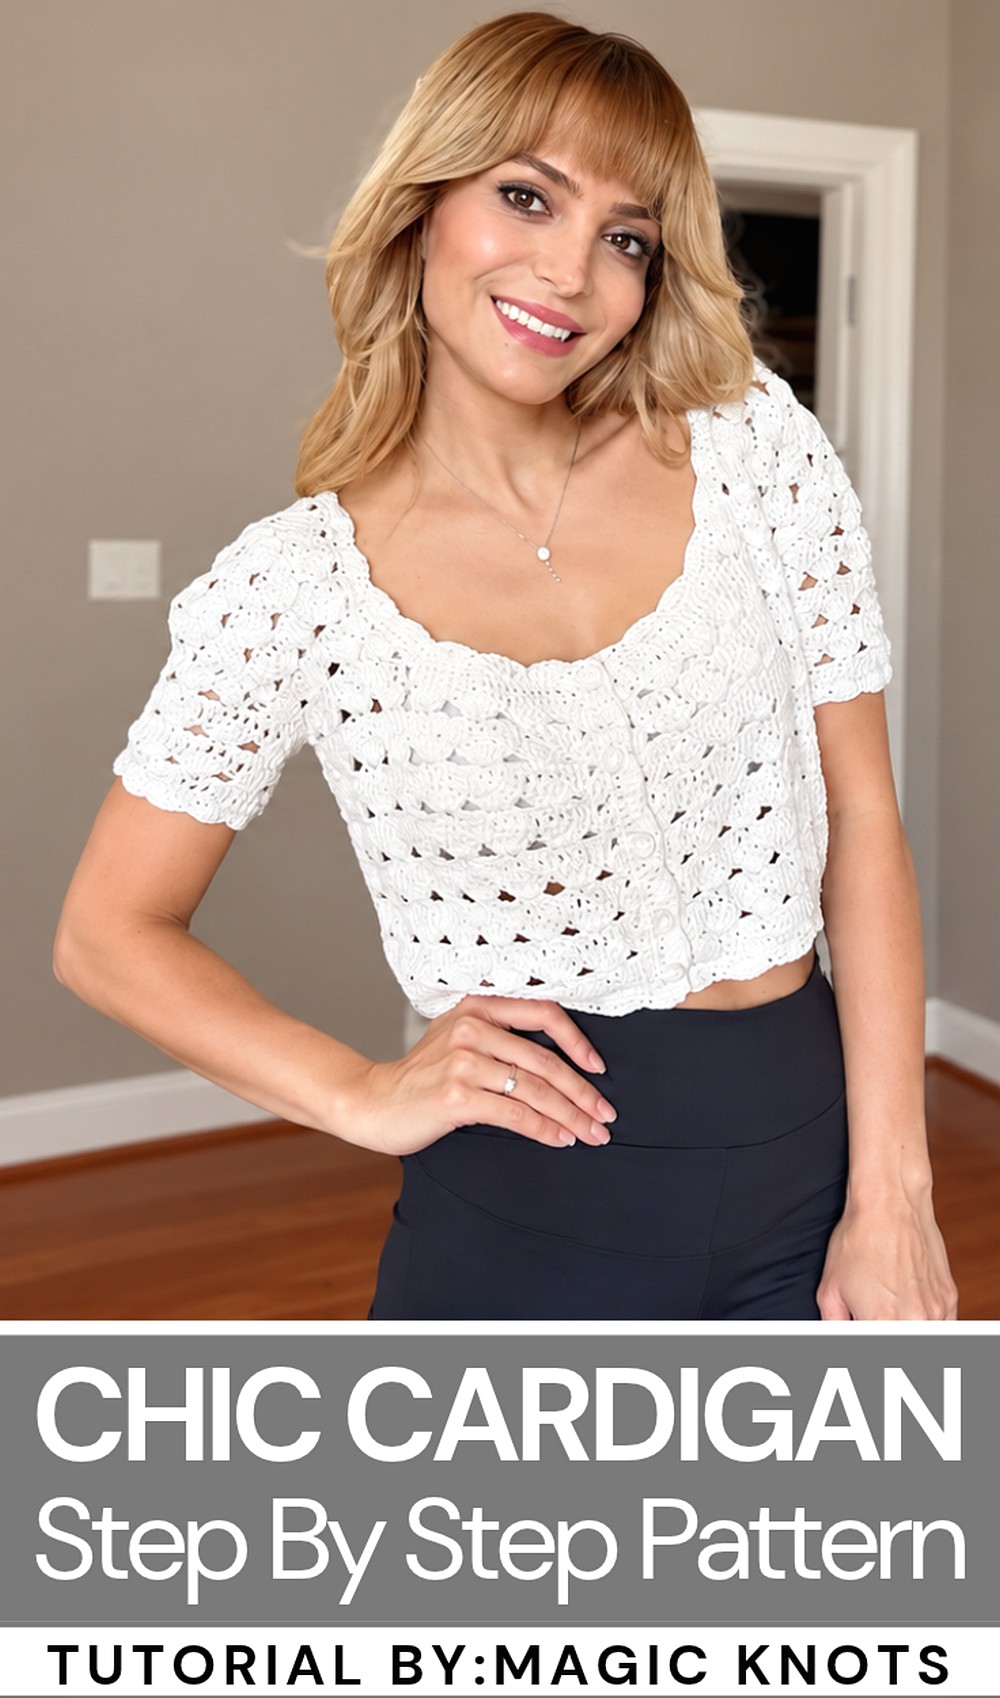
Stylish Spring Cardigan Crochet Pattern (S/M Size)
Skill Level: Intermediate
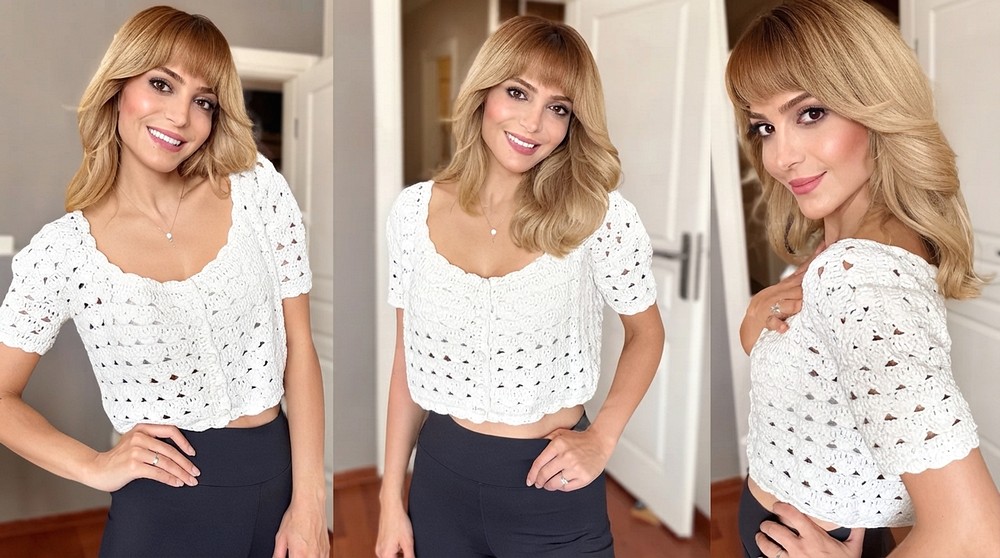
This stylish spring cardigan is lightweight, elegant, and perfect for layering during breezy days. Designed with alternating texture from fan stitches and rows of double crochets, it offers a beautifully unique appeal. The cardigan features a relaxed fit with a clean neckline, smooth edges, and optional button loops for closure. The S/M size can be adjusted for larger or smaller sizes by increasing or decreasing the starting chains and rows.
Materials
- Yarn: Approximately 2 skeins of Fold Yarn or a similar yarn with at least 85% cotton content for added breathability and softness.
- Crochet Hook: 3 mm crochet hook.
- Tools: Stitch markers, scissors, and a tapestry needle for sewing.
Stitch Abbreviations
- ch: Chain
- dc: Double Crochet
- sc: Single Crochet
- hdc: Half-Double Crochet
- sl st: Slip Stitch
Helpful Tips
- Gauge Check: Ensure you measure swatches of the fan/double crochet pattern to match approximately the same dimensions as the back panel. This ensures proper fit.
- Stitch Markers: Use these to clearly mark armholes, neckline shaping, and other significant points, as it simplifies assembly and shaping.
- Custom Length: You can add or reduce rows to adjust the cardigan length based on personal preference.
- Edges: To prevent curling and provide a polished finish, work edges with single or half-double crochet stitches securely and evenly.
- Sizing Adjustments: To make the cardigan larger, increase the foundation chain count for each section and add more rows where necessary. For a smaller version, reduce the chain counts proportionally.
Pattern Instructions
Step 1: Back Panel
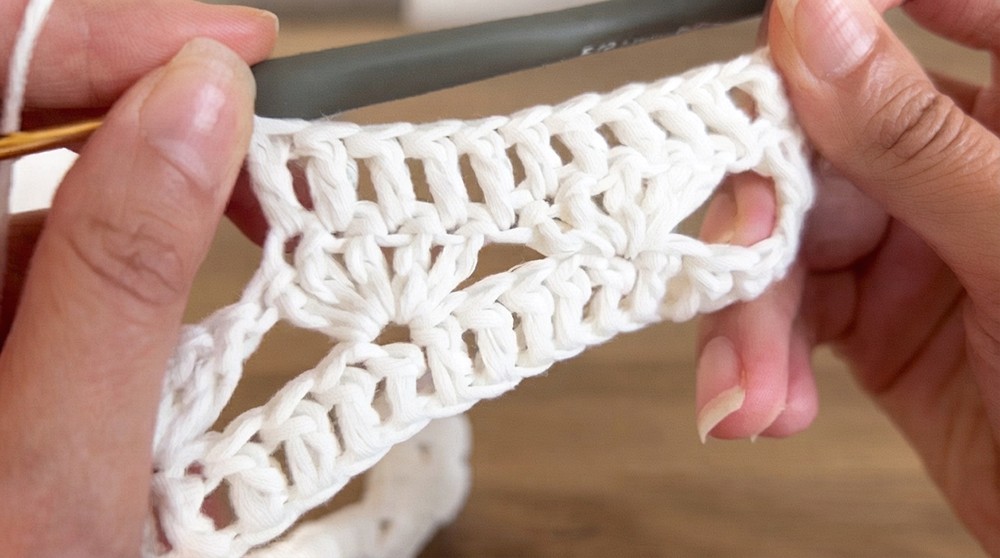
The back panel forms the foundation of your cardigan. It uses a combination of rows of double crochets and decorative fan stitches.
Back Panel Instructions:
- Foundation Chain:
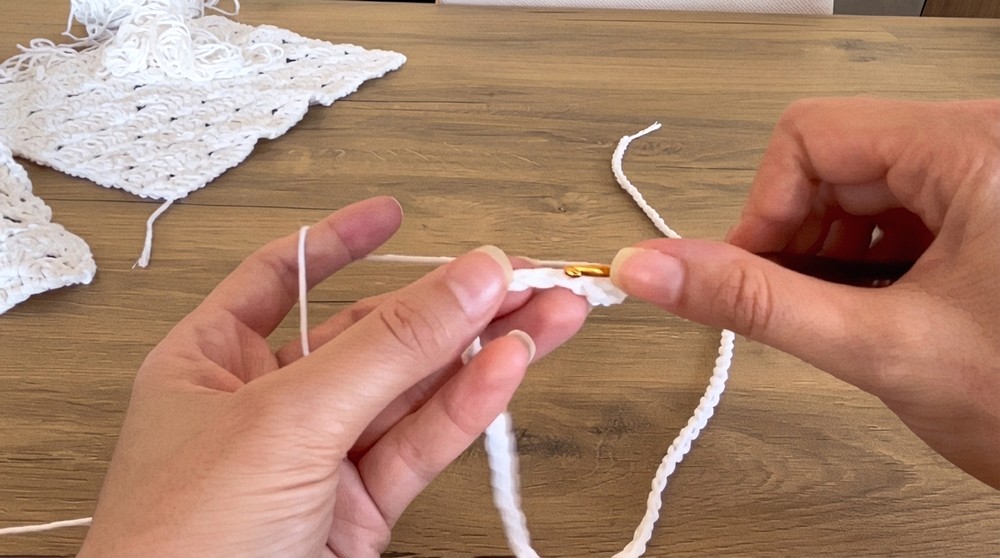
- Ch 81. This will be the base of the back panel where all rows begin.
- Foundation Row:
- Work 1 dc into each chain starting from the second chain from the hook. Continue to the end of the row.
- Turn your work.
- Row 2 (Fan Row):
- Ch 3 (counts as the first dc). Skip the next 4 stitches, then work 5 dc into the same stitch (this forms the fan).
- Skip 4 stitches, then 1 dc into the next stitch to anchor the fan.
- Continue with this pattern (skip 4, 5 dc, skip 4, anchor with 1 dc) to the end of the row. End with 1 dc in the last stitch.
- Row 3 (Double Crochet Row):
- Ch 3, then work 1 dc into each stitch across, ensuring you match the number of double crochets from Row 1.
- Repeating the Pattern:
- Alternate Rows 2 and 3 to create the main body texture.
- Continue working until you reach the desired length of the back panel. For an S/M size, aim for approximately 50–55 cm.
- Armhole and Shoulder Shaping:
- Use stitch markers to divide the piece for shoulder shaping. Mark 10 stitches on the outer edges (for shoulders) and leave the central stitches for the neckline.
- To shape the shoulders, use sl st at the beginning of each row to reduce stitches and create a sloped edge. Repeat this for about 4-5 rows until the shoulders are tapered.
Step 2: Front Panels
The cardigan’s front panels mirror the back panel’s height and pattern.
Front Panel Instructions:
- Foundation Chain:
- Ch 40 for each panel.
- Work Rows:
- Repeat the same fan/double crochet pattern used in the back panel. Maintain the same row count to match the back panel length.
- Neckline Shaping:
- As you approach the top of the front panels, reduce stitches on the inner side (next to the neckline) by using sl st at the beginning of rows. This creates a smooth curve for the neckline.
- Mirror the shaping of both front panels to ensure symmetry.
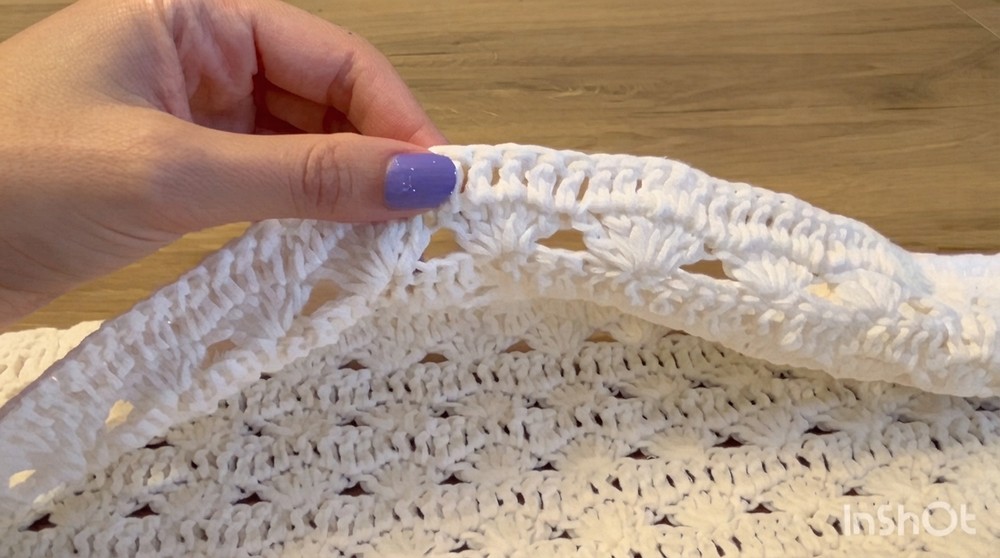
Step 3: Assembly
With the back panel and front panels complete, join the pieces together to form the basic structure of the cardigan.
Assembly Instructions:
- Sew the Shoulders:
- Align the front panels with the back panel. Using a tapestry needle and yarn, sew the shoulder seams by joining the stitches from each piece.
- Sew the Sides:
- Join the side seams of the front and back panels, working upward from the bottom edge.
- Leave a gap for the armholes (approximately 20 cm or adjust based on fit preference).
Step 4: Sleeves
The sleeves are worked separately and then sewn to the armholes.
Sleeve Instructions:
- Foundation Chain:
- Ch 50 to begin the sleeve.
- Work the Pattern:
- Follow the same fan/double crochet pattern used in the body.
- Work until the sleeve reaches the desired length (approximately 45–50 cm for S/M size).
- Edge Rows:
- Add 3–4 rows of sc and hdc to smoothen the sleeve edge for a finished look.
- Sew the Sleeves:
- Fold the sleeve in half lengthwise and sew along the edge to form a tube.
- Attach the sleeves to the armholes using slip stitches or a tapestry needle.
Step 5: Finishing Touches
The finishing touches include edging, button placket, and decorative details.
Final Steps:
- Edging:
- Work a round of sc along the entire edge of the cardigan, including the neckline, front edges, and bottom.
- Button Placket:
- On the front edge, work rows of dc to create a button placket. Work about 4–5 rows, depending on your desired width.
- Decorative Border:
- Add a shell stitch border by working (5 dc in one stitch, skip 2, sc in the next stitch) to create a scalloped edge.
- Buttons:
- Create button loops using magic rings. Work 5 loops and attach them evenly along the front placket.
- Add buttons of your choice to the opposite side for a functional yet stylish closure.
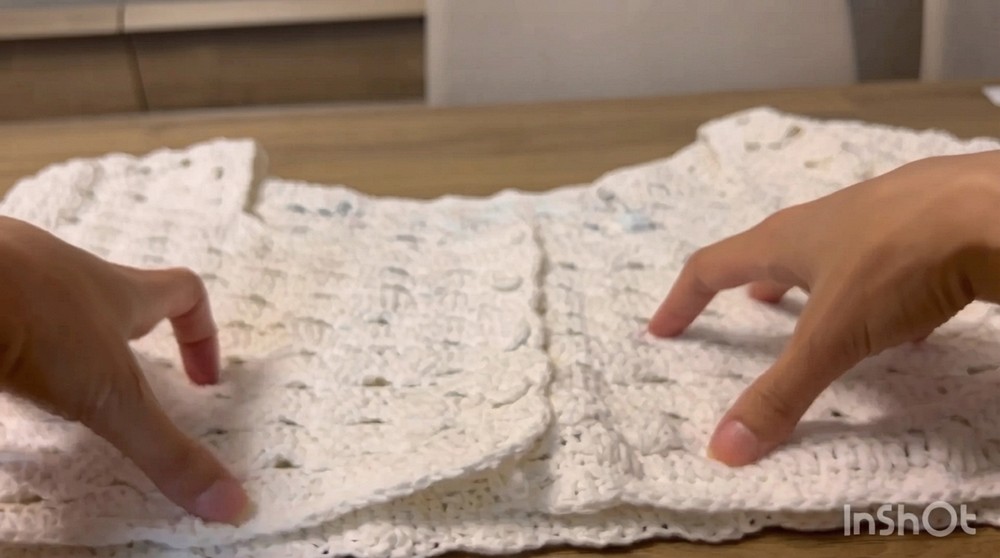
Conclusion
This stylish spring cardigan is a versatile staple featuring a breathable cotton-based yarn and a flattering textured design. Its timeless combination of fan stitches and clean edges makes it an elegant and lightweight addition to your wardrobe. Whether paired with casual or formal outfits, this cardigan delivers comfort, style, and practicality. Adjust the fit, color palette, or length to suit your preferences, making this a customizable and satisfying crochet project.