Rounded Free Crochet Bag Pattern With Adorable Gold Clips
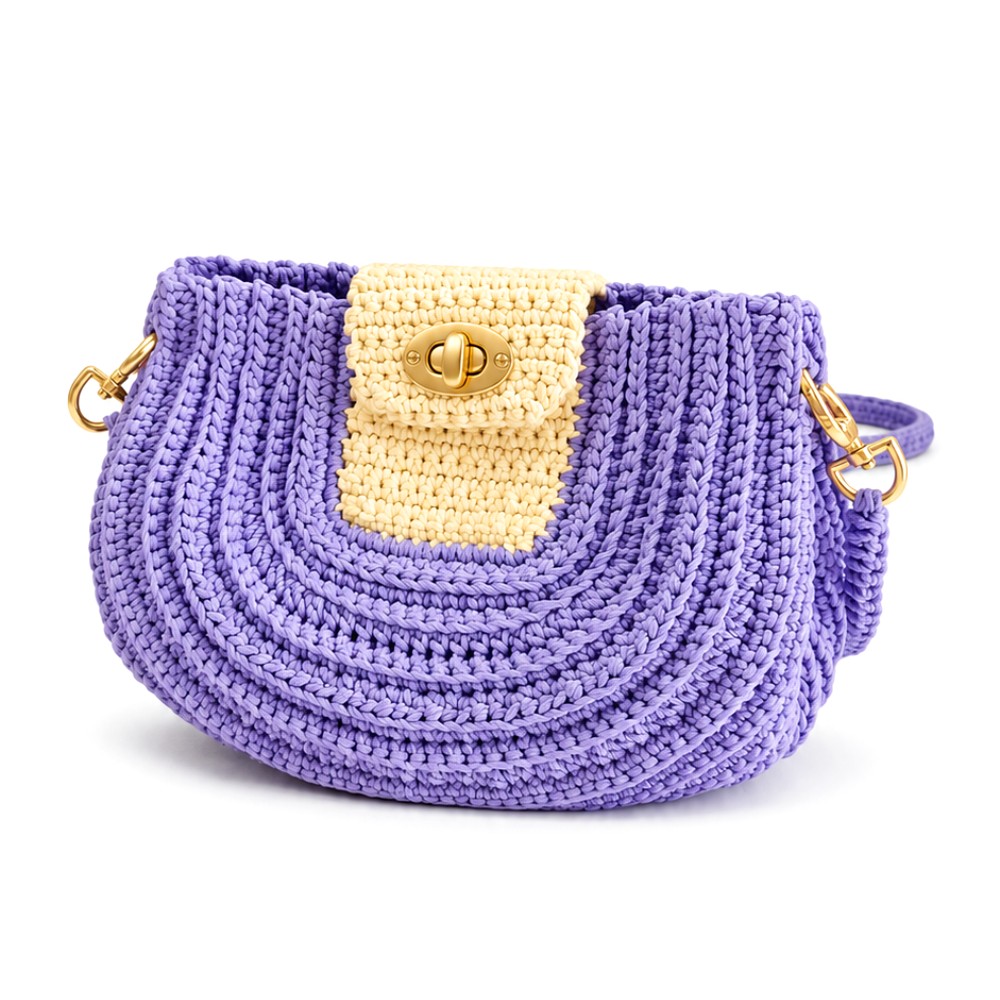
Follow the curved lavender rows in this Free Crochet Bag and see how a cream flap, gold clips and a matching shoulder strap finish its softly rounded shape.
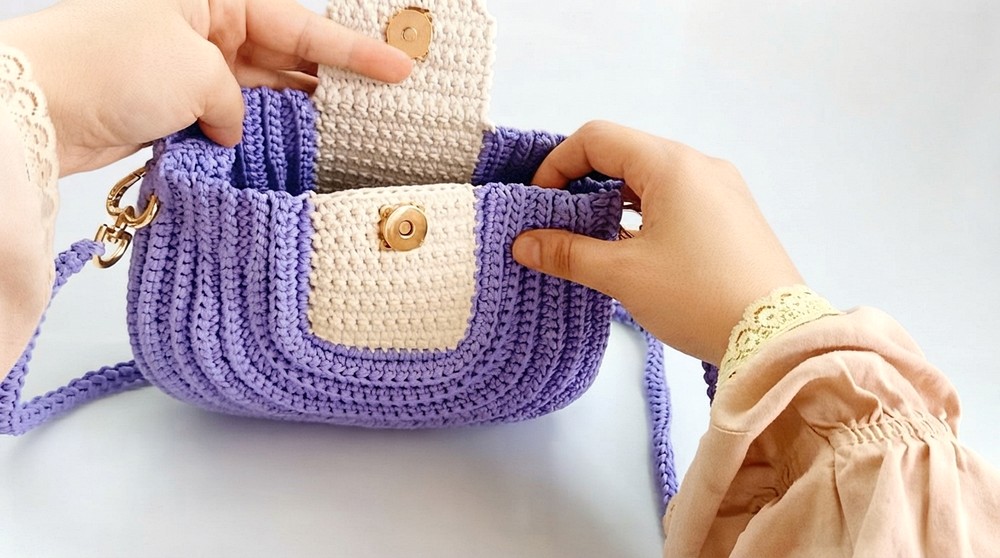
Even a simple outfit can feel unfinished when the only bag by the door is a large tote. With its lavender body and cream flap, this Free Crochet Bag offers a smaller shoulder style with a little color. Look closely at the front and you can see the rows sweeping down from the sides and around the bottom.
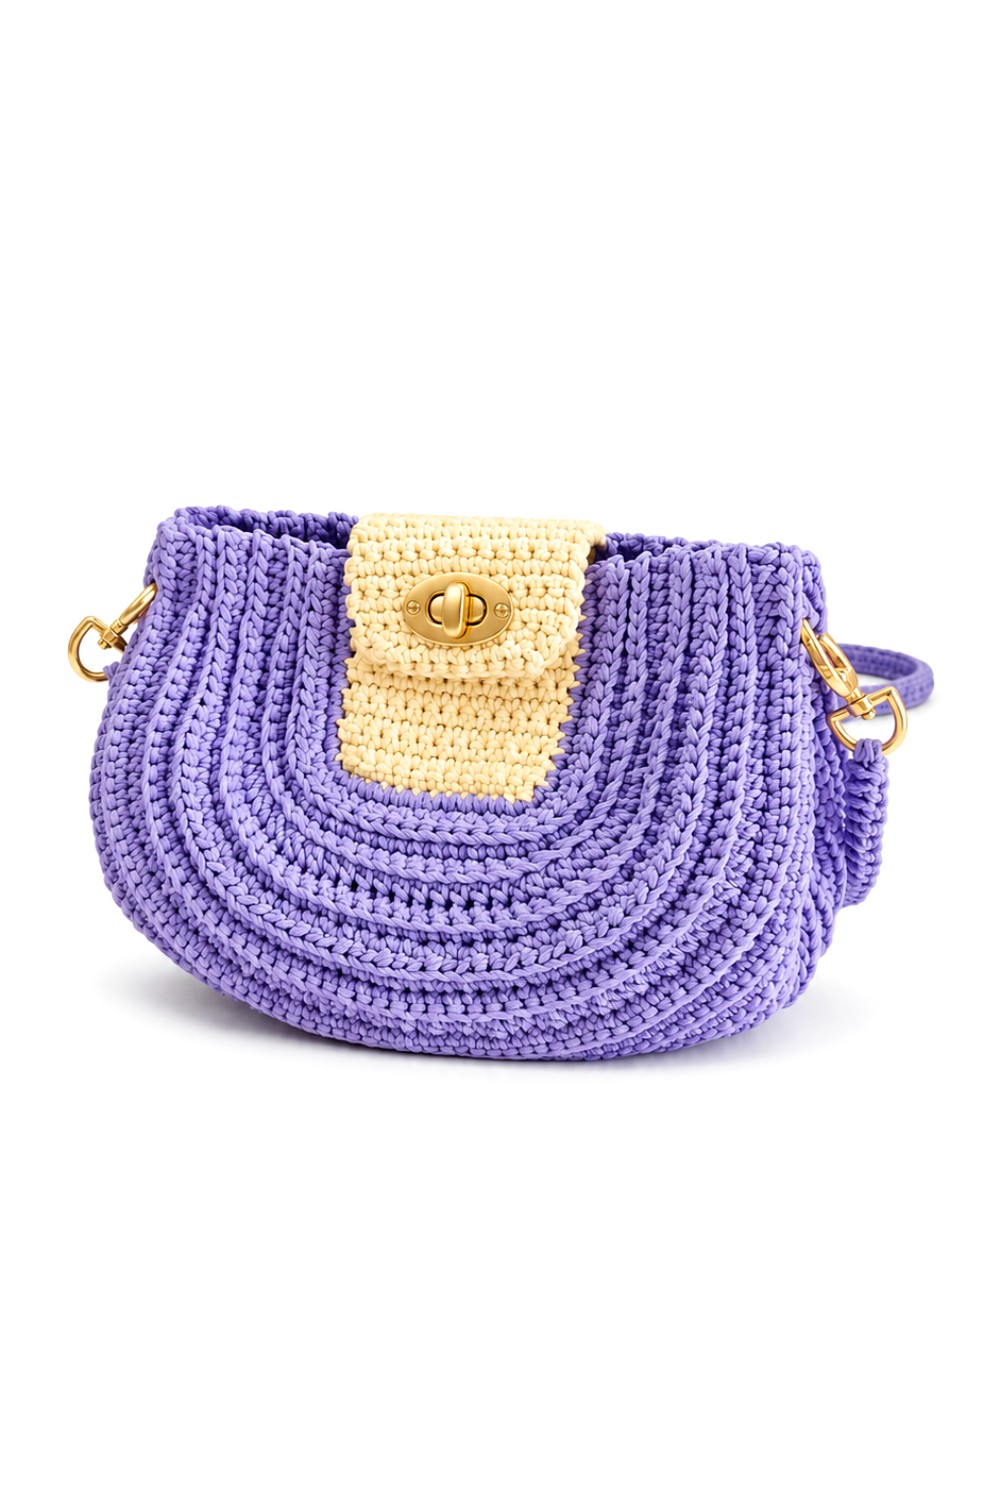
The lines follow the outline of the bag and give the cord a ribbed look. Gold clips attach the matching crochet strap at either side, and a gold detail sits on the flap. The cream section is small, so the purple still sets the tone while the lighter stitches frame the hardware.
Lavender Free Crochet Bag With a Cream Flap
About the Designer
Amena Crochet Bags shares practical handbag projects with a focus on crochet texture. This lavender design shows how curved rows and a small patch of cream can shape the look of a purse. The channel also lists cord thickness, hook size and finished measurements, giving viewers a clear starting point.
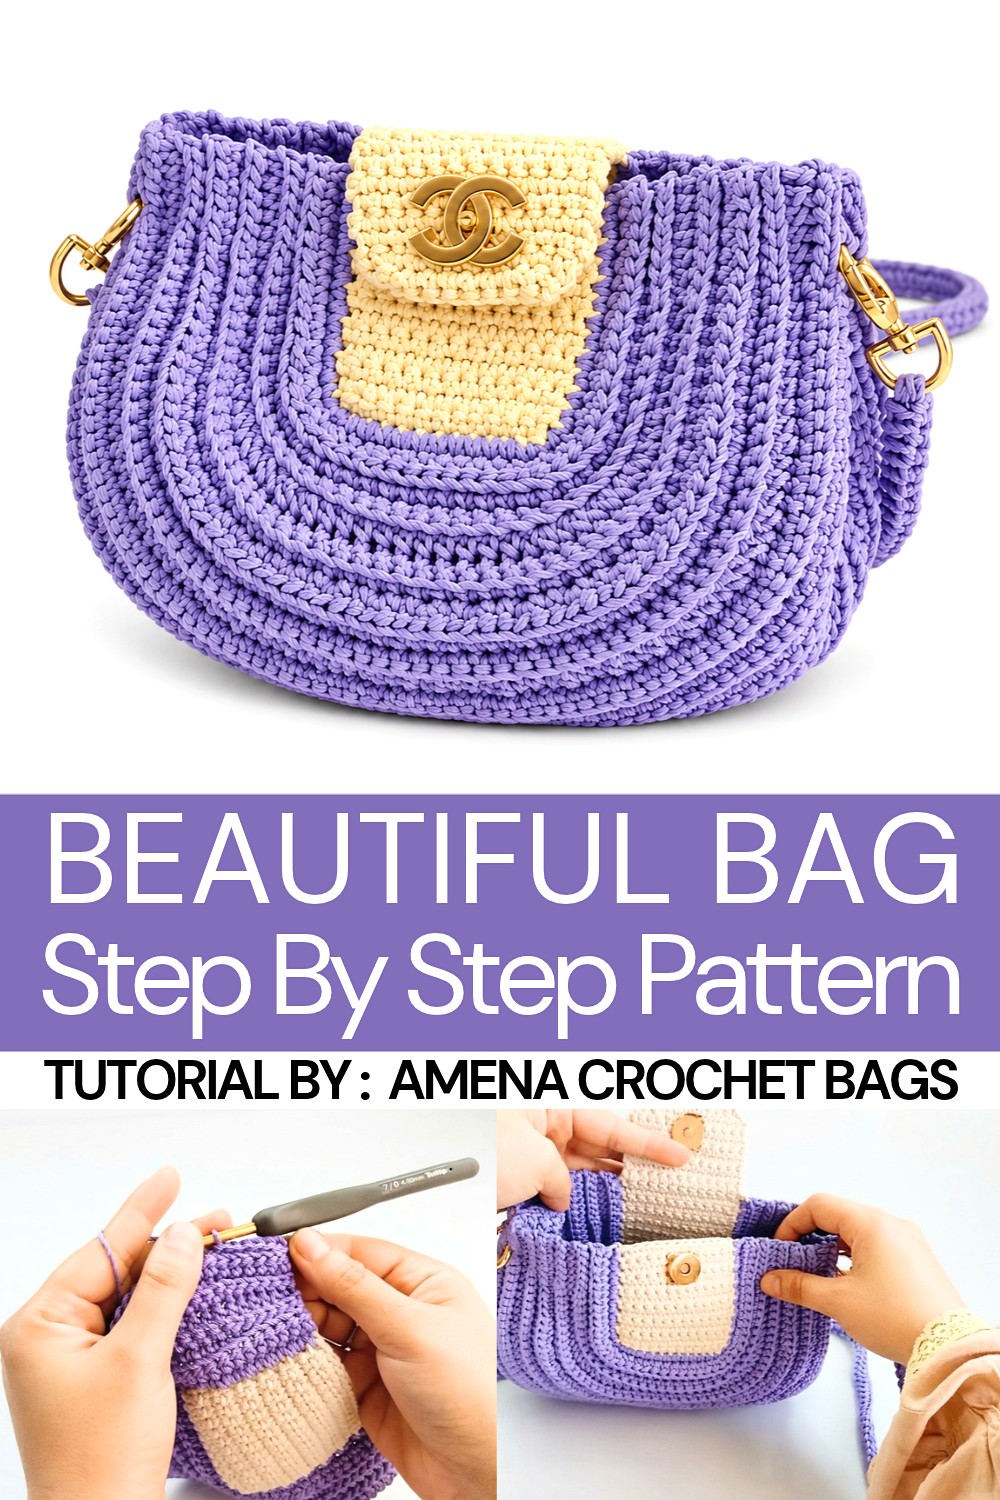
At 23 cm wide, 18 cm high and 6 cm deep, the sample has a low profile when worn at your side. It suits flat items such as a card holder, a phone and a slim pack of tissues, with room depending on their size. For the curved rows, the sample uses 2 mm cotton macrame cord and a 4 mm hook. With the same stitch shape in a different pair of colors, you could choose a lighter flap for contrast or keep the whole purse in one shade. Wear the lavender version with a cream dress to echo the flap, or with dark jeans so the purple stands out.
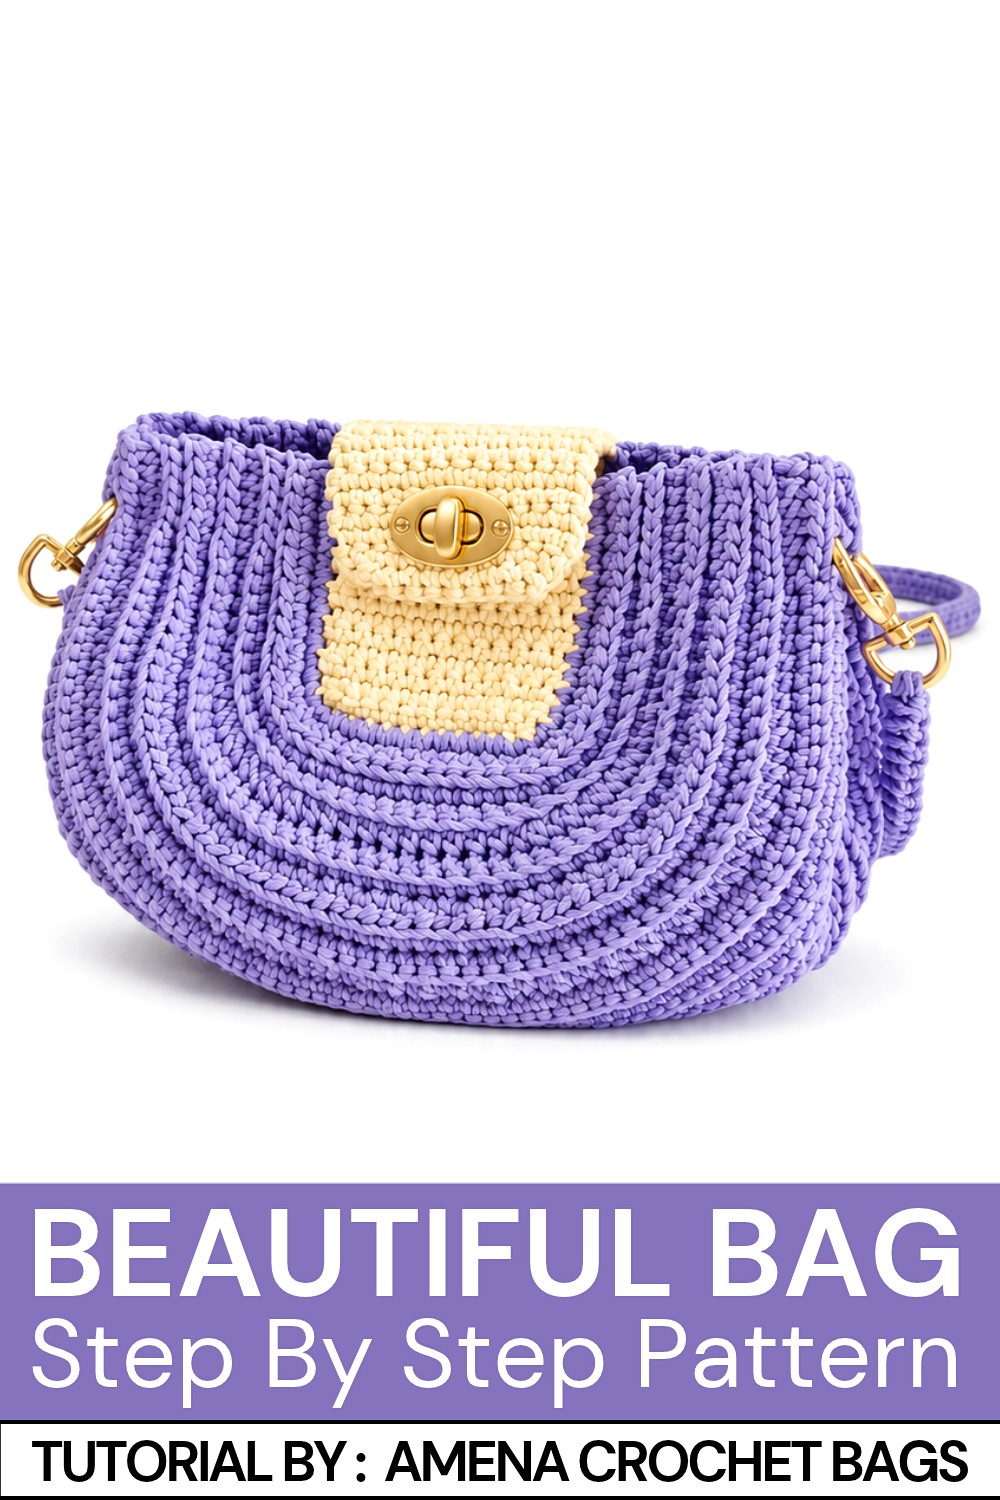
Crochet Bag Pattern
This modern and functional crochet bag design uses cotton macrame thread to create a sturdy and stylish accessory. With a width of approximately 7 cm and a height of 8 cm for the base, this bag is ideal for daily use or as a handmade gift. The pattern involves basic crochet techniques like single crochet, half-double crochet, slip stitches, and increases for shaping. You can also customize the size by altering the thread thickness.
Skill Level
Intermediate
This pattern involves foundational stitches, working in both loops and back loops, shaping through increases and decreases, and assembling components with slip stitching.
Materials
- Thread: 2 mm cotton macrame thread (approx. 400 g). You can use 3 mm thread for a larger bag.
- Crochet Hook: 3 mm or a size suitable for your chosen thread.
- Extras:
- Easy-open rings (optional) for attaching the belt or strap.
- Belt of your choice (90 cm in length).
Stitch Abbreviations
- ch = chain
- sc = single crochet
- hdc = half-double crochet
- sl st = slip stitch
Useful Tips
- Adjusting the Bag Size: To create a larger bag, use thicker thread (such as 3 mm) and follow the same steps for a proportional increase.
- Slip Stitch Precision: Always work slip stitches loosely, especially when working into the back loops, to keep the edges smooth.
- Consistent Tension: Aim for even tension across rows for clean lines and uniform dimensions.
- Stitch Markers: While optional, stitch markers can help track increases, decreases, and row starts for accuracy.
- Joining Edges: Slip-stitching is a simple and clean way to attach bag parts without adding bulk.
Step-by-Step Pattern
Base and Initial Rows
Foundation Row:
- Make a starting knot and chain 13 stitches.
- Starting from the second chain from the hook, work 12 sc stitches into both loops of the foundation chain.
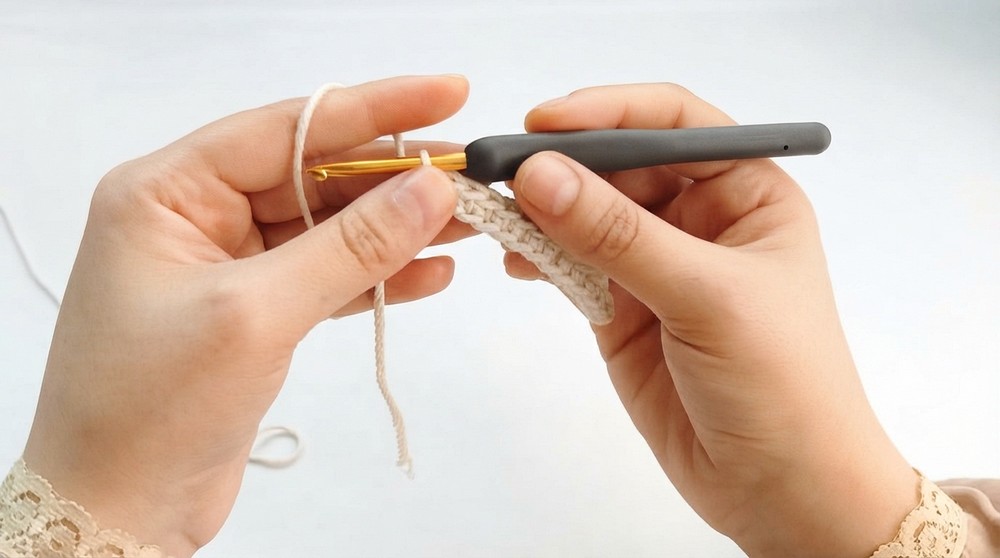
Rows 2–14:
- Turn your work, chain 1, and continue working 12 sc stitches into both loops for a total of 14 rows.
- The finished piece will measure approximately 7 cm in width and 8 cm in height.
Shaping the Bag
Row 15 (Adding a New Color and Working Around the Base):
- Join a new color and chain 1.
- Work 14 sc stitches along the edges of the rows (front edge).
- Then, work 12 sc directly into the opposite side of the starting chain.
- To complete the round, work 14 sc along the other edge of the base to end with 40 stitches in total.
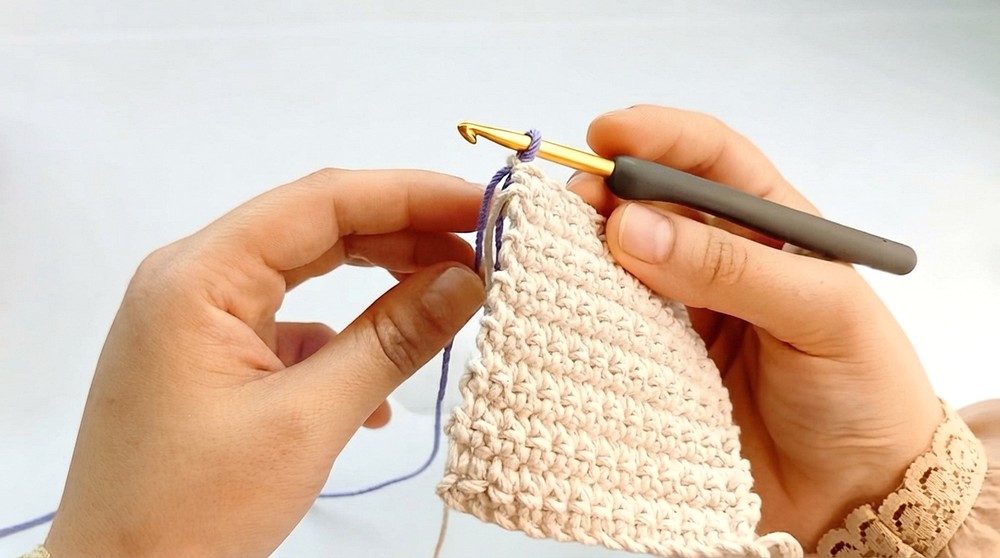
Row 16 (Increasing with HDC):
- Work 12 hdc into the back loops.
- Increase in the corners: Work 3 increases (2 hdc in the same stitch), resulting in 6 hdc stitches in total for the corners.
- Work 10 hdc along the next side.
- Perform 3 increases in the opposite corner, then finish the row with 12 hdc.
- This row ends with a total of 46 stitches.
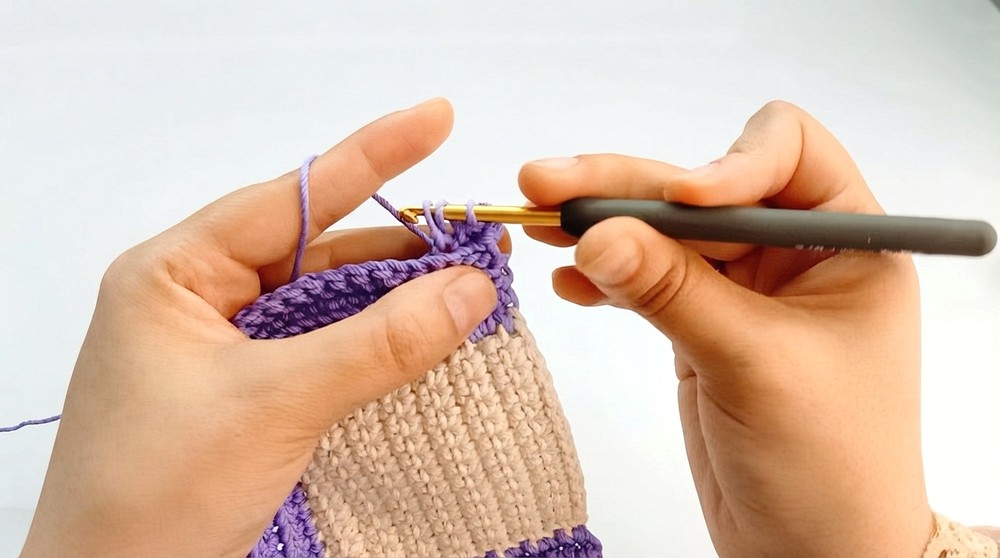
Rows 17–18 (Stability Rows):
- Begin each row with 6 sl sts in the back loops.
- Work 34 sc in the back loops for the middle section and finish with 6 sl sts in the back loops.
Row 19 (Increasing with HDC):
- Work 12 hdc at the start of the row.
- Work 6 increases at the corner to form a curved edge.
- Work 12 hdc, then 10 hdc along the longer side.
- Add 6 increases at the opposite corner and finish with 12 hdc.
- This row ends with a total of 58 stitches.
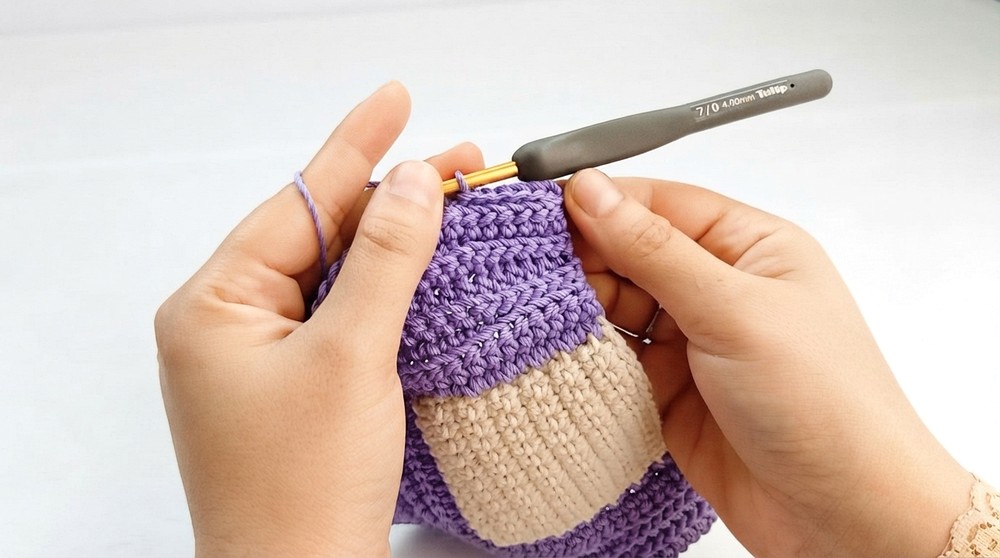
Rows 20–21 (Stability Rows):
- Repeat the pattern from Rows 17–18:
- Work 6 sl sts in the back loops, followed by 46 sc stitches, and ending with 6 sl sts.
Row 22 (Increasing Row):
- Start with 12 hdc and then work a sequence of (1 increase + 1 hdc). Repeat this pattern 16 times to increase stitches evenly around the corner.
- End the row with 12 hdc.
- At the end of this row, you will have 74 stitches.
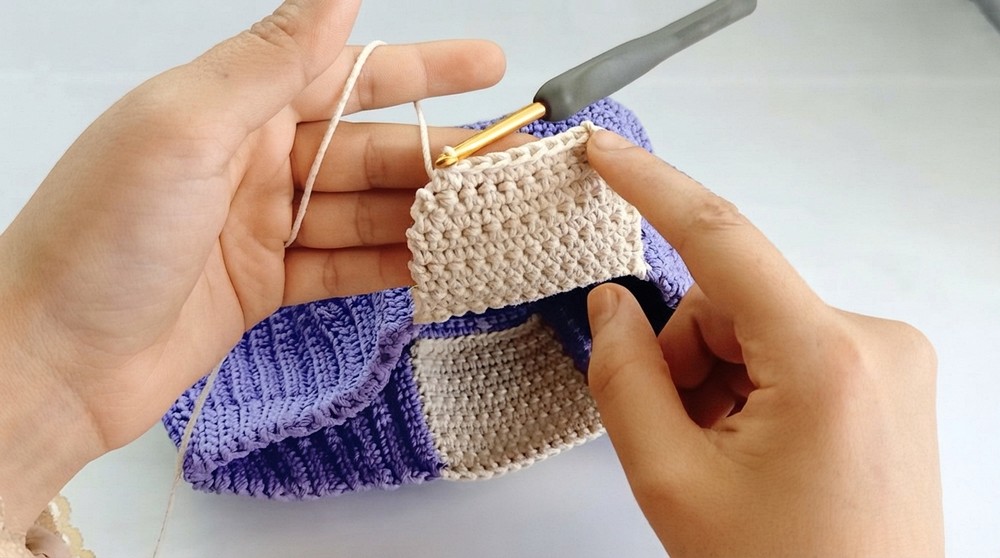
Rows 23–24 (Stability Rows):
- Same as Rows 20–21: Begin and end with 6 sl sts and work 62 sc in between.
Row 25 (Final Increasing Row):
- Begin with 12 hdc, then work the sequence (1 increase + 2 hdc). Repeat this pattern 16 times to increase evenly.
- End with 12 hdc, resulting in 90 stitches for this row.
Rows 26–35 (Final Stability Rows):
- Work 10 straight rows of stability without increasing: Start and end with 6 sl sts and work 78 sc in between each row.
Second Piece
- Using the same pattern, work a second identical piece to form the back of the bag.
Assembly
- Joining the Pieces:
- Align the two pieces together and join them using sl sts, working stitch by stitch around the entire perimeter.
- Creating the Cover:
- Attach the yarn to the bag’s top edge and work 12 sc for a total of 8 rows.
- Row 9: Decrease 1 stitch at both the start and end of the row (10 stitches).
- Row 10: Decrease 1 stitch at both the start and end of this row, leaving 8 stitches in the final row.
- Join the Sides of the Cover:
- Fold the cover into position and join the sides using sl sts to form a flap.
Strap Assembly and Final Touches
- Adding the Strap:
- Use easy-open rings or directly attach the strap to the bag.
- Create the strap using the Roman lyceum rope method or attach a prepared belt (approx. 90 cm in length).
- Finishing:
- Hide and secure all loose threads.
- If using synthetic thread, seal the ends gently with a lighter to prevent fraying.
Conclusion
This crochet bag combines sturdiness and elegance with its well-structured base, clean lines, and detailed cover. The decorative elements and flexibility in thread choices allow for personalization, making it a stylish and functional addition to any wardrobe. Utilize this versatile design to create a variety of sizes, textures, and colors!