Textured Free Crochet Bag Pattern to Pair With a Simple Dress
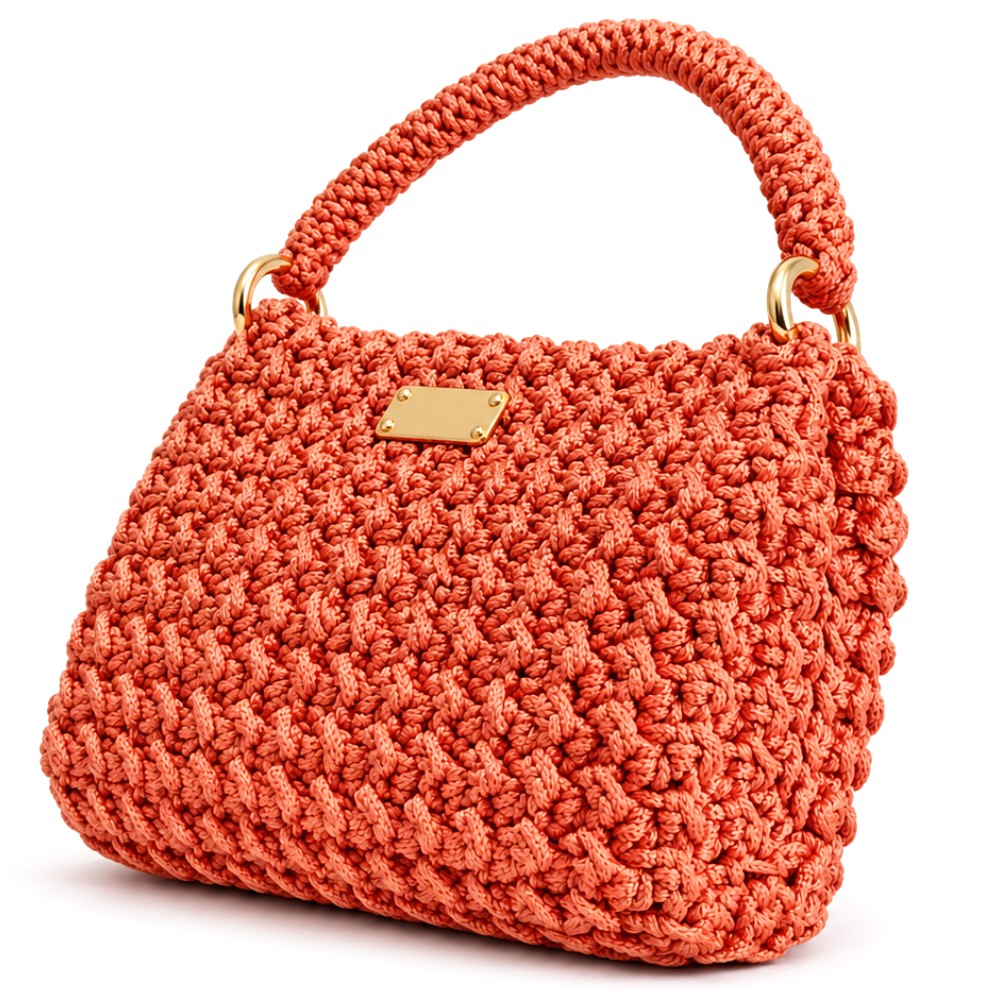
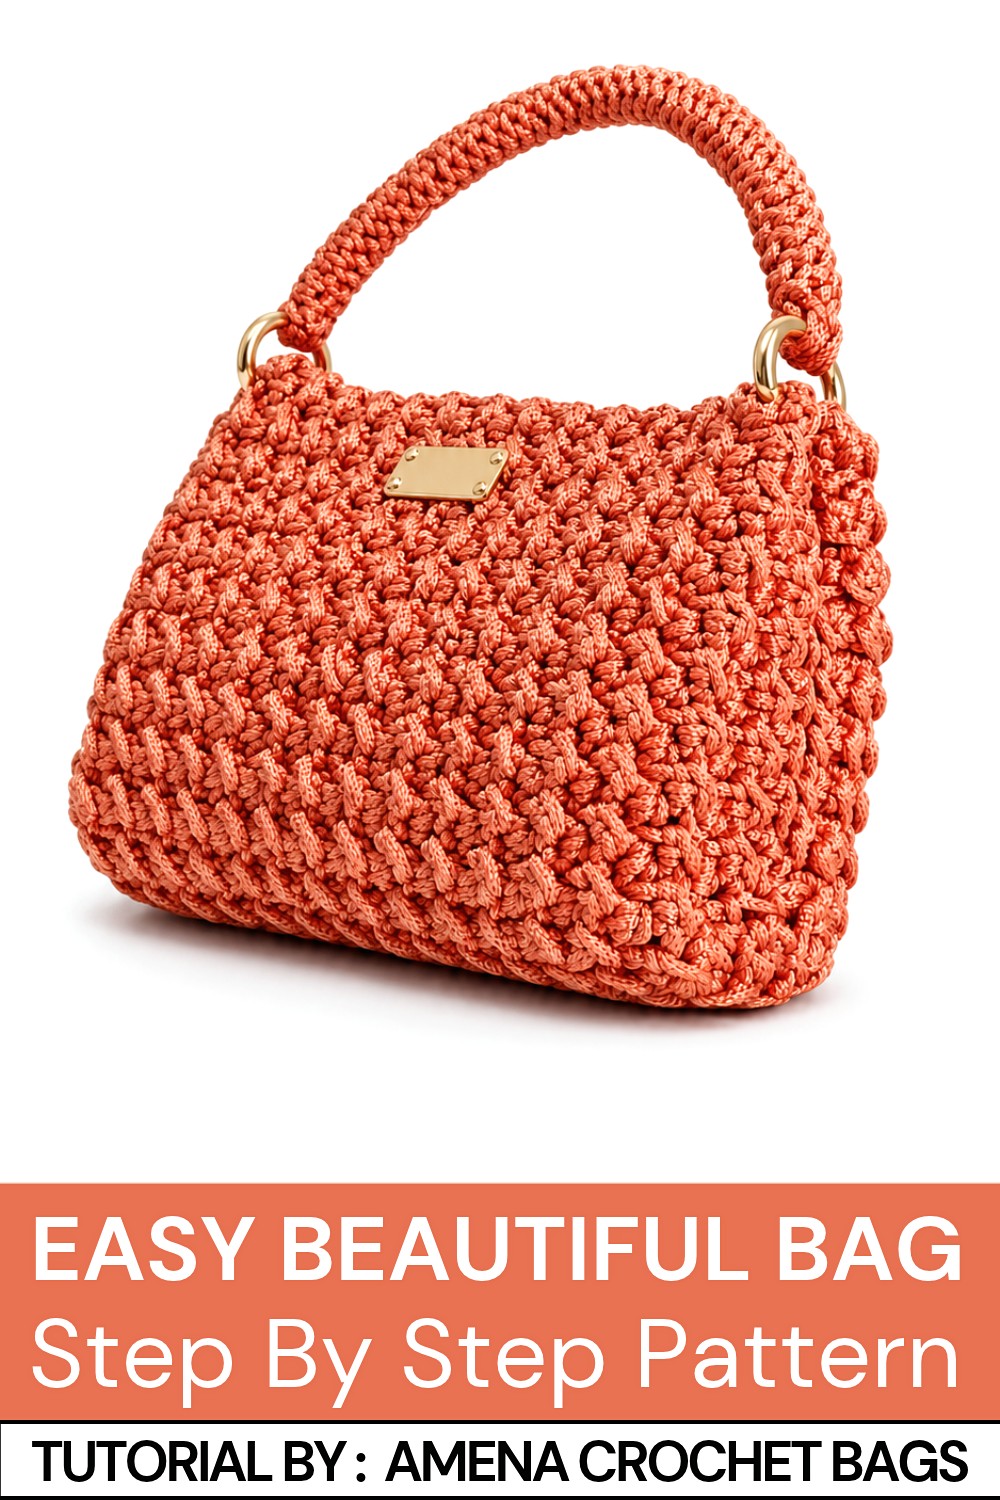
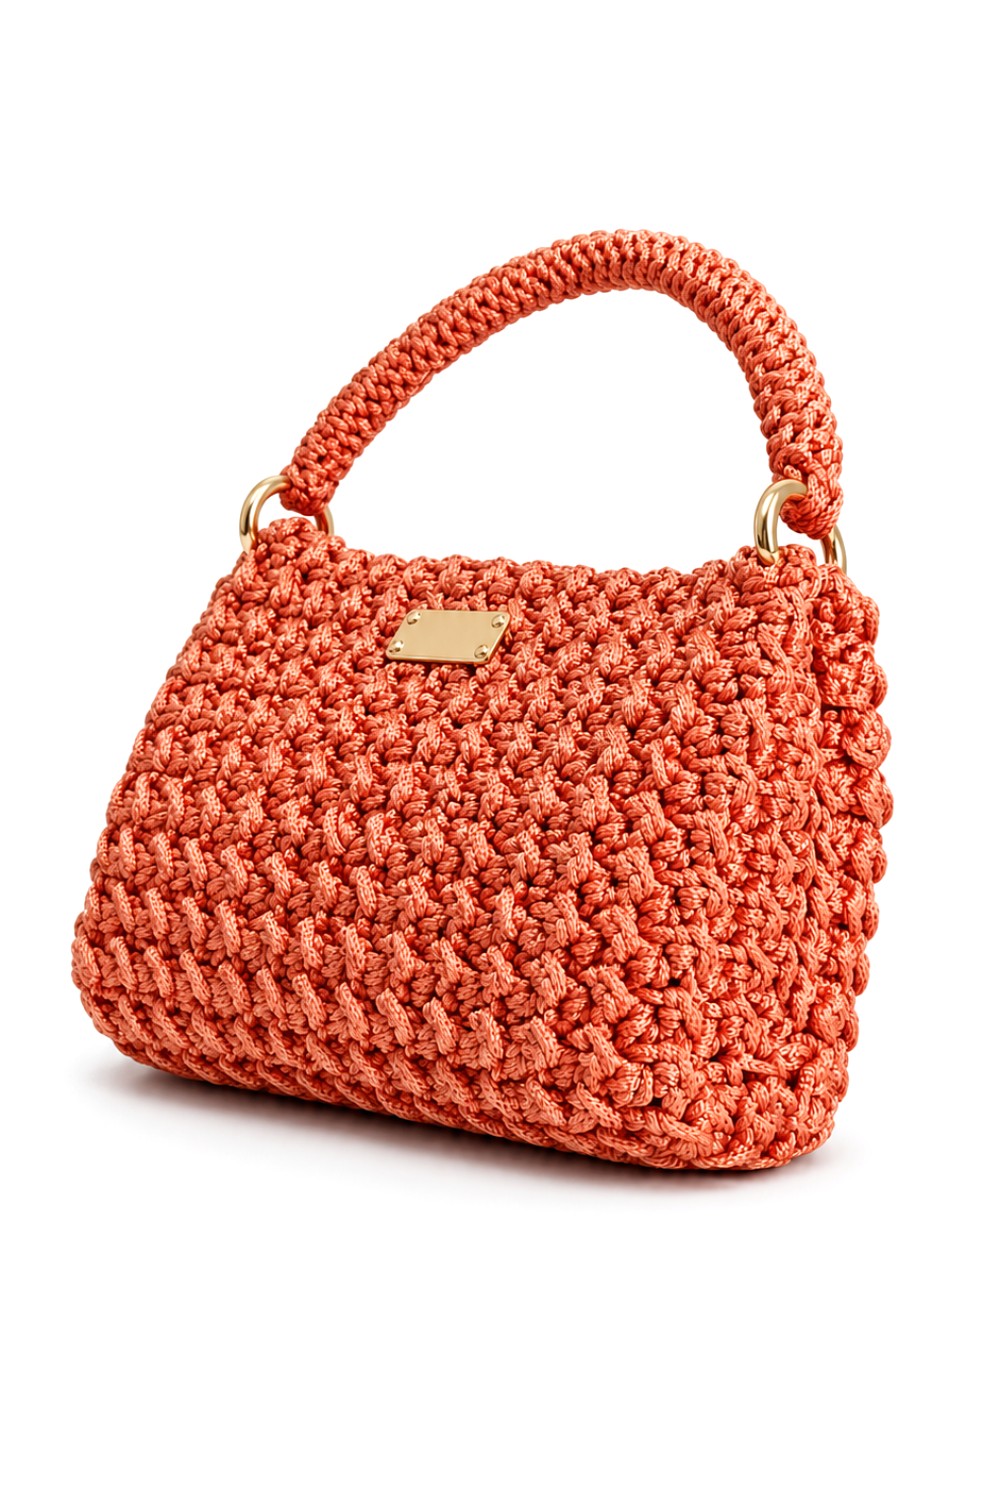
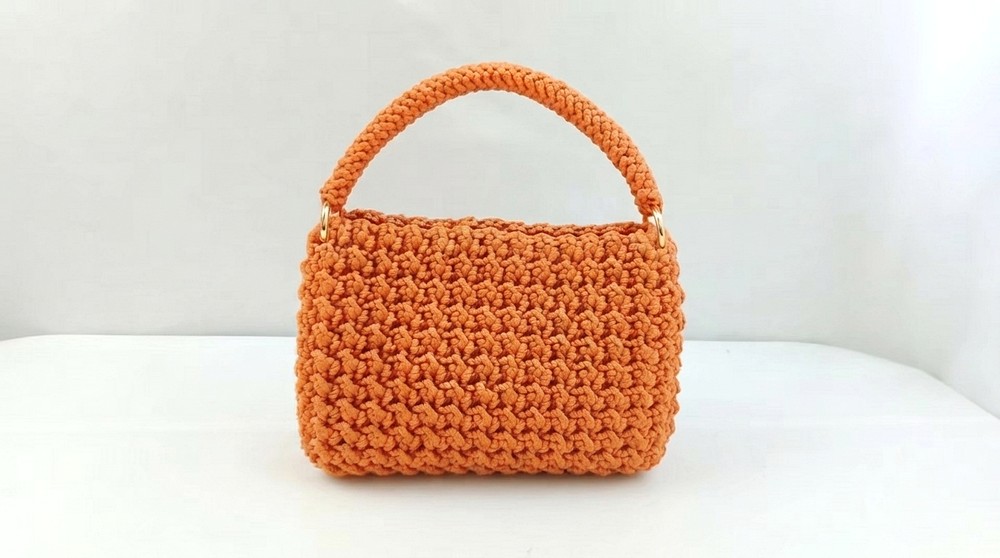
Notice the way light catches the gold side rings on this Free Crochet Bag, where rows of raised coral stitches give the small handbag its rich texture.
Coral works well when an outfit in plain colors could use one detail with a little warmth. Raised stitches and a rounded top handle give this Free Crochet Bag two more ways to stand out. Turn the bag slightly and the texture comes into view along the side as well as the main panel. The stitches sit in short ridges, giving the surface a different look as the light moves across it. The handle and body use the same coral cord.
Coral Free Crochet Bag With a Rounded Top Handle
The handle is smooth by comparison, so the raised surface stands out. Two gold rings hold the handle at its ends, while a little rectangular plate near the opening is the only decoration on the broad front.
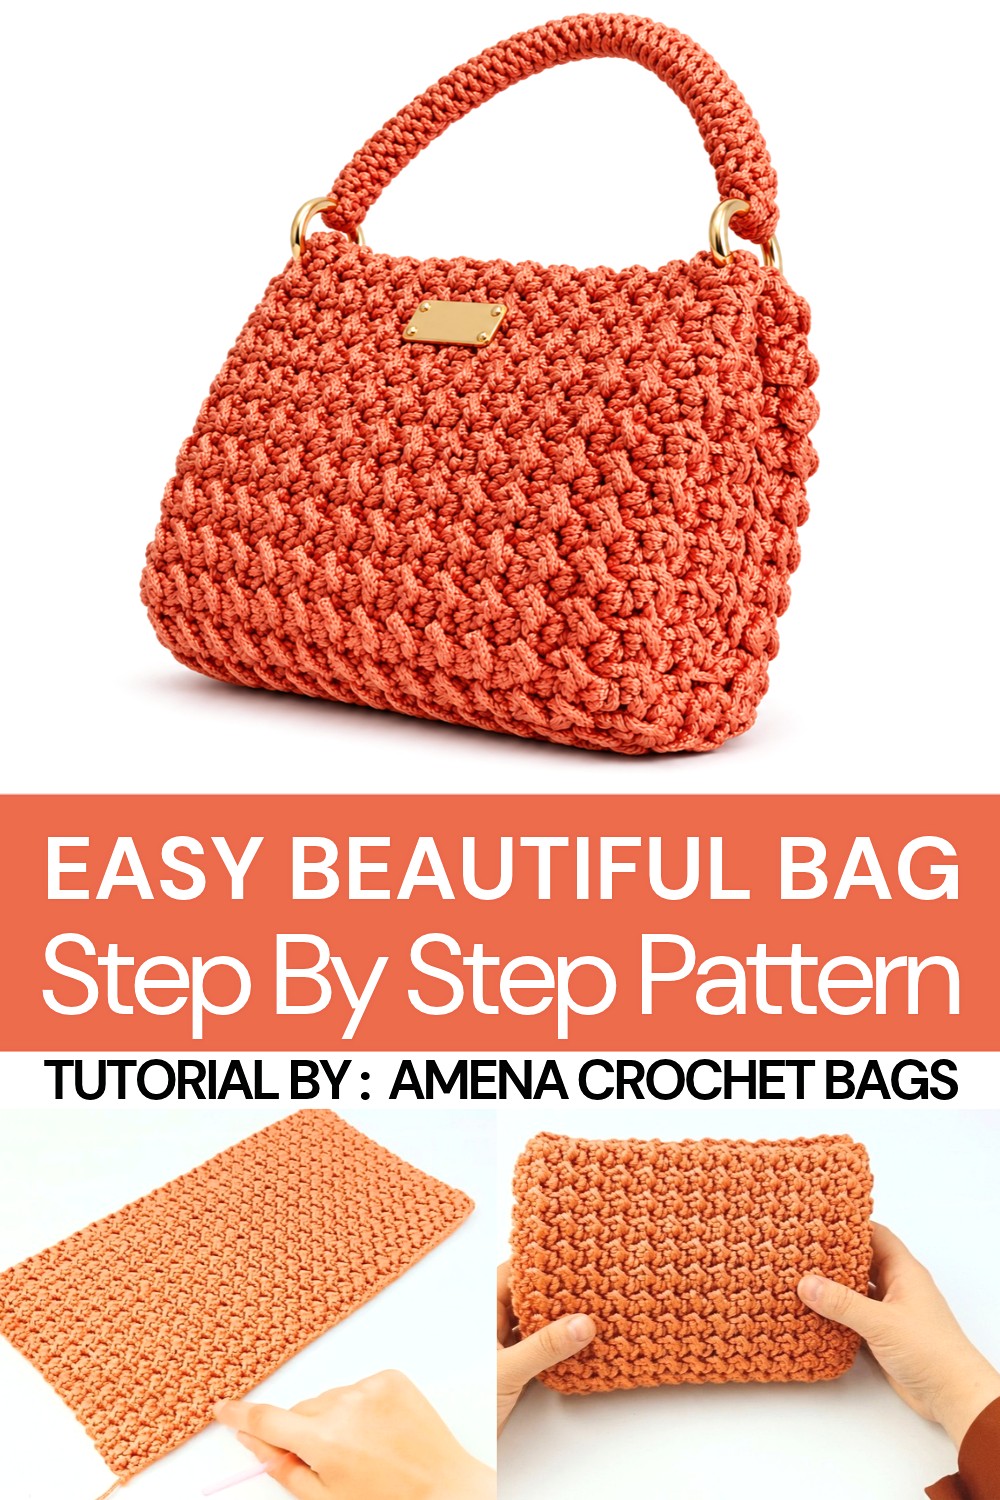
Proportion is part of this style. The 18 cm width and 15 cm height give you an idea of how the sample sits when held by hand. For a dinner out, that size suits a lipstick, a slim wallet and house keys, with space depending on what else goes inside. The arched handle fits the shape of the bag and echoes its softly rounded lower corners.
Designer Spotlight
Raised stitches are the main feature of the coral handbag from Amena Crochet Bags. With a short handle and small gold rings, the project sits among the channel’s more compact styles. Those who like a tidy bag with a lot of visible stitch detail can find similar ideas there too.
Simple Crochet Bag Pattern
This crochet bag features a beautiful yet easy-to-follow design that is ideal for beginners. The textured stitch pattern adds an elegant touch to the overall design, and the bag includes gradual decreases to create its shape and a simple strap for functionality.
Skill Level
Beginner
The pattern primarily uses half-double crochet (hdc), slip stitch (sl st), and simple decreases, making it well-suited for individuals who are comfortable working repetitive stitch patterns.
Materials
- Yarn: Approximately 400 grams of 3mm thick yarn.
- Crochet Hook: 5mm hook.
- Sewing Needle: For finishing seams.
Stitch Abbreviations
- ch = chain
- hdc = half-double crochet
- sl st = slip stitch
Useful Tips
- Consistent Tension: Maintain consistent tension throughout to avoid uneven edges or distortions in the bag’s shape.
- Counting Stitches: The stitch count decreases in later rows—use stitch markers to ensure accurate counting.
- Handle Length: Customize the length of the handle to match your preferences.
- Yarn Tail: Leave adequate yarn tails at the end of each panel for sewing.
Step-by-Step Pattern
1. Bag Body
Foundation Row:
- Make a slip knot and chain 50 (or adjust for desired width).
- Ch 1 for the height of the first row.
Row 1:
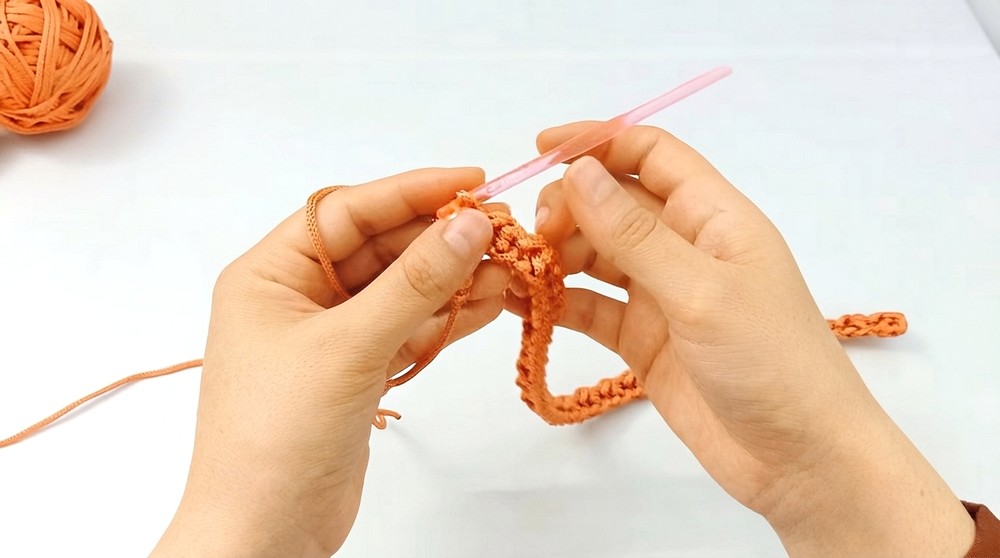
- Work 1 hdc in the second ch from the hook.
- Next, work 1 sl st in the third ch.
- Repeat the sequence (1 hdc, 1 sl st) across the row.
- End the row with a sl st in the last stitch.
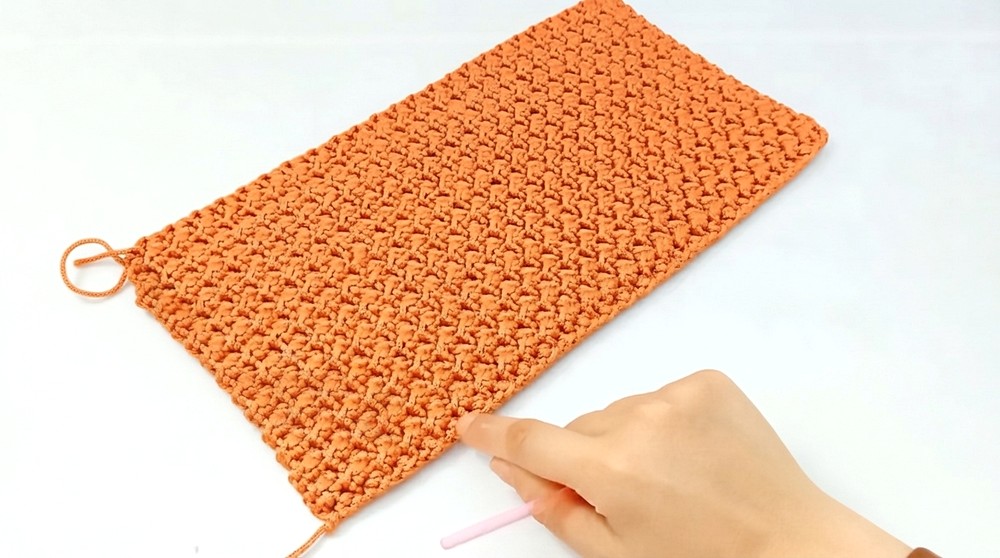
Rows 2–27:
- Ch 1 to turn and start each new row.
- Work 1 hdc into the sl st from the previous row, then work 1 sl st into the hdc from the previous row.
- Continue alternating these stitches across each row. End each row with a sl st in the final stitch.
- Repeat until you complete 27 rows, resulting in a height of approximately 18 cm.
2. Shaping the Bag
Row 28:
- Work the first 20 stitches of the row in the standard pattern (hdc, sl st).
- Skip 2 stitches, then work 1 hdc in the third stitch.
- Continue the pattern for 3 units (6 stitches).
- Skip 2 stitches, then work 1 hdc in the third stitch again.
- Continue the pattern to the end, ending the row with a sl st.
- At the end of the row, there will be 46 stitches due to the decrease of 4 stitches.
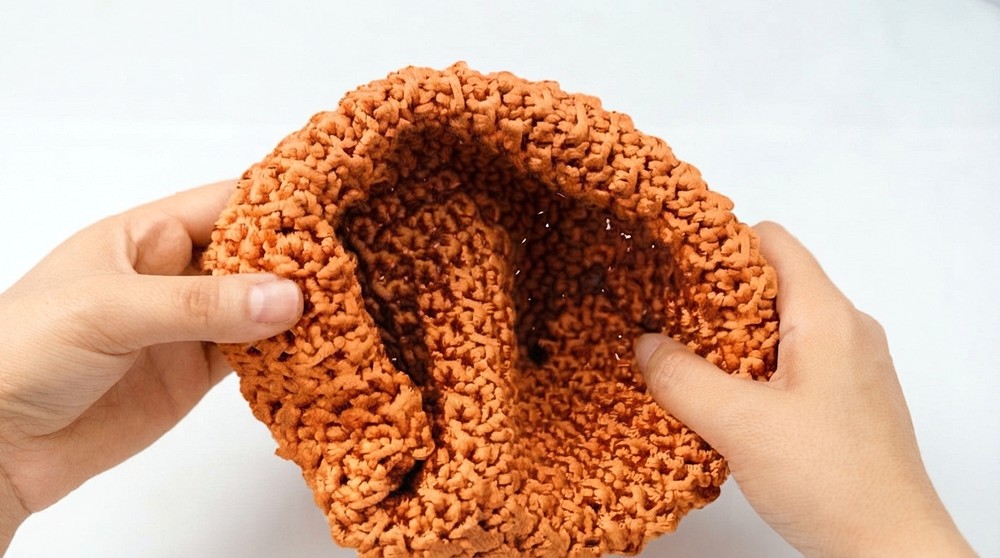
Row 29:
- Work the first 19 stitches in the standard pattern (hdc, sl st).
- Skip two stitches, then work:
- 1 sl st in the third stitch, followed by
- 1 hdc, 1 sl st, 1 hdc.
- Skip two stitches, then work 1 sl st in the third stitch.
- Continue the pattern to the end of the row. At the end, there will be 42 stitches.
Row 30:
- Work the first 18 stitches in the standard pattern (hdc, sl st).
- Skip two stitches, then work:
- 1 hdc in the third stitch, followed by
- 1 sl st.
- Skip two stitches, then work 1 hdc in the third stitch again.
- Continue the pattern to the end of the row. This row will have 38 stitches.
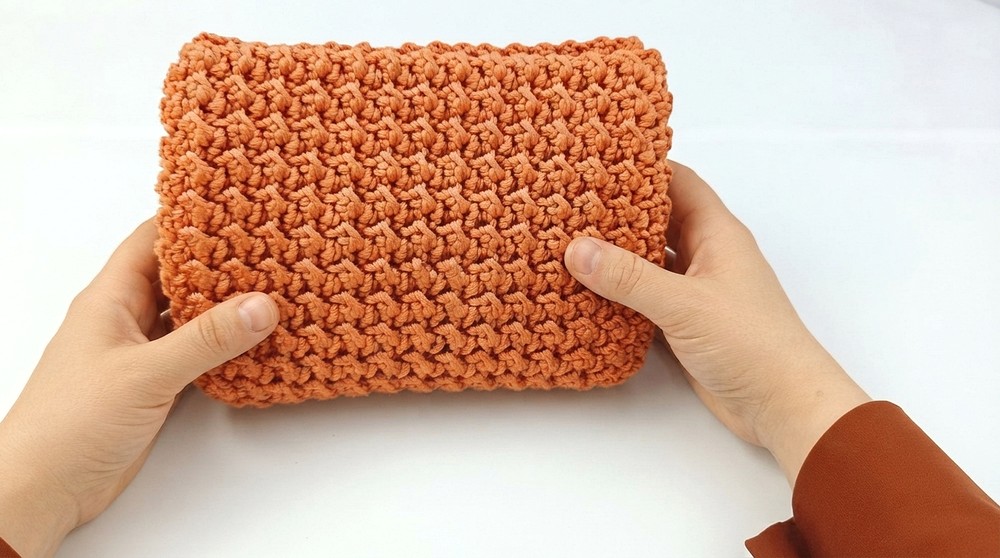
Row 31:
- Work the first 17 stitches in the standard pattern (hdc, sl st).
- Skip two stitches, then work yarn over, skip one stitch, yarn over again—pull through all loops to create a decrease.
- Continue to work the pattern for the rest of the row.
- At the end of this row, leave a tail for sewing and cut the yarn.
Repeat Rows 28–31:
- Attach the yarn to the opposite side of the panel and repeat the stitch pattern for rows 28, 29, 30, and 31.
3. Sewing and Assembly
- On the wrong side of the bag, sew the seams by stitching one stitch into another along both edges. Ensure even stitching for a clean finish.
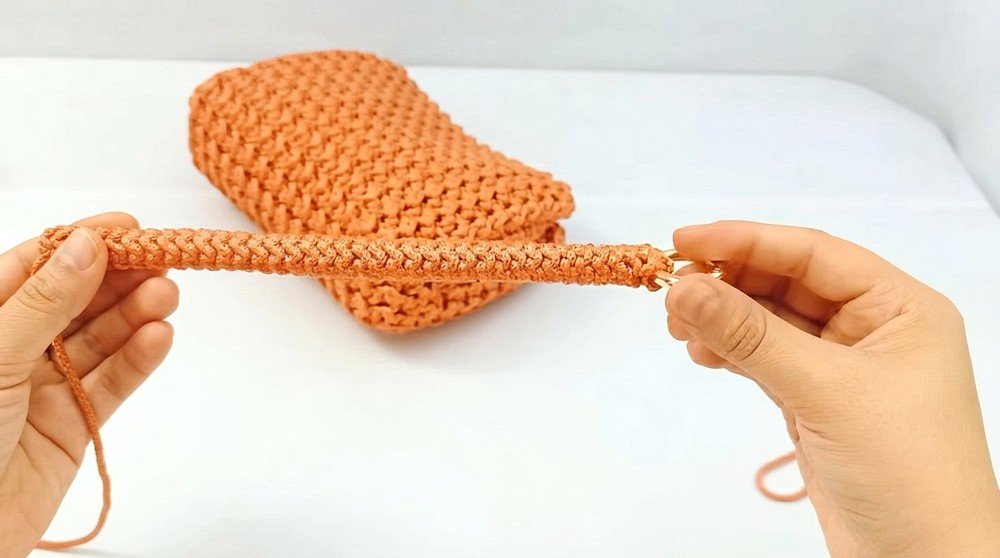
4. Creating the Handle
Handle Foundation:
- Leave a tail of yarn and chain 5.
- Slip stitch into the first chain to form a loop.
Handle Rows:
- Begin working sl stitches into the back loop only of the chains.
- Continue slip stitching into each back loop to create a firm handle.
- Continue until the handle measures approximately 23 cm or to your desired length.
Conclusion
This crochet bag pattern features a straightforward stitch pattern and an effortlessly elegant design, making it suitable for both beginners and intermediate crocheters. Its clean structure is complemented by a functional handle and gradual shaping that adds visual interest. Customize the bag by varying colors, handle lengths, or materials to tailor it to your specific needs.