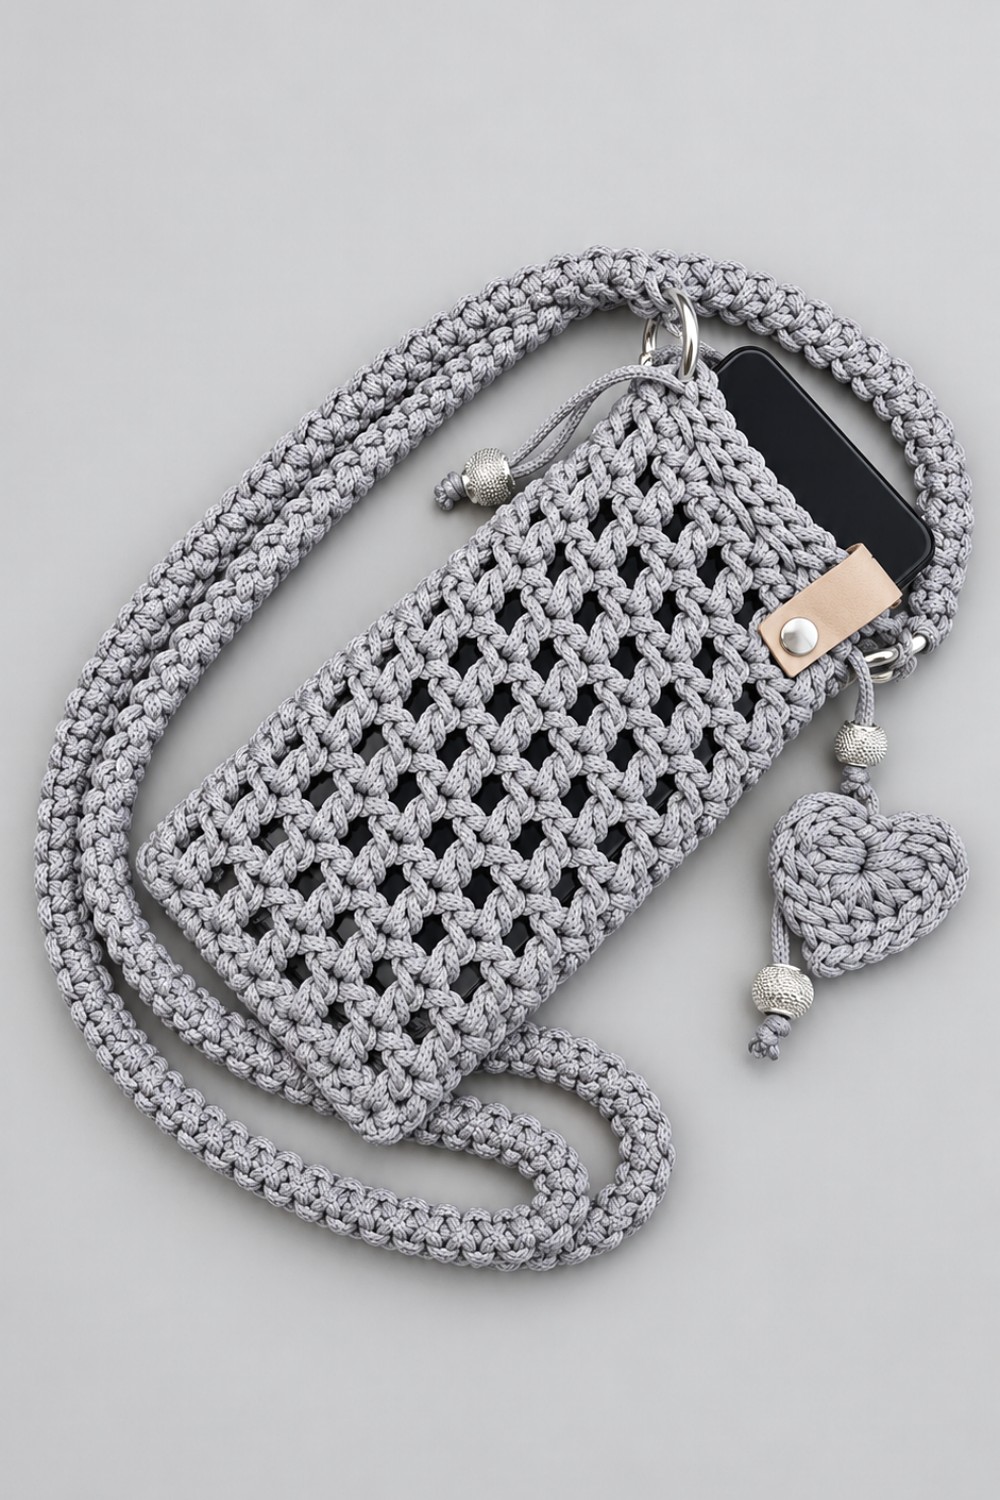
Easy Phone Case Free Crochet Pattern
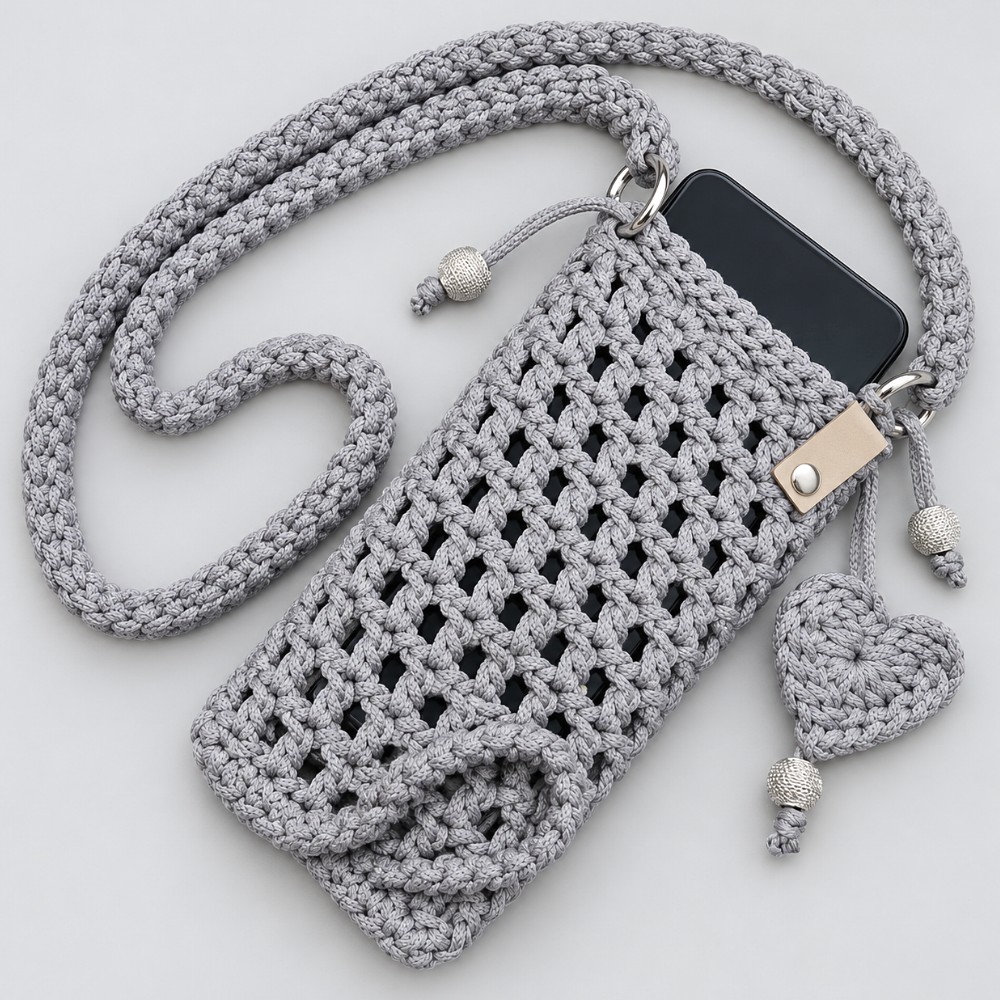
Protect your device stylishly with this free crochet phone case pattern that’s both practical and charming, perfect for everyday use and gifting.
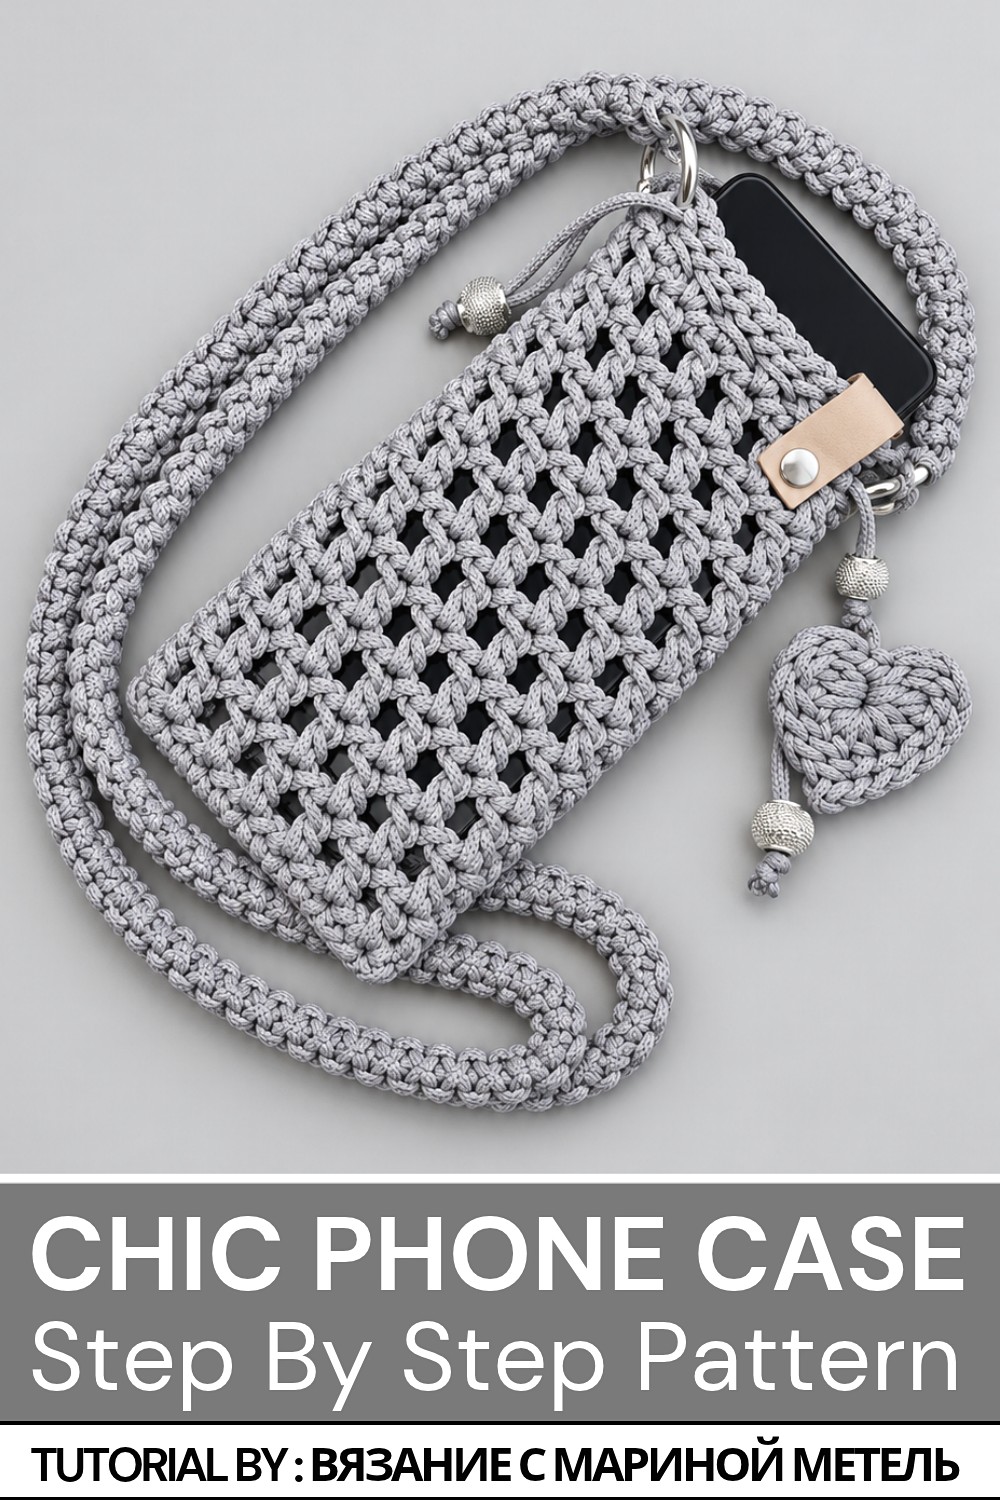
Store-bought phone cases can often lack personality, but the Free crochet Phone Case pattern allows you to create something truly unique and personal. This handmade crochet project is the perfect way to combine style and functionality while adding a touch of charm to your everyday essentials. Crocheted with inspiration from the tutorial by Вязание с Мариной Метель, this design is easy to follow and suitable for crocheters at any skill level.
The phone case has a sleek, textured design with a snug fit to keep your device safe and secure. Its durable, corded material offers lasting protection against everyday wear and tear, while its soft texture prevents scratches. The addition of a convenient drawstring closure keeps your phone safe inside, while optional decorative elements like beads or tassels allow you to infuse your personal style into the final product.
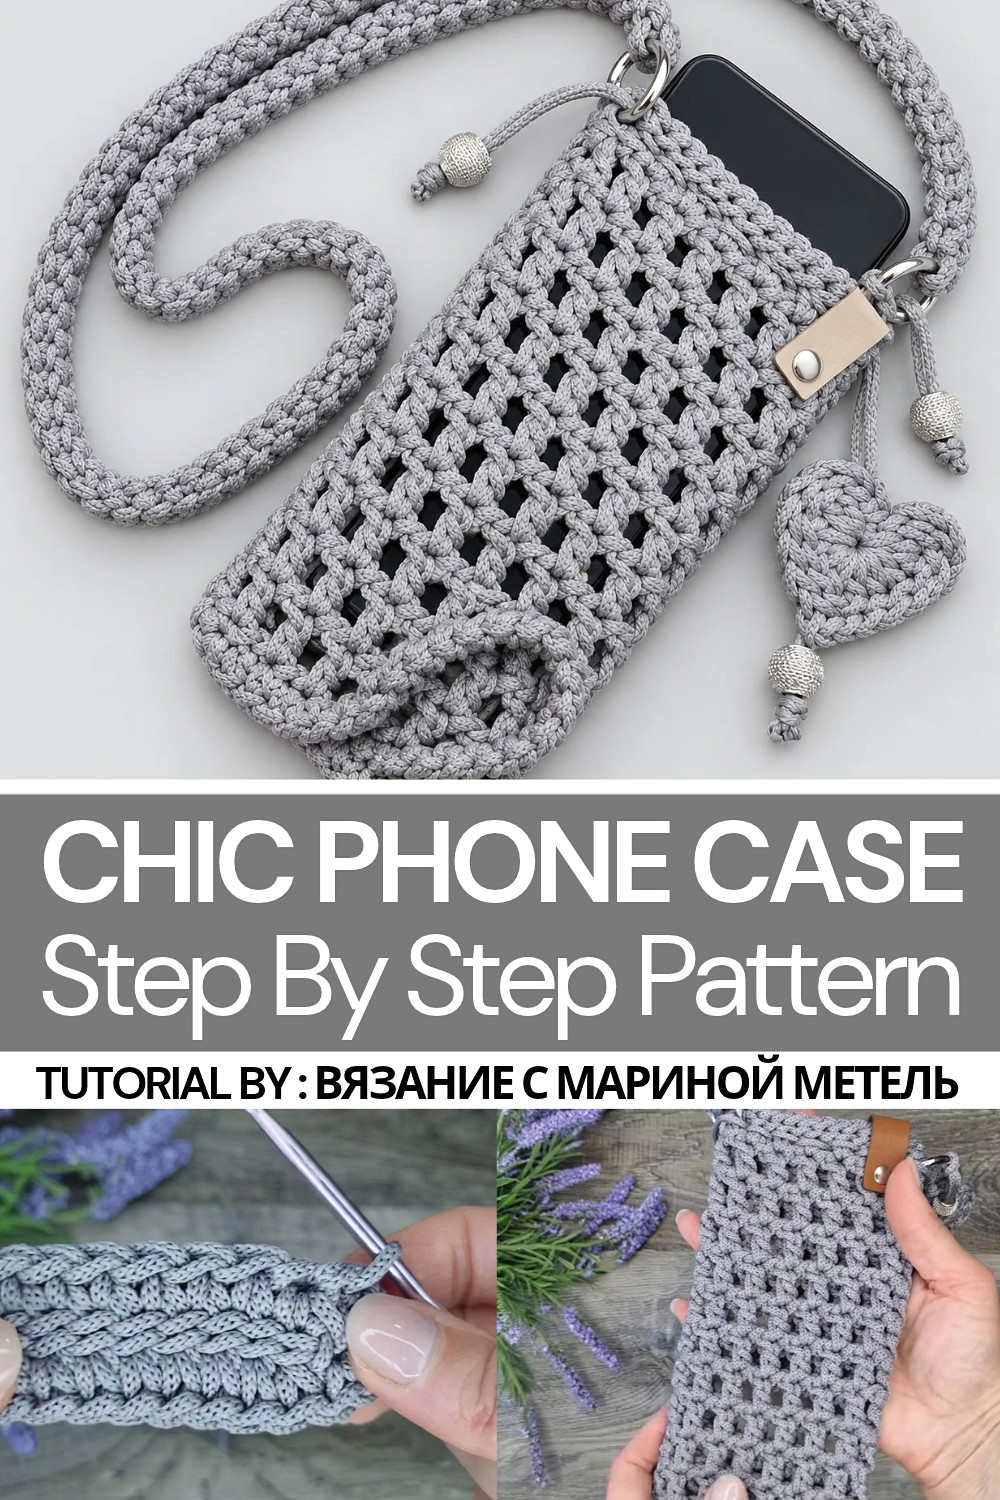
Phone Case Free Crochet Pattern for Hands-Free Use
Perfect as a gift, this phone case allows you to create a thoughtful and functional accessory for loved ones. It’s lightweight and portable, making it ideal for carrying your phone hands-free with its comfortable strap. Beyond its practicality, its handmade charm makes it a stylish statement piece for casual to formal outings.
Try the Free crochet Phone Case pattern today to crochet a one-of-a-kind phone holder that stands out in every way. Make something truly special and enjoy the satisfaction of turning a simple crochet project into a beautiful everyday accessory!
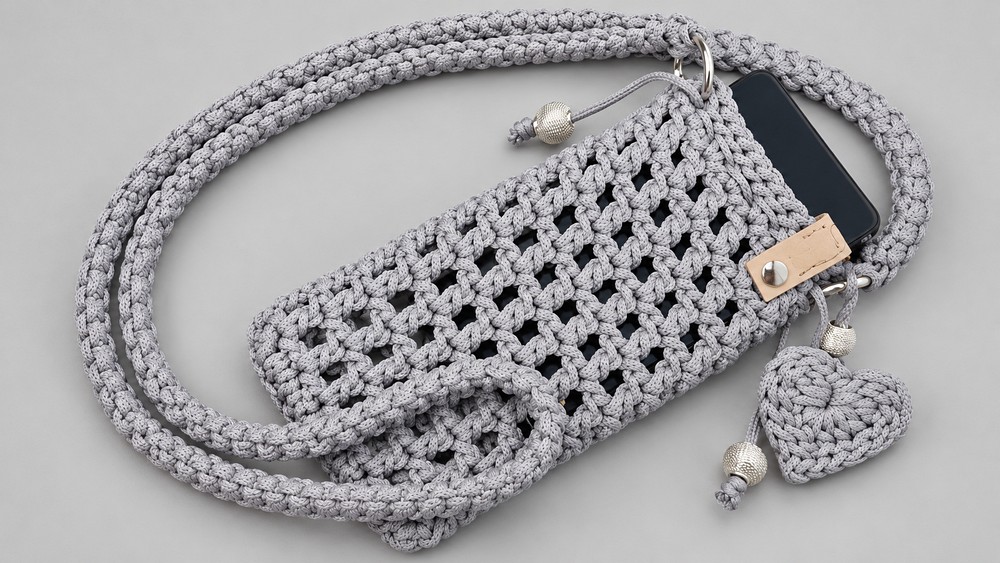
Stylish Phone Pouch Crochet Pattern – Complete Step-by-Step Guide
This tutorial outlines a comprehensive step-by-step process for crocheting a stylish and practical phone pouch. Designed with a modern, airy pattern, the pouch incorporates durable polyester cord and features an adjustable strap with carabiner rings for easy carrying. With optional bead accents on the drawstring, this project combines utility and fashion effortlessly. The guide is structured for clarity and ease, making it suitable for beginner to intermediate crocheters aiming to create a chic accessory.
Quick Overview of Pattern
- Constructed from sturdy 3mm polyester cord using a 4mm crochet hook
- Base worked with slip stitches into the back bumps of a foundation chain for a firm bottom
- Body features an open lace pattern created by alternating double crochets (dc) and chain spaces
- Rows are closed with a unique joining technique that pulls the working loop through the back of the first stitch for a seamless finish
- Top edge finished with alternating single crochet (sc) and chain spaces, topped with slip stitches for neatness
- Strap created by crocheting back and forth, attached via 2 carabiner rings for versatility
- Drawstring cord threaded through top with optional beads for decorative flair
Notes
- The polyester cord provides durability but is slightly thicker than typical yarn; use the recommended 4mm hook for optimal tension.
- Working into the back bumps of the foundation chain improves stitch definition and prevents curling.
- The triple increase at corners solidifies the base for a strong, flat bottom.
- The joining technique at the end of each row creates an invisible seam, enhancing finished aesthetics.
- Measure your phone and adjust the number of rows to suit your desired pouch length.
- Secure all ends carefully with scissors and lighter to prevent unraveling of the cord.
- Beads on drawstrings are optional but add a personalized decorative touch.
Skill Level
Beginner to Intermediate
Experienced with:
- Chain stitch (ch)
- Slip stitch (sl st)
- Double crochet (dc)
- Single crochet (sc)
- Working into back bumps of chain
- Crochet increases
- Joining rows seamlessly
- Basic strap creation by crocheting back and forth
Materials
- 3mm Polyester Cord (for example, KOTELIFE silver)
- 4mm Crochet Hook
- 2 Carabiner Rings (approximately 2.5 cm/1 inch diameter)
- Scissors and Lighter (for securing cord ends)
- Small Hook or Needle (for weaving in ends)
- Beads (optional, for drawstring adornments)
Measurements / Sizing
- Foundation chain: 11 chains plus 1 turning chain, tailored to fit the base width suitable for modern smartphones.
- Height of body: Approximately 17 cm or adjusted to fit your device.
- Strap length: Approximately 1 meter, customizable based on preference for crossbody or shoulder wear.
Gauge and Stitch Pattern
- Due to cord thickness, gauge is flexible but tension should be consistent.
- The slip stitch base ensures a firm foundation.
- Pattern rows consist of double crochet combined with chain spaces to create an open, decorative mesh.
- Edge finished with single crochet and chains for contrast and structure.
Stitch Abbreviations
| Abbreviation | Stitch | Description |
|---|---|---|
| ch | Chain stitch | Basic foundation stitch |
| sl st | Slip Stitch | Joins stitches or rounds smoothly |
| dc | Double Crochet | Yarn over, insert hook, pull yarn through loops in two steps |
| sc | Single Crochet | Basic stitch forming tight fabric |
Special Stitches
Working Into Back Bumps of Chain
- Instead of inserting the hook into the upper loops of the chain stitch, insert it into the back bump (the small ridge on the back side of the chain).
- This technique produces a firmer, flatter foundation row.
Triple Increase
- Working 3 stitches in one stitch or space to create an increase that helps shape corners or edges by adding extra width.
Seamless Row Join
- At the end of each pattern row, pull the working loop through the back of the first stitch of that row, then bring it onto the hook.
- This creates a near invisible join, giving a clean line around the piece.
The Crochet Pattern
Step 1: Foundation Chain
- Begin with a slip knot on your hook.
- Chain 11 stitches evenly, maintaining consistent tension.
- Add 1 turning chain to start the next row.
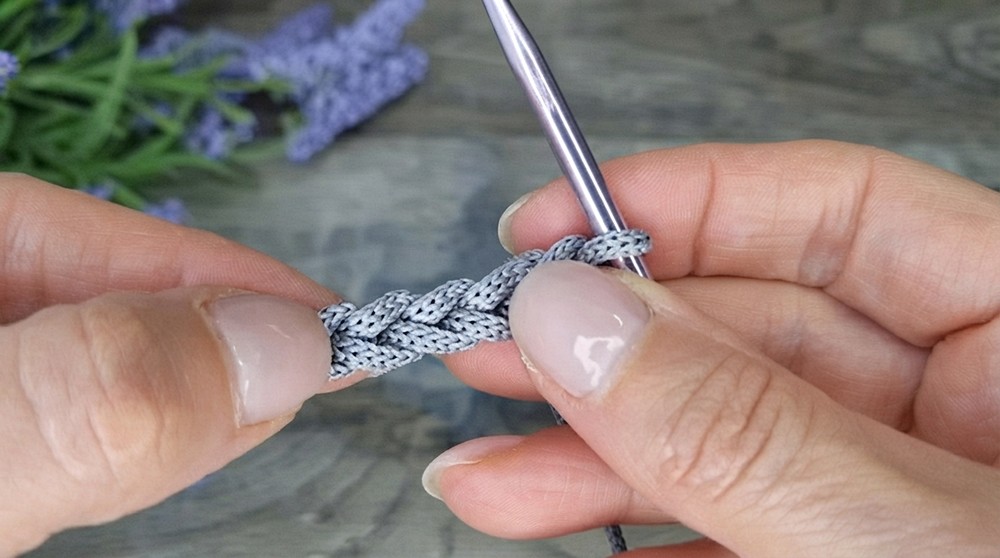
Step 2: Base Row – Slip Stitches in Back Bumps
- Work 11 slip stitches (sl st) into the back bumps of the foundation chain.
- This will create a sturdy, flat base for the pouch.
- Carefully hide your starting tail by either weaving it back through the stitches or crocheting over it as you work.
Step 3: Row 1 – Bottom Row Construction
- Chain 1 to turn.
- Crochet 11 stitches along the base chain, working only into the back loops of the stitches.
- At the turning point, execute a triple increase by working 3 slip stitches into the same loop to form a rounded corner.
- Continue around the other side, again working into the back loops, finishing with another triple increase at the final corner.
- This complete round forms the solid, oval-shaped bottom of the pouch.
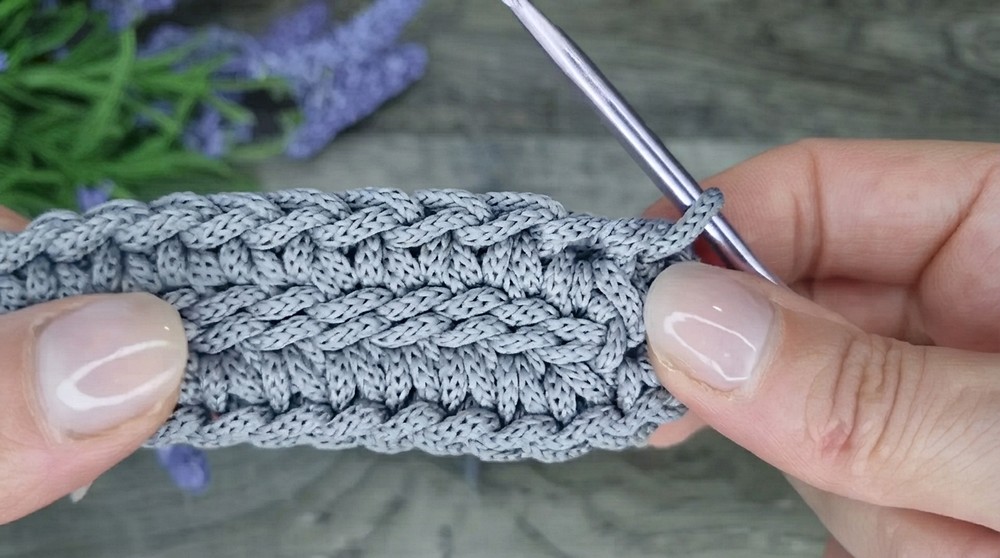
Step 4: Main Body – Joining Rows and Lace Pattern
- Rows will now be worked in rounds around the base with a special joining method for neatness:
- At the end of each row, pull the working loop through the back of the first stitch of the current row, then pull it back onto the hook for a seamless join.
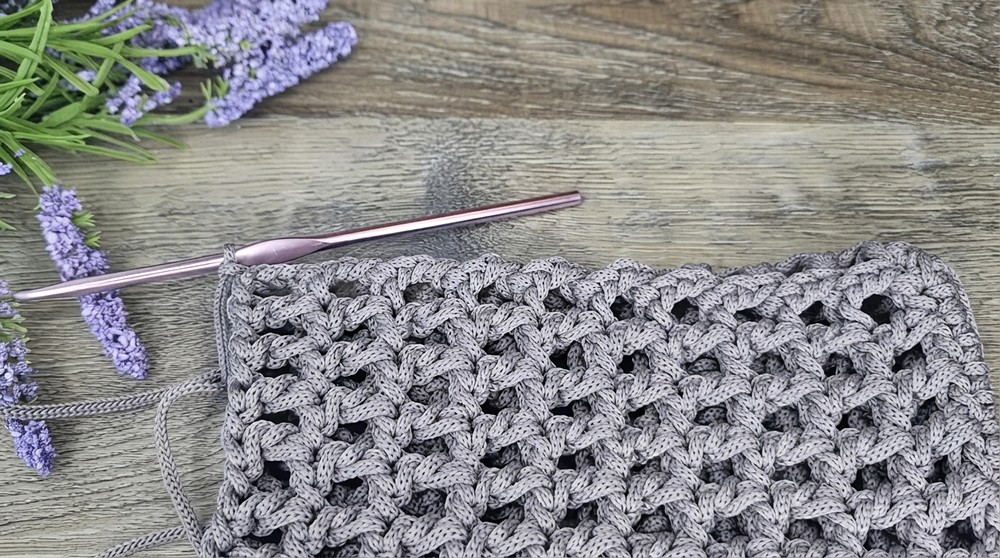
- For the body itself, follow this stitch pattern:
- Chain 4 (counts as 1 double crochet + 1 chain).
- Skip the next stitch.
- Double crochet into the following stitch.
- Chain 1.
- Repeat alternating double crochets (dc) and chain stitches to create an open netted texture.
- Continue this pattern for approximately 10 rows or until the piece measures about 17 cm (adjust for your phone size).
Step 5: Top Edge & Finishing
- After reaching desired height, crochet one final row with alternating single crochet (sc) stitches and chain spaces to create a neat and tighter edge.
- Work an additional round of slip stitches (sl st) around the top edge to finish smoothly.
Step 6: Strap Construction
- Attach your yarn to one of the carabiner rings by working 3 single crochets (sc) around it to secure firmly.
- Crochet back and forth in rows, turning your work each time, to create a flat, sturdy strap approximately 1 meter in length (or adjusted as preferred).
- Attach the other end of the strap by similarly crocheting it securely around the second carabiner ring.
Step 7: Final Touches – Drawstring and Decoration
- Thread the remaining cord through the open chain spaces near the top edge to form a drawstring closure.
- Optionally, add decorative beads onto the ends of the drawstring to enhance style and usability.
- Securely tie and trim any excess cord. Use a lighter to carefully seal cord ends and prevent unraveling.
Assembly & Finished Size
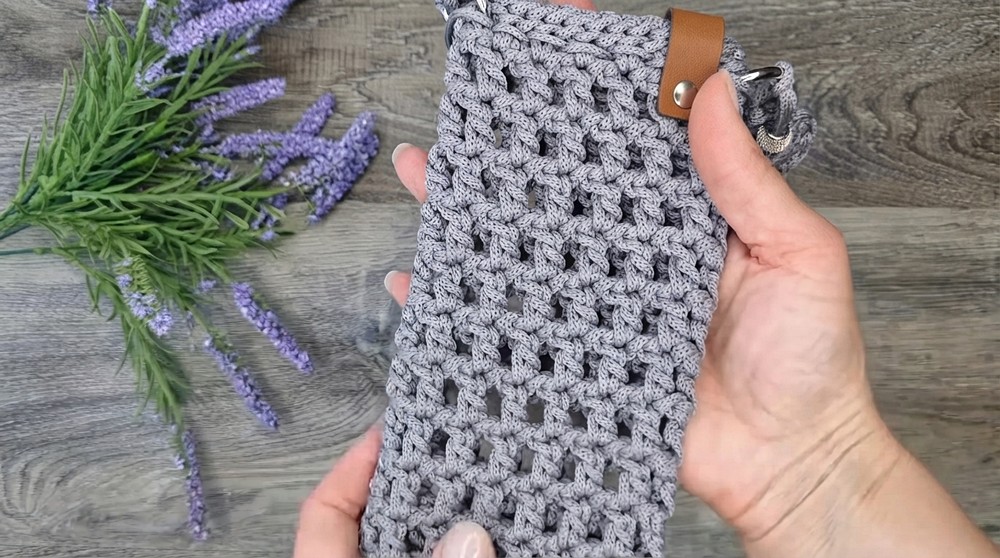
- The pouch’s base forms a tough, oval bottom that supports your phone securely.
- The open double crochet mesh around the sides provides flexibility and lightness.
- The strap, attached via carabiners, allows you to carry the pouch crossbody or on your shoulder.
- Finished pouch dimensions approximately 17 cm in height, width as per base chain (about 11 chains spaced), and a customizable strap length around 1 meter.
Conclusion
This crochet phone pouch is a functional and fashionable project suitable for artisans seeking a stylish accessory using sturdy polyester cord. The carefully crafted base provides strength while the open lace pattern adds elegance and breathability. Seamless row joins and meticulous finishing techniques result in a refined, professional piece. Adding a customizable strap with carabiner rings offers versatility and ease of use, and optional bead decor adds a personal touch. Beginner and intermediate crocheters alike can enjoy making this purposeful yet chic pouch, perfect as a handmade gift or a unique personal item. With patience and care, you’ll create a durable phone pouch combining crochet artistry and smart design.