Stylish Crochet Bag With Easy & Free Pattern for Beginners
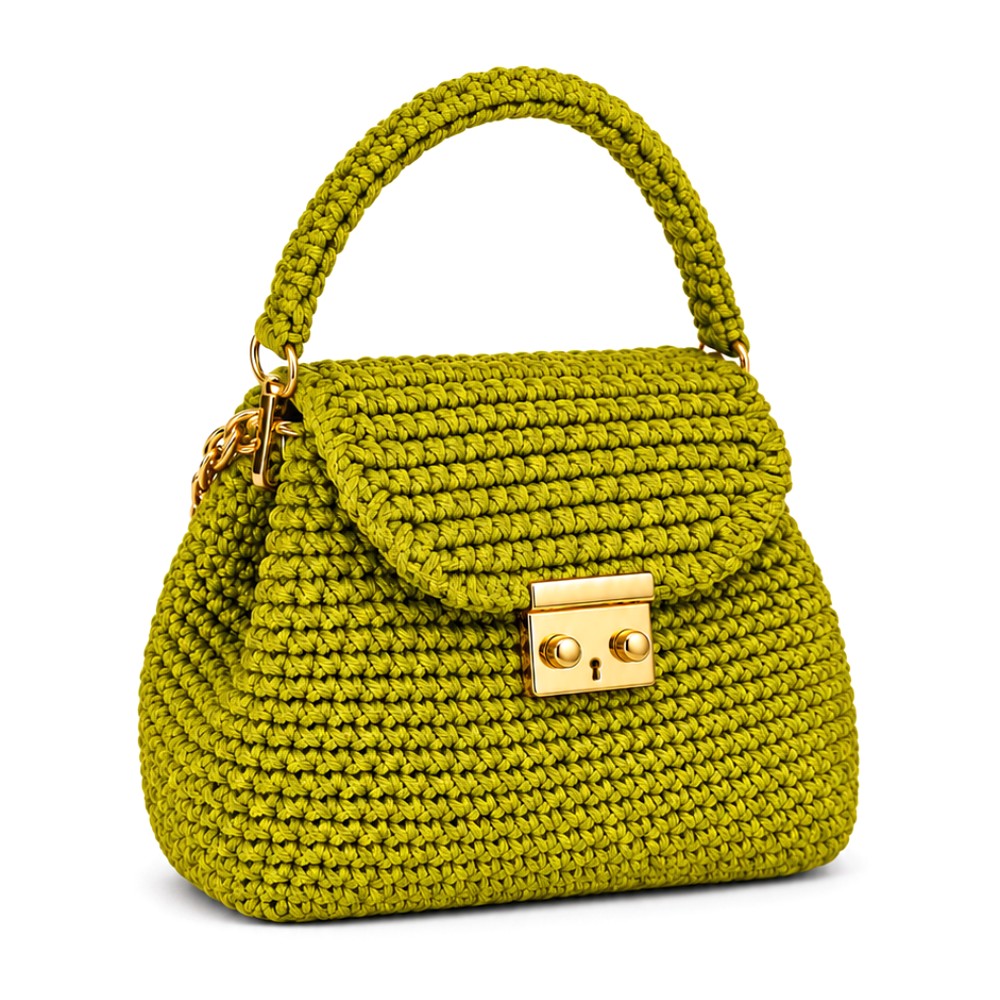
Start with this easy Free Crochet Bag and work toward an olive green handbag with a deep base, a curved flap and a gold clasp for your next weekend outing.
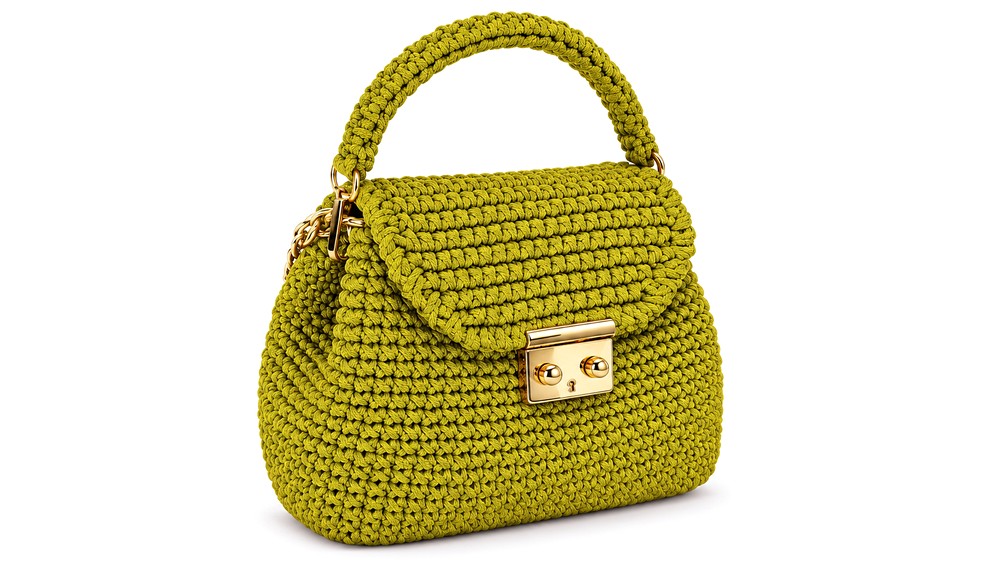
Depth matters when the things you carry have more bulk than a card and a set of keys. This Free Crochet Bag puts that space into a compact olive green handbag with a curved front flap and a short handle.
Olive Green Free Crochet Bag With a Deep Base
Behind the Design
Beginners will find several simple handbag projects on Amena Crochet Bags. The olive style is one example of how basic crochet can produce a bag with its own shape and character. The channel covers everyday details such as flaps, handles and clasps, so viewers can see how each part fits.
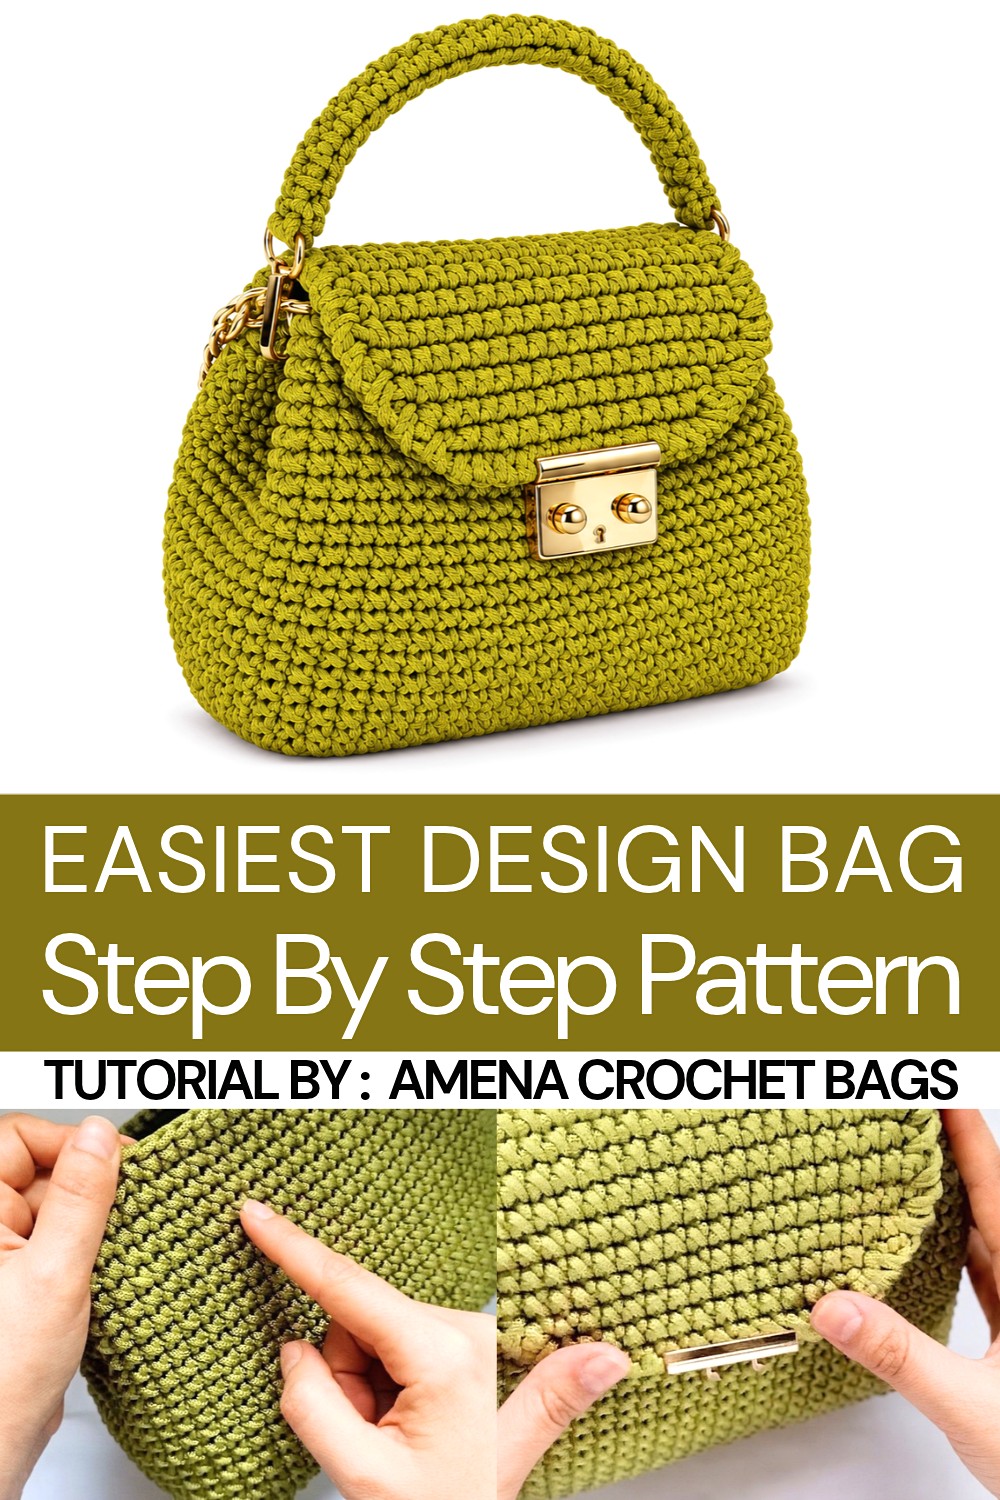
The finished sample measures 22 cm across and 17 cm high, with a 15 cm depth. That last number explains its shape better than the front view alone. Turn it sideways and you can see how far the base extends. A small glasses case, a folded reusable shopping bag and a coin pouch are the sort of items that can use that extra depth on a quick trip into town.
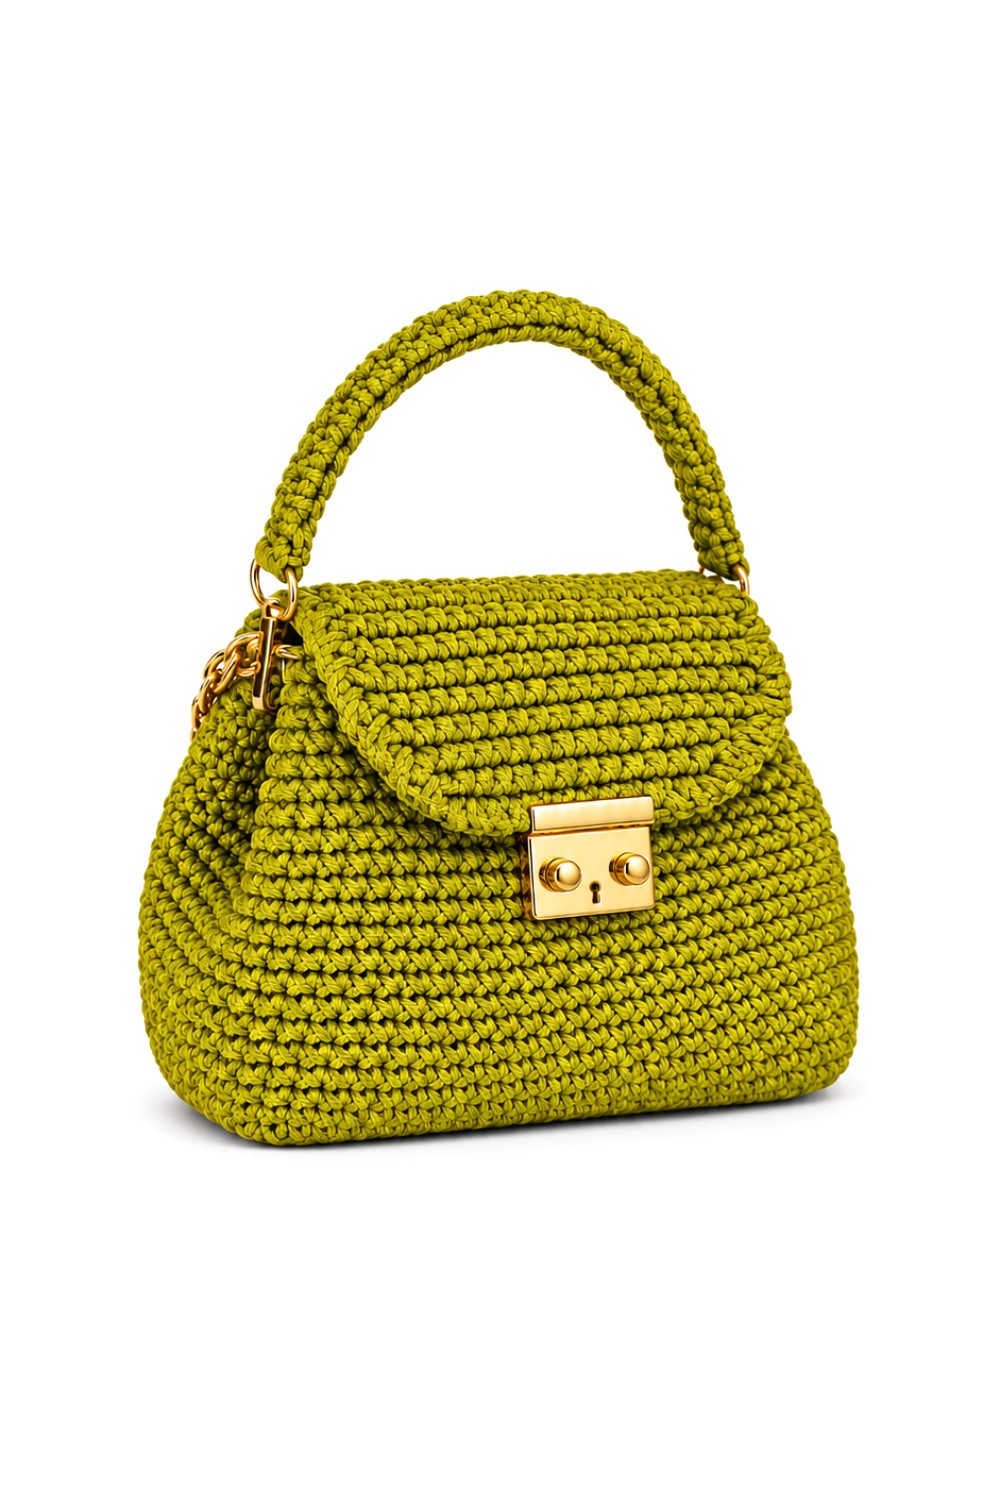
Across the flap, the stitches run in straight rows before the edge turns down toward a square gold clasp. The handle arches high enough to stand out against the body, and the same olive shade continues from the base to its tip. That single color keeps attention on the rounded corners and the rows of stitches. The project uses 3 mm polyester chain cord and a 5 mm hook, and the shape is approachable for beginners. For an everyday outfit, the deep green sits well next to a plain white shirt and blue jeans. Held by its short handle, it looks just as natural with a casual dress.
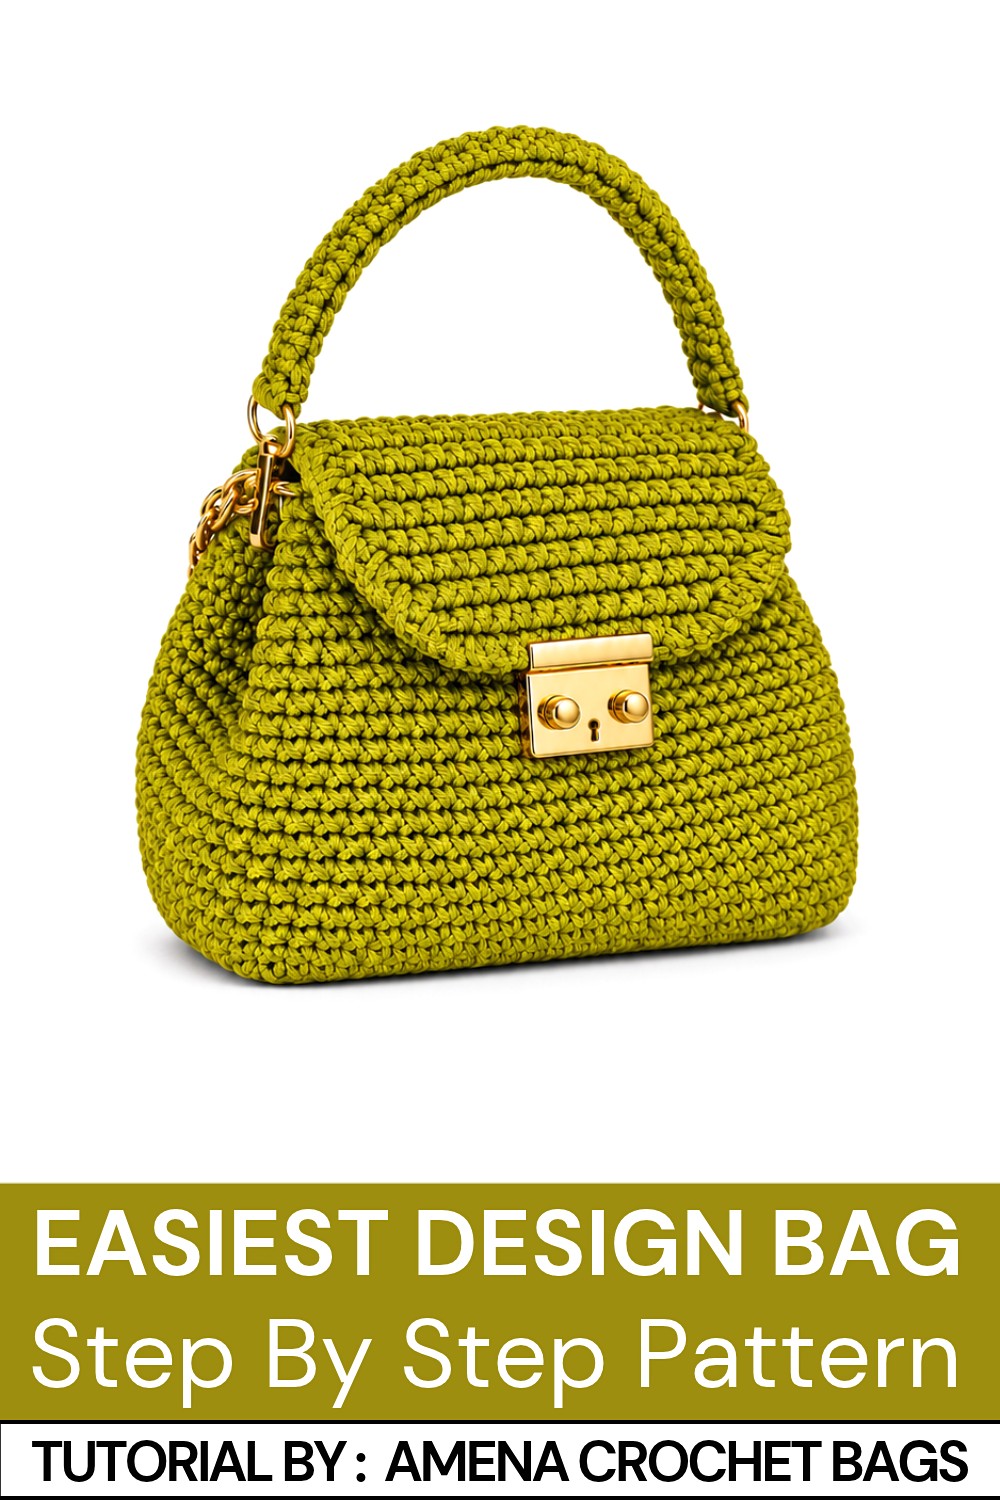
Simple Cross-Stitch Crochet Bag Pattern
This easy and beginner-friendly crochet bag design is both functional and stylish. It covers key crochet techniques like working a proper base increase, creating cross stitches for a unique texture, and constructing the bag cover. Using polyester macrame thread ensures a sturdy and elegant finish, making this bag perfect for everyday use.
Skill Level
Beginner
This pattern is suitable for beginners who are familiar with basic crochet stitches such as single crochet and slip stitches and are looking to expand their skills with cross stitches and shaping.
Materials
- Thread: 3 mm polyester macrame thread (500 grams or approximately 200 meters).
- Crochet Hook: 5 mm.
- Extras:
- Stitch markers (for round tracking and marking critical points).
- Metal snap hooks (for attaching the strap).
Stitch Abbreviations
- ch = chain
- sc = single crochet
- sl st = slip stitch
- cross sc = cross-pattern single crochet (a variation of sc where the thread is pulled from under the hook for a special “X” texture)
Useful Tips
- Tension Control: Ensure the thread is not pulled too tightly while working cross stitches to maintain smooth and even tension.
- Tracking Rounds: Use stitch markers to mark the first and last stitches of each round to avoid losing your place.
- Even Edges: Work uniformly into both loops when specified to create clean edges.
- Direction Consistency: Always work in one direction for areas like the bag cap to ensure uniform texture.
- Strap Attachment: Leave extra thread before cutting to securely sew the strap or metal snap hooks.
Step-by-Step Pattern
1. Base Construction
Foundation Row:
- Make a starting knot and chain 21 stitches.
- Starting from the second chain from the hook, work 20 sc.
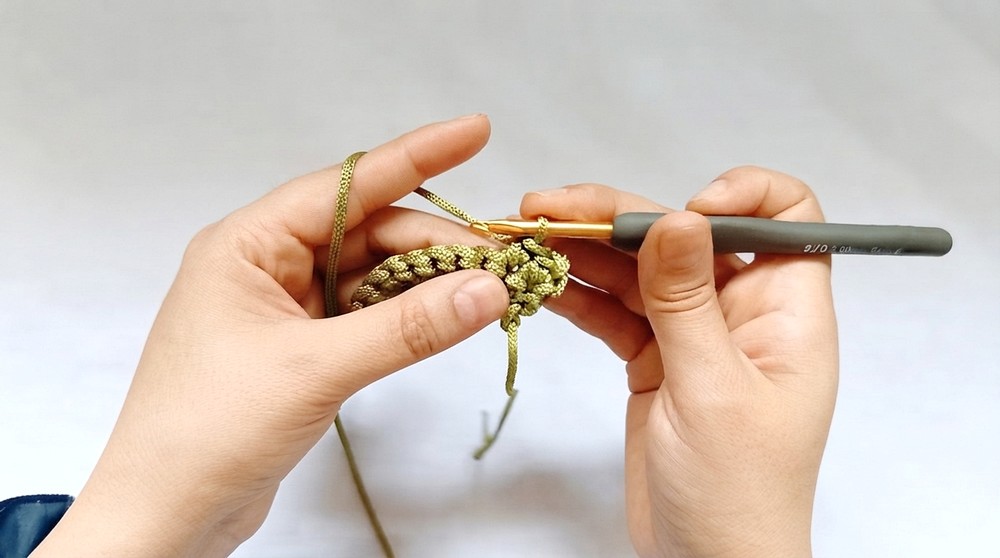
Rows 2–10:
- Chain 1 and turn your work.
- Work 20 sc into both loops across the row.
- Repeat for a total of 10 rows, maintaining 20 stitches per row.
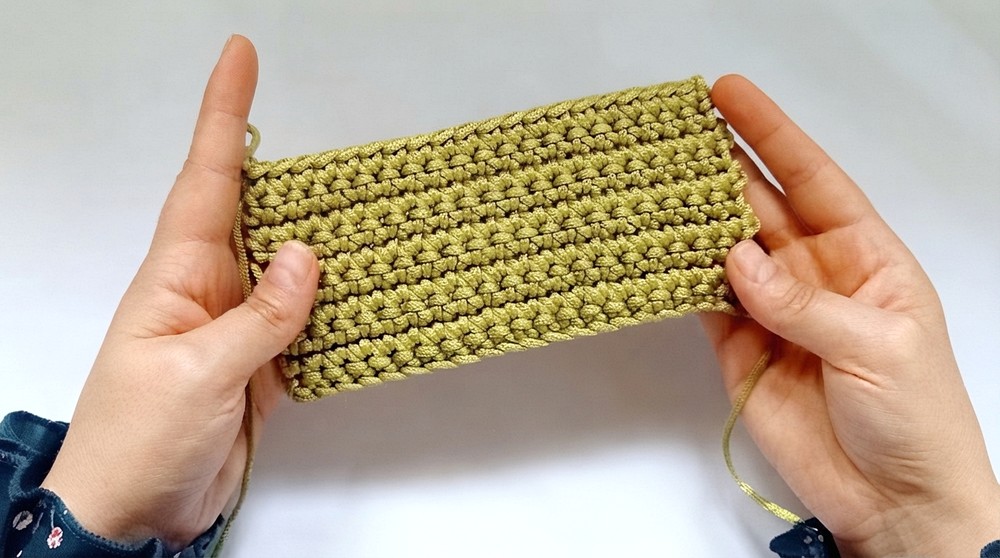
2. Shaping the Bag Base
Round 1 (Working Around the Base):
- Chain 1 and place a stitch marker in the chain.
- Work sc stitches along the edges as follows:
- Side 1: Make an increase (2 sc) in front of the first row. Then work 8 sc. At the last row, make another increase (2 sc).
- Side 2 (Across Starting Chains): Work 12 sc, then make an increase in the first chain stitch, 18 sc, and an increase in the last stitch.
- Side 3: Repeat as in side 1, working 12 sc across the ends of the rows. Make increases in front of both the first and last rows.
- At the end of the round, you should have 68 stitches.
3. Cross-Stitch Rows
Round 2 (First Cross Stitch Round):
- Skip the chain containing the marker and work into the first sc of the previous round.
- Cross Stitch Instructions: Pull the thread from under the hook instead of over the hook to create an “X” shape in the stitch.
- For the corners (4 corner groups):
- Make an increase (2 cross sc) in the first and third stitches of each corner.
- Work cross sc across the remaining stitches between the corners.
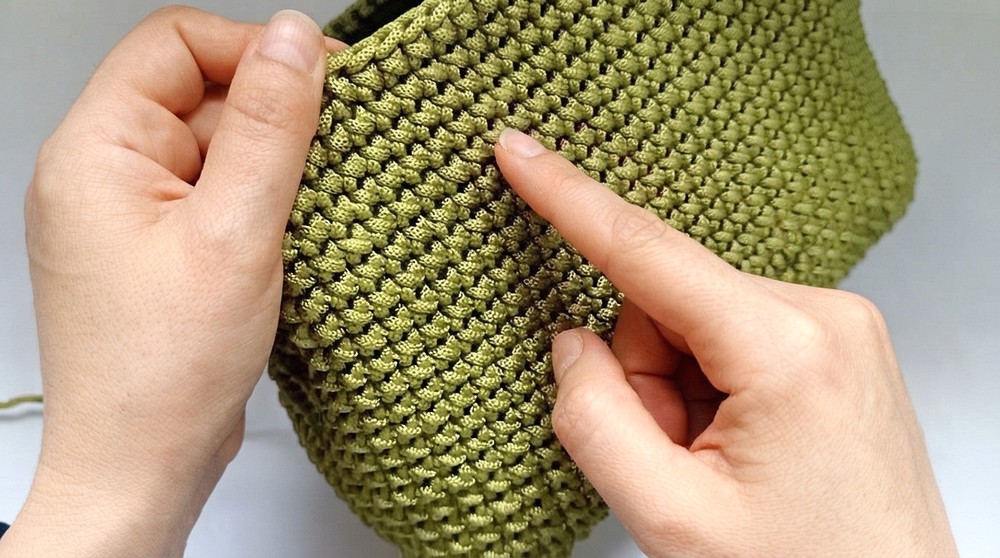
Round 3 (Second Cross Stitch Round):
- Continue working cross sc around, ensuring you make increases in the same positions as in Round 2.
- At the end of this round, you should have 76 stitches. The base dimensions will now measure approximately 22 cm width x 15 cm height.
4. Bag Body
Rounds 4–23:
- Work 20 straight rows in cross sc without any increases. Do not close rounds; continue in a spiral for a seamless finish.
- The body should measure approximately 17 cm in height.
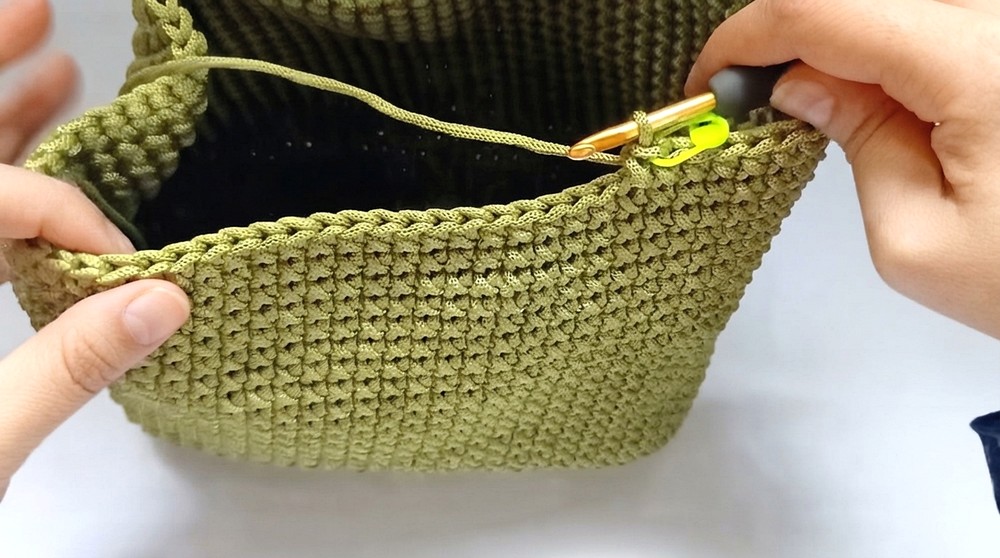
5. Bag Cap
Cap Base:
- After completing the bag body, mark every 20 stitches for the cap and begin working only into these 20 stitches.
- Row 1: Work 20 sc in one direction, ensuring you mark the first stitch for future reference.
Cap Construction:
- At the end of every row, pass the thread through the loop and knot it before restarting from the same side in the same direction.
- Rows 2–10: Work cross sc across the 20 stitches in each row.
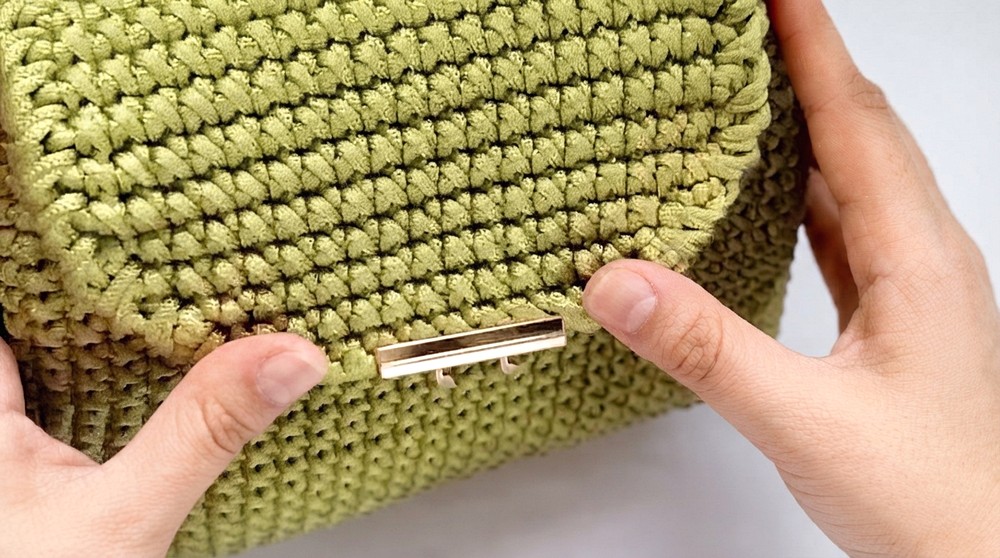
Decreasing Rows:
- Row 11: Skip the first stitch and work 18 cross sc, stopping before the last stitch.
- Row 12: Skip the first and last stitch and work 16 cross sc.
- Row 13 (Final Row): Skip the first and last 2 stitches, working 12 cross sc.
Finishing Edge:
- Cut the yarn and tie it securely to the last stitch.
- Create an edge around the cap:
- Pull the thread through the base of the cap and twist the hook as you pull up a loop.
- Work sc around the edge of the cap to create a clean, reinforced border.
6. Strap and Finishing Touches
Strap Construction:
- Tie the thread to a metal snap hook and chain 25 stitches.
- Work 2 rows of sc into the chain to create a sturdy strap.
- Before cutting the thread, leave a long tail for sewing.
Attaching the Strap:
- Sew the edges of the strap securely to the bag using the thread tail.
- Ensure the stitches are tight and secure for durability.
Conclusion
This simple yet elegant crochet bag showcases the versatility of basic and cross stitches, resulting in a stylish and functional accessory. Its customizable size and design make it a perfect project for beginners to practice key techniques while creating a useful item. Adjust yarn colors, strap lengths, or dimensions for a personalized touch.