How to Crochet Patriotic Bandana for Beginners
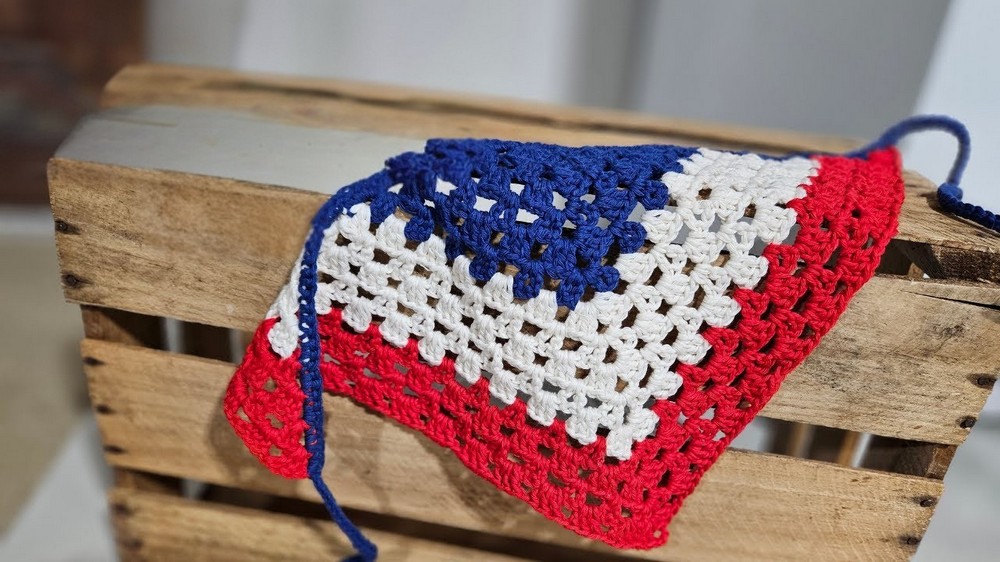
Learn how to crochet a stylish and patriotic Fourth of July-inspired headband or bandana with a step-by-step tutorial for beginners. Using red, white, and blue cotton yarn, the tutor creates a simple yet versatile piece, alternating between granny stitch and V-stitch rows for a beautiful texture.
The detailed step-by-step instructions make it easy to follow, even for beginners. Perfect for holiday wear or festive decorations, this quick project is both creative and practical. So, follow through with us for the complete tutorial.

DIY Fourth of July Patriotic Bandana/Headband
In this detailed tutorial by Enchanted Yarn Works, viewers are guided step-by-step on creating a beautifully crafted patriotic bandana or headband perfect for Fourth of July celebrations. The tutorial is accessible, beginner-friendly, and uses a combination of red, white, and blue cotton yarn. Below is a breakdown of the key points and instructions discussed in the video:
Materials Required
- Yarn: Red, white, and blue cotton yarn in Aran/worsted weight (Paintbox Cotton Aran was used).
- Hook: A 4.5 mm ergonomic crochet hook.
- Accessories: Small scissors and a tapestry needle for weaving in the ends.
- Optional Tools: Plastic yarn covers or organizers to keep the yarn tidy while working.
Overview of the Pattern
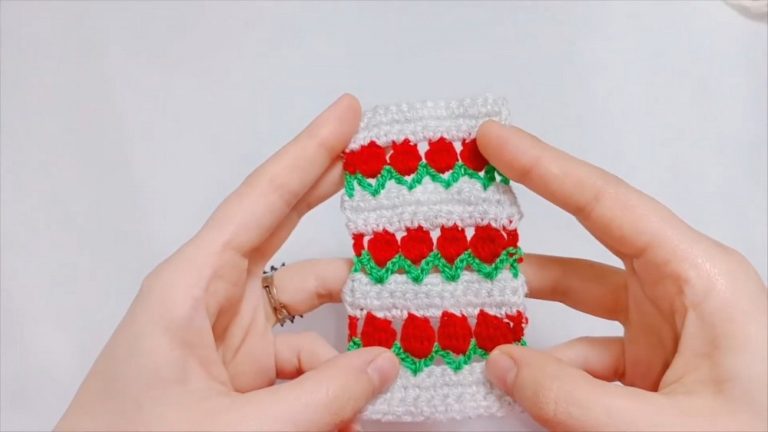
- Type of Stitches/Pattern: The pattern combines granny stitches and V-stitches to create a textured, lightweight design.
- Customizations: While designed for Fourth of July colors, the pattern can be easily adapted to other color combinations for various celebrations or styles.
- Usage: The finished product can be worn as a bandana/headband or used as décor (e.g., bunting).

Step-by-Step Instructions
Starting with the Base Color (Blue)
- Begin the project with a foundation circle using a chain, and build out the design using granny stitches and V-stitches in alternating rows.
- Create rows by carefully following the sequence of corners and edges to build triangular symmetry. Ensure each corner has the appropriate spacing.

Color Change: Switching to White and Then Red
- Transition smoothly from one color to the next using a clever weaving technique. Keep tension consistent to avoid puckering.
- The same alternating granny stitch and V-stitch pattern is followed for each color segment.
Edging and Border
- For a polished look, a cord-like edge is created. This involves chaining and slip-stitching to create a tie for the bandana.
- Add single crochet stitches along the edges to secure and neaten the design.

Tips and Advice
- Yarn Usage: Each 50g skein of yarn will be more than enough for the project. Approximately 22g of red yarn was used in the demo. Similar amounts will be used for the other colors.
- Adjusting Size: The pattern is designed in two sizes, but stitch counts can be modified to make it larger or smaller based on individual preference.
- Tension Control: Maintain consistent tension throughout the project, especially with the foundation chains and color changes.

Finishing Touches
- After completing the pattern, weave in all loose ends using a tapestry needle.
- Block the piece if desired to further enhance its shape before usage.

Key Takeaways
- Versatility: While the original design is themed for Independence Day, the tutorial emphasizes its adaptability for various occasions with alternate color schemes.
- Beginner-Friendly: The project features straightforward instructions and common stitch techniques, making it suitable for beginners while still engaging enough for experienced crocheters.
Video Guide
https://youtu.be/0J3CJb-kjIw