Modern Free Crochet Vintage Cape Pattern For a Fresh look

Let elegance meet comfort with Free Crochet Vintage Cape Pattern offering vintage charm warmth and stylish appeal for any occasion or outfit.
Gentle fabric covers your shoulders and brings a sense of warmth and style with every wear. Inspiration from the past shines through each crochet vintage cape pattern, giving every piece a unique story and old-world elegance. The lightweight shape allows easy movement while the outfit instantly looks special and classic. Simple ties or buttons let you put it on and take it off without fuss, so anyone can enjoy its beauty.
Effortless free crochet vintage cape pattern for instant style

A crochet vintage cape pattern adds comfort during cool evenings, works well at special gatherings, or upgrades everyday clothes with little effort. Many people love how the cape feels cozy but won’t weigh you down. Delicate designs and open stitches add charm and timeless appeal that fit all ages and styles. This beautiful layer turns even a simple look into something memorable, making it a favorite for many.
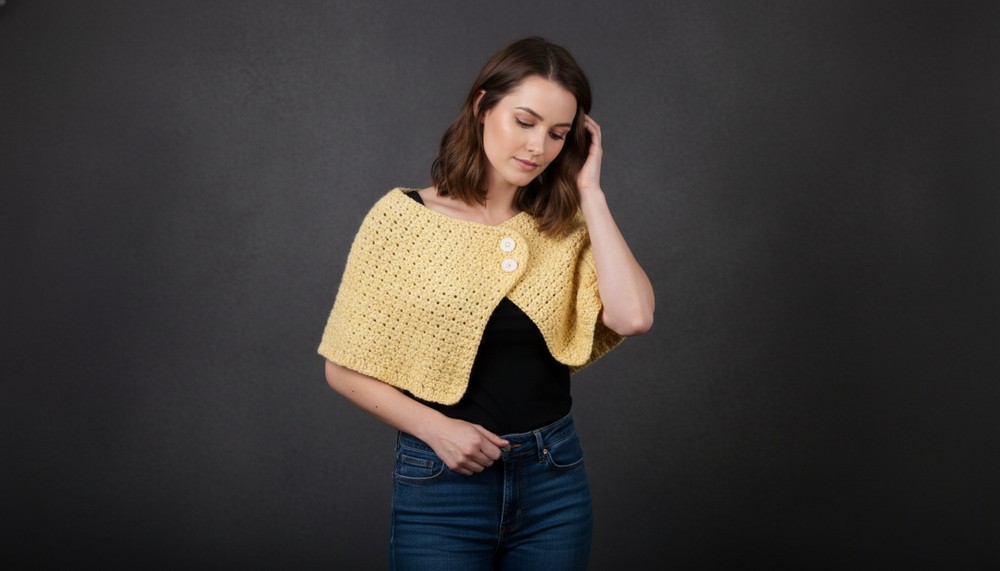
Vintage Cape Shoulder Warmer (Crumpled Griddle Stitch)
Materials List
- Yarn:
- Paintbox Yarns Special Aran (100% acrylic, aran/medium weight)
- Color: 241 (or as desired)
- For Size S: 2 skeins (check the free pattern for exact yardage per size)
- Hook: 5 mm (US H/8)
- Notions:
- Scissors
- Tapestry/Yarn needle
- Darning thread and sewing needle
- 2 Buttons (approx. 15 mm diameter)
Key Abbreviations (US Terms)
- ch: chain
- sc: single crochet
- dc: double crochet
- st(s): stitch(es)
- rep: repeat
- sl st: slip stitch
- RS/WS: right/wrong side
Special Notes
- Sizes: S to 3XL (see blog for stitch/row counts by size)
- Stitch Pattern: “Crumpled Griddle Stitch”: Alternate (dc, sc) across each row, always placing dc on top of dc and sc on top of sc in following rows.
- Construction: Worked flat in one rectangle, folded, sewn, and buttons added for cape effect.
Pattern Instructions
Main Cape Panel
Foundation Row (Size S example; check blog for other sizes)
- Make a slip knot.
- Ch 40 (for Size S; adjust for other sizes).

Row 1
- Ch 3 (counts as first dc);
- Sc in 4th ch from hook.
- Dc in next ch. Sc in next ch.
- Alternate dc, sc across the row.
- Row begins with a dc and ends with sc.
Row 2
- Ch 1, turn (counts as sc).
- Sc in sc, dc in dc across the row:
- Sc in first st (top of last sc), dc in next st (top of last dc), sc in next st, dc in next st.
- Continue alternating.
- End row with a sc.
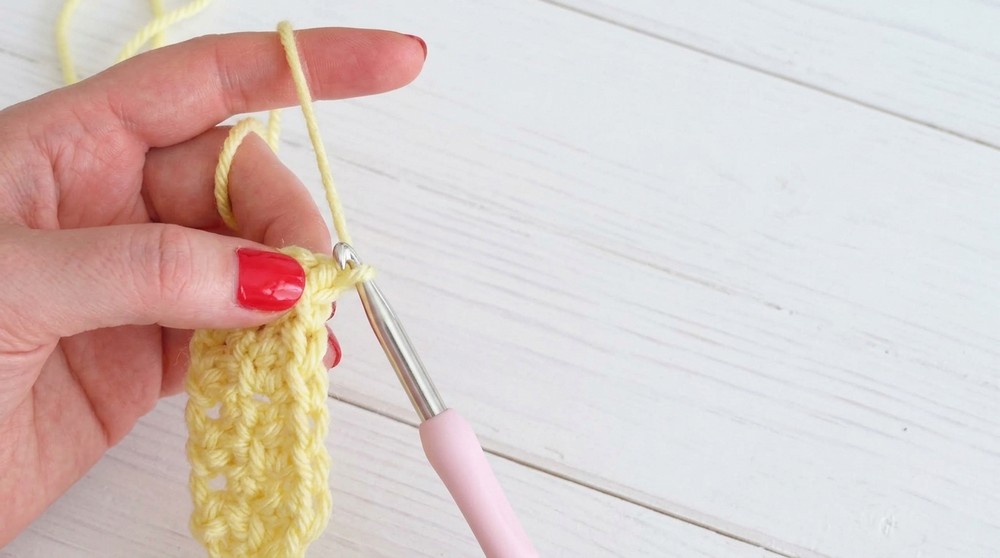
Row 3
- Ch 3, turn (counts as dc).
- Dc in dc, sc in sc across the row:
- Dc in first st (top of last dc), sc in next st (top of last sc), dc in next st, sc in next st.
- Continue alternating.
- End row with a dc.
Repeat Rows 2–3
- Continue to alternate Row 2 (sc start) and Row 3 (dc start) until you reach the required number of rows for your size.
- For Size S: Work 94 rows total.
- Always place dc on dc and sc on sc from previous row.
Border
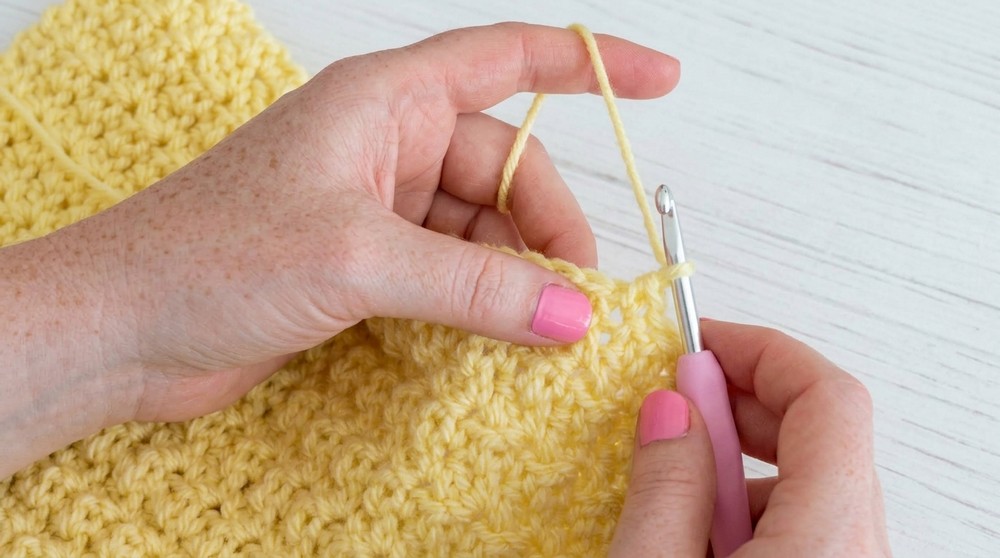
- Ch 1 (counts as sc), turn project so RS is facing.
- Sc evenly along top edge:
- Sc in each st across.
- Corners: At the end of each edge, work 2 sc in corner st for a smooth turn.
- Side edges: Sc evenly along (place sc at regular intervals if working into row ends; adjust as needed for balance).
- Continue all the way around, placing 2 sc in each remaining corner.
- After finishing the round, sl st to first sc.
- Fasten off. Weave in ends.
Shaping and Button Placement
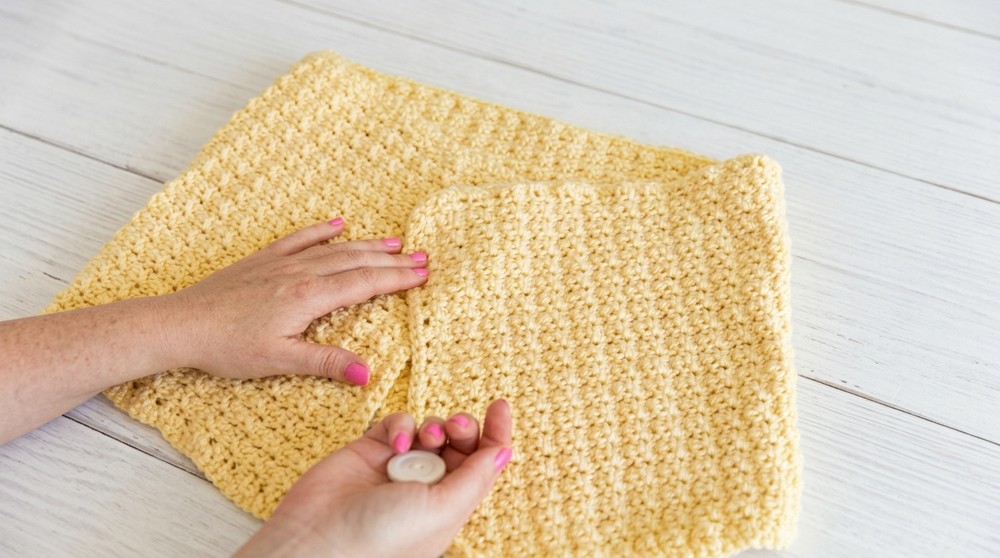
- Fold panel as shown:
- Lay flat, fold over one short end by approx. 4″ to form a capelet shape.
- Sew on Buttons:
- Place and sew two 15 mm buttons symmetrically near the folded edge (approx. 4″ in from short edge).
- Use darning thread and sewing needle for secure attachment.
- Position buttons to allow folded “cape collar” to button through the border.

Conclusion
This feminine, vintage cape is worked simply with the Crumpled Griddle Stitch (dc, sc alternation). The rectangle is edged, folded, and adorned with two buttons. The result is a light, elegant shoulder warmer, perfect for layering. Pattern is size-inclusive and easy for beginners.
Pattern Corrections & Tips
- Check your base chain and row counts for your chosen size using the designer’s blog.
- Even border placement: Along the raw sides (row ends), space your single crochets evenly for a neat finish; too tight or too loose will cause puckering or rippling.
- Button placement: Test closure before sewing to ensure symmetry and fit. Buttons can be decorative or functional.
- Weave in ends securely, especially after sewing buttons.
- For variation, use a softer or blended yarn for extra drape.
- Tip: If your tension is tight, consider using a slightly larger hook for the border so it does not constrict the capelet.