Free Crochet Diamond Cardigan Pattern for Fashion Lovers
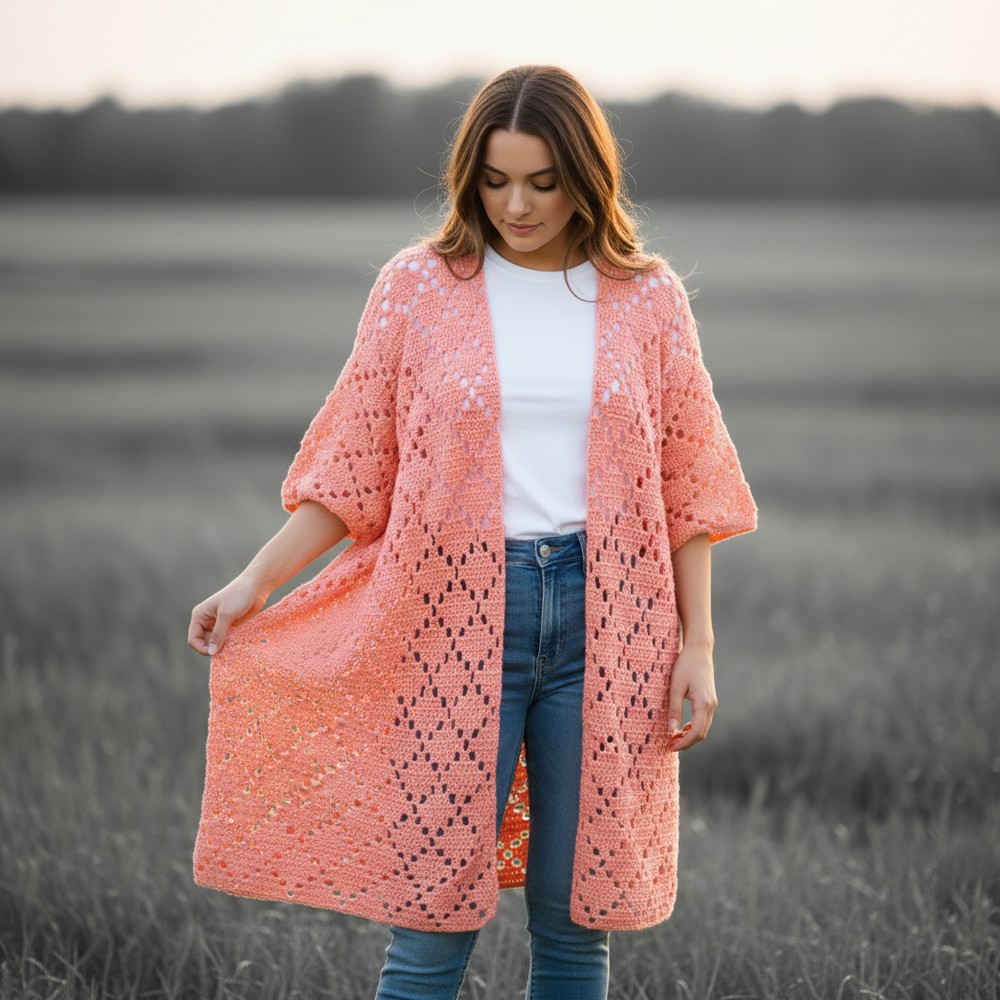
Dress up with this free crochet diamond cardigan pattern to enjoy stylish elegance and cozy warmth perfect for any occasion year-round.
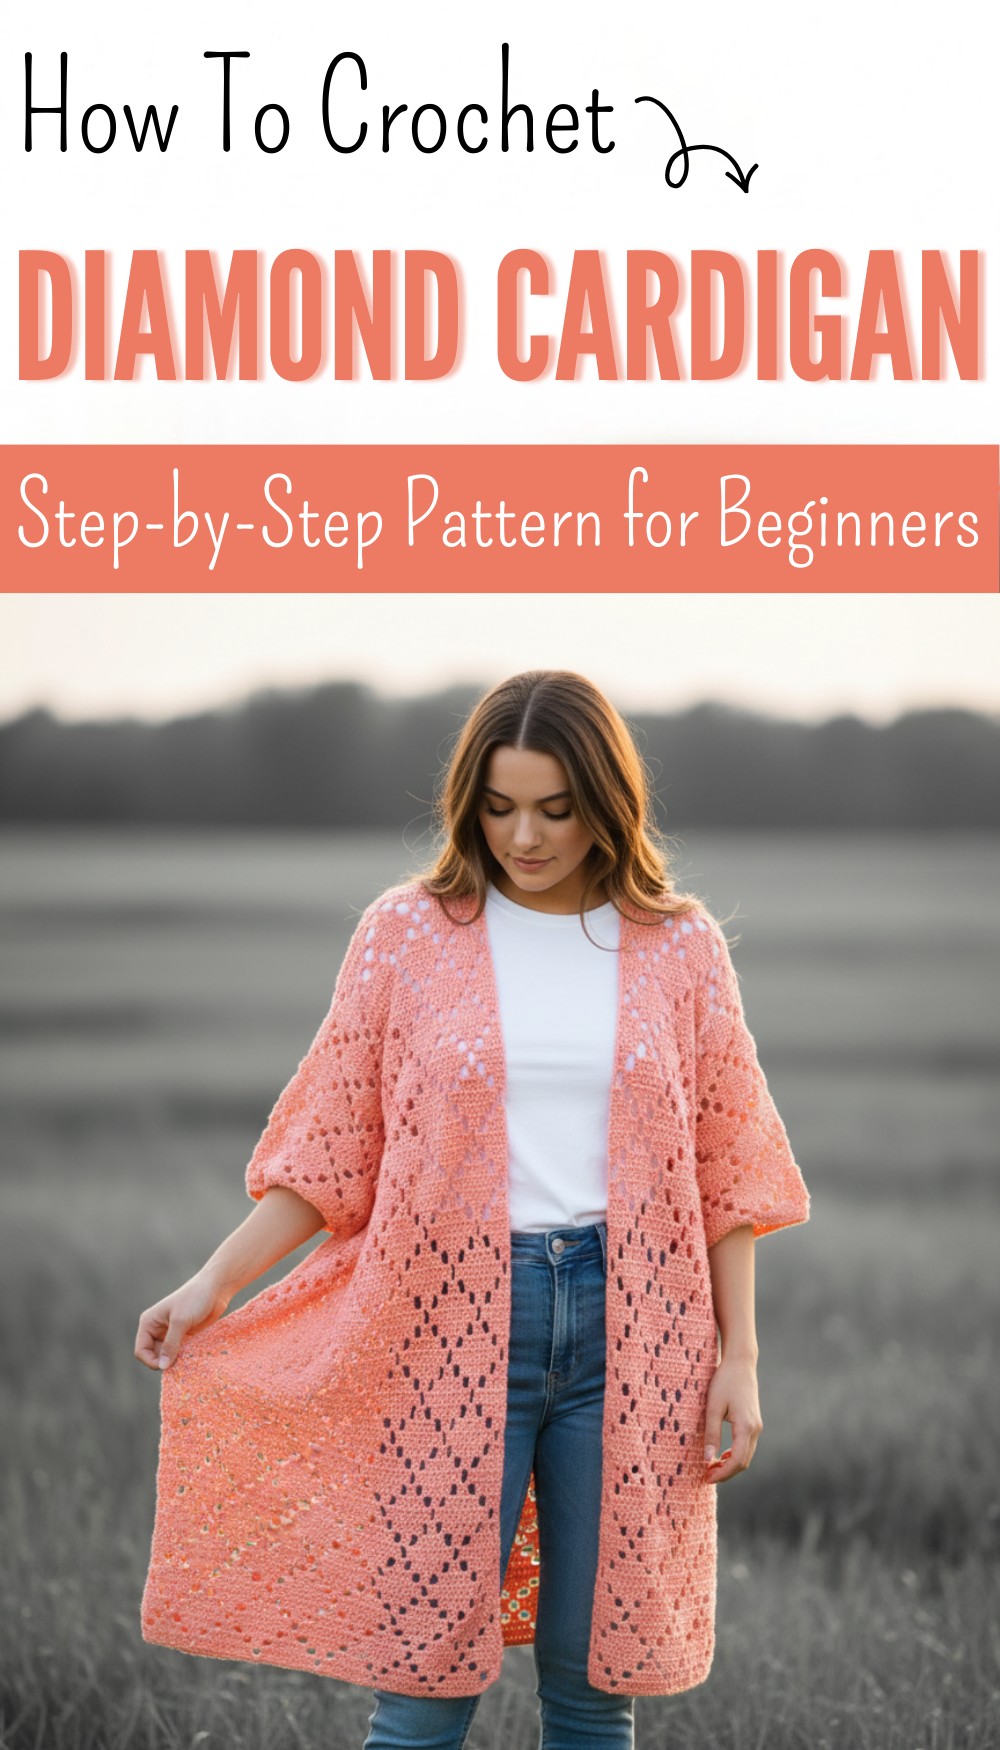
Have you ever wanted to wear something that feels both special and comfortable? Soft diamond shapes sit across this cardigan bringing striking beauty to even the simplest outfits. Using the crochet diamond cardigan pattern you get a piece that easily matches dresses jeans or skirts offering style for any occasion. Its gentle texture and light feel make it perfect for cool evenings or casual days out offering the right balance of warmth without feeling bulky.
Classic Free Crochet Diamond Cardigan Pattern for a Chic Touch
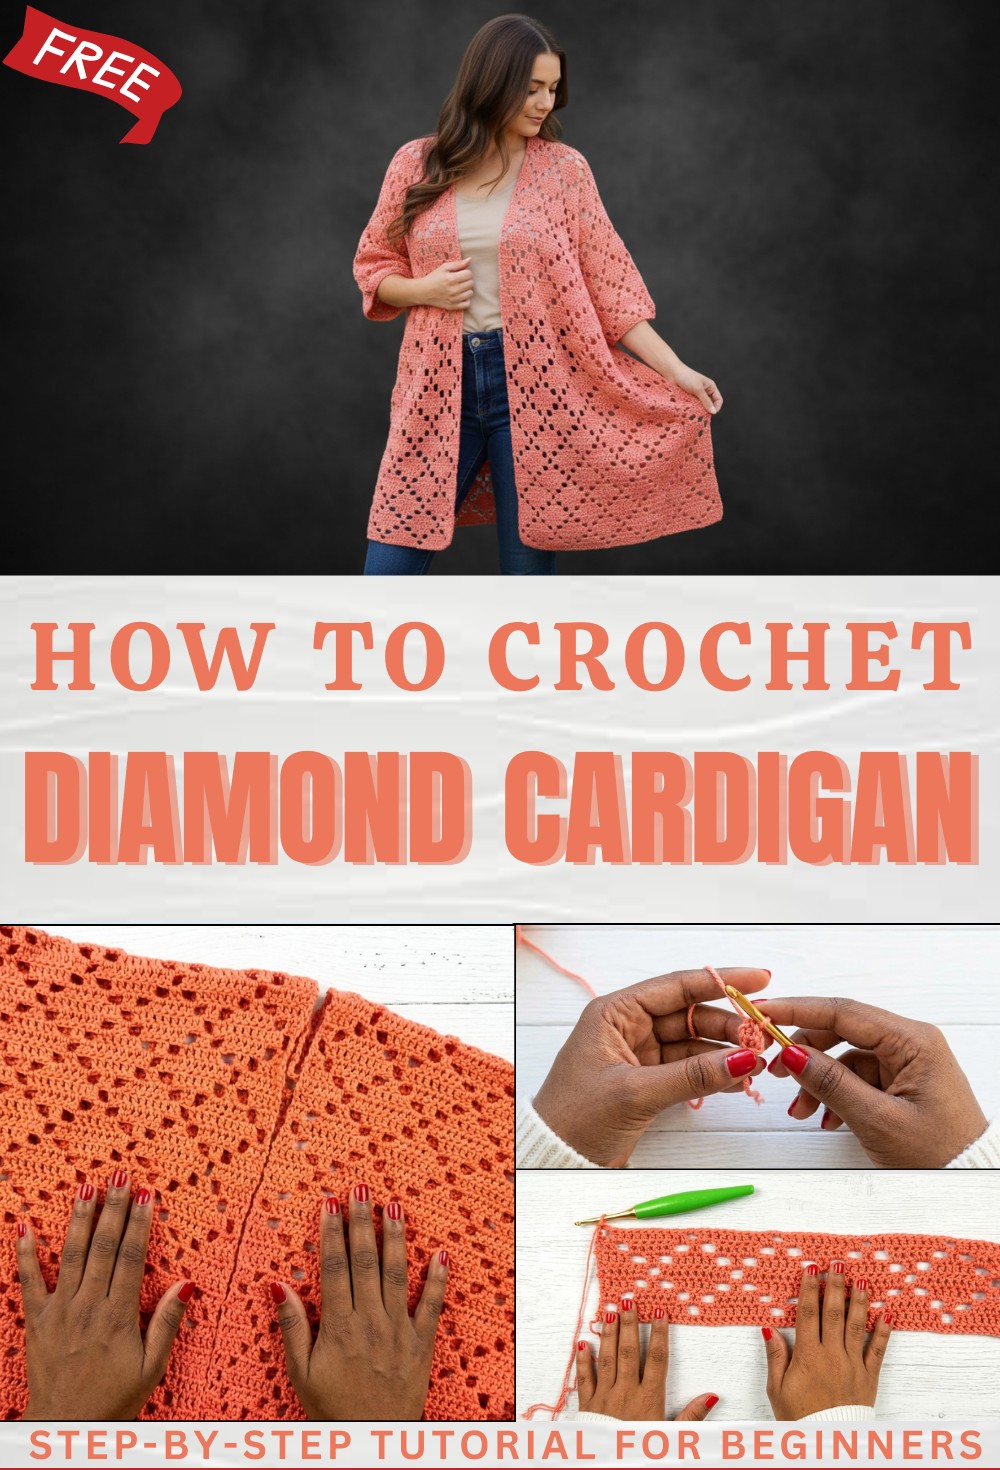
Eye-catching designs will catch attention and bring smiles from friends and family. Easy instructions help anyone enjoy making or wearing this cardigan while the diamonds add charm and a touch of elegance. It’s a wonderful way to add unique fashion to your wardrobe or to share as a thoughtful handmade gift at any time of year.
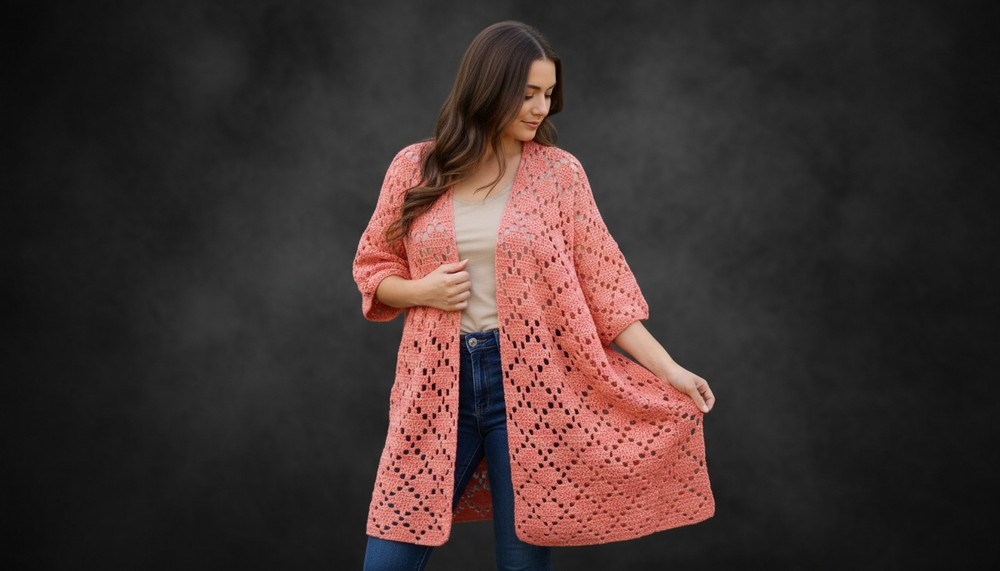
Crochet Diamond Stitch Cardigan Pattern
Materials List
- Yarn: #4 (Medium Worsted) weight; recommended: Lion Brand ZZ Twist or similar non-fuzzy yarn
- Amount required depends on chosen size (see free written pattern for guidance)
- Crochet Hook: US Size H/8 (5.0 mm) or size needed to match gauge
- Scissors
- Blunt Yarn/Tapestry Needle (for seaming and weaving ends)
- Measuring Tape
- Stitch Markers (optional, for marking split/join points)
Key Abbreviations (US Terminology)
- ch: chain
- sc: single crochet
- dc: double crochet
- fsc: foundation single crochet
- rep: repeat
- sl st: slip stitch
- st(s): stitch(es)
- RS/WS: right/wrong side
Special Notes
- Size Range: 3 grouped sizes, covering Women’s XS–5X (refer to written pattern for stitch/row counts per size).
- Fit: Oversized, loose, drapey.
- Construction: Worked flat as one large rectangle with simple extensions for sleeves, then divided for fronts, then seamed.
- Gauge Swatch: Essential for correct fit (see written pattern).
- Edge Stretch: Foundation single crochet is preferred for a stretchy, matched bottom edge.
Pattern Instructions
Back Hem and Body (worked flat in rows)
Foundation Row
- Option 1 (Recommended for Elastic Edge):
- Work a Foundation Single Crochet (fsc) row until you reach your size’s required stitch count (e.g., Size 1: 100 fsc).
- See your gauge and written pattern for other sizes.
- Or
- Option 2 (Alternative):
- Ch desired number of chains, turn, sc in second ch from hook, sc in each ch across.
Row Structure
All rows are worked back and forth (turn at end of each row). For each row, use a “chainless starting double crochet” to replace the typical turning chain (or ch 3 if preferred).
Row 1 (Set-Up)
- Work fsc as above or ch and sc for base.
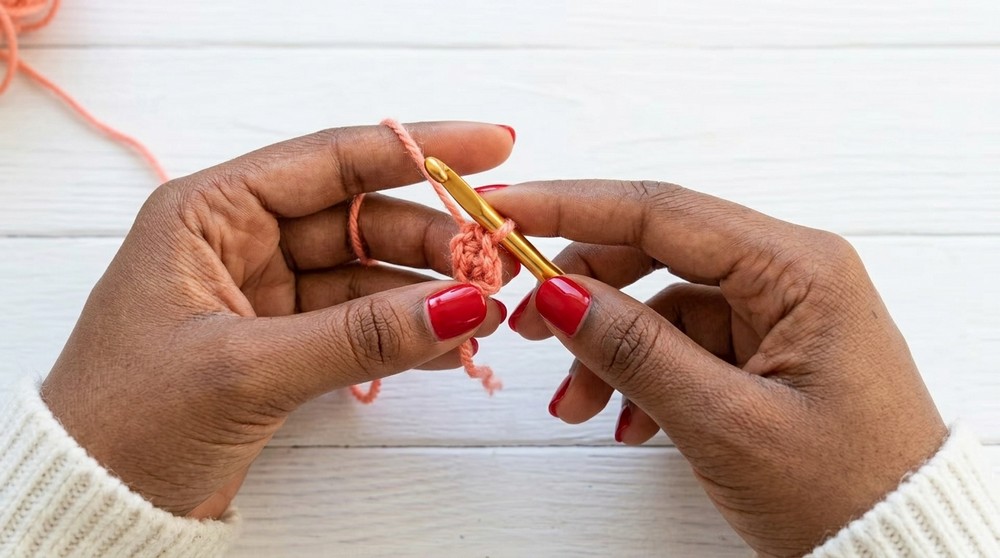
Row 2 (Begin Diamond Pattern)
- Turn. Chainless starting dc in first st (or ch 3).
- [Ch 2, sk 2 sts, dc in each of next 10 sts]
Rep […] across until only 3 sts remain. - End: ch 2, sk 2, dc in last st.
Row 3
- Chainless starting dc in first st.
- 2 dc in next ch-2 space.
- [Ch 2, sk 2, dc in each of next 6 sts, ch 2, sk 2, 2 dc in next ch-2 space]
Rep […] across until only 1 st remains. - End: dc in last st.
Row 4
- Chainless starting dc in first st.
- Dc in next 2 sts.
- [2 dc in ch-2 space, ch 2, sk 2, dc in next 2 sts, ch 2, sk 2, 2 dc in next ch-2 space, dc in next 2 sts]
Repeat […] until only 1 st remains. - End: dc in last st.
Row 5
- Chainless starting dc in first st.
- Dc in next 4 sts.
- [2 dc in next ch-2 sp, ch 2, sk 2, 2 dc in next ch-2 sp, dc in next 6 sts]
Rep […] until 11 sts remain. - End: 2 dc in ch-2 sp, ch 2, sk 2, 2 dc in next ch-2 sp, dc in last 5 sts.
Row 6
- Chainless starting dc in first st.
- Dc in next 4 sts.
- [Ch 2, sk 2, 2 dc in ch-2 sp, ch 2, sk 2, dc in next 6 sts]
Rep […] until 11 sts remain. - End: ch 2, sk 2, 2 dc in ch-2 sp, ch 2, sk 2, dc in last 5 sts.
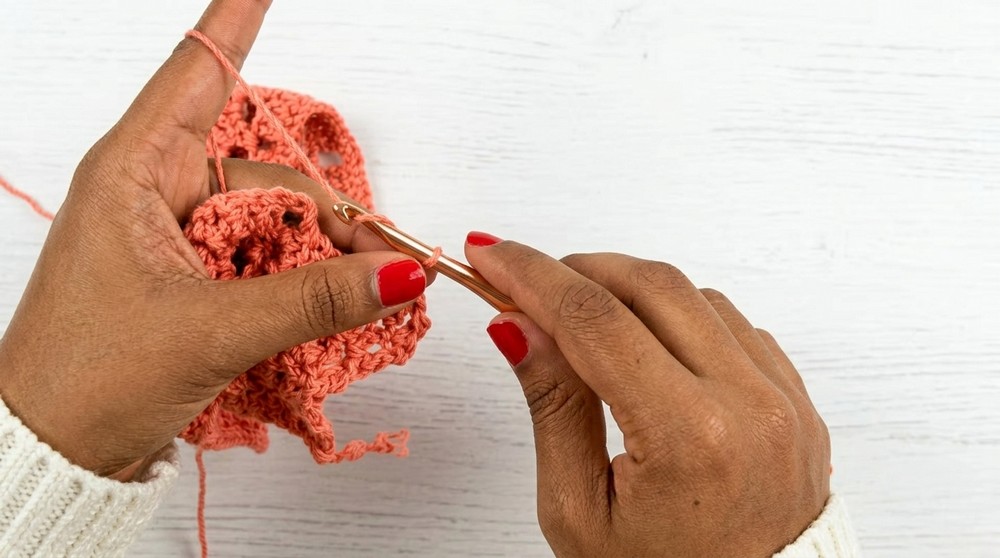
Row 7
- Chainless starting dc in first st.
- Dc in next 2 sts.
- [Ch 2, sk 2, 2 dc in next ch-2 sp, dc in next 2 sts, 2 dc in next ch-2 sp, ch 2, sk 2, dc in next 2 sts]
Rep as established until 1 st remains. - End: dc in last st.
Row 8
- Chainless starting dc in first st.
- [Ch 2, sk 2, 2 dc in next ch-2 sp, dc in next 6 sts, 2 dc in next ch-2 sp]
Repeat […] across until 3 sts remain. - End: ch 2, sk 2, dc in last st.
Repeat Pattern Rows
- Repeat Rows 3–8 as many times as instructed for your chosen size.
- This forms the “back” up to the underarm/sleeve split.
Sleeve Extensions
- Tie off yarn.
- Turn work so that WS is facing you.
- Join new yarn at right edge, ch the required number of sts for sleeve extension (e.g., ch 24),
then work Row 9 as below across existing stitches.
(Details for number of ch and instructions by size: written pattern.) - At end of row, after working across row (body), ch additional number of chains for other sleeve (e.g., ch 26).
- Turn and immediately start working into those new chains using established pattern sequence.
- Complete a few more rows in pattern, increasing depth for the sleeve section as instructed by size.
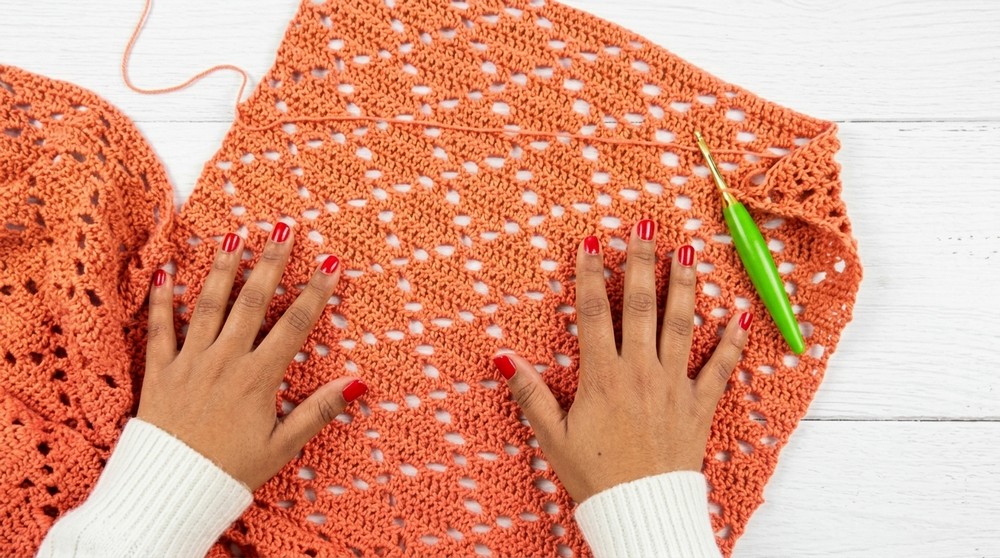
Divide for Left and Right Fronts
- When sleeve extension rows are complete, divide work in half:
- Stop mid-row and work back/forth ONLY on right front section.
- Once right front is finished, rejoin yarn in center for left front and work only across that, matching right front.
Shaping Lower Edges of Fronts
- Shorten width gradually at each “under sleeve” section by skipping chains/sts at beginning/end of rows, as described, to return to original body width.
Finishing Edges
- For each front lower edge, finish with 1 row of sc.
- Leave a long tail for seaming for each edge.
Blocking
- Block panel:
- Steam block (recommended for acrylic), or wet block according to fiber.
- Lay out, pin, and allow to fully dry for best drape.
Seaming
- Fold garment so that front panels align with lower body, overlapping at underarms.
- Whip stitch or mattress stitch the side seam: edge of front to side edge of back panel, up to sleeve join.
- Make sure that eyelets/holes in stitch pattern line up neatly.
- Repeat for both sides.
Final Touches
- Weave in all ends.
- Try on; block again if desired.
Conclusion
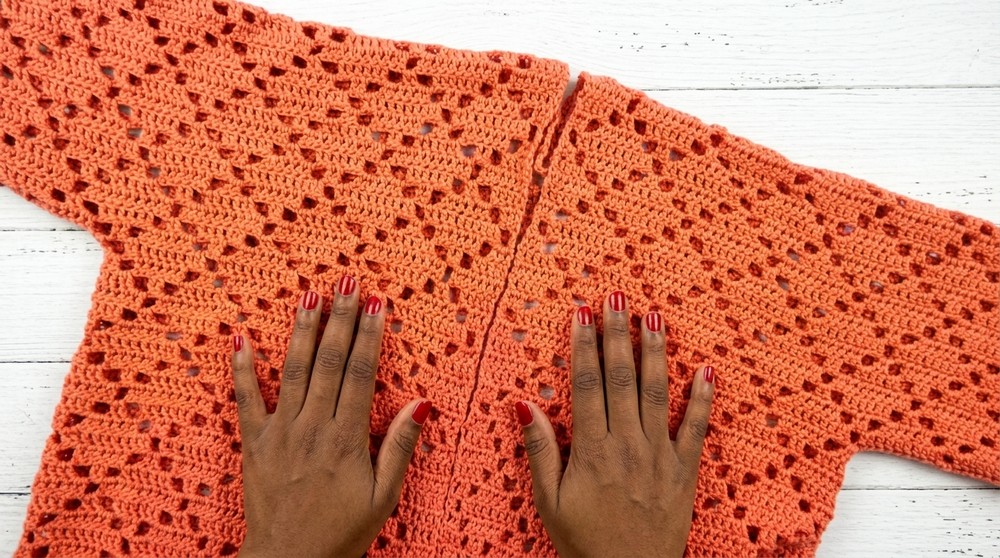
This diamond eyelet cardigan is a simple, oversized layering piece using a geometric eyelet (diamond) pattern. The piece is worked flat in one large rectangle with unshaped sleeves, split at the upper back for the fronts, and finished with straightforward seams. The pattern is easy and beginner-friendly, with detailed repeat instructions and makes a comfortable, classy garment for spring and summer.
Pattern Corrections & Tips
- Gauge is crucial: Always swatch and block your swatch to ensure sizing will match.
- Edge Consistency: Foundation single crochet gives a stretchy hem—recommended for a professional finish.
- When seaming: Align holes (eyelets) precisely for a polished look.
- When adding chains for sleeves: Use the exact number for your size as in the written pattern to ensure correct fit.
- Stitch Markers: Use them to mark your split/join points, centers, and sleeves to avoid confusion.
Tip:
Do not skip blocking—this greatly enhances drape and comfort for an openwork/eyelet garment.