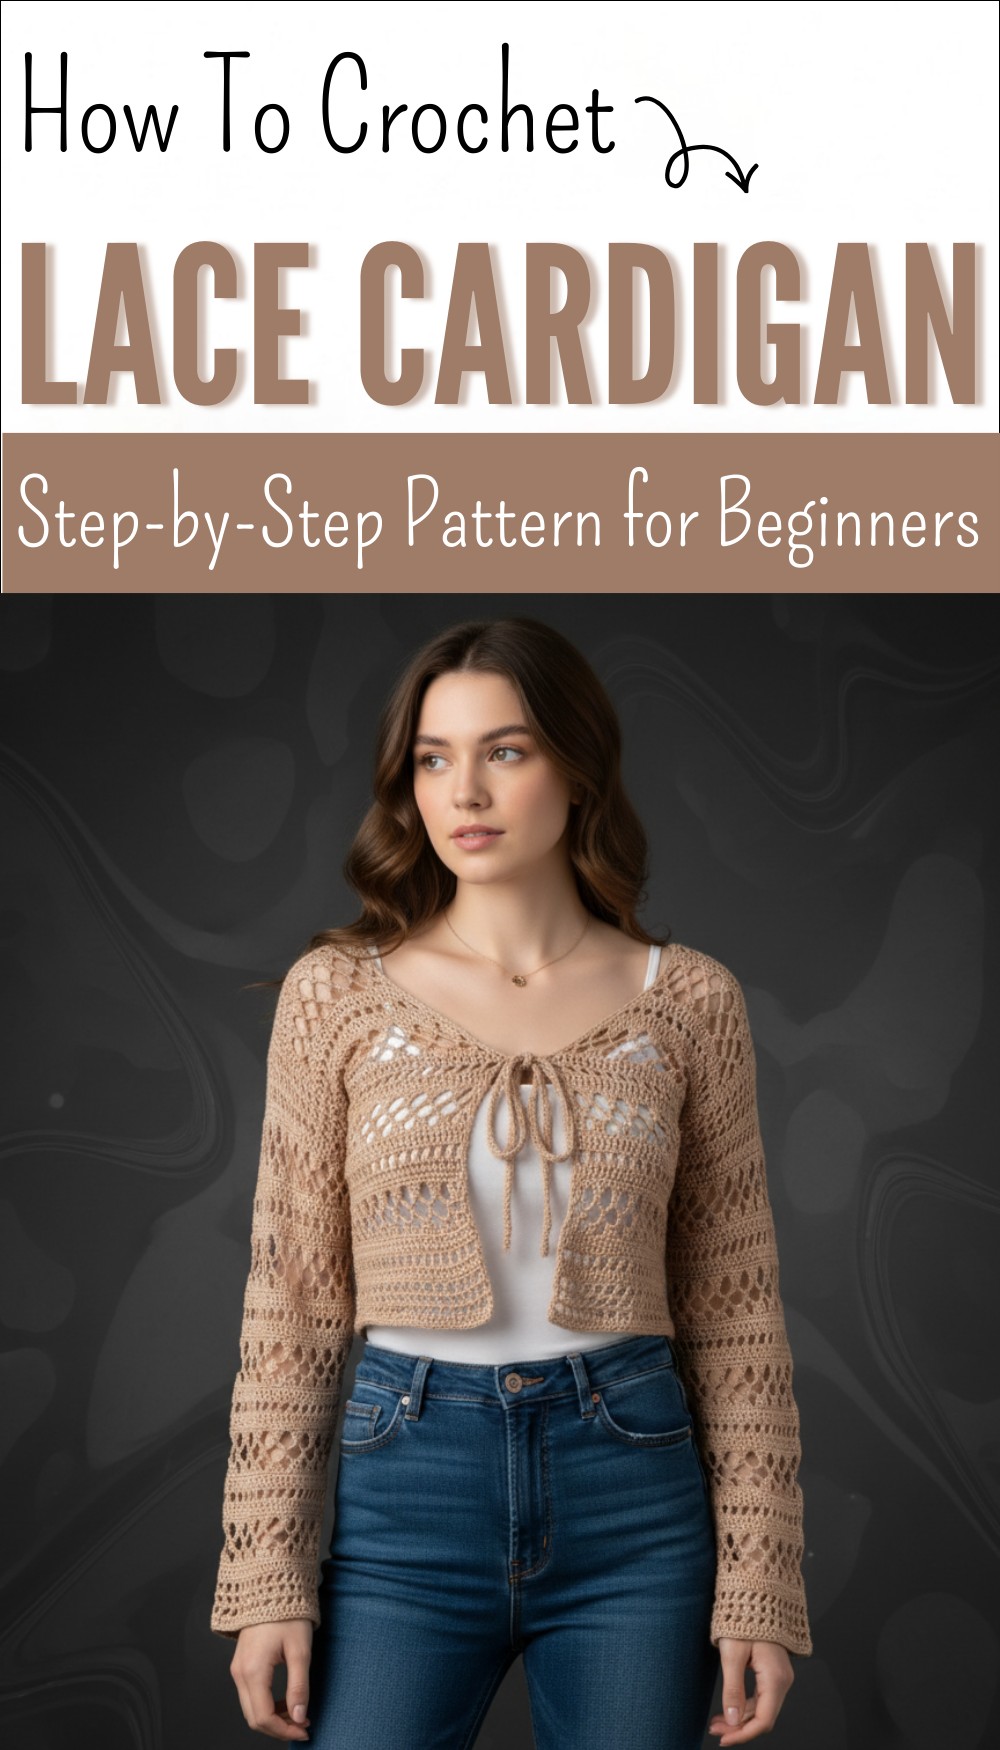
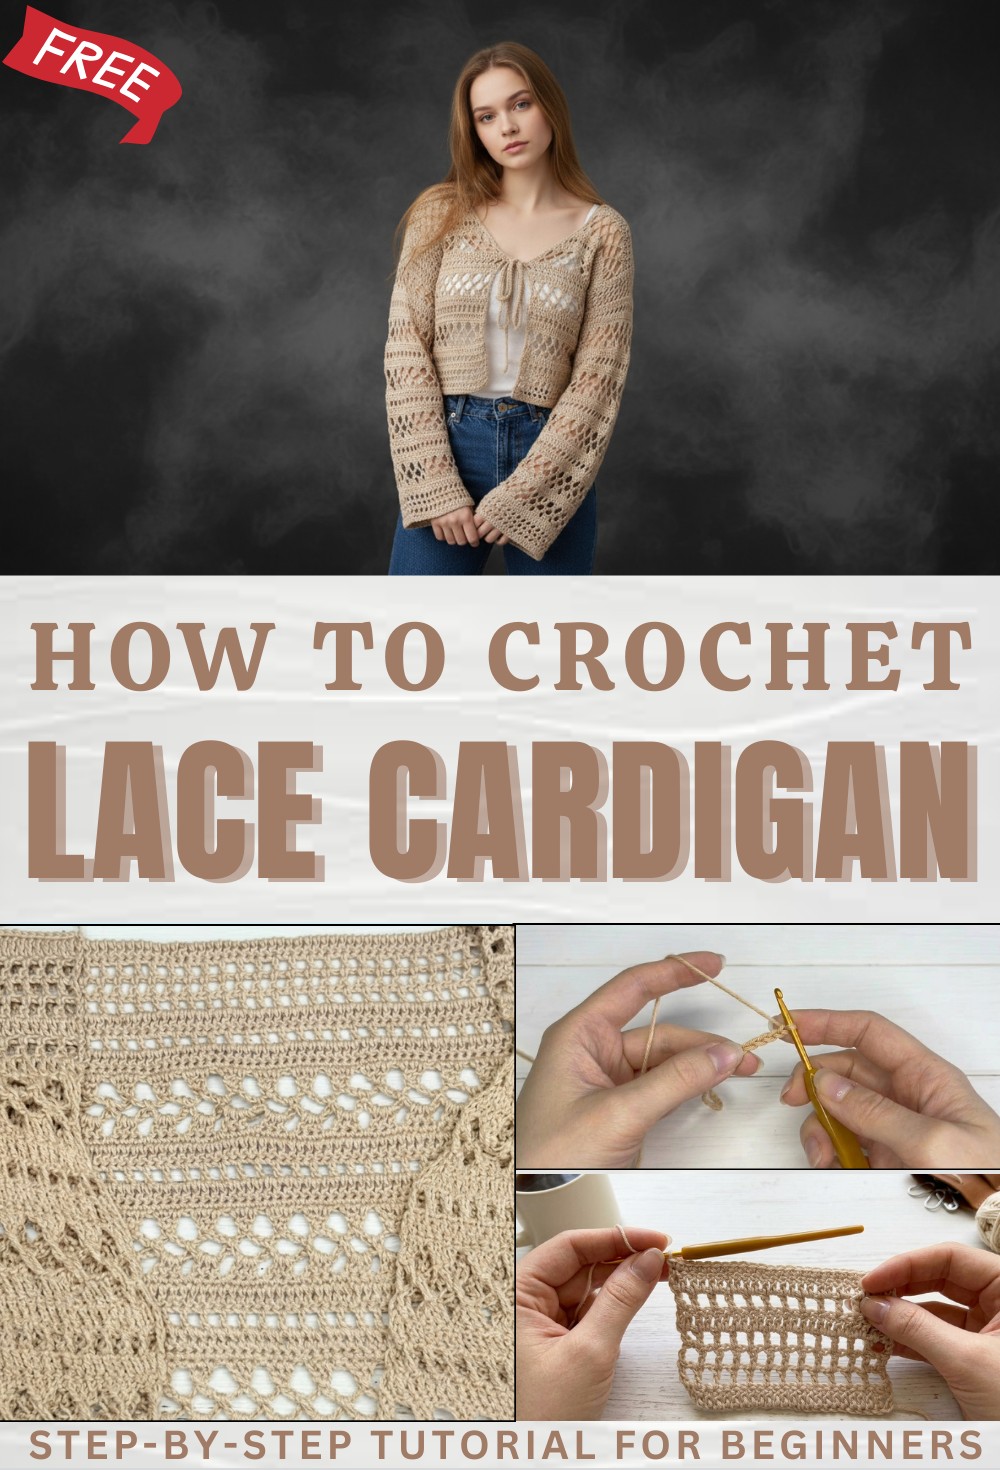
Cozy Free Crochet Lace Cardigan Pattern for Chilly Evenings
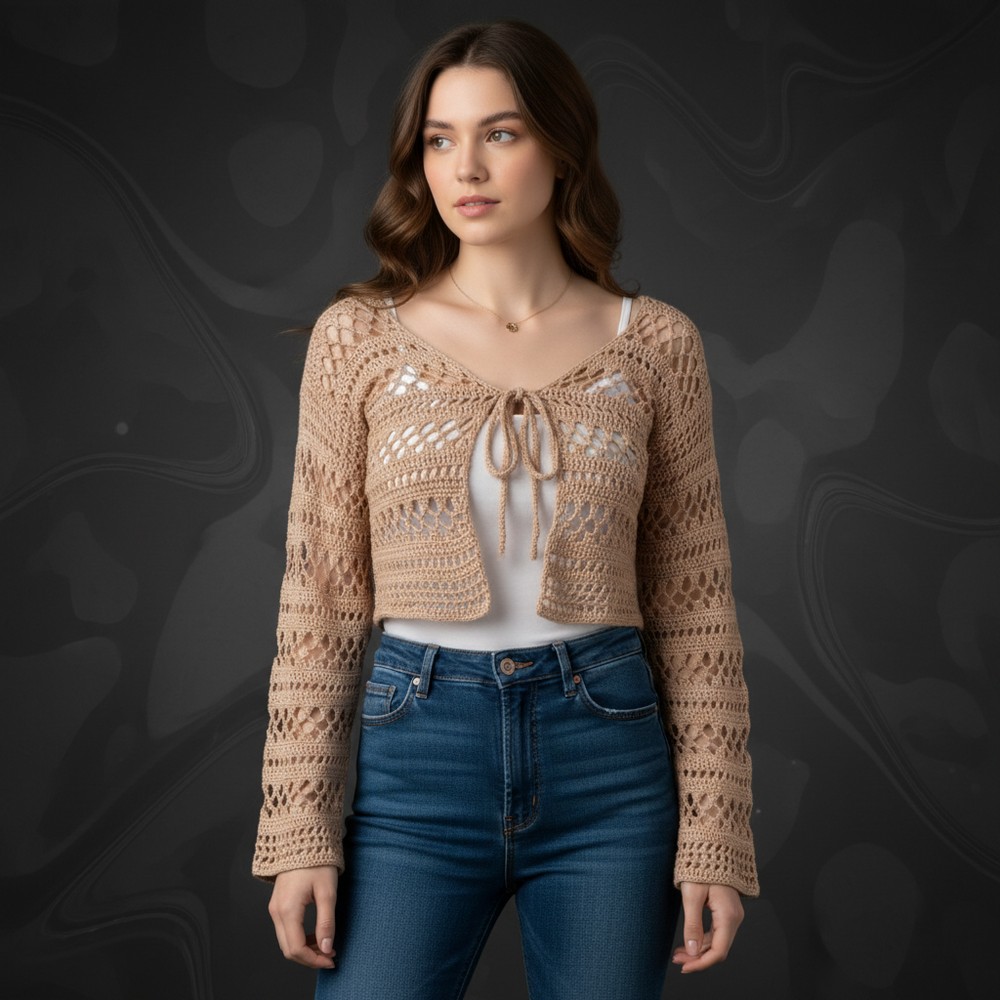
Layer soft elegance over your outfits with free crochet lace cardigan pattern perfect for cozy days out or relaxing at home in gentle style.
Lightweight and airy beauty greets you with a cardigan that feels like a gentle breeze in the sunshine while looking both elegant and comfortable. The crochet lace cardigan pattern gives you a chance to wear something truly special for any season. Its openwork details let the light peek through and add a touch of charm to your favorite simple outfit. This lovely garment brings grace to everyday looks or dresses up your evening out with family.
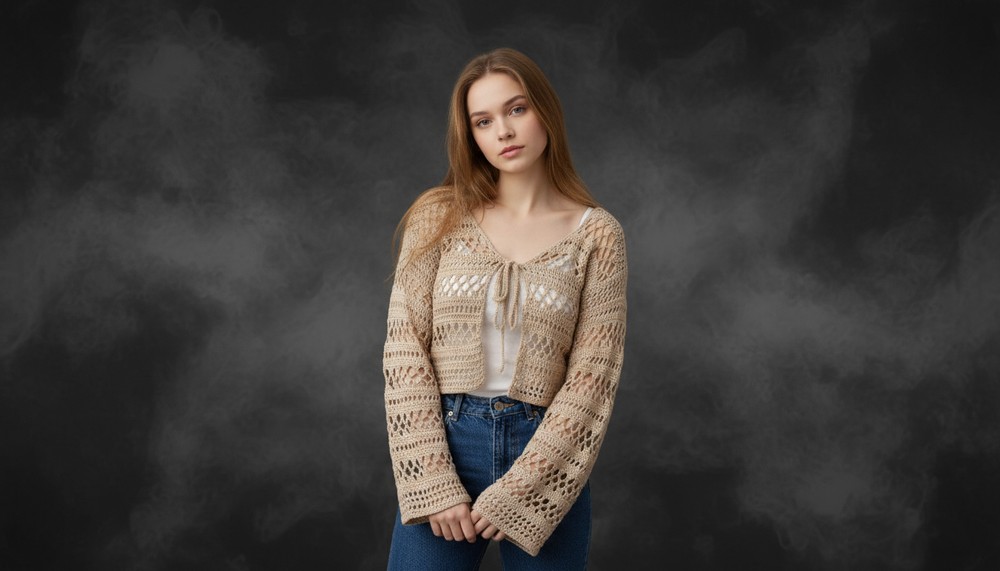
Minimalist Free Crochet Lace Cardigan Pattern for a Modern Look
Soft shapes and lovely patterns in your crochet lace cardigan pattern can keep your arms warm on cool days yet stay cool and flexible on warmer afternoons. You can use this cardigan at home when sitting with friends or take it to a summer picnic for a light cover-up. Easy to wear and beautiful to see this piece can turn every moment into something a little brighter without any effort at all.
Crochet Lace Cardigan Pattern Step-by-Step
Materials
- Yarn: Drops Cotton Yarn (or similar light DK cotton)
- Hook: 3.0mm crochet hook (as recommended)
- Optional Notions:
- Measuring tape
- Scissors
- Stitch markers
Abbreviations (US Terms)
- ch – chain
- dc – double crochet
- sc – single crochet
- sl st – slip stitch
- dc2tog – double crochet two together
- dc3tog – double crochet three together
- sp – space
Special Notes
- Sizing: Adjust the foundation chain counts by measuring yourself. Front: collarbone to shoulder; Back: shoulder to shoulder.
- Multiples: Foundation chain should be a multiple of 4 + 3 turning chains.
- Increases: Pay close attention to increase instructions; they shape the garment.
- Pattern Sections: The main cardigan pattern combines “square” rows with a semicircle (cluster) section, alternating with basic stitch rows.
Step-by-Step Pattern
FRONT PANELS (Make 2)
Foundation:
- With a slip knot, ch 24 (or adjust for your measurement; sample is 12cm = 24 ch).
- The chain should be a multiple of 4. Add 3 more chains for turning.
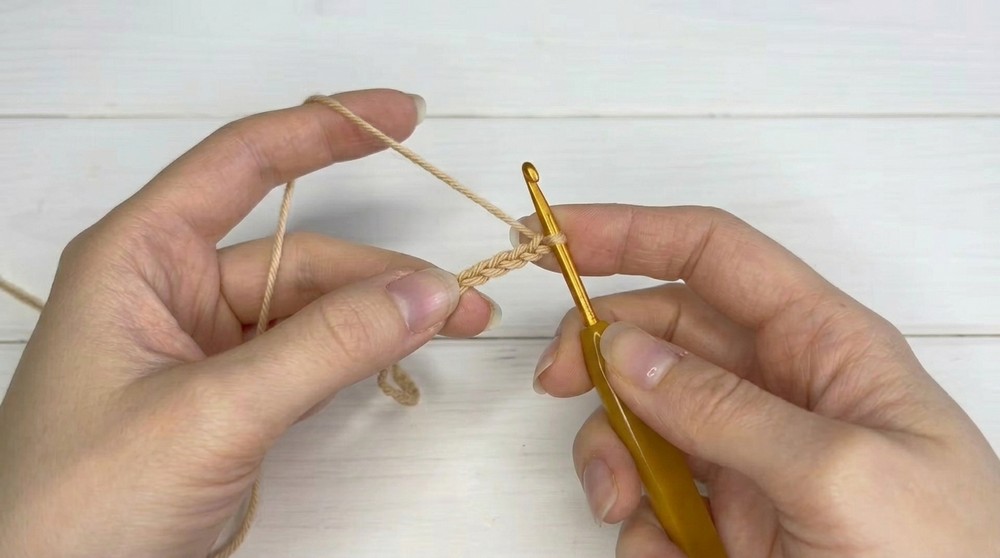
Row 1: Double Crochet
- Dc in the 4th ch from the hook and each ch across.
(Bold stitch: double crochet – dc) - Result: 24 dc.
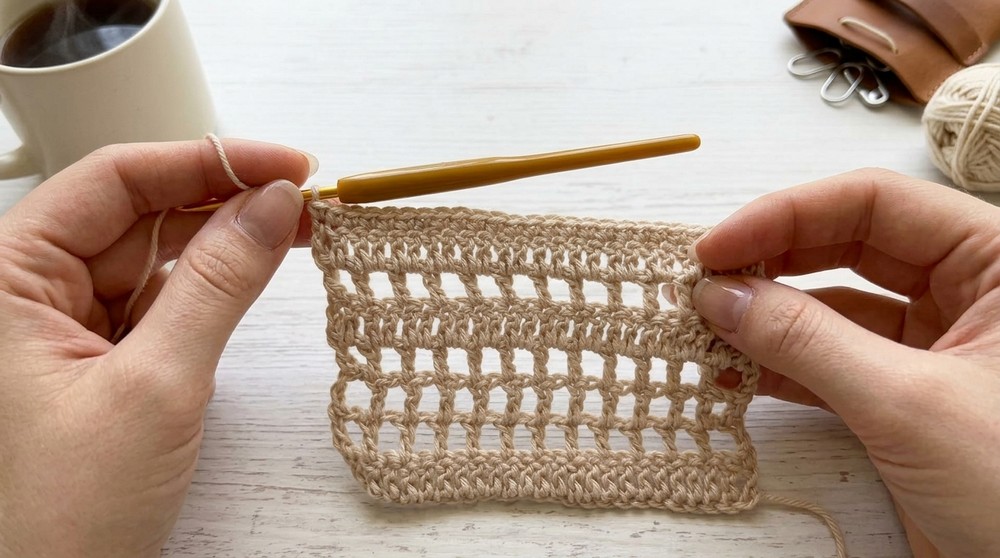
Row 2: Square Pattern
- Ch 4 (counts as dc + ch 1), turn.
- Skip next st, dc in following st, ch 1; repeat across.
- At row end, dc into 3rd turning chain.
Rows 3–4: Square Pattern Repeat:
- Start each row with ch 4.
- Work: skip ch-1 sp, dc into next dc, ch 1 across.
Row 5: Double Crochet
- Ch 3, turn.
- Dc into every ch-1 sp AND dc across (24 dc).
Row 6: Square Pattern
- Repeat Row 2.
Row 7: Double Crochet
- Repeat Row 5.
Row 8: Single Crochet (+1 increase)
- Ch 1, turn.
- Sc in each st across, add one extra sc somewhere in the row (total: 25 sc).
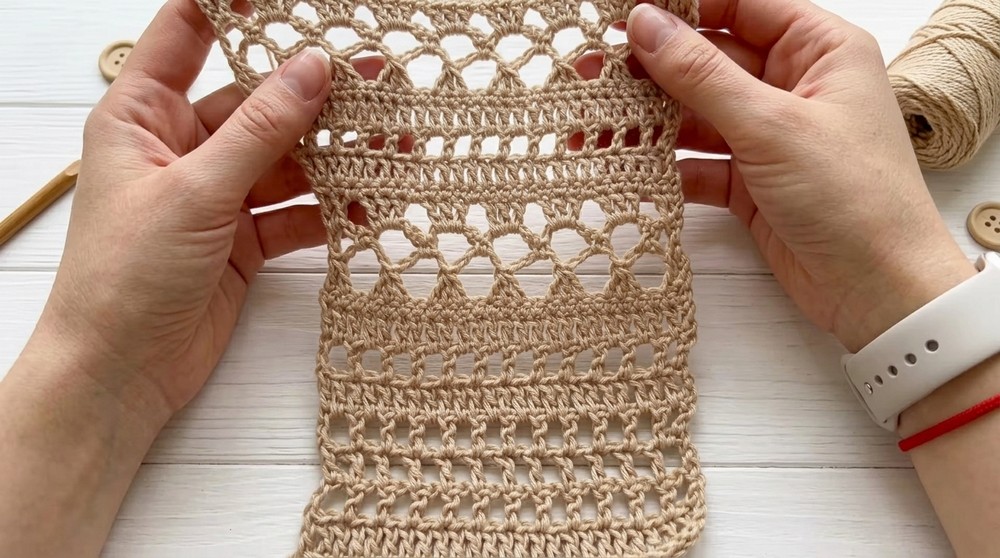
MAIN PATTERN (Semicircle Cluster Section)
Row 9: Semicircle Clusters – Row 1
- Ch 3, turn.
- Skip 1st st, dc in next st.
- Ch 5, skip next st, dc3tog over next 3 sts.
- dc3tog: [YO, insert hook, pull up loop, YO, draw through 2 loops] over next 3 sts, YO, pull through all loops.
- Repeat [ch 5, skip 1, dc3tog] until last 3 sts.
- At end: ch 5, skip next st, dc2tog in last 2 sts.
Row 10: Semicircle Clusters – Row 2
- Ch 5, turn.
- Sc in each ch-5 sp, ch 5, repeat across.
- End: ch 2, dc in last st.
Row 11: Semicircle Clusters – Row 3
- Ch 3, turn.
- Dc in 1st st. ch 1, 3 dc in next ch-5 sp.
- Repeat [ch 1, 3 dc in ch-5 sp] across.
- End: For last cluster, do 2 dc in last ch-5 sp (so row starts/finishes matched).
Row 12: Single Crochet
- Ch 1, turn.
- Sc in each st and ch-1 sp across (total: 25 sc).
Row 13: Double Crochet w/End Increases
- Ch 3, turn.
- Dc in each st across, skipping the first st.
- At end: 2 dc in second-to-last st, 2 dc in last st (total: 26 dc).
Row 14: Squares w/Beginning Increase
- Ch 5, turn.
- Dc in very first st. (increase)
- Then: ch 1, skip next st, dc in following st; repeat across.
- Work dc until final st. At end:
- 2 dc in last st and add two more dc as usual (total: 29 dc).
Row 15: Single Crochet w/Three Beginning Increases
- Ch 1, turn.
- 2 sc in 1st st, 2 in next st, 2 in 3rd st; sc across row.
- Total: 33 sc.
PATTERN SEQUENCE
- Repeat semicircle cluster pattern (rows 9–11) without increases.
- Row 12: Single crochet with 2 increases at beginning (total: 35 sc).
- Next row: Double crochet with 2 increases at end (skip 1st st at start) (total: 36 dc).
- Repeat this entire sequence for pattern twice more.
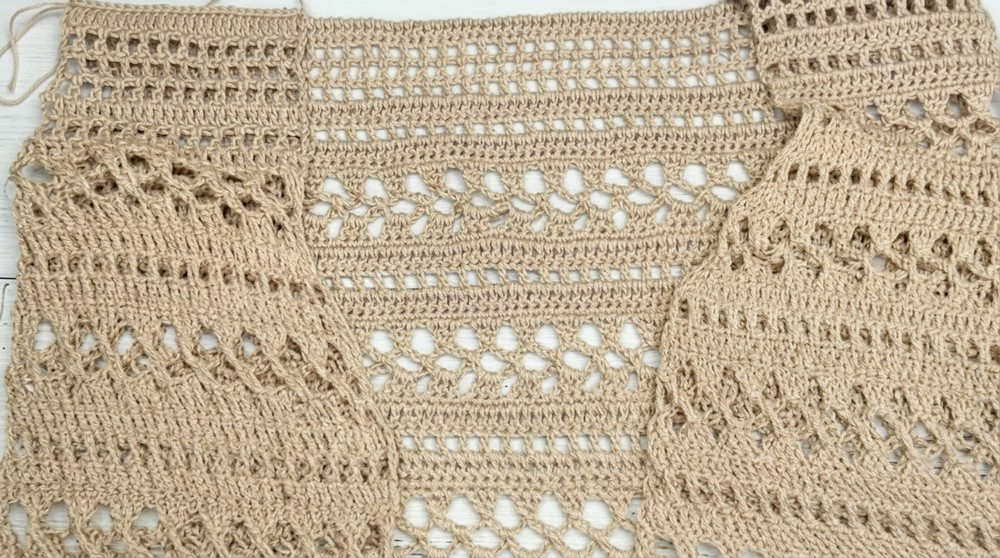
- The full front panel will be 43 rows.
- End: Ch 1, cut yarn, secure.
SECOND FRONT PANEL
- Work as above.
- Leave extra yarn at finish for borders/ties.
BACK PANEL
- Start with ch 92 (or number matching your shoulder-to-shoulder measurement, multiple of 4).
- Add 3 turning chains (total 95 ch).
- Row 1: Dc across.
- Rows 2–43: Work same sequence as front panel, but without any increases. The back is a simple rectangle.
JOINING PANELS (Shoulders)
- Count the same st counts and align them with stitch markers.
- With RS facing, sl st panels together at shoulders:
Insert hook through corresponding sts on each panel, YO, pull through both loops.
BORDERS AND TIES
- Sc around both front panel edges.
- At last increase row (marked with stitch marker), make 100 ch + 1 for turning.
- Sc in each chain for the tie.
- Continue sc up to next marker, make another tie as above.
- Continue sc border to finish.
JOINING PANELS (Sides)
- Try cardigan on and place markers under armpits (after second main pattern/row of sc, about 18cm).
- Start at bottom, sc up to marker for seam.
- Repeat for other side.
SLEEVES
- Join yarn under armpit.
- Row 1: Ch 3, dc 72 evenly around, join with sl st to beginning dc.
- Work sleeve in pattern (main semicircle pattern, etc.) turning at end of each row.
- Long sleeve: Repeat pattern 5 times (approx. 50cm).
- Short sleeve: Repeat pattern once.
Conclusion
You have now created a light, breezy cotton cardigan suitable for layering and customisable for short or long sleeves.
Pattern Corrections & Tips
- Pattern Correction: Confirm all increases are in the right places; front panels add shape, but back stays straight. Make sure stitch counts align at joining points.
- Tip: Block your panels before joining for a professional finish and to ensure accurate sizing. Use markers to check fit and adjust armhole depth to personal preference.