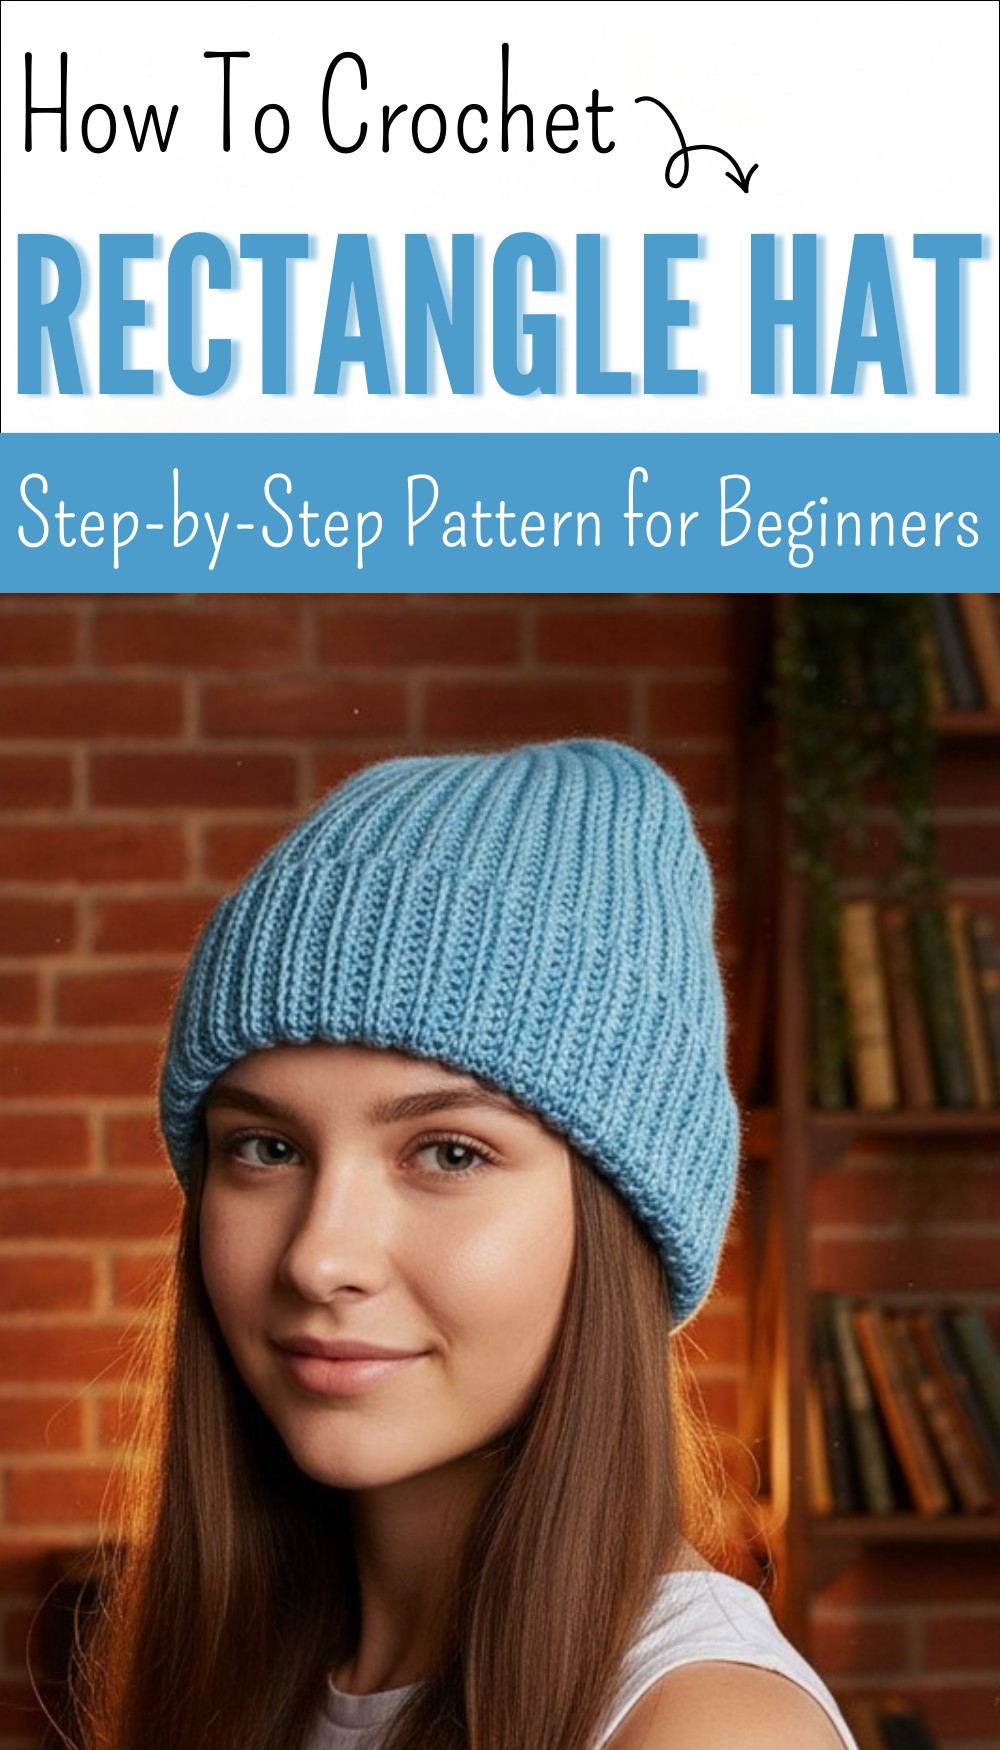
Stylish Free Crochet Rectangle Hat Pattern for Winter Days

Keep warm in comfort with Free Crochet Rectangle Hat Pattern that gives a snug fit & simple look while adding charm to everyday winter wear.
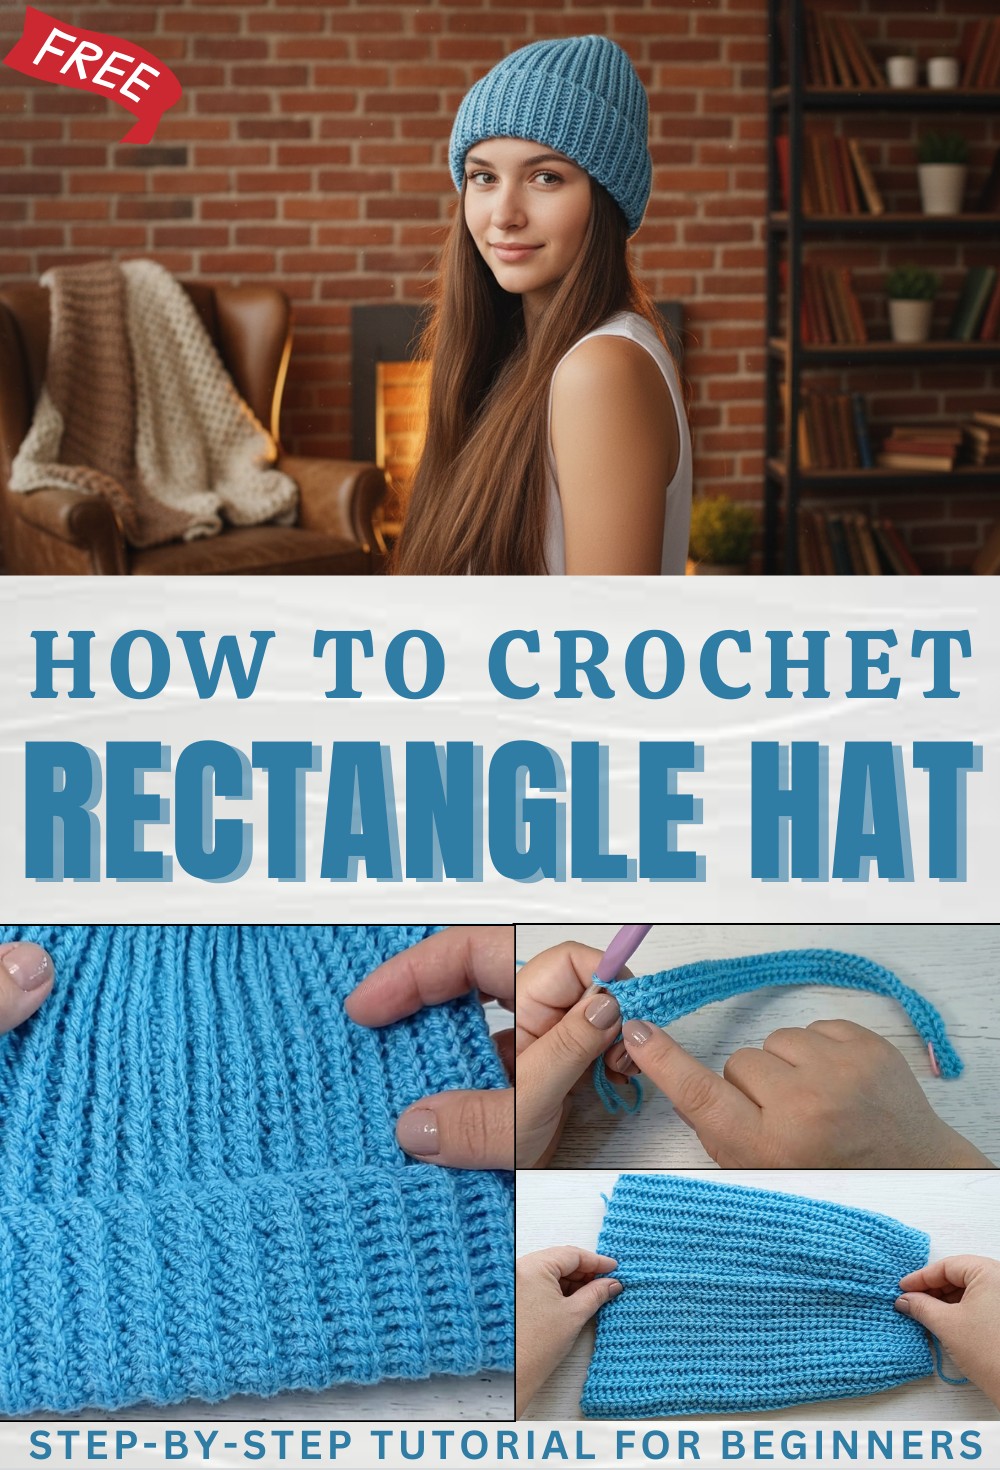
This hat works well for daily wear and also makes a thoughtful gift for loved ones. The design gives freedom to explore different colors and yarns so each piece feels unique and personal. Making it is relaxing and enjoyable and the finished hat offers a perfect mix of warmth beauty and comfort for any season.

Crochet Rectangular Beanie Pattern
Materials
- Yarn: 100g of acrylic yarn, approx. 2mm thickness (light worsted/DK recommended)
- Hook: 5.0mm (US H-8)
- Notions:
- Scissors
- Tapestry needle (for sewing and weaving in ends)
- Stitch markers (helpful, optional)
- Optional: Pom-pom for finishing
Key Abbreviations (US Terms)
| Abbreviation | Meaning |
|---|---|
| ch | chain |
| sl st | slip stitch |
| hdc sl st | half double crochet slip stitch (see Special Stitches) |
| st(s) | stitch(es) |
| rep | repeat |
| RS | right side |
| WS | wrong side |
| BLO | back loop only |
Special Notes & Stitches
- sl st (Slip Stitch, worked BLO): Insert hook in indicated stitch’s back loop, yarn over, pull through st and loop on hook.
- hdc sl st (Half Double Crochet Slip Stitch, also called Slip Stitch with yarn over, worked BLO):
- Yarn over, insert hook in back loop of indicated stitch, yarn over, draw up a loop (3 loops on hook).
- Take the leftmost loop on hook and pull it through the other two loops on hook (1 loop remains).
- All stitches in this pattern are worked loosely and in the back loop only (BLO) for flexibility and to achieve the knit look.
- For beginners: Using stitch markers to mark the first and last 5 stitches of a row is helpful for neat edges.
Finished Measurements (Adult Size Reference)
- Flat Rectangle: approx. 46 cm wide x 28 cm tall (about 18″ x 11″)
- When finished: Fits an adult woman, with room for slouch or to adjust as needed.
- For other sizes: See the Size Customization Tips section.
Pattern Instructions
1. Foundation Chain
- Make a slip knot.
- Ch 47 (for ~28 cm tall).
Add or remove chains for different hat heights. Chains determine hat height.
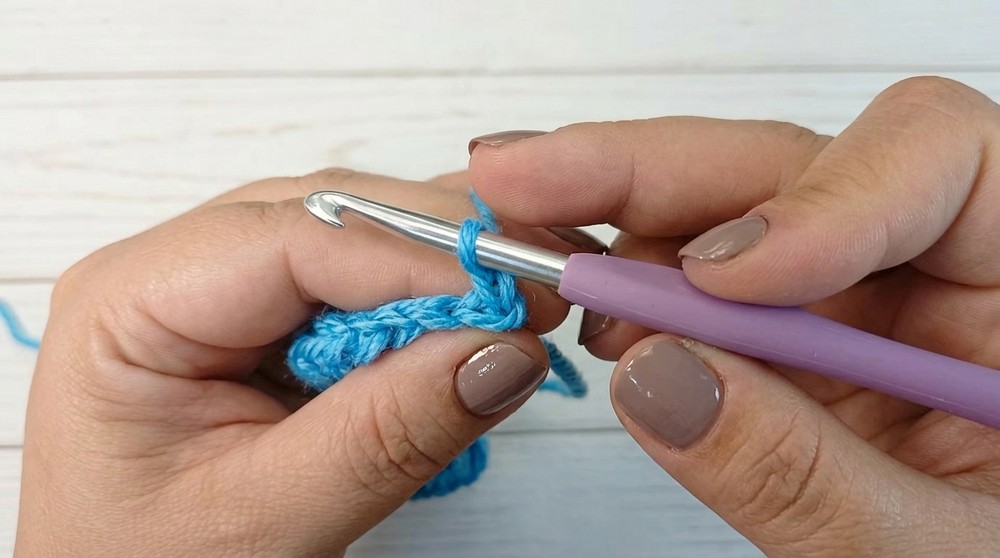
2. Row 1 ([WS] Foundation Row)
- Ch 1 (does not count as a stitch), turn.
- Working into back loop only of each chain:
- Sl st in each of the first 5 ch.
- Place stitch marker in the 5th st (optional, for clarity).
- hdc sl st in each of the next 42 ch to end of row (total 47 sts).
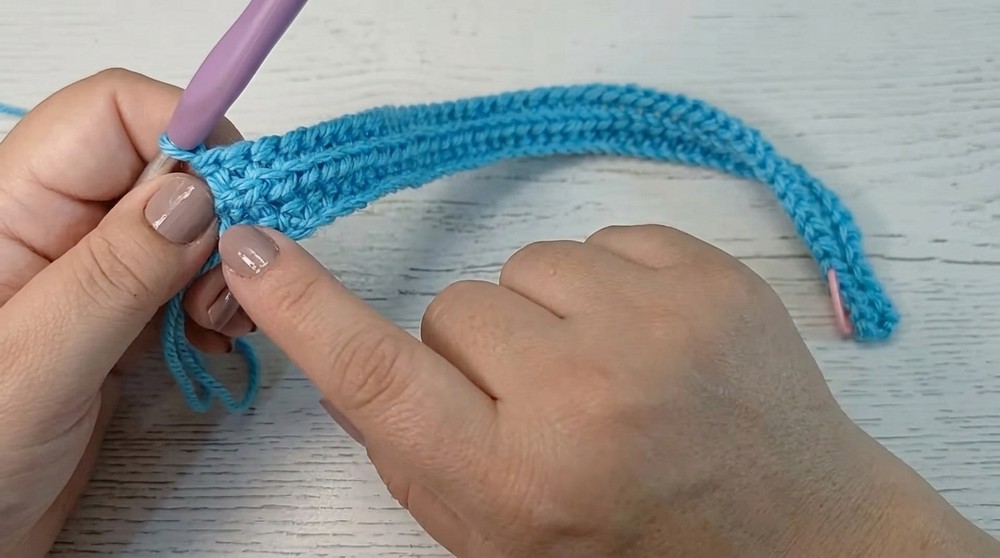
3. Row 2 ([RS])
- Ch 1 (does not count as a stitch), turn.
- Working in BLO throughout:
- hdc sl st in each of the next 42 sts (use marker as a guide).
- Sl st in each of the last 5 sts (marked section).
- Replace marker after completing last sl st, if using.
4. Row 3 and All Even Rows
- Ch 1, turn.
- Sl st in each of the first 5 sts (BLO, use marker to guide), replace marker after last sl st (optional).
- hdc sl st in each of the next 42 sts (BLO) to end of row.
5. Repeat Rows 2 & 3 Alternately
- Repeat Rows 2 and 3, always maintaining:
- First 5 and last 5 sts of each row are sl st (BLO)
- The remaining middle sts in each row are hdc sl st (BLO)
- Work until your rectangle measures approx. 46 cm wide (or desired head circumference minus 2–4 cm for stretch).For reference, the sample beanie is 66 rows long.
Size Customization Tips
| Head Circumference | Rectangle Width (cm) | Rectangle Height (cm) |
|---|---|---|
| Child (50cm) | 42 | 25 |
| Teen (54cm) | 44 | 26 |
| Small Adult (56cm) | 45 | 27 |
| Lg Adult (58cm) | 46 | 28 |
Customize chain count for height and row count for width as above. Always work rectangle slightly shorter in width than actual head size for best fit!
Assembly and Finishing
1. Join Sides (Form the Hat Tube)
- With RS facing in, align starting and ending edges.
- Slip stitch seam:
- Working through BLO of last row and “bottom bumps”/unused loops of foundation chain, sl st seam loosely, matching stitch for stitch along the side edge.
- Fasten off and weave in ends neatly into the slip stitch seam.
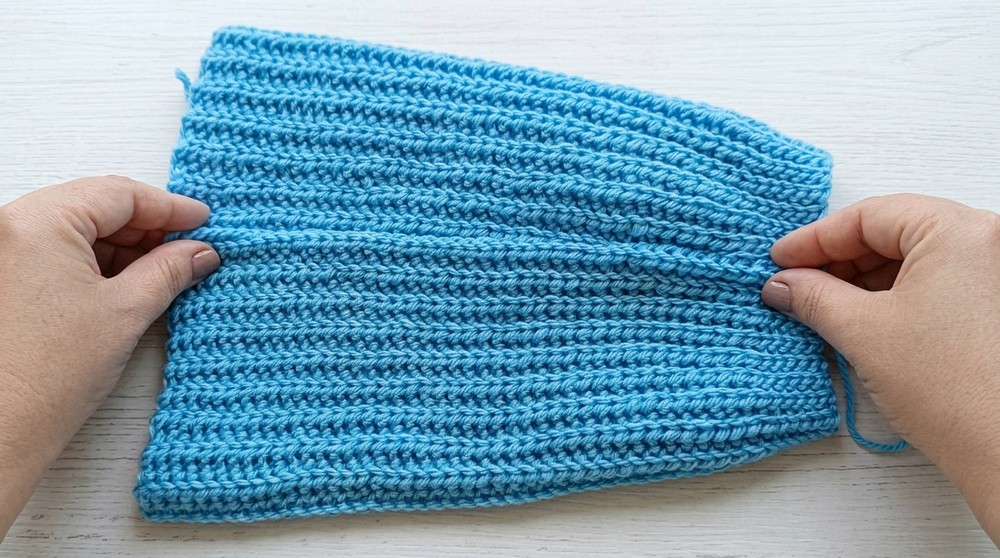
2. Closing Top (Gathering the Crown)
- Turn tube RS out.
- Using a long tail and tapestry needle, weave through every other ‘row dip’ (the indented rows, not the raised ones) at the top edge.
- Pull gently and evenly to gather the opening closed.
- Tie a secure double knot.
- If a tiny hole remains, use the needle to stitch across the opening until closed.
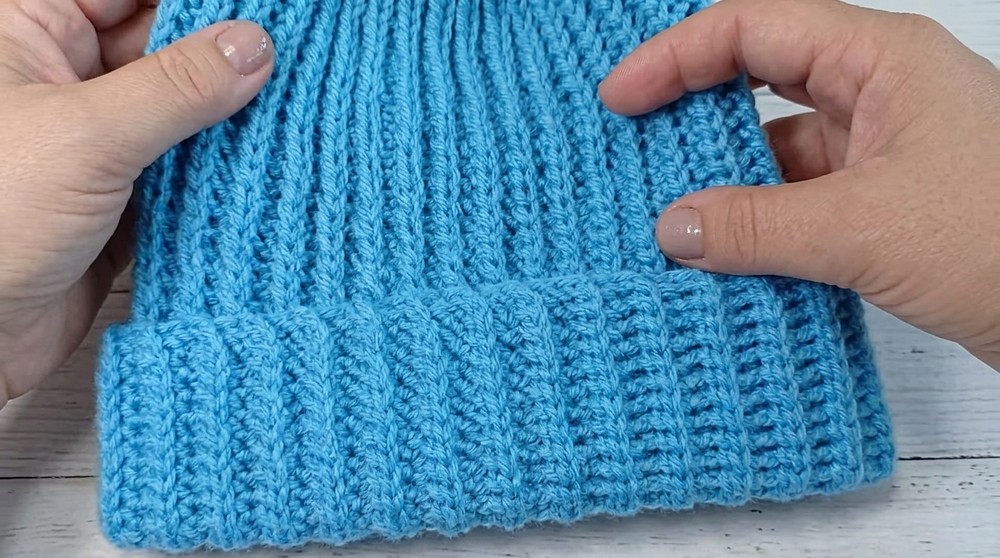
3. Weaving in Ends
- Thread remaining yarn tails to WS, weaving through row of slip stitch seam and/or around the gather for a clean look.
- Trim excess.
4. Optional: Add a pom-pom or other embellishment if desired.
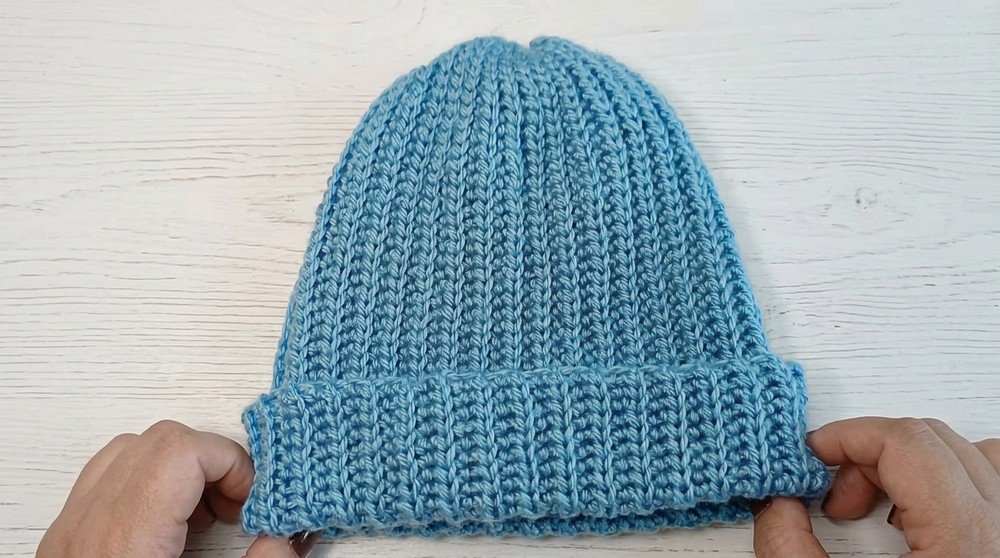
Pattern Correction & Tips
- Gauge: The hdc sl st (slip stitch with yarn over) is much tighter than normal hdc; work very loosely, or use a larger hook for looser tension.
- Stitch Count: For accuracy, use markers to distinguish between the first and last 5 slip stitches and the rest of the row.
- Join Seam: Slip stitch join should be loose for stretch; otherwise, the seam may pucker or restrict fit.
- Hat Fit: Rectangle width should be approximately 2–4 cm less than actual head circumference for a snug, comfortable fit.
- Adjustment: The pattern is fully reversible and unisex.
- Puckered Top: If you have a slight hole after gathering the top, use leftover yarn and your needle to close gap tightly.
Conclusion
Enjoy your simple, stylish, and beginner-friendly crochet beanie! This project requires only basic stitches and easy finishing techniques, but results in a beautiful knit-look texture. Perfect for gifting, selling, or making in every color.