Beginner Friendly Free Crochet Flower Bouquet Keychain Pattern
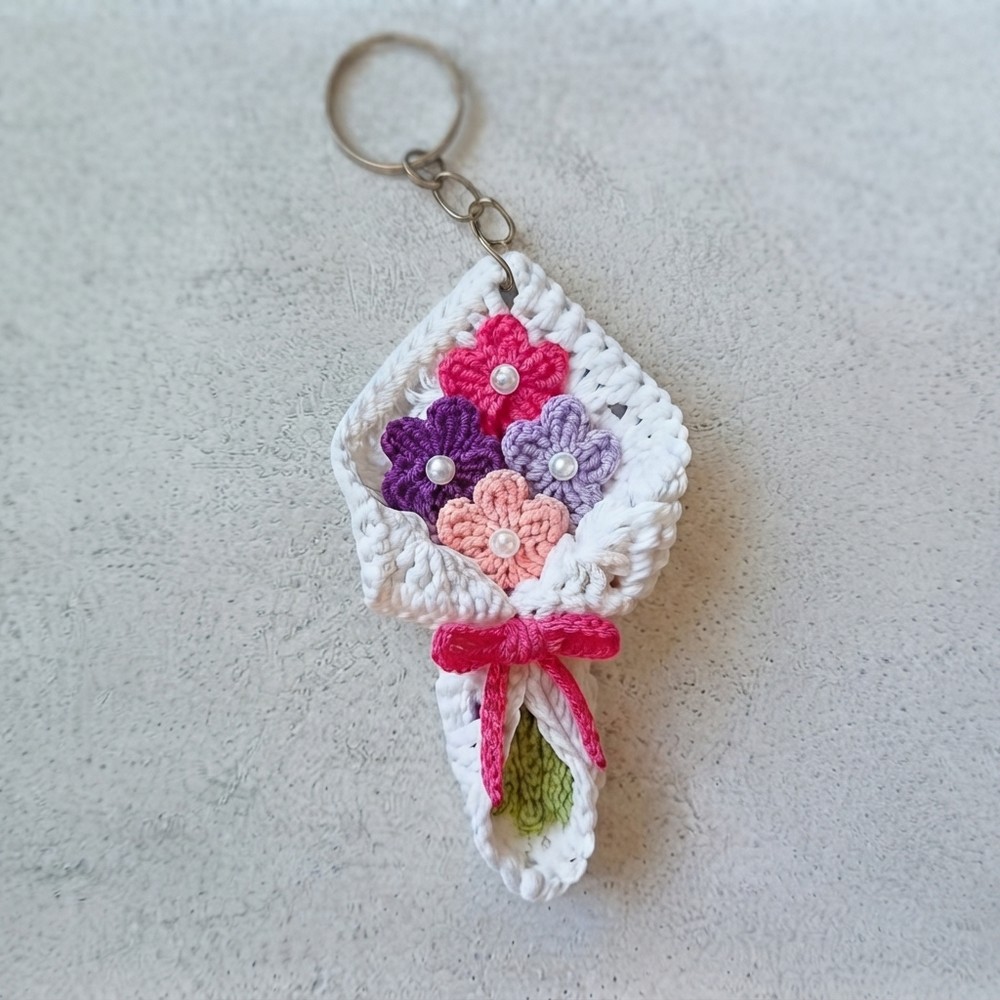
Design a lovely flower bouquet keychain with this free crochet pattern, featuring easy instructions to create a playful and unique accessory for any occasion.
There’s nothing quite like the joy of creating a handmade gift that’s both beautiful and practical. One project I’ve truly enjoyed is a charming flower bouquet, crocheted with love and turned into a keychain. This lovely accessory is perfect for brightening up your keys, bags, or even as a small decorative piece. The free crochet flower bouquet keychain pattern offers a wonderful way to combine creativity and functionality into something special.
Cute Crochet Flower Bouquet Keychain – Free Pattern for Beginners
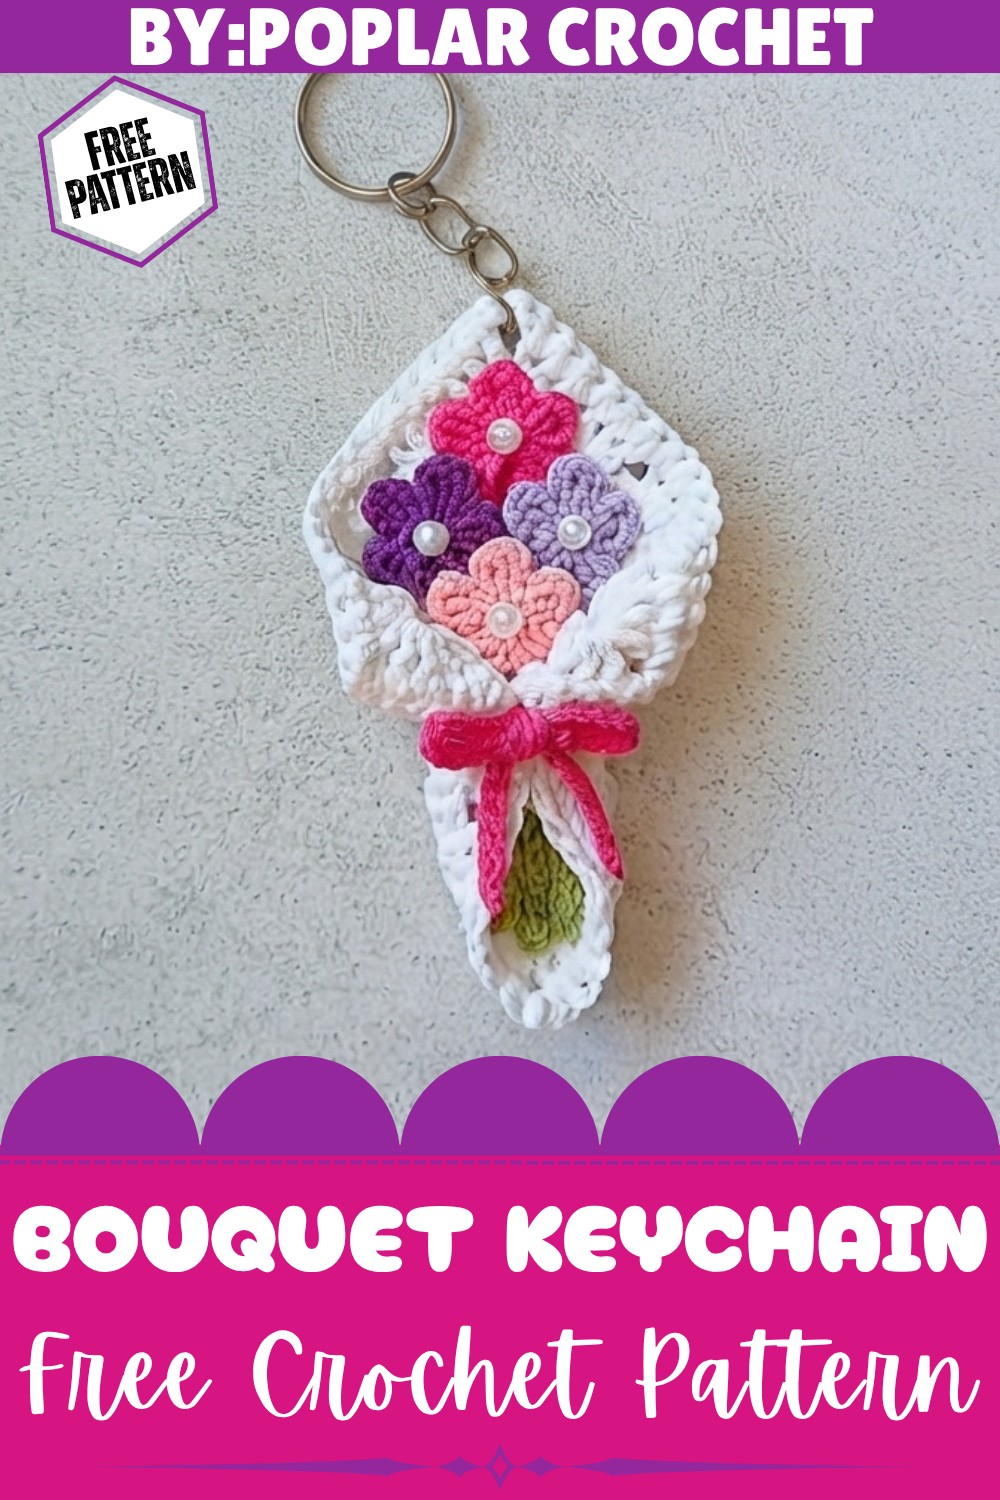
If you’re wondering where to begin, the perfect place is a detailed YouTube tutorial that walks you through every stitch and step. The channel (Poplar Crochet) provides easy-to-follow guidance using a 2.5 millimeter crochet hook and acrylic yarn. Starting with a magic ring, the pattern includes simple stitches like chains, double crochets, and slip stitches to create tiny flowers and leaves. These are carefully arranged to form a round, full bouquet measuring about nine by nine centimeters—a delightful size for carrying or gifting.
The flower bouquet keychain has a soft, smooth texture thanks to the tight and consistent stitches. Its compact, rounded shape captures the essence of a real bouquet, complete with layers of small, colorful flowers and delicate leaves. The standout design lies in the intricate detail of each flower petal, making it a beautiful reminder of handmade charm. Lightweight yet sturdy, this keychain is not only a stylish accessory but also makes a thoughtful gift or collectible to cherish.
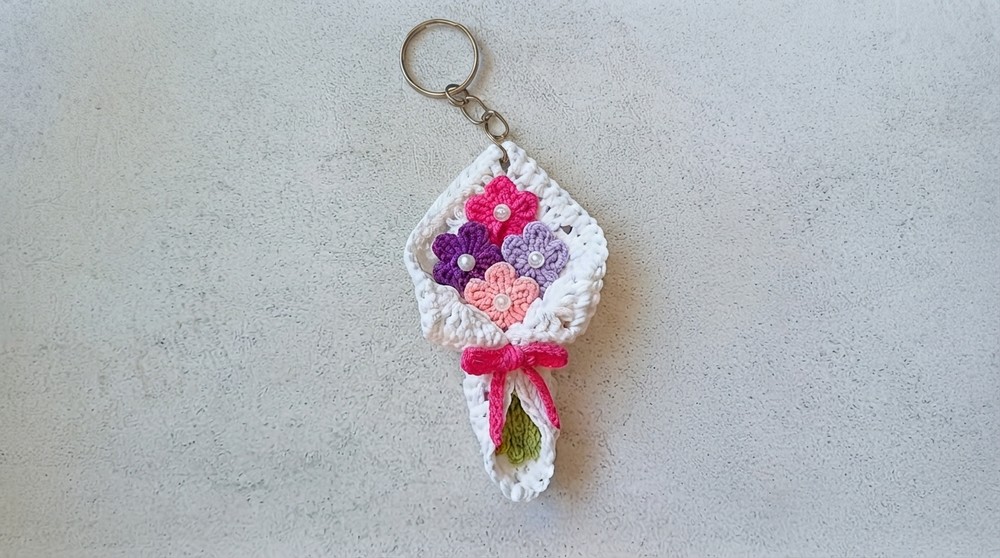
This project suits crocheters with basic skills, as it primarily uses fundamental stitches and repeats simple rows. The pattern is designed to be clear and encouraging, great for both beginners looking to try something new and experienced crocheters wanting a quick, rewarding project. If you enjoy colorful, creative crafts that brighten everyday moments, this free crochet flower bouquet keychain pattern is a perfect fit. Give it a try—you’ll love seeing your handmade bouquet come to life.
Flower Bouquet Keychain Crochet Pattern
This tutorial provides step-by-step instructions for creating a delightful crochet flower bouquet keychain. It’s a quick and beginner-friendly project that uses leftover yarn and makes a charming accessory or a heartfelt gift.
Quick Overview of the Pattern
- Skill Level: Beginner-friendly
- Base: Small square motif worked in rounds
- Decorative Elements: Five tiny flowers, two green stems, and a small bow
- Finishing: Assemble into a bouquet, then attach to a keyring
Notes
- Pattern instructions use US crochet terminology.
- Keep your tension consistent, especially for the small flowers.
- A 2.5 mm crochet hook with acrylic yarn creates a firm, structured finish.
- Hot glue is used for assembly.
Materials
- Yarn: Acrylic yarn in white (base), green (stems), assorted bright colors for flowers and bow
- Hook: 2.5 mm crochet hook
- Notions: Keyring, small pearls (for flower centers), hot glue gun, scissors, tapestry needle
About Yarn
Acrylic yarn is an excellent material for this charming flower bouquet keychain, offering both durability and a vibrant color palette to make your projects pop. Because acrylic fibers hold their shape well, your tiny flowers will maintain their delicate structure even with daily use on your bag or keys. The yarn’s soft texture is gentle on the hands while you work with a 2.5mm hook, as demonstrated in this tutorial. Plus, its synthetic nature makes the final piece easy to clean, ensuring your miniature bouquet stays fresh and bright for a long time.
Measurements / Sizing
- Finished base square: Approximately 9 × 9 cm (3.5 × 3.5 in)
Stitch Abbreviations
- Ch: Chain
- DC: Double Crochet
- MR: Magic Ring
- SC: Single Crochet
- Sl St: Slip Stitch
The Crochet Pattern
The Base Square
- Start:
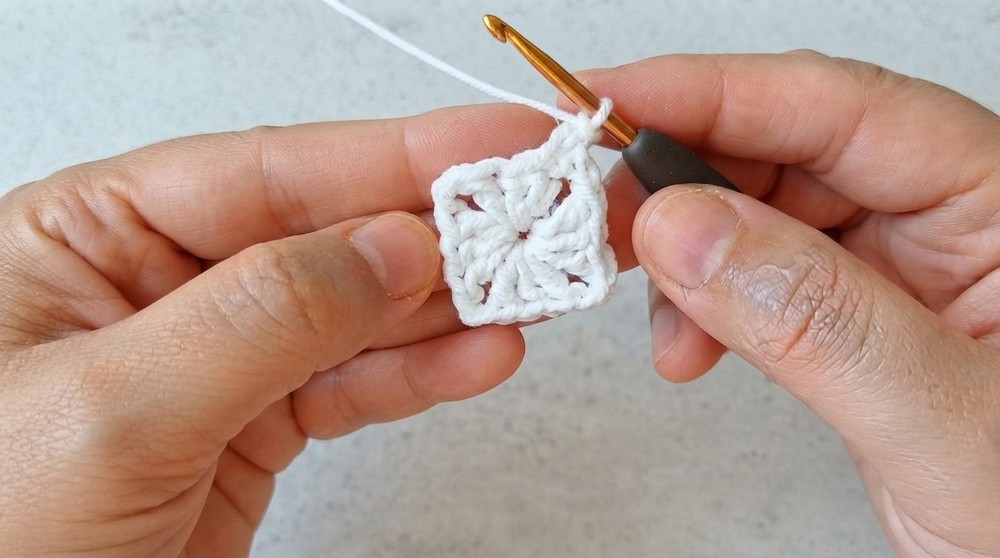
Make a Magic Ring (MR). - Round 1:
Ch 3, 2 DC into the ring.
Ch 2.
(3 DC, Ch 2) × 3 into the ring (3 DC + Ch 2 in each corner for a total of 4 corners).
Join with a Sl St. - Round 2:
2 Sl St to reach the next corner.
Corner: Ch 3, 2 DC, Ch 2, 3 DC into the corner space.
Repeat (3 DC, Ch 2, 3 DC) in each corner around.
Join with a Sl St. - Round 3:
2 Sl St to reach the next corner.
Corner: Ch 3, 2 DC, Ch 2, 3 DC in the corner.
3 DC in the side space.
(3 DC, Ch 2, 3 DC) in next corner, 3 DC in each side space—repeat around.
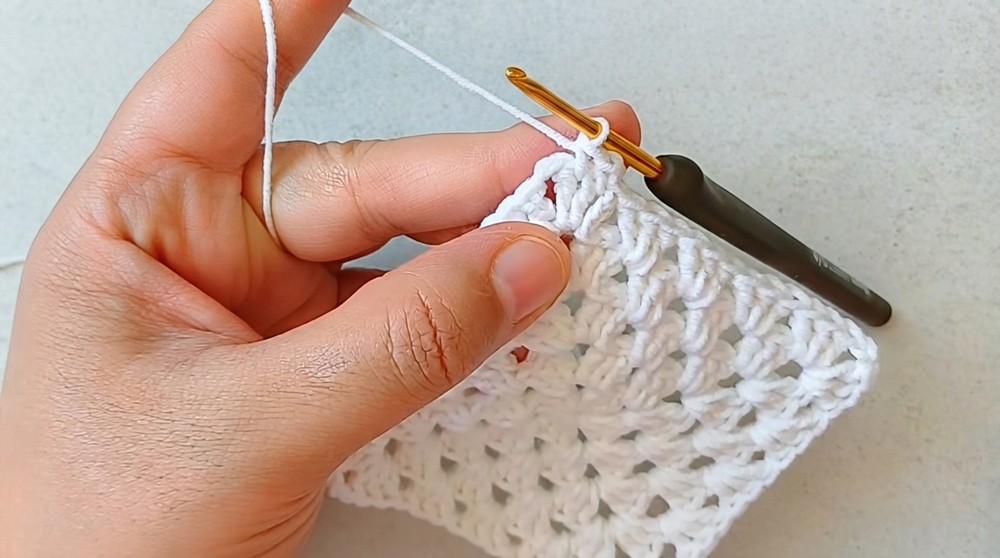
Join with a Sl St. - Subsequent Rounds:
Continue as above, always placing 3 DC, Ch 2, 3 DC in each corner and 3 DC in each side space, for a total of 5 rows. - Final Round:
Ch 1.
SC in each stitch around; place 3 SC in each corner to make them smooth.
Join with a Sl St. Ch 1, cut yarn, and weave in ends.
Flowers (Make 5)
- Make a Magic Ring.
- (Ch 3, DC into ring, Ch 3, Sl St into ring) × 5, for five petals.
- Pull the ring closed, secure, and fasten off.
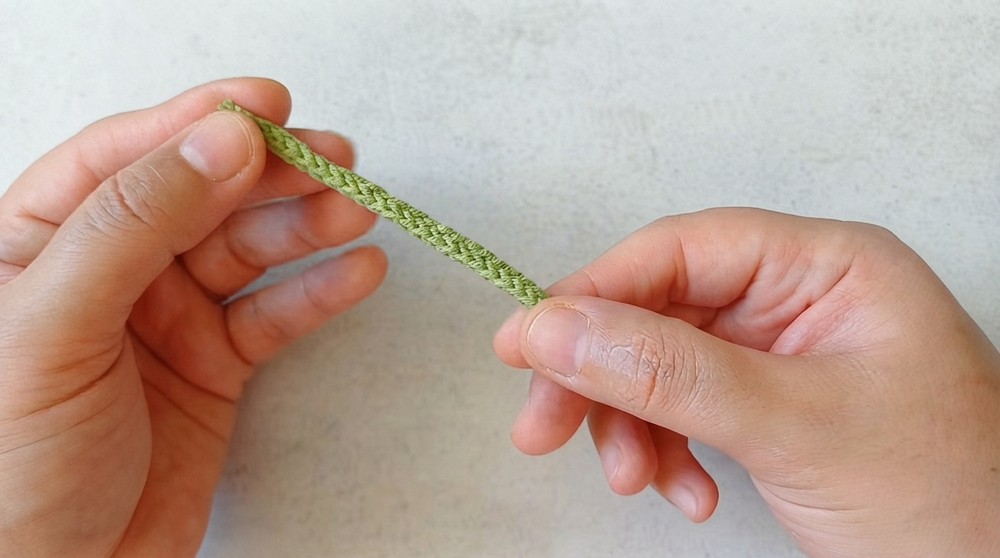
Stems
- Stem 1:
Ch 20. Sl St in each stitch back to the start. - Stem 2:
Ch 25. Sl St in each stitch back to the start.
Decorative Bow
- Ch 35.
- Shape the chain into a bow by forming two loops.
- Secure at the center with yarn.
- Trim ends to mimic ribbon tails.
Assembly & Finished Size
- Arrange the base:
Lay the finished square flat. - Attach Stems:
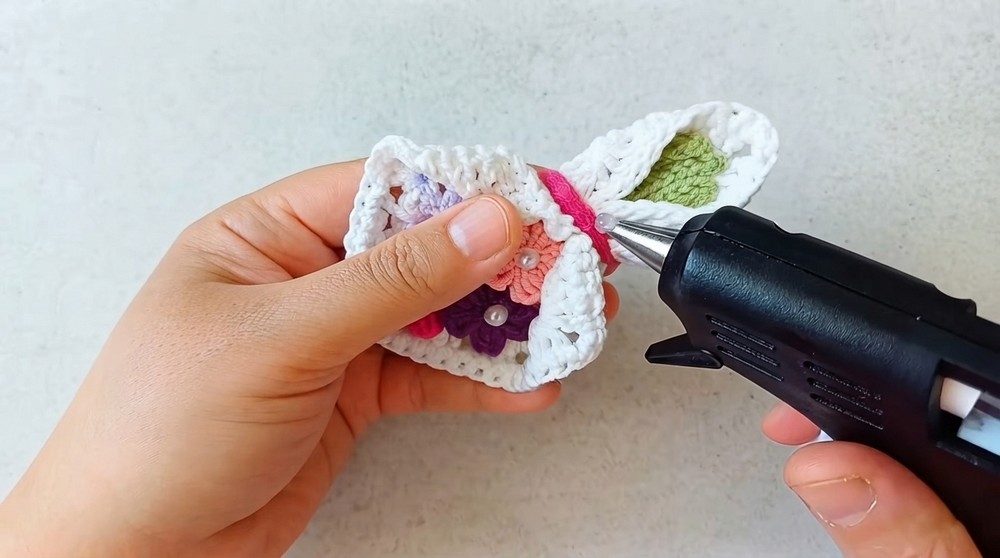
Using hot glue, place the two stems diagonally across the square base. - Glue Flowers:
Attach the five flowers along the top edge of the stems. - Add Pearls:
Glue a pearl in the center of each flower. - Fold the Square:
Fold the square inward from both sides to form a bouquet shape, with a narrow stem area at the bottom. - Secure the Shape:
Use a small length of yarn to tie or secure the fold at the narrow end. - Attach the Bow:
Tie or glue the bow around the cinched base of the bouquet. - Final Step:
Attach your keyring to the top point of the folded bouquet.
Conclusion
Congratulations, your charming flower bouquet keychain is complete! This quick and creative project showcases your crochet skills and brightens up any bag or key fob. Feel free to experiment with flower colors to match different seasons or recipients, a perfect small gift or personal accessory that brings a touch of handmade joy wherever it goes.