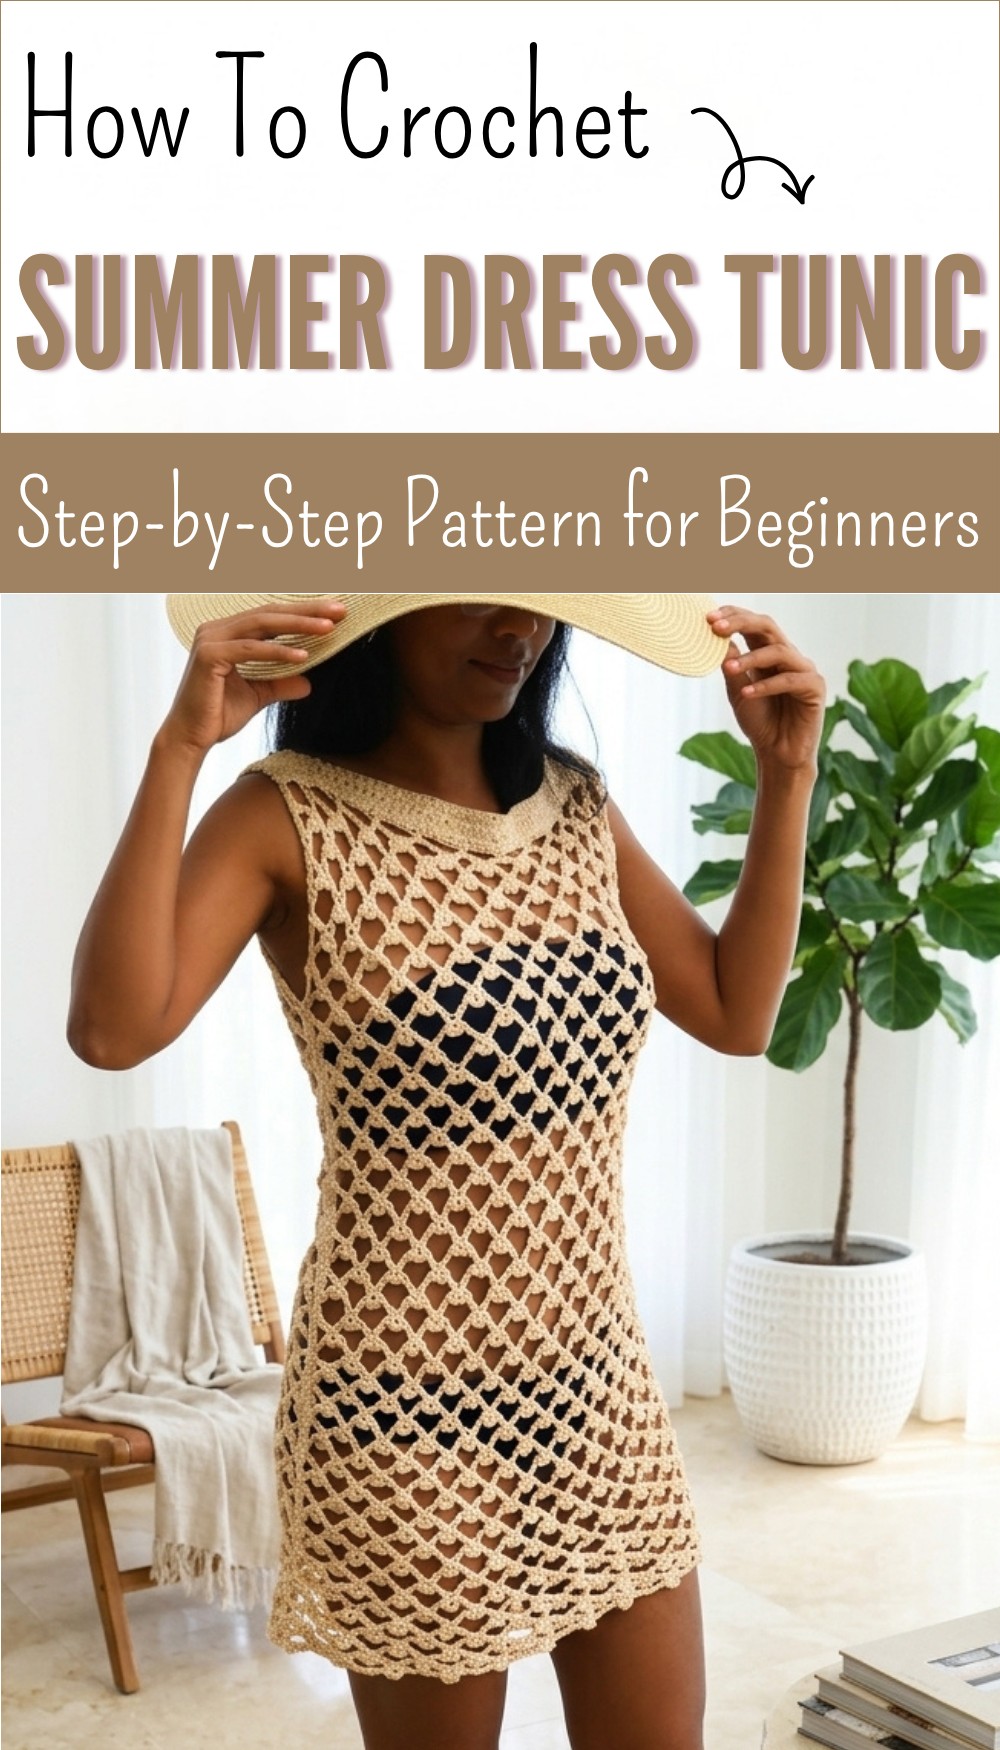
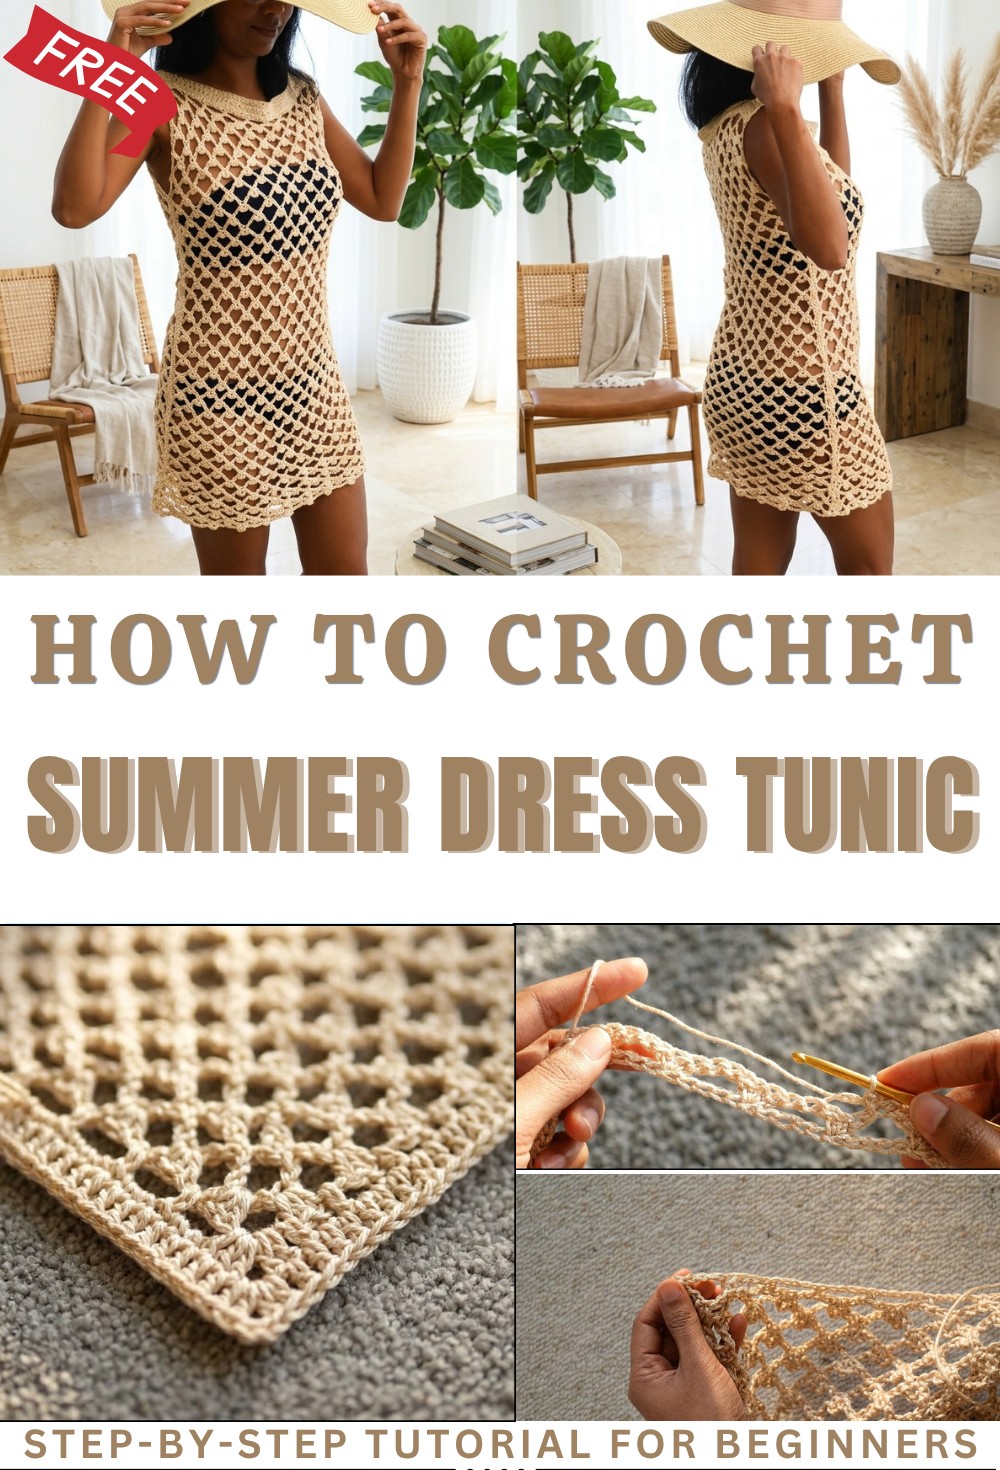
Modern Summer Dress Tunic | Free Crochet Pattern + Tips
Style your summer days with a free crochet summer dress tunic pattern that’s light airy and easy for everyone to enjoy and feel confident.
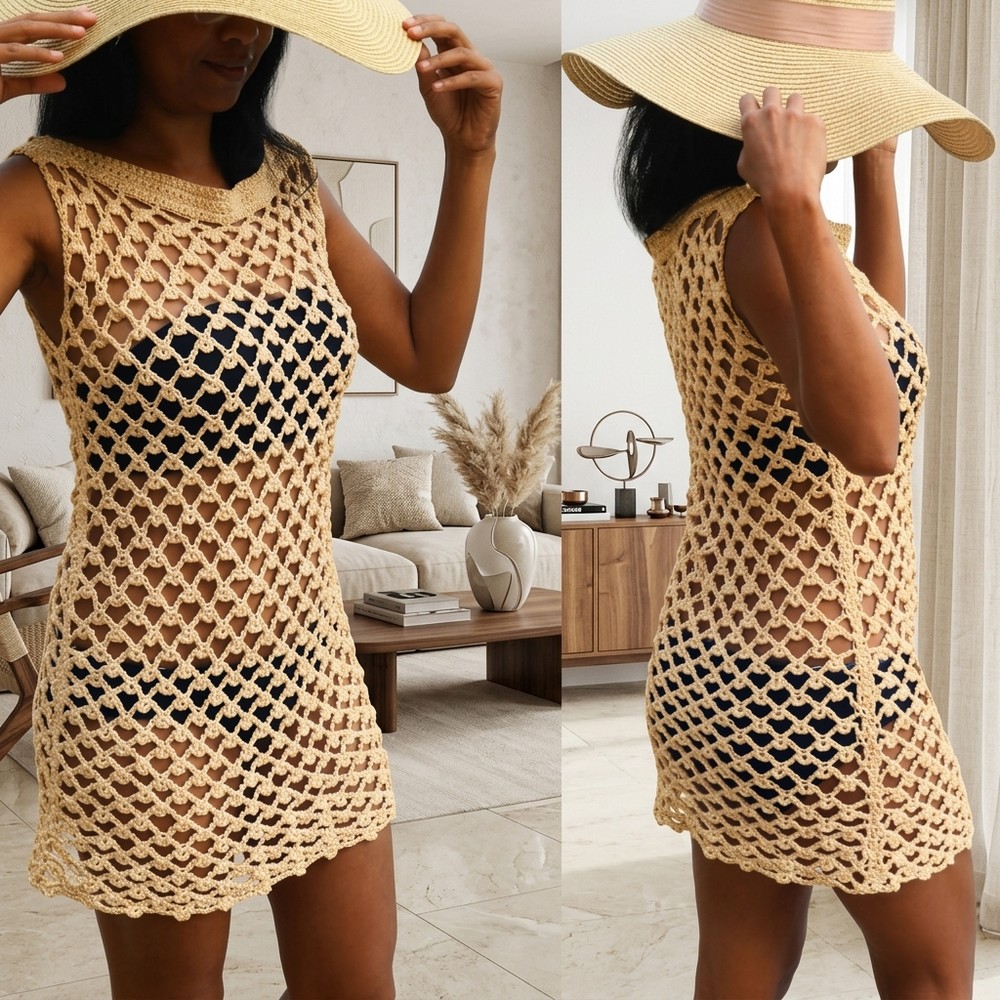
If you’re longing for a light and joyful project to brighten sunny days, this airy crochet summer beach top pattern is just the thing to try. Delicate openwork stitches create a soft texture that feels gentle and keeps you cool, while easy instructions make it simple for anyone to follow and finish with pride. It’s perfect as a fun layering piece over a swimsuit for trips to the water, tossed on with shorts for a walk, or even styled casually at home.
Sun-Kissed Crochet Summer Tunic – Free Pattern
The pattern guides you through making a relaxed, loose-fitting top with pretty lacy panels that look stylish and let the breeze in. Personalize your design with favorite colors or playful stripes—everything is possible. With each stitch, the process offers a relaxing, creative moment and the finished top becomes a cherished part of your wardrobe. The crochet summer beach top pattern brings style, comfort, and joy to every sunny adventure.

Free Crochet Summer Dress Tunic Pattern
Materials
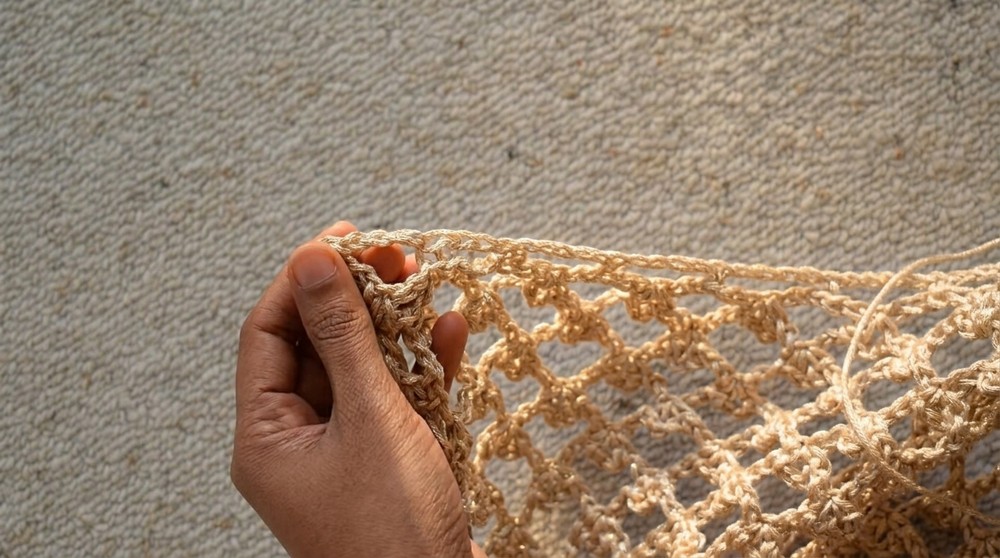
- Yarn: DK (#3, light) or 100% cotton yarn
- Sample uses [Hobbii Rainbow 100% cotton, 82 yds/50g], ~ 6 skeins (S), 7 (M), 8–9 (L/XL), ~500–700 yards depending on size.
- Hook: 4 mm (G-6) crochet hook
- Yarn needle: For seaming and weaving in ends
- Stitch markers: For marking shoulders and armholes
- Measuring tape: For body and foundation chain
- Scissors
Key Abbreviations
- ch = chain
- sc = single crochet
- dc = double crochet
- st(s) = stitch(es)
- sl st = slip stitch
- rep = repeat
Special Notes
- Gauge is not critical. Use body measurements for a custom fit.
- You will crochet two rectangles and seam at the shoulders and sides.
- Foundation chain = multiple of 5 + 2 (e.g., ch 50 for 16”, then add 2; adjust for size).
- All instructions use US crochet terminology.
Instructions
1. Sizing and Measurement
- Width:
- Option 1: Across shoulders, measure desired width (e.g., 16″–20″).
- Option 2: ½ bust circumference (for loose fit, add ease).
- Length:
- From shoulder down to your desired hem (e.g., 24” for a tunic length; adjust as you wish).
2. Rectangles (Make 2)
Foundation Chain:
- With 4mm hook, ch a multiple of 5 until you reach desired width (shoulder or ½ bust measurement).
- Example (16″ wide sample): ch 50, then add 2 (total 52).
- Adjust chain count to your measurement.
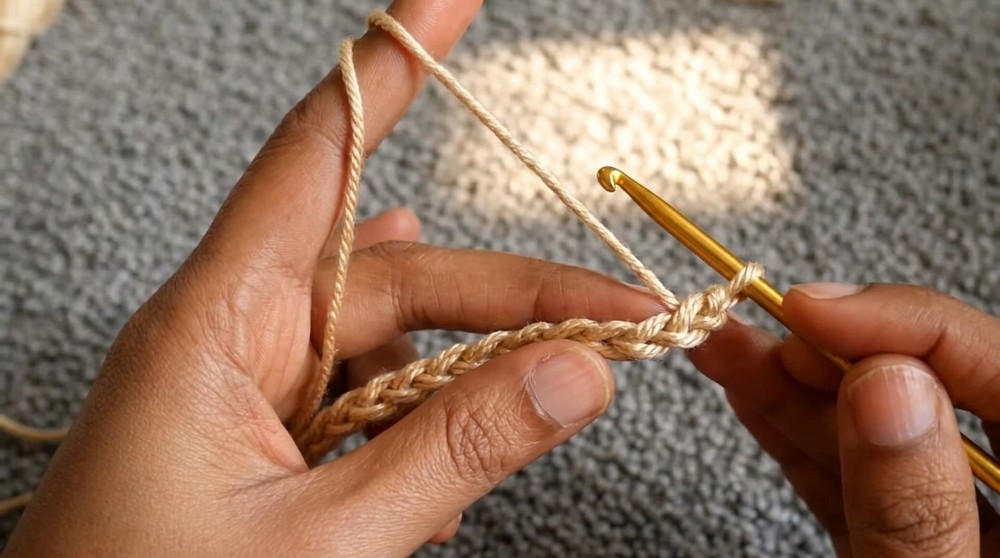
Row 1: Mesh Foundation
- Sc in 2nd ch from hook.
- Ch 5, skip 4 ch, sc in next ch.
- Rep from ** to end of row.
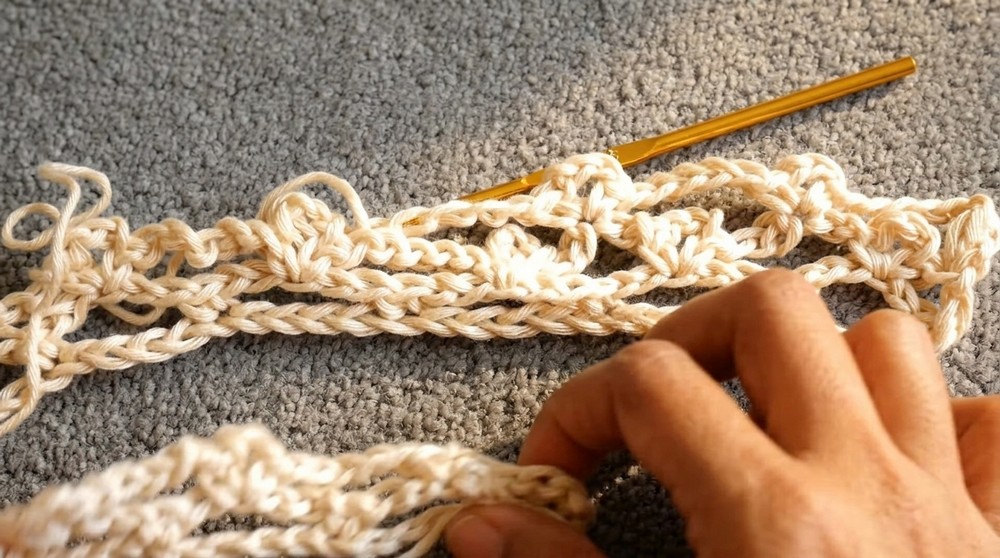
Row 2: (Creates Picot/Flower Edges)
- Ch 5, turn.
- [Find center of next ch-5 space from previous row, sc in center, ch 3, sc in same ch-sp] (this forms a floral/picot cluster).
- Ch 5, rep into each ch-5 space across row.
Row 3:
- Ch 1, turn. Sc in first st.
- Ch 5, sc in center ch-5 sp, ch 3, sc in same sp.
- Ch 5, repeat across row until end.
- If at row end: sc in last ch-5 space, ch 3, skip 2 ch, dc in last ch.
Rows 4+: Mesh Pattern Repeat
- Repeat Rows 2 and 3 until your fabric reaches the length you want for your tunic or dress (sample: 24″).
- Tip: Stop and try on occasionally to ensure your desired fit/length.
Optional Hem Edging:
- If you want to neaten the hem, attach yarn at foundation chain, and sc evenly across. Add 2–4 rows for your preferred border.
- You may also add hdc, dc, or other desired stitches for extra flair.
3. Assembly
Seaming Shoulders:
- Lay both panels flat, one atop the other.
- Mark shoulder seams using a stitch marker (suggested: seam 3–4” on each side, leaving center open for neckline).
- Using the yarn needle and matching yarn, seam both shoulders (use whip stitch, mattress stitch, or preferred method).
Seaming Sides:
- Mark armhole opening from the top—typically 5–7” depending on your arm/shoulder size.
- Seam from hem up to the marker on both sides, leaving the remainder open for armholes.
4. Optional: Sleeve/Hem/Neckline Borders
- With hook, attach yarn to any edge and work sc evenly around armhole, hem, or neck.
- Add additional rows or change colors as desired.
- For more structure, try hdc/dc or decorative edges.
Schematic (Overview)
- [Panel]
Ch to width → repeat mesh rows to length.
Make 2.
Seam shoulders and sides, leaving holes for head and arms.
Conclusion
This Mesh Tunic/Beach Cover-Up is a modern, light, and easy summer project. Worked in airy mesh with picot/flower edging, it drapes beautifully and is simple to size for any figure. Seam as much or as little as you like for your ideal fit, and feel free to add extra trim for personal style.
Pattern Correction & Tips
Corrections:
- Foundation chain must be a multiple of 5 + 2.
- Seam shoulders and sides to your preferred opening.
Tips:
- Measure your chain by stretching gently to match your body measurement.
- Try on pieces before seaming completely to adjust for a perfect fit.
- You may fancify borders with hdc, dc, herringbone, or color changes.
- This pattern works great with color-blocking and gradient yarns.