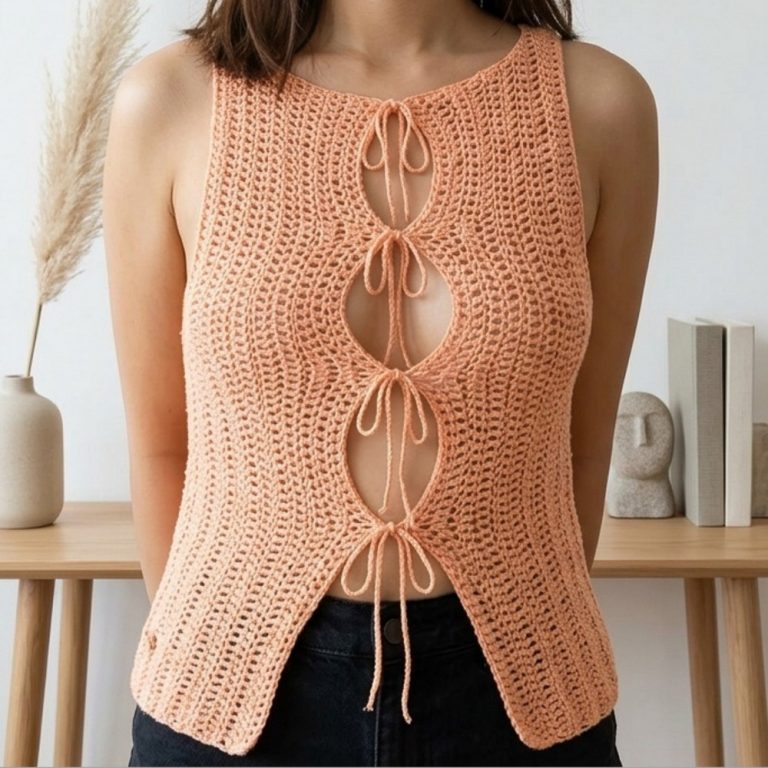
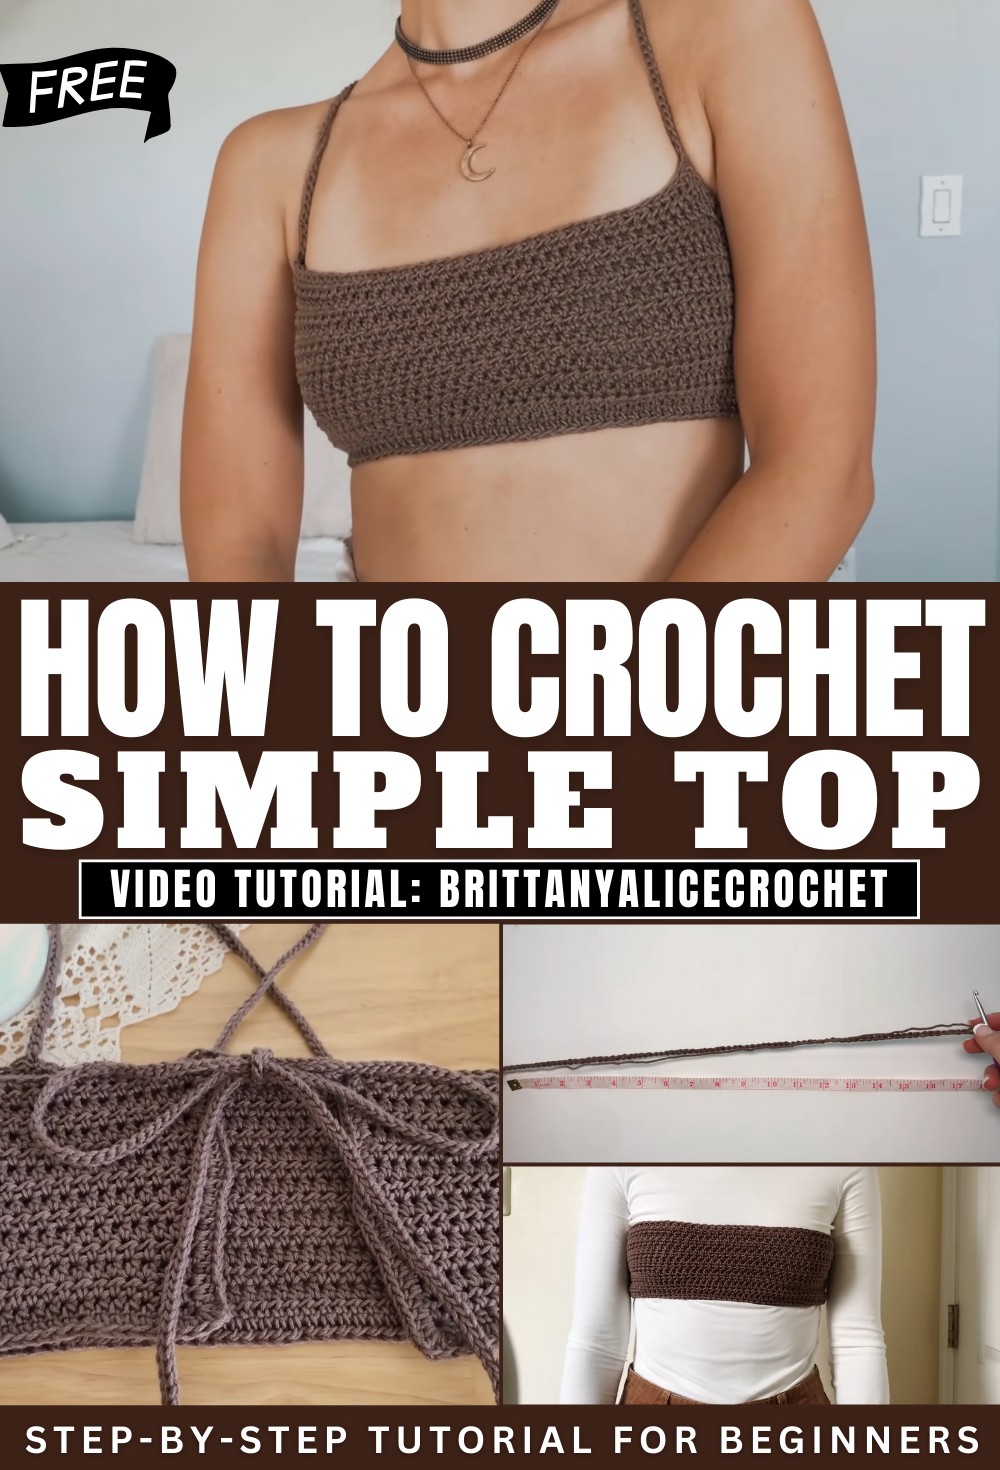
Elevated Crochet Top Pattern That Looks Ready-to-Wear
Refresh your wardrobe with this Crochet Top Pattern that feels stylish, ideal for casual outfits, layering moments, and everyday wear.
Stylish Crochet Top Pattern Perfect for Warm Days
Elegant structure and thoughtful detailing define a wearable piece that fits seamlessly into modern fashion. The Crochet Top Pattern offers a balanced blend of comfort and style, presenting a flattering shape that suits a variety of body types. Its adaptable design works well for casual outings, seasonal layering, or relaxed indoor wear, making it a versatile wardrobe choice. Breathable textures help maintain comfort throughout the day, while the refined stitch arrangement adds visual interest without overwhelming the look.

This pattern allows flexibility in yarn selection and color variation, giving each finished top a distinct personality. The lightweight feel supports ease of movement, making it ideal for warm weather or transitional seasons. Overall, it delivers a polished yet effortless appearance, combining practicality with artistic expression. This design stands as a dependable option for those who value stylish, comfortable garments with timeless appeal.
Essential Materials for Your First Top
Grab these specific items to ensure your project matches the tutorial perfectly:
-
Yarn: Worsted weight (Size 4) cotton yarn [00:26].
-
Crochet Hook: 4 mm size [00:38].
-
Tools: Measuring tape, sharp scissors, and stitch markers (or bobby pins) [00:38].
Calculated Measurements for a Personal Fit
Before starting, determine these two sizes to customize the top for your body:
-
Measurement A (Foundation Length): Take your chest measurement and subtract 15 inches [01:09].
-
Measurement B (Body Height): Measure the height of your breast and subtract 1 inch [01:27].
Step-by-Step Pattern Details
Section 1: The Foundation and Body
-
Start: Create a slip knot and chain until you reach the length of Measurement A [02:10].
-
Row 1: Chain 1 (turning chain). Work one Half Double Crochet (HDC) in the second chain from the hook and in every chain across [03:50].
-
Row 2: Chain 1, turn. Work one HDC into the first stitch and every stitch across, making sure to pick up both loops of the “V” [06:45].
-
Grow the Body: Repeat Row 2 until the entire piece reaches the height of Measurement B [09:59].
Section 2: Strap Placement
-
Try the top on and mark where you want the straps to sit (typically slightly in front of the armpits) [10:48].
-
Count the stitches from the edge to your first marker, then mirror that count on the other side [11:32].
Section 3: Straps and Top Border
-
Single Crochet Row: Chain 1, turn. Work one Single Crochet (SC) in each stitch until you hit your first marker [12:01].
-
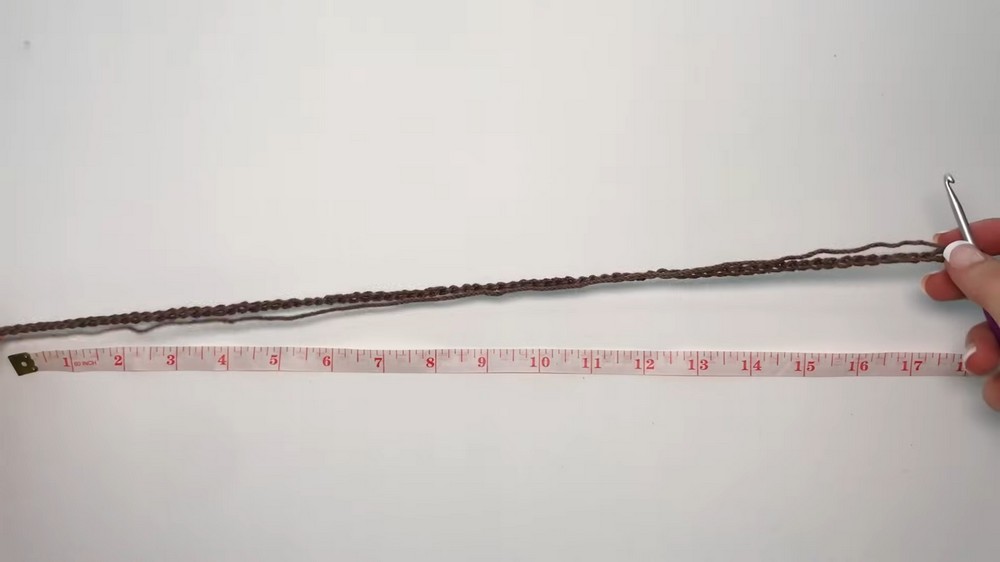
First Strap: At the marker, chain 200 (or your desired length) [13:33]. Slip stitch back down the entire chain starting from the second chain from the hook [14:28].
-
Secure and Continue: Slip stitch into the base of the strap, then SC across to the next marker [16:03].
-
Second Strap: Repeat the strap process (chain and slip stitch back) and SC to the final corner [17:14].
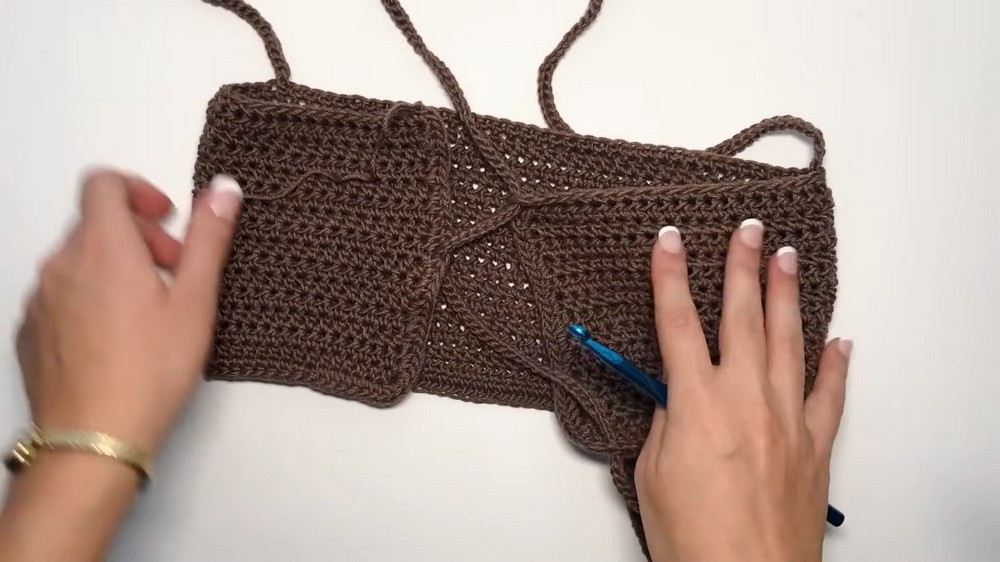
Section 4: The Finishing Border
-
Rounding the Corners: In the very last stitch of the top row, work two extra HDC to turn the corner [19:18].
-
Side Edging: Work two HDC into the side of every HDC row space down the side of the top [20:03].
-
Bottom Edging: Work three HDC into the bottom corner to turn, then one HDC into every foundation chain space across the bottom [22:54].
-
Final Side: Mirror the first side by working three HDC in the corner and two HDC per row space up to the start [26:53].
-
Fasten Off: Slip stitch into the first SC of the top row, chain 1, and cut your yarn [29:08].
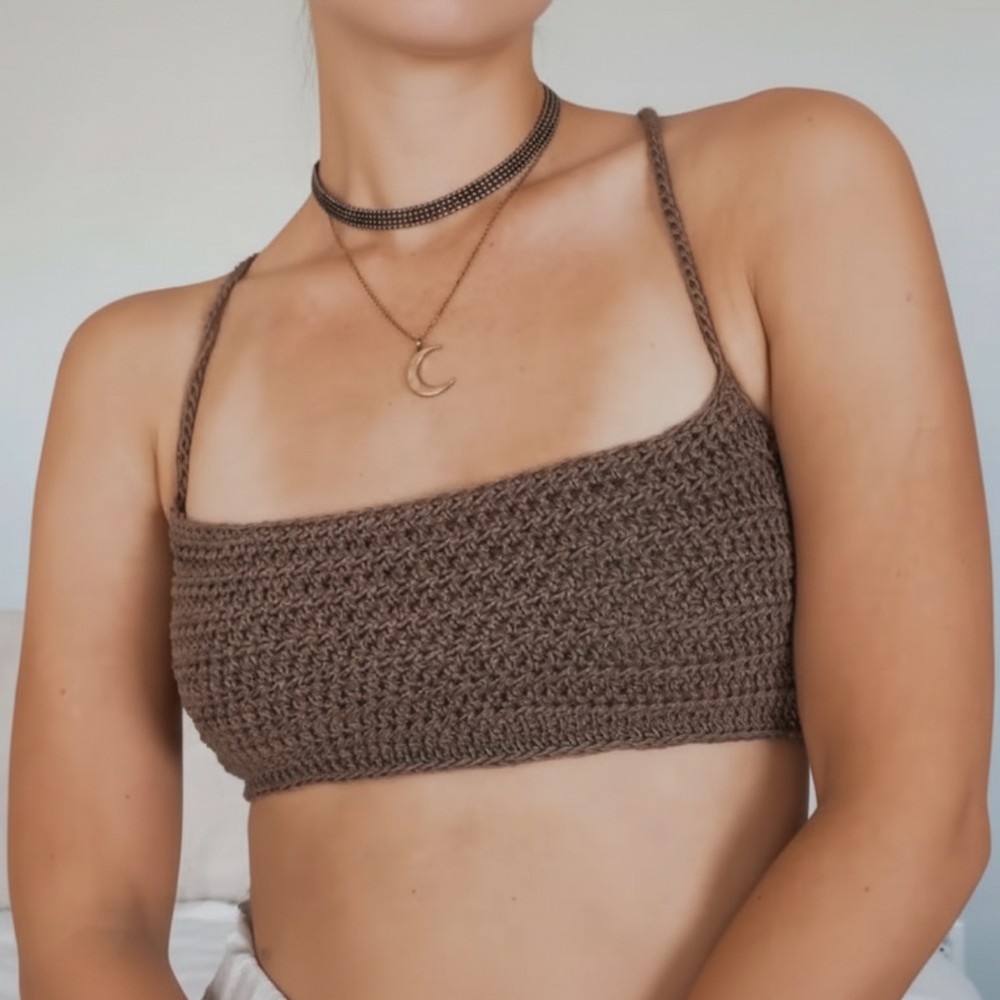
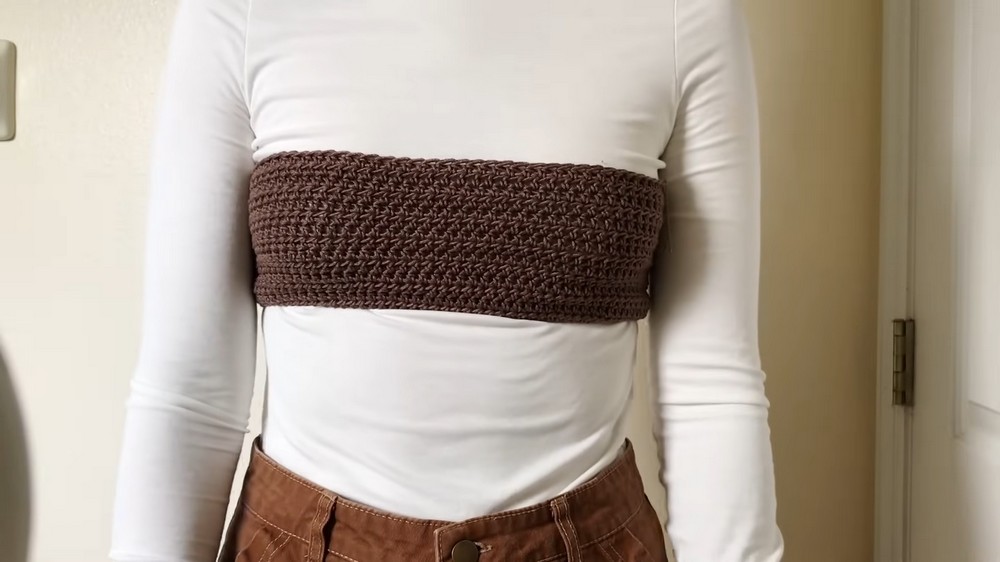
Inviting Finishing Touches
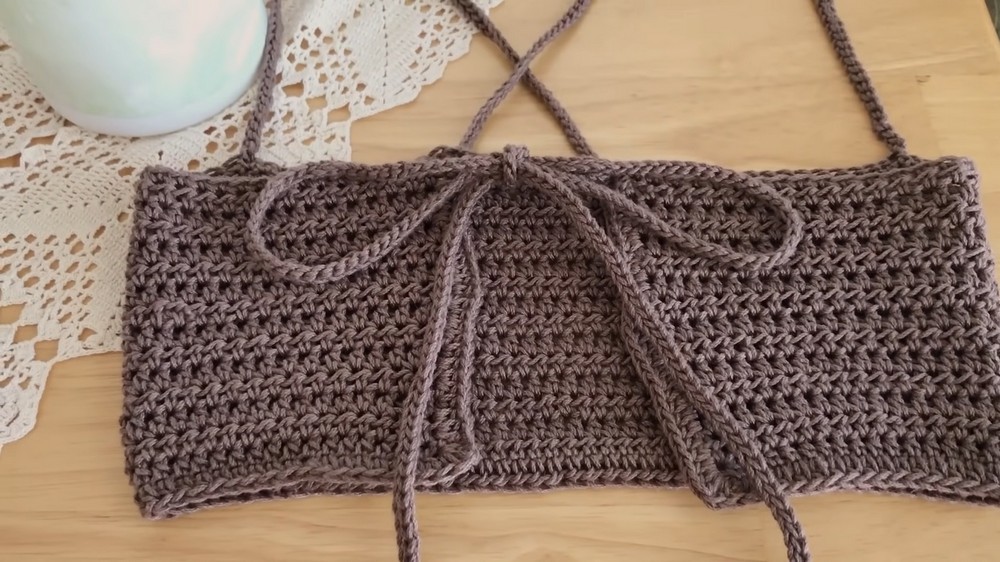
Finalize your piece by weaving in all loose ends with a darning needle. To wear, crisscross the straps over your shoulders and lace them through the HDC spaces on the back side borders for a secure, adjustable fit [30:39].
Project Details
-
Special Features: This design uses a “made-to-measure” system rather than standard sizes, ensuring it fits any body type perfectly. It also features long, adjustable straps that allow for various tie styles in the back.
-
Level of Difficulty: Absolute Beginner. The tutorial focuses on fundamental movements like the slip knot, chaining, half-double crochet, and slip stitching.
-
Tutor’s Suggestions: Stretch your foundation chain slightly against the tape measure to ensure accuracy before moving on. [03:28] Also, count your stitches between the edge and your first marker, then mirror that count on the other side for perfect symmetry. [11:32]
-
Uses: Wear this as a stylish summer crop top, a base layer under a cardigan, or a comfortable beach cover-up.
-
Materials: * Worsted weight cotton yarn.
-
4mm crochet hook.
-
Tape measure, scissors, and stitch markers (or bobby pins). [00:26]
-
Conclusion
Mastering your first garment is a rewarding milestone that builds your confidence for more complex patterns. This tutorial proves that you don’t need years of experience to produce a professional-looking, wearable piece of fashion. Once you fasten off your last stitch and weave in the ends, you have a custom top ready for any sunny day.
Pro Tip:
If you find it difficult to pull the thick straps through the garment spaces to tie them, use a larger crochet hook to grab the strap and pull it through the holes effortlessly. [30:45]