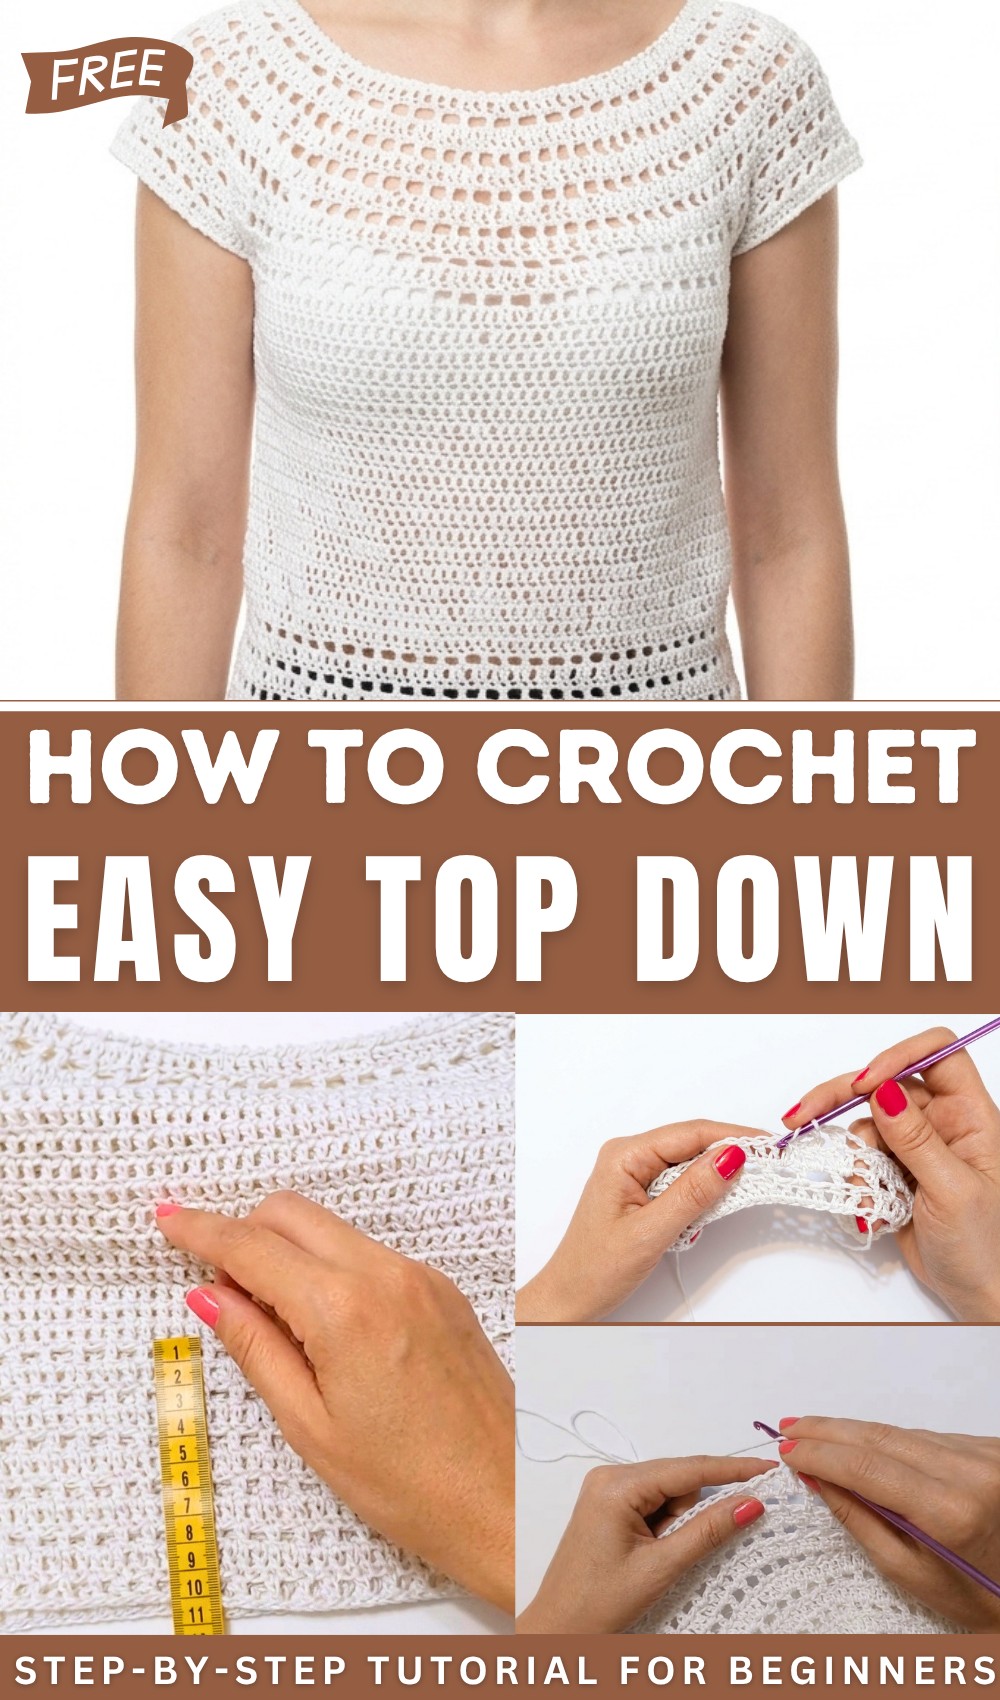
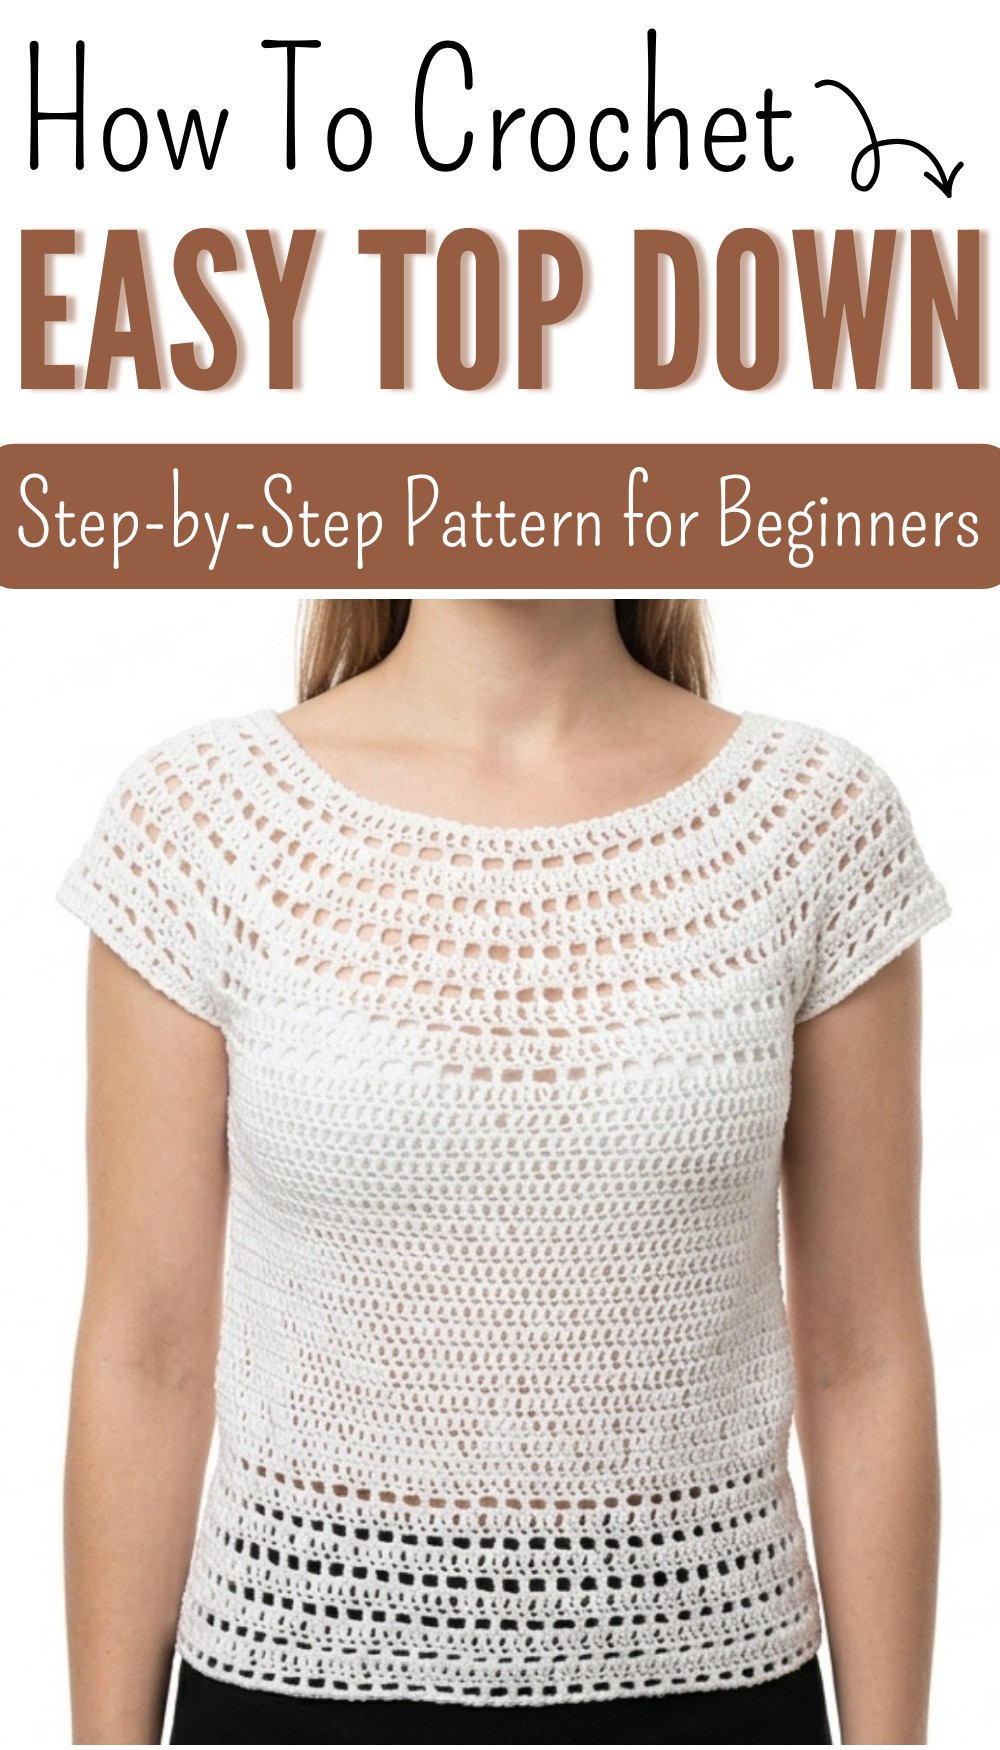
Top Down Free Crochet Pattern for Custom Stylish Tops
Enjoy making a cozy crochet top down from the neck down that’s easy, comfy, and perfect to wear every day, pick your favorite colors and get started.
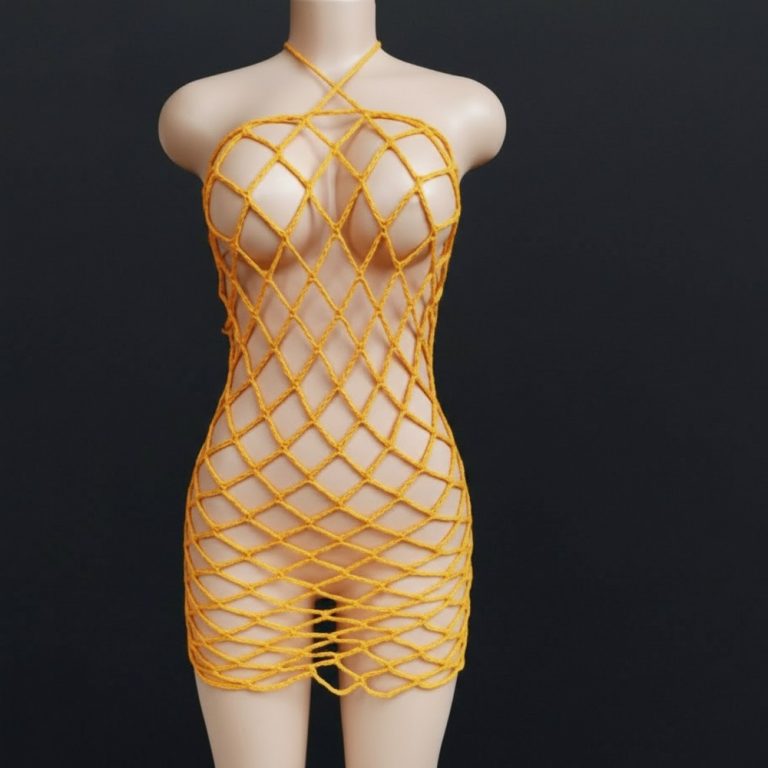
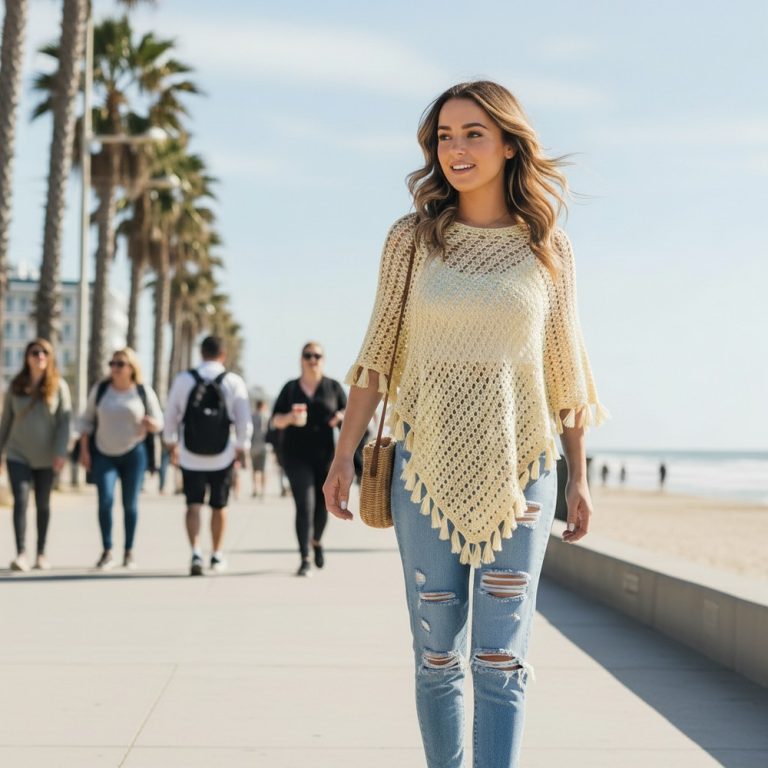
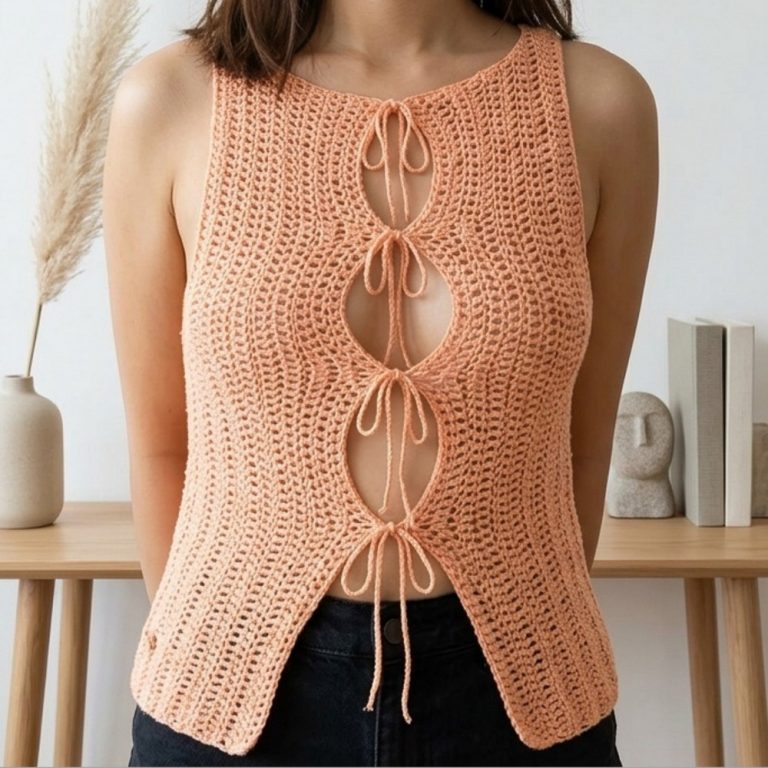
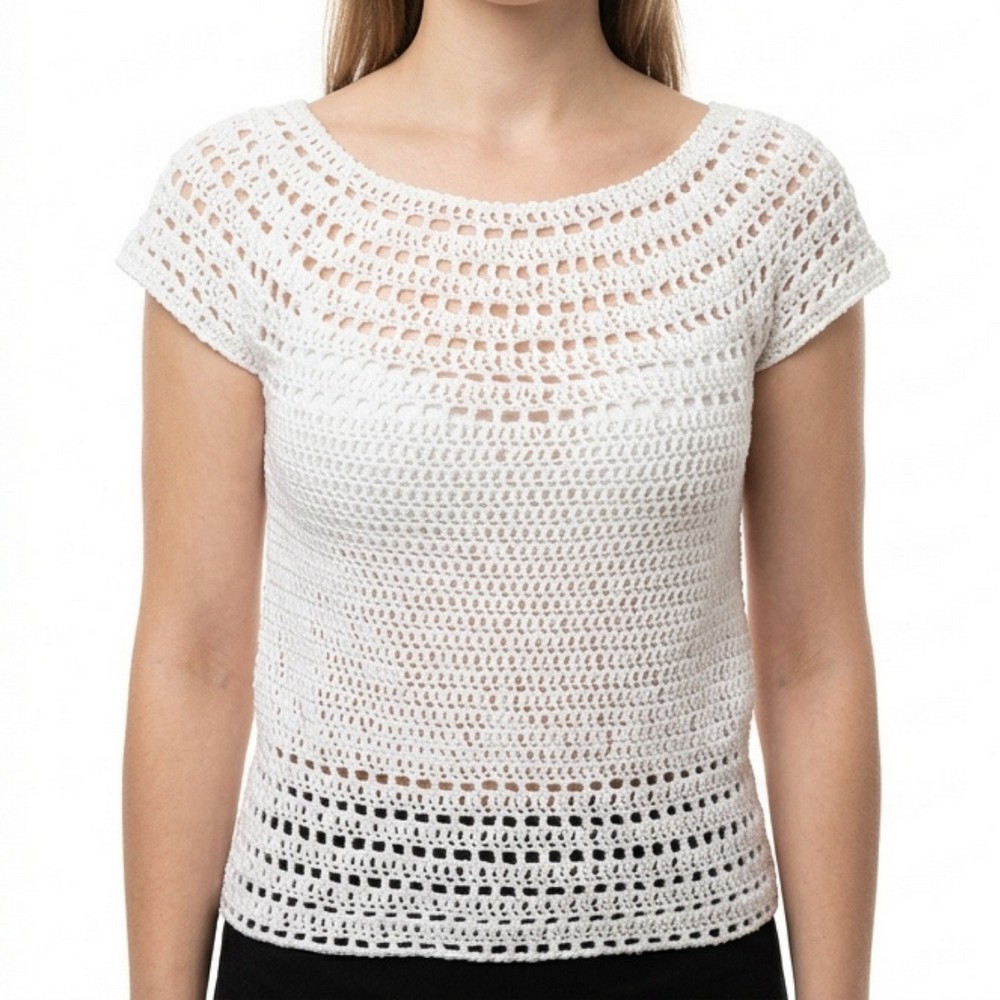
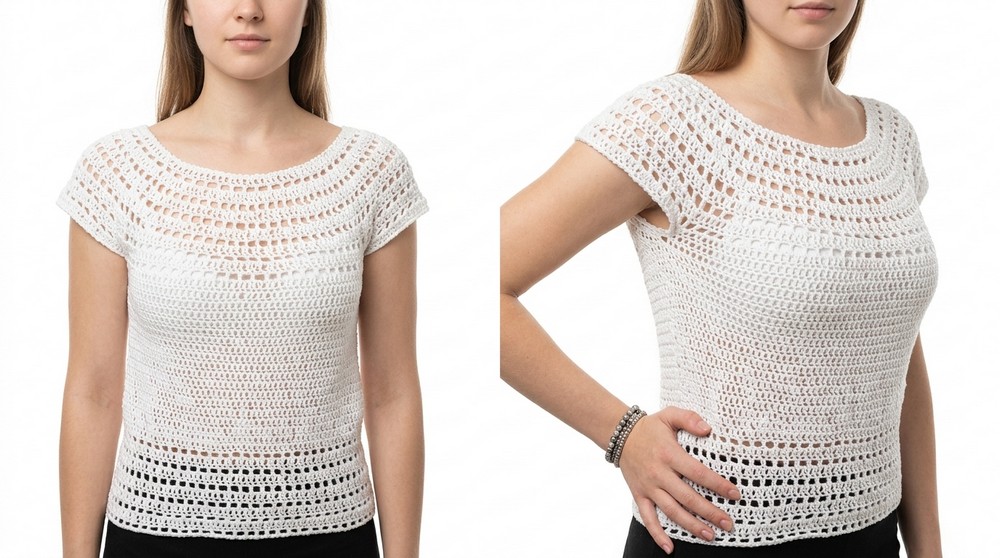
Wearing a handmade crochet top that is both stylish and comfortable. This design is made from the neck down, giving it a smooth and relaxing fit that feels great to wear. The beauty of the crochet top shines through its soft texture and detailed stitches, which create a unique look that works for any occasion, whether at home or out with friends.
How to Crochet: A Free Top Down Style Pattern
Its lightweight nature makes it perfect for warm days, while layering can make it cozy for cooler weather. The design allows for creativity, with options to personalize the color, size, and style to match your taste. Its simple yet elegant appearance adds charm to your wardrobe and makes it a versatile piece suitable for casual or even semi-formal looks. The crochet top is loved for its intricate look while still being easy enough for beginners to try, making it special for anyone who enjoys simple handmade clothing.
Top-Down Round Yoke Crochet Top Pattern
Skill Level
Intermediate to Advanced
Materials List
- Yarn: Summer yarn by Aice Ayane (or any similar lightweight yarn with a composition of 70% mercerized cotton and 30% viscose), approx. 400g
- Each skein = 100g and 350m
- Yarn type: Smooth, soft, and slightly shiny
- Crochet Hook: 4mm for the yoke and 3.5mm for the lower body (adjust hook size for gauge)
- Scissors
- Tapestry Needle: For weaving in ends and sewing parts
- Stitch Markers: To mark key points such as the start of rounds, sleeve separations, etc.
Key Abbreviations
- ch: Chain
- sc: Single Crochet
- dc: Double Crochet
- sl st: Slip Stitch
- yo: Yarn Over
- sp: Space
- st(s): Stitch(es)
- rep: Repeat
Special Notes
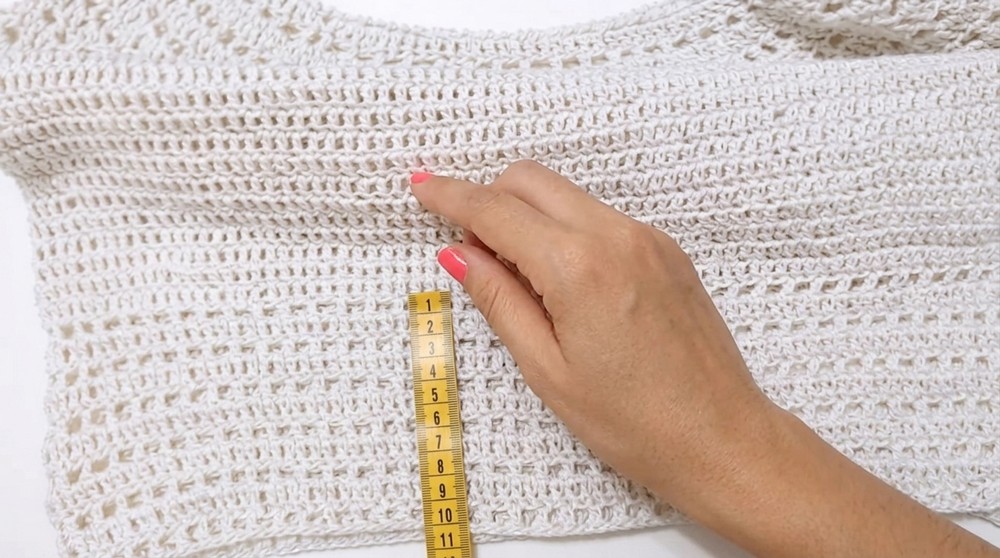
- Gauge: 112 foundation chains measure approximately 65 cm in circumference. Adjust as needed for your size.
- Sizing: The pattern is written for size M but can be customized for other sizes using the tips provided under customization.
- Construction: The top is worked in rounds from the top down, starting with the neckline, followed by increases for the yoke, and finishing with the body and optional edging.
- Chains for the yoke must be an even multiple for the stitch pattern to align correctly.
Step-by-Step Instructions
Step 1: Create the Foundation
- Foundation Chains: Chain 112 ch (or adjust to achieve your desired neckline width; it must be an even multiple).
- For size M, this is about 65 cm.
- Join in the Round: Close the foundation chain with a sl st into the first chain, being careful not to twist the chain.
- First Round:
- Ch 3 (counts as the first dc).
- Work 1 dc into each chain around.
- Total: 112 dc for size M.
- Close the round with a sl st into the top of the starting ch-3.
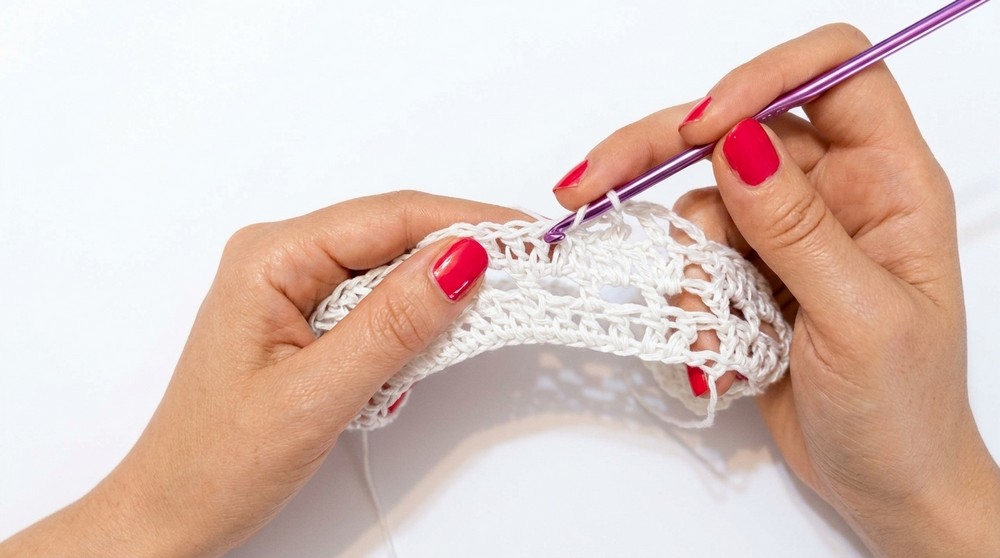
Step 2: Establish the Stitch Pattern
- Round 2 (Mesh Stitch):
- Ch 3 (counts as the first dc), ch 1, skip the next stitch, and dc into the following stitch.
- Repeat: (Ch 1, skip 1 stitch, dc into the next) around.
- Close the round with a sl st into the top of the starting ch-3.
- Round 3 (Increase Round):
- Ch 3 (counts as the first dc).
- Into each ch-1 sp from the previous round, work 2 dc.
- Work 1 dc into each dc from the previous round.
- Total: 168 dc.
- Round 4 (Mesh Stitch):
- Repeat Round 2 (Mesh Stitch).
Step 3: Continue Yoke Increases
- Round 5 (Settle Round):
- Work 1 dc into each ch-1 sp and 1 dc into each dc from the previous round without increasing.
- Round 6 (Increase Round):
- Work 1 dc in each dc and 2 dc in every other ch-1 sp.
- Increase uniformly around the yoke.
- Round 7 (Mesh Stitch):
Repeat Round 2. - Rounds 8–13:
Continue alternating between increase rounds and mesh stitch rounds to achieve the desired yoke width. On each increase round, gradually add 1 more group of normal stitches between each increase. For example:- Round 8: Work 4 regular dc groups, then 1 increase group.
- Round 10: Work 5 regular dc groups, then 1 increase group.
- Round 12: Work 6 regular dc groups, then 1 increase group.
Step 4: Divide for Body and Sleeves
- Measure Sleeve and Body:
- For size M: Front and back = 70 sts (approx. 44–45 cm).
- Sleeves = 28 cm (approx. 50 sts each), with 2 extra cm added for comfort.
- Join Front and Back with Chains:
- Mark the sleeve sections with stitch markers.
- Join the front and back with 5 extra ch under each sleeve for ease (total sleeve circumference = 30 cm).
- Continue in Rounds for the Body:
- Work dc rounds without increases for 20 rows (approx. 19.5 cm).
Step 5: Add the Lace Section for the Body
- Work Mesh Stitch Pattern:
- Switch to 3.5mm hook for a tighter fabric (optional).
- Alternate between mesh stitch rounds (a double crochet chain-1 pattern) and regular rounds (all dc).
- Continue until you achieve the desired body length.
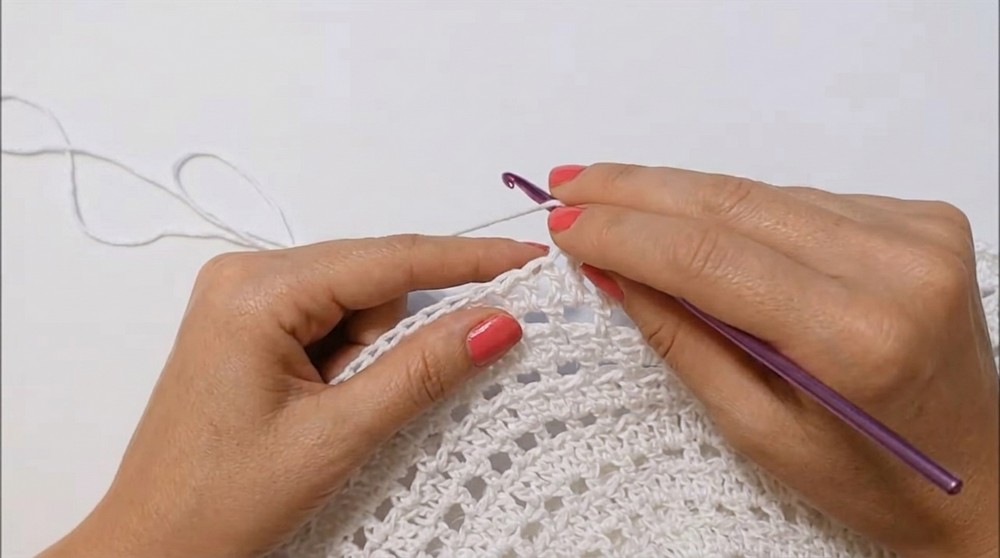
Step 6: Edging
- Lobster Stitch Border:
- Use the 3.5mm hook.
- Attach yarn at the bottom edge, neck, or sleeves.
- Lobster stitch (reverse single crochet): Insert the hook into the previous stitch (working backward), yo, pull up a loop, then yo and pull through both loops on the hook.
- Work lobster stitch evenly around all edges for a polished finish.
Customization Options
- Size Adjustments:
- Increase or decrease the number of foundation stitches (multiple of 2) for different sizes.
- Adjust yoke increases for a larger or smaller neckline.
- Yarn Substitutes: Use any lightweight yarn with good drape, such as bamboo-cotton blends or mercerized cotton.
- Sleeve Modifications: Adjust the number of chains when joining the front and back to customize the sleeve circumference.
- Lace Density: Work a tighter or looser mesh stitch by varying hook size.
Conclusion
You’ve now completed your crochet top using a top-down construction method! This versatile and elegant project emphasizes simplicity and functionality, making it an excellent wardrobe addition.
Pattern Corrections
- Ensure stitch counts remain consistent after each increase round—this will prevent uneven shaping.
- Adjust the fit (width of the yoke or body) before dividing for sleeves.
Tips
- Blocking: Lightly block your top to relax the stitches and achieve optimal shape.
- Pro Tip for Beginners: Use stitch markers to help keep track of increase points and beginning chains.
- Weaving Ends: Trim and secure yarn tails carefully to prevent unraveling.