How to Crochet Clutch Wallet With 2 Zippers And Short Handle
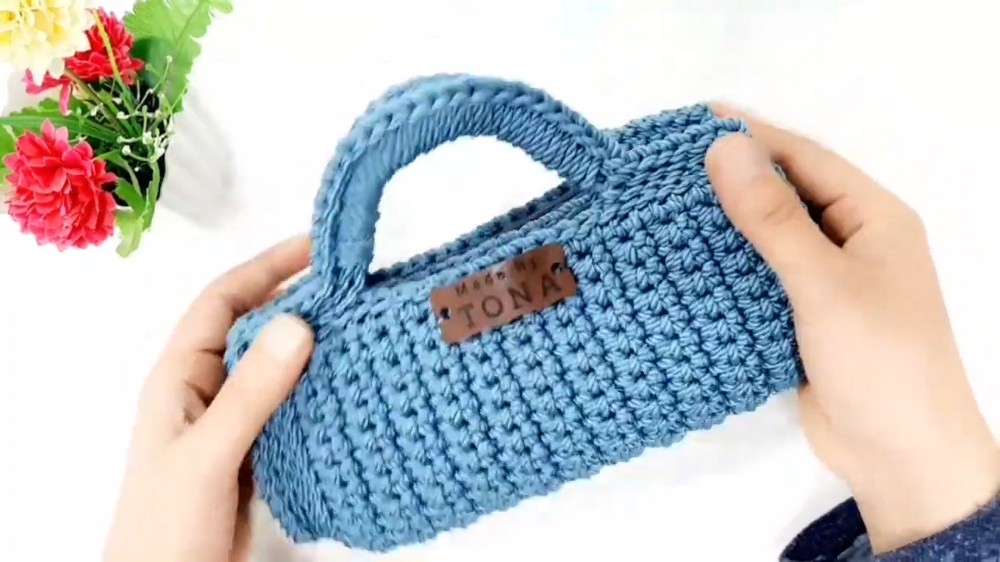
Are you looking for a stylish clutch bag? Learn how to crochet this stylish, handmade wallet or portfolio using Egyptian macrame thread, zippers, and basic crochet techniques. The step-by-step tutorial covers creating the wallet’s base, adding zippers, and crocheting the handles with precision and great detail. Faten innovates new ways to install zippers, focusing on simplicity and functionality.
Perfect as a unique Mother’s Day gift, the design integrates utility and elegance, enabling easy access for items like mobile phones. So, follow through with us for the complete tutorial.

Crochet Wallet Tutorial
This tutorial by Faten Fouad is a step-by-step crochet guide for creating a practical and innovative wallet or portfolio, featuring two zippers for ease of use. Below, the tutorial is summarized with headings and bullet points to highlight each step of the process.
Introduction
- The project is a handmade wallet/purse designed with two zippers for practicality and a sleek design.
- Ideal as a gift, particularly for occasions like Mother’s Day.
- Focuses on exploring a new method of installing zippers in crochet projects.
Materials Needed
- Egyptian macramé thread (medium thickness, 180–200 grams).
- Zipper-by-the-meter (customized to required length).
- Scissors and lighter.
- Needle and thread for zipper attachment.
- Hook size 4.
- Measuring tools (to ensure precise lengths).
- Optional decorations or logo, as desired.
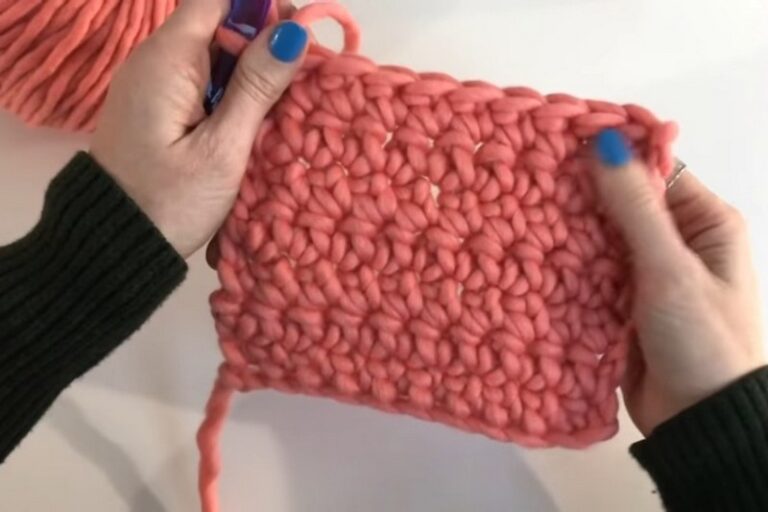
Base Creation
- Making the Foundation
- Start with a slipknot and create a chain of suitable length.
- Ensure it matches the desired dimensions for the wallet.
- Building the Base
- Use simple crochet stitches to create rows, increasing the thickness as necessary.
- Continue until the base has sufficient height and width for the wallet’s size.

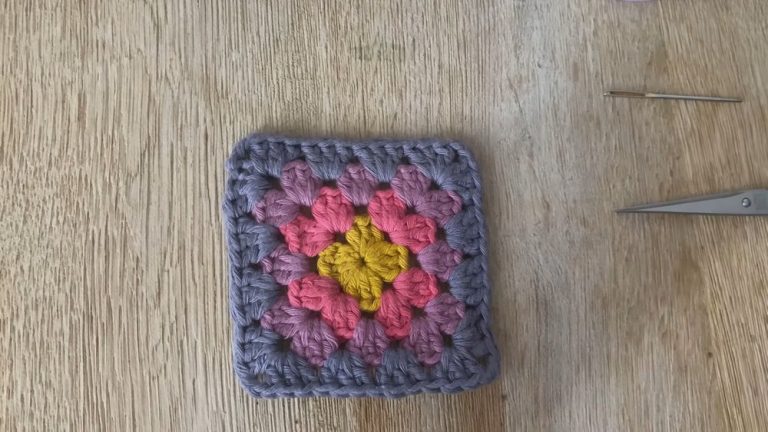
Building the Frame
- Creating Additional Rows
- Add slip stitches along the edges to frame the wallet.
- Work to ensure symmetry, especially at the corners (using chain stitches in the corners to maintain evenness).
- Reinforcing the Frame
- Focus on slip stitching on the back loops to give the structure extra strength.

Adding the Handles
- Create the wallet’s handles by crocheting filling stitches over designated spaces.
- Ensure uniformity and neatness by pushing the stitches closer together.
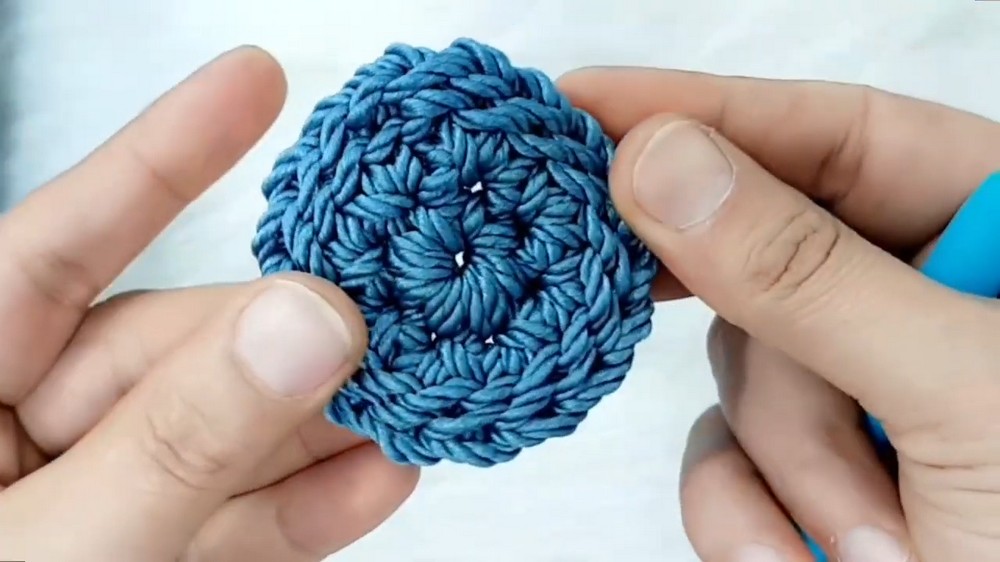
Shaping the Sides
- Crocheting Circular Side Panels
- Make two identical circular panels for the sides of the wallet.
- Use single crochet stitches, increasing strategically to form a smooth, round shape.
- Attaching Side Panels
- Sew the two side panels to the main body of the wallet using a needle and thread.
- Ensure secure stitching while keeping the design neat.

Creating the Separator
- Crochet a rectangular piece to act as an internal separator within the wallet.
- This serves to divide the interior into sections for better organization.
Adding the Zippers
- Preparing Zippers
- Cut two zippers to the desired size.
- Secure their edges and ensure the sliders/tracks are correctly positioned.
- Sewing Zippers
- Attach the zippers to the wallet by stitching them securely.
- Start with one side, ensuring alignment before proceeding to the other.

Final Touches
- Sew all pieces together securely, ensuring every detail is aligned.
- Neaten any loose threads and trim excess materials.
- Add decorative details (e.g., logos or tags) to personalize the design further.
Conclusion
- The project results in a functional, stylish wallet with a streamlined design and dual zippers for maximum practicality.