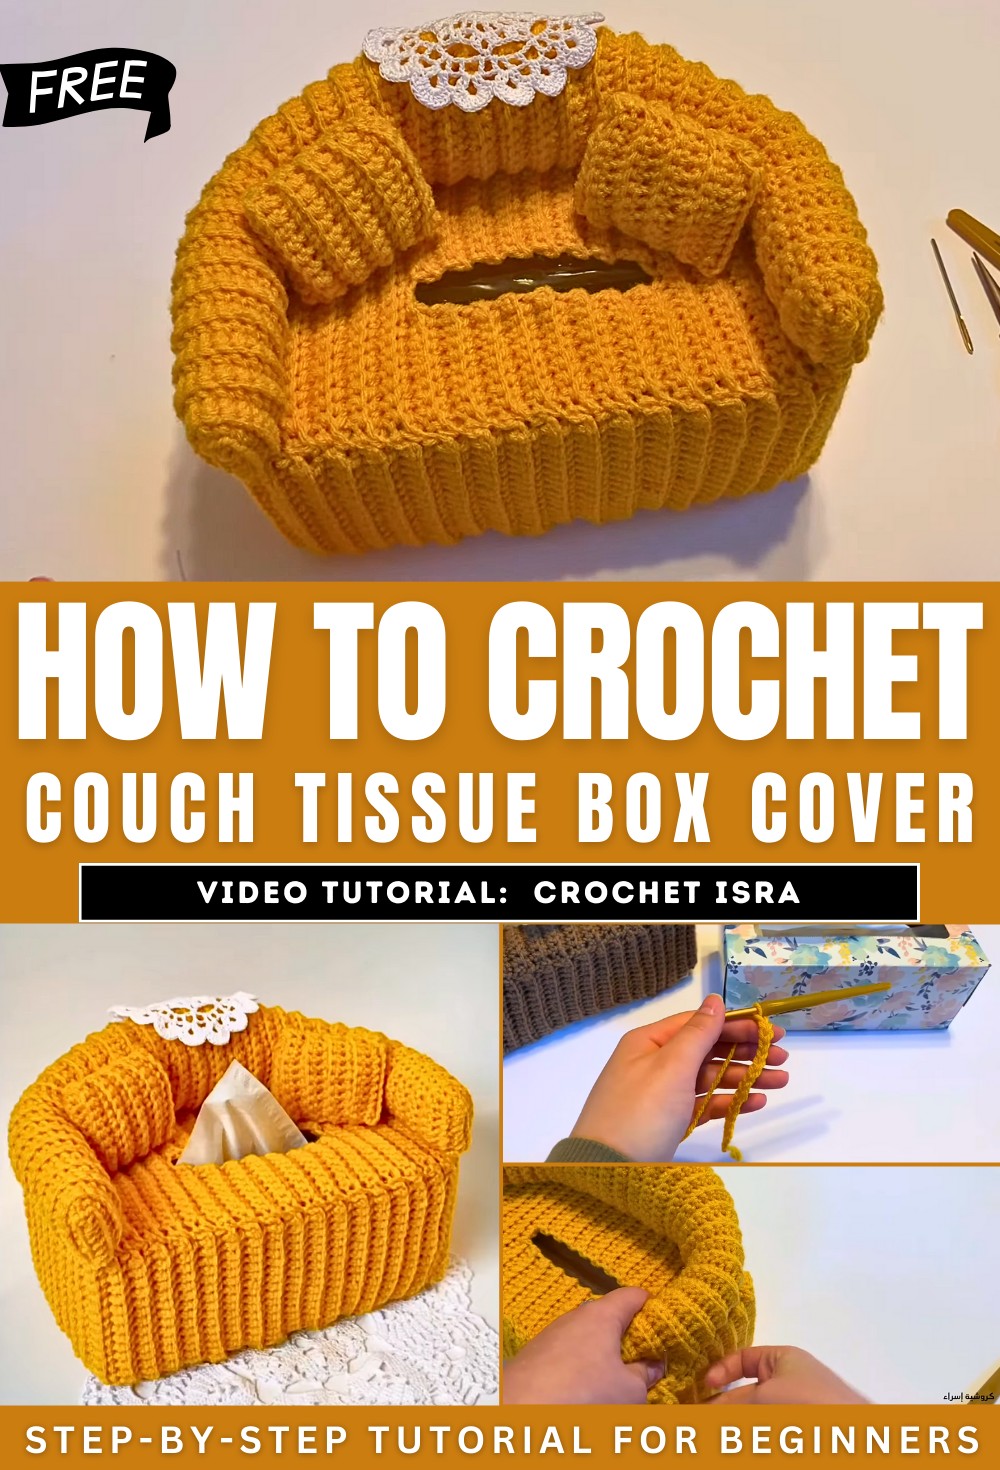
How to Crochet Couch Tissue Box Cover – ENGLISH TUTORIAL
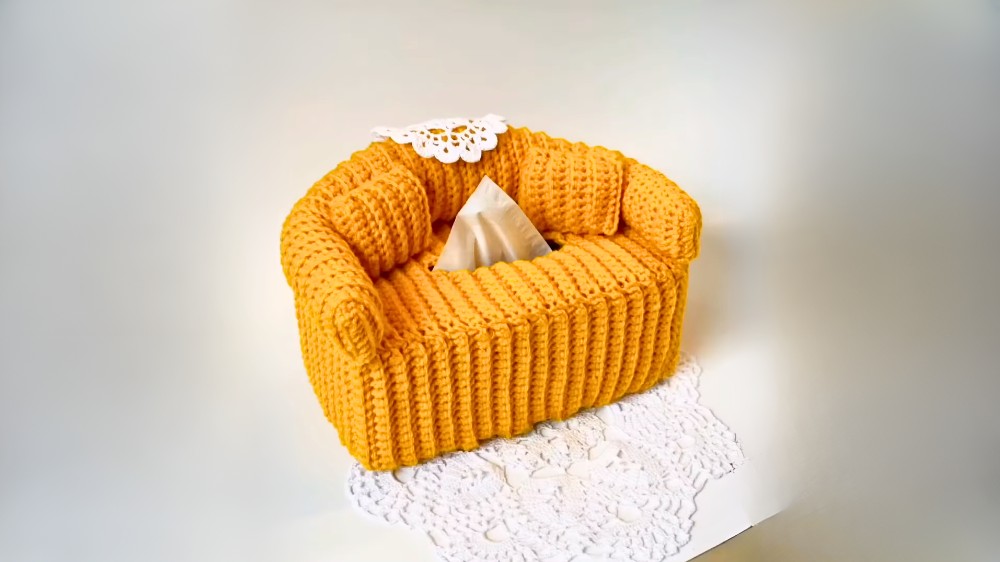
In this tutorial, learn how to crochet a cozy couch tissue box cover for fall with a tutorial for beginners. Originally tutorials in Arabic, this marks her first English walkthrough due to popular demand. She guides viewers step by step, explaining the materials needed, such as medium #4 yarn, a 5.5 mm crochet hook, elastic, and stuffing. The process involves making three parts (sides, top, and back), followed by optional decorative pillows.
The tutorial is beginner-friendly, with clear instructions on stitches, measurements, and assembly. The tutorial also includes instructions for adding optional pillows and finishing the cover with elastic to ensure a snug fit on the tissue box. It’s a creative project that transforms a simple tissue box into a decorative item. So, follow through with us for the complete tutorial.
Couch Tissue Box Cover Tutorial
This tutorial guides viewers through the process of creating a crochet couch-themed tissue box cover. While the creator typically provides tutorials in Arabic, this is her first English video in response to multiple requests. The video is detailed, beginner-friendly, and includes optional embellishments to personalize the final product.
Introduction
- The creator introduces the project and highlights its popularity on her channel.
- She explains that while subtitles were unavailable, she decided to make this English tutorial for a broader audience.
- Viewers are encouraged to leave suggestions for future tutorials in the comments.
Materials Needed
The presenter outlines the key materials required for the project:
- A rectangular tissue box for measurements.
- Medium #4 yarn (e.g., Red Heart Super Saver).
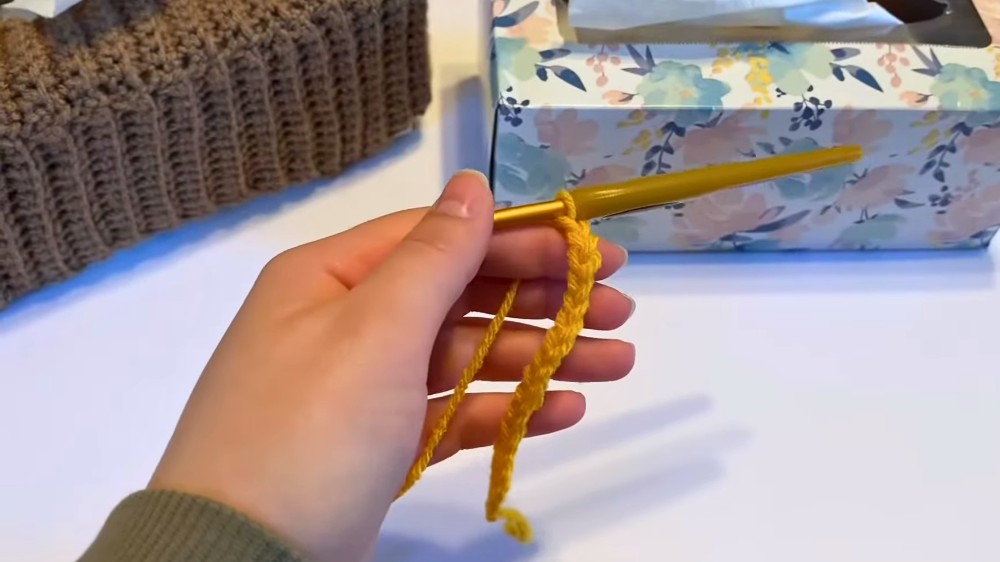
- A 5.5 mm crochet hook.
- Scissors, a tapestry needle, and stitch markers.
- Elastic bands (thin or wide) for securing the base.
- Stuffing material for the couch’s backrest and optional pillows.
She notes that affordable alternatives, like purchasing a cheap pillow and reusing its stuffing, can work well.
Project Steps
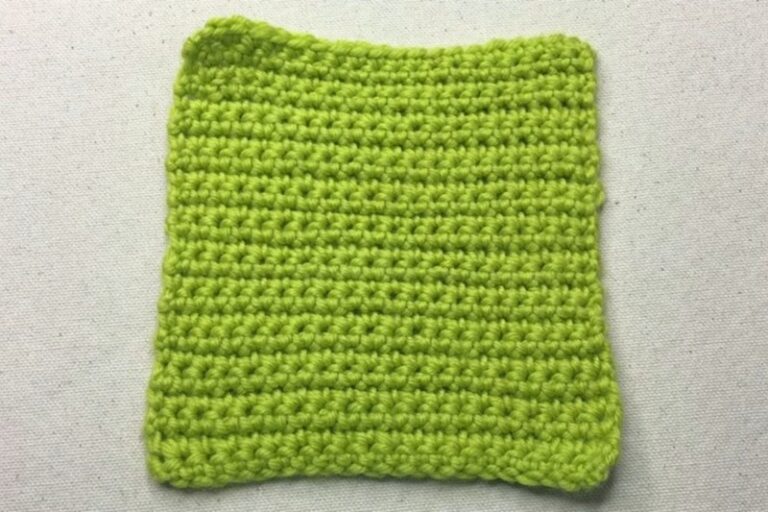
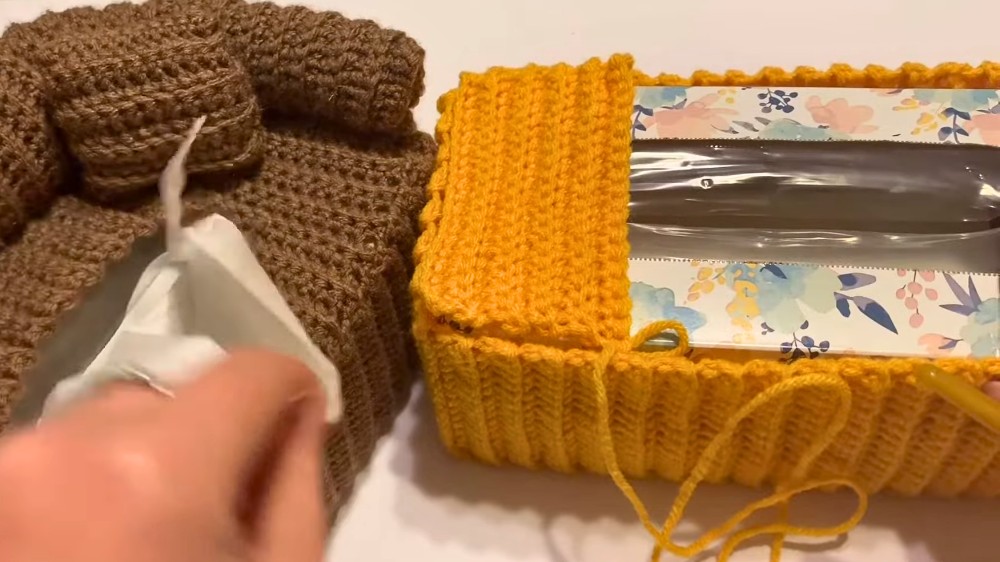
1. Creating the Side Panels
- Begin by crocheting the rectangle for the sides of the tissue box cover.
- Work in rows using single crochet, ensuring the panel matches the box’s side measurements.
- When the rows are complete, sew the edges together to form the sides.
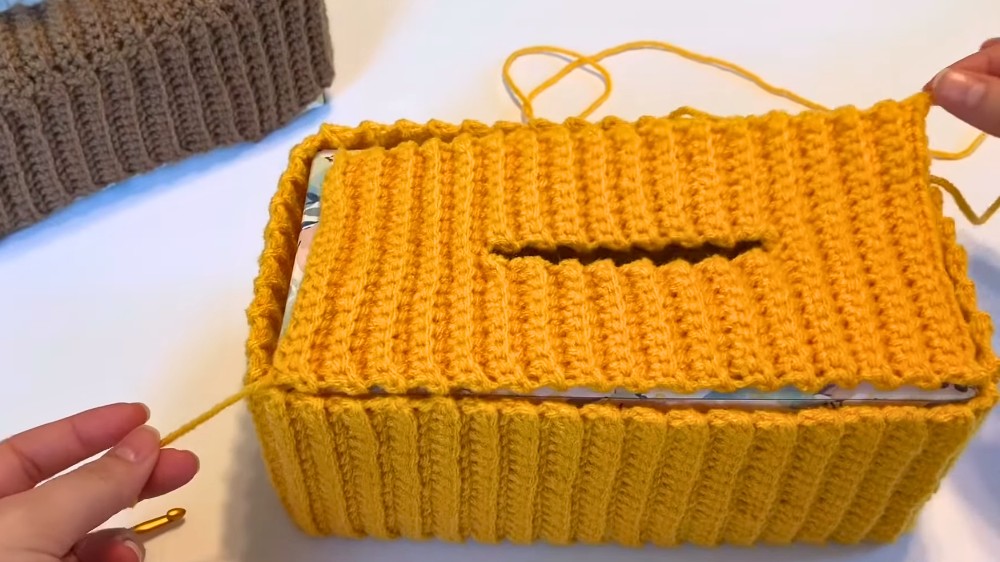
2. Crafting the Top Panel
- Start the top panel by crocheting a rectangular piece that reaches the same width as the tissue box.
- Include a slit in the middle of the top panel to allow tissues to be pulled out.
- The top is divided into sections, worked row by row for even spacing.
- After finishing, sew the top panel onto the side panels, ensuring alignment for a polished look.
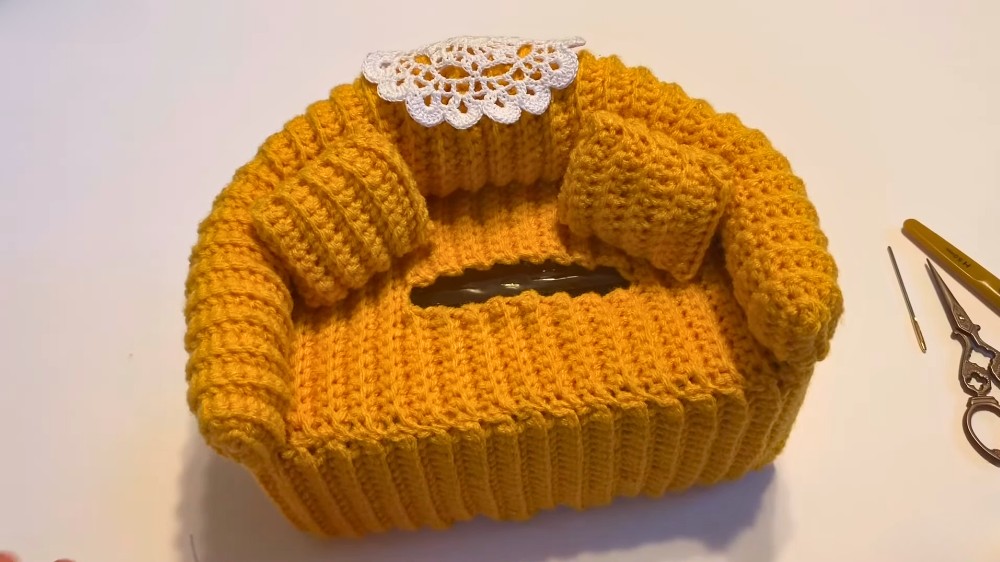
3. Designing the Backrest
- The backrest is crocheted separately and attached to the cover later.
- Begin with a rectangle using rows of single crochet.
- Gradual increases are added to form the slanted sides of the backrest.
- Once the desired shape and height are achieved, it is stuffed and sewn to the tissue box cover.
4. Adding Decorative Pillows (Optional)
- Miniature pillows are optional but add a fun decorative touch.
- For each pillow, crochet a small rectangle, fold it, and sew around the edges.
- Stuff the pillow lightly before closing it completely.
- Attach the pillow to the couch using a hidden stitch so it remains secure but flexible.
Final Touches
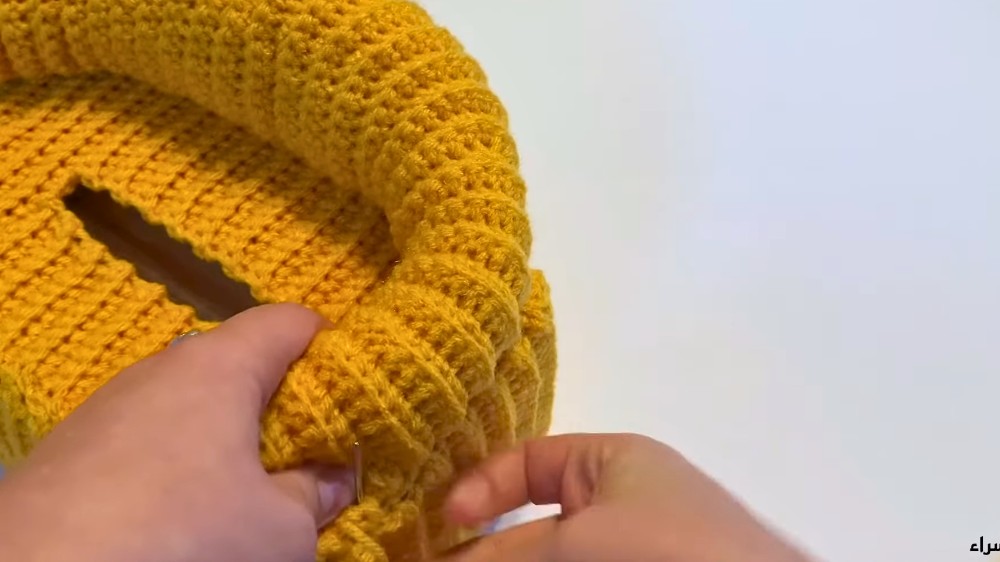
Elastic Band on the Bottom
- Add an elastic band around the bottom of the tissue box cover to ensure it stays snug.
- Insert the elastic using a zigzag stitch or crochet a border to hide it.
Customization
- Add embellishments, such as flowers or a crocheted blanket, for additional detail.
- The creator also demonstrates how to adjust the design for a specific box size or style.
Conclusion
- The creator expresses gratitude and invites feedback to improve her English tutorials.
- She encourages viewers to subscribe, share the project, and share recommendations for future tutorials.
- The finished couch tissue box cover is versatile and a creative gift or home décor item.