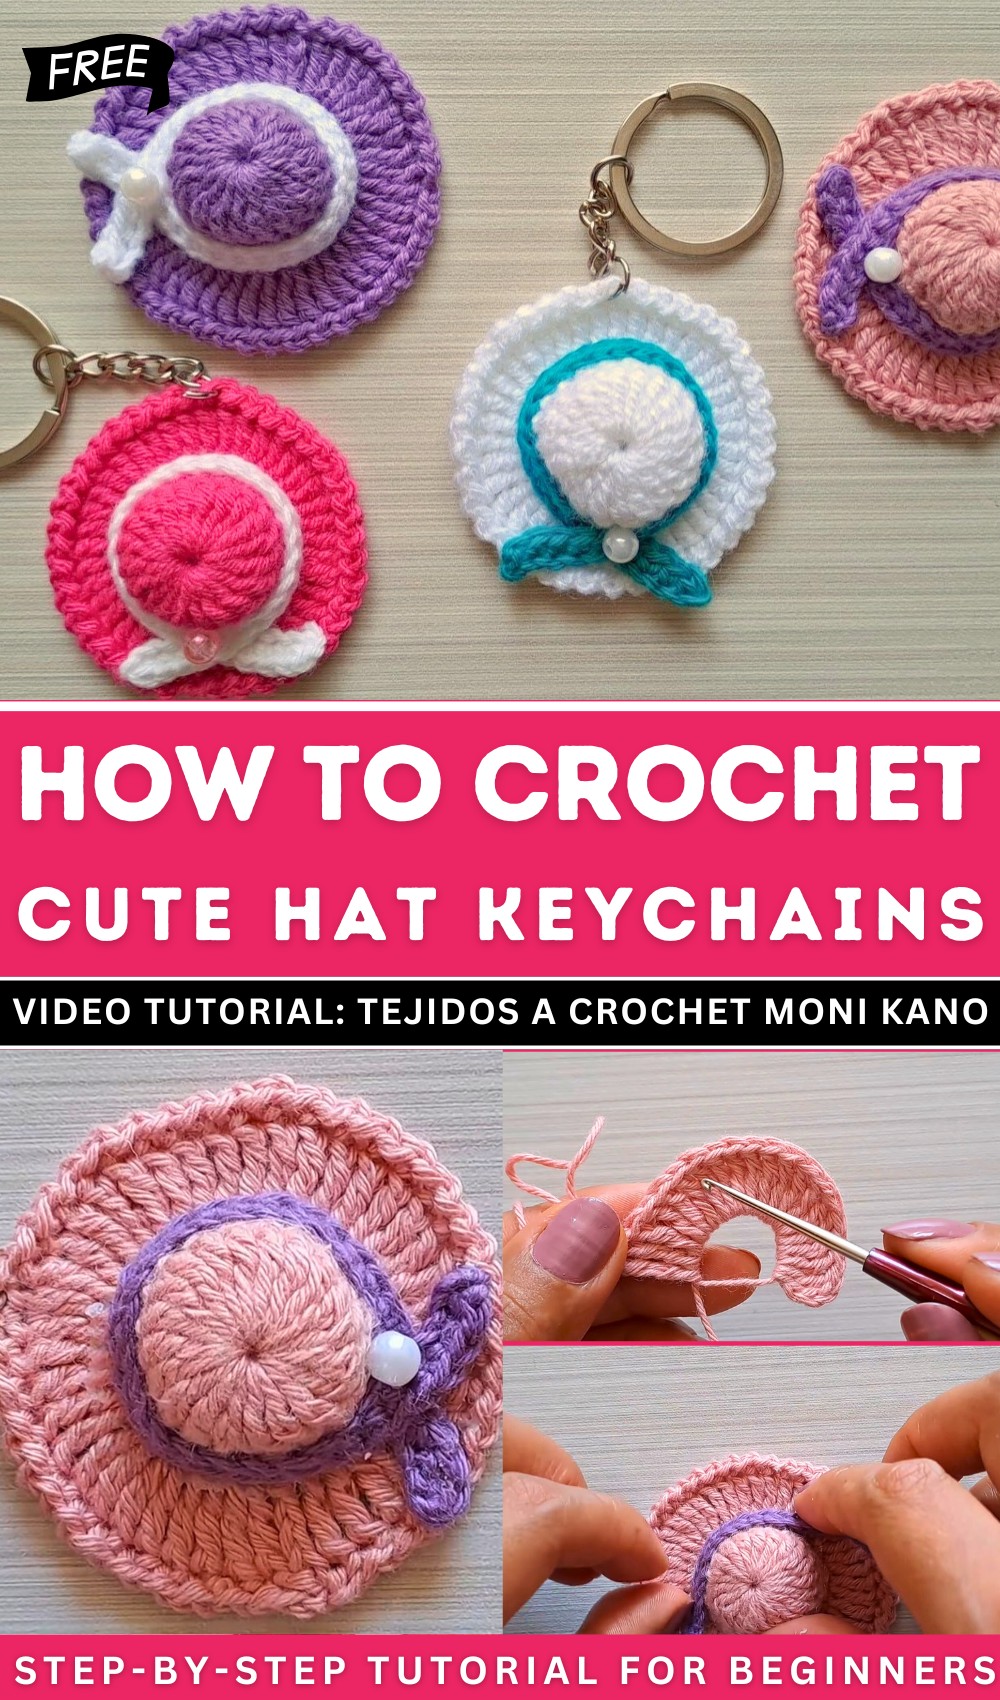
How to Crochet Cute Sun Hat Keychain for Summer
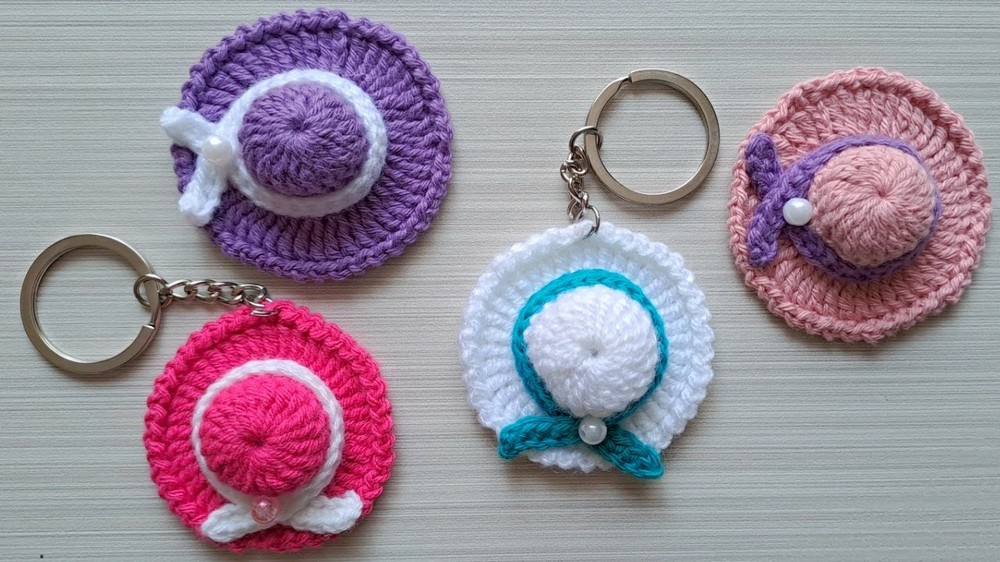
Here is a step-by-step tutorial on how to crochet a cute sun hat keychain perfect for beach bags and summer accessories. The tutorial covers crocheting the hat base, creating the brim, adding finishing touches with a decorative edge and band, and assembling the keychain. The project is described as easy and quick to make. Let’s get started!
Introduction and Materials
The video begins with a warm welcome and an introduction to a “super easy and quick” crochet project.
- The creator outlines the materials needed:
- Two colors of cotton yarn (viewers can use any available material).
- A keychain ring.
- A crochet hook.
- Scissors.
- Cold silicone adhesive.
Beginning the Hat Base (Magic Ring and Double Treble Crochet)
- The project starts with a magic ring.
- Four chains are made, which count as a double treble crochet.
- The creator then demonstrates how to make double treble crochet stitches by taking two yarn overs, inserting the hook into the ring, and pulling through loops three times.
- This process is repeated to create a total of double treble crochet stitches around the magic ring.
- The stitches are completed, and the magic ring is tightened by pulling the yarn tail.
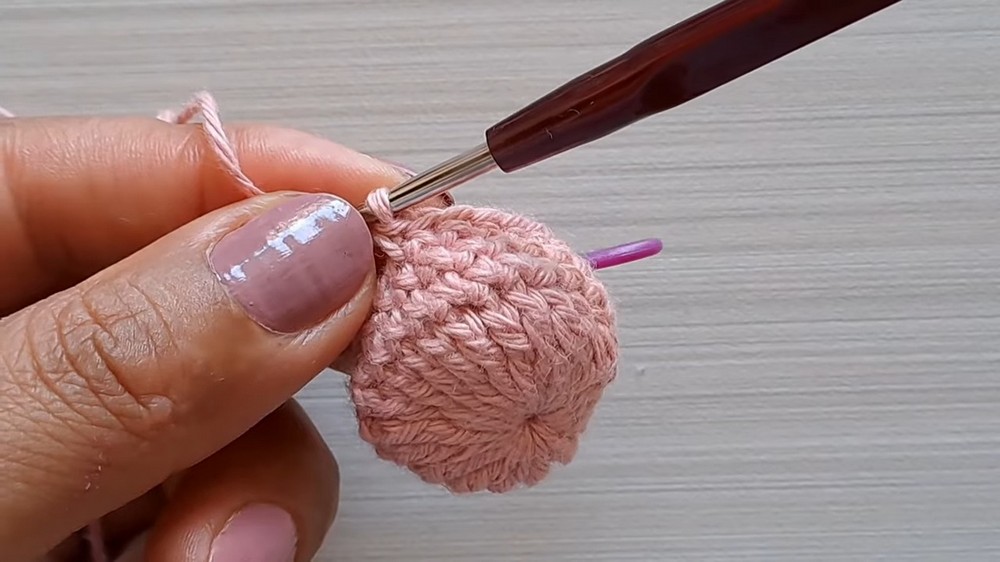
First Few Rounds of Single Crochet
- After securing the first round, the creator demonstrates how to join the round with a slip stitch into the fourth chain of the initial four chains.
- For the second round, one chain is made, followed by a single crochet in the same place.
- The entire second round consists of single crochet stitches.
- A marker is used to indicate the first stitch of the round.
- The second round of single crochet stitches is completed and joined with a slip stitch.
- The third round is also worked in single crochet, following the same process of chaining one and making single crochets in each stitch.
- The fourth round continues with single crochet stitches, maintaining the same stitch count as previous rounds.
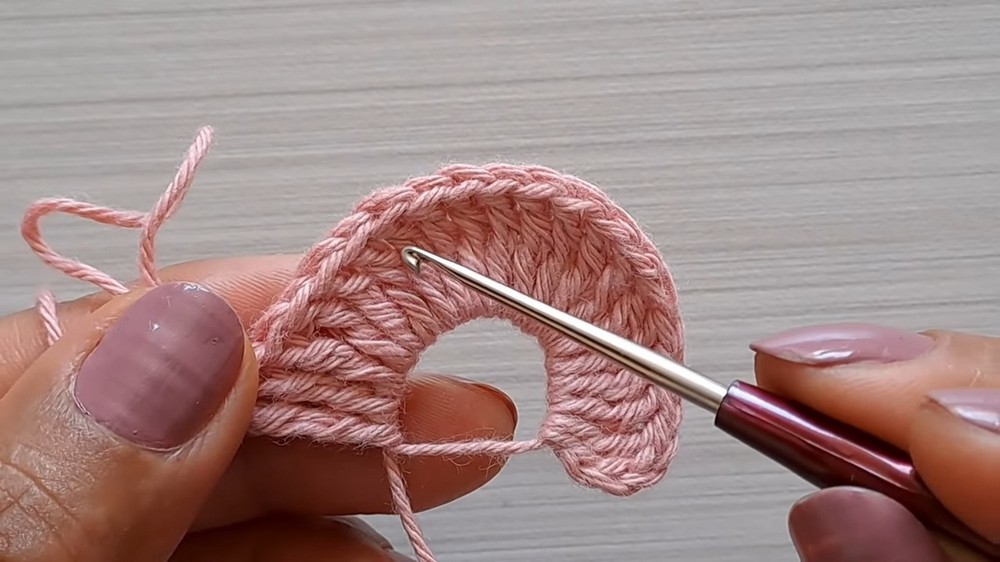
Expanding the Brim of the Hat (Double Treble Crochet Increase)
- The fifth round begins with four chains, counting as a double treble crochet.
- In the same stitch where the chains were elevated, another double treble crochet is made.
- The pattern for this round involves making two double treble crochet stitches in each stitch from the previous round.
- This creates an increase in the stitch count, forming the brim of the hat.
- The round is completed, resulting in a significantly increased number of double treble crochet stitches.
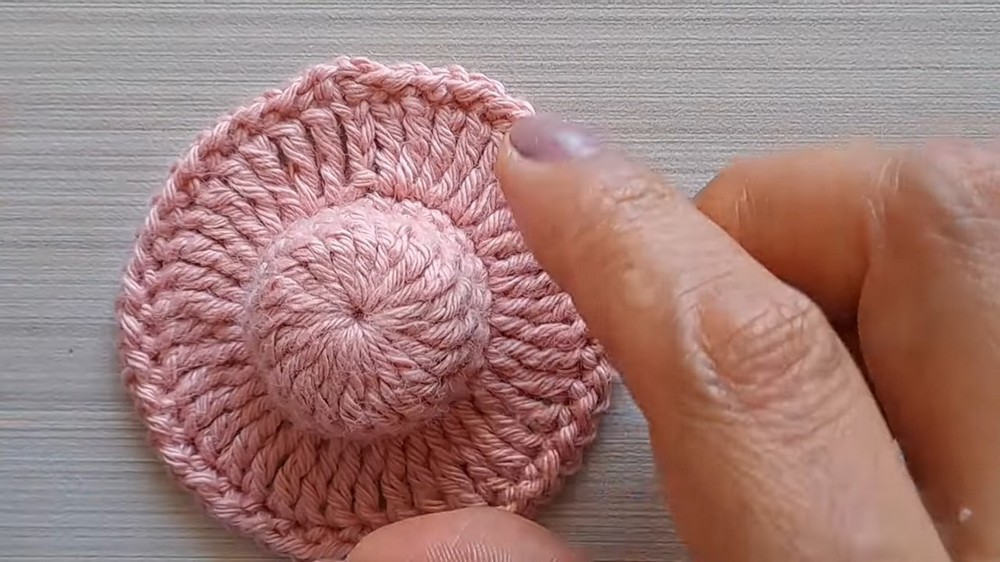
- The round is joined with a slip stitch into the fourth chain of the starting chains, completing what looks like a small hat.
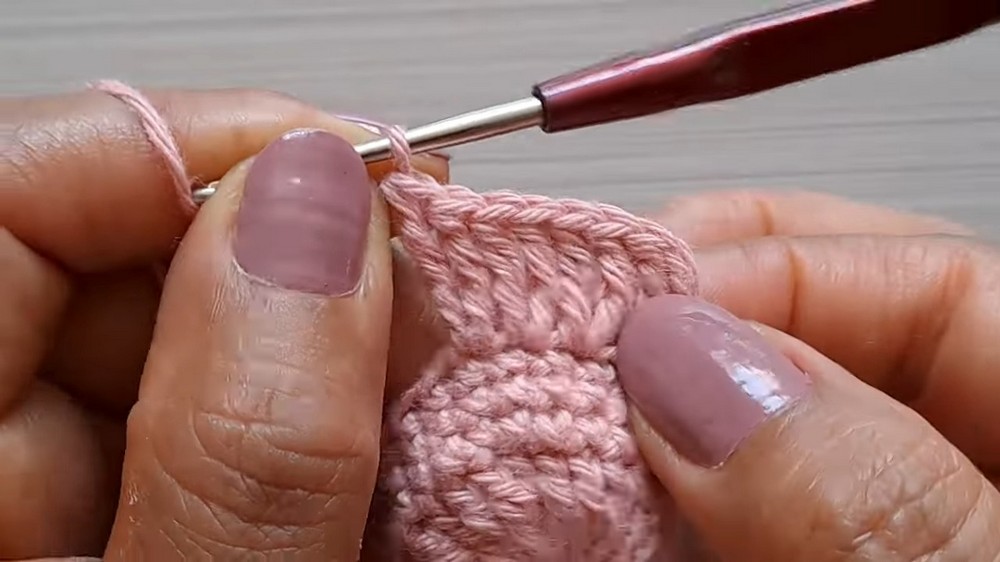
Final Touches on the Hat
- The sixth and final round of the hat involves a decorative edging.
- The creator makes one chain, then a slip stitch in the next stitch, followed by another chain and slip stitch in the following stitch.
- This pattern of chain one, slip stitch is repeated around the entire brim to create a neat finish.
- The final stitch is completed, and the yarn is cut.
- An invisible join technique is used to finish the hat neatly.
Creating the Decorative Band
- The creator takes the second color of yarn to make a decorative band for the hat.
- A slip knot is made, followed by a series of chains.
- Starting from the second chain from the hook, single crochet stitches are worked into each chain.
- This creates a flat strip of single crochet.
- The yarn is cut and secured after completing the strip.
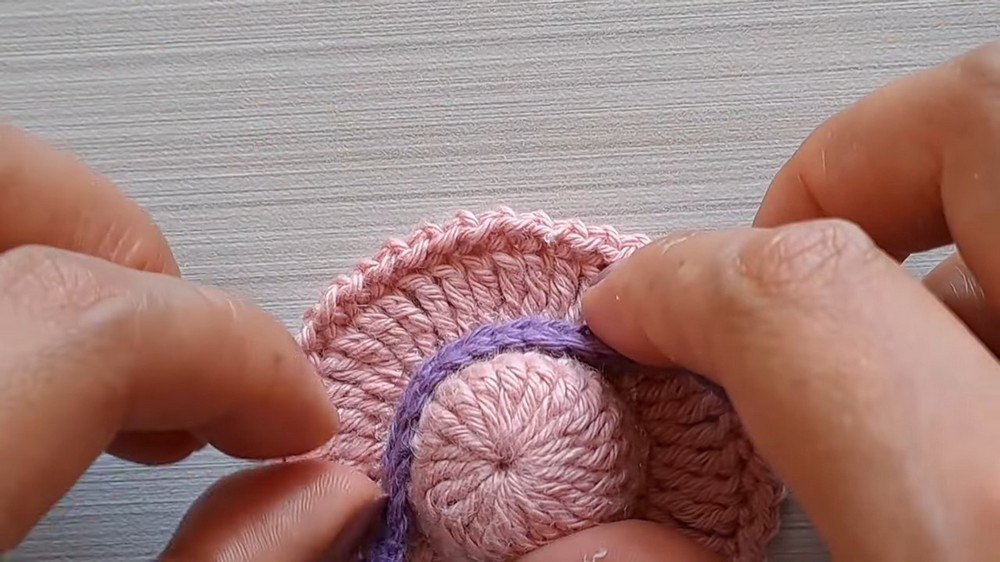
Assembling the Keychain
- The decorative band is tied to the hat.
- Cold silicone adhesive is applied around the base of the hat’s crown.
- The single crochet band is carefully placed and wrapped around this section of the hat, adhering it with the silicone.
- Any excess yarn tails are secured with adhesive.
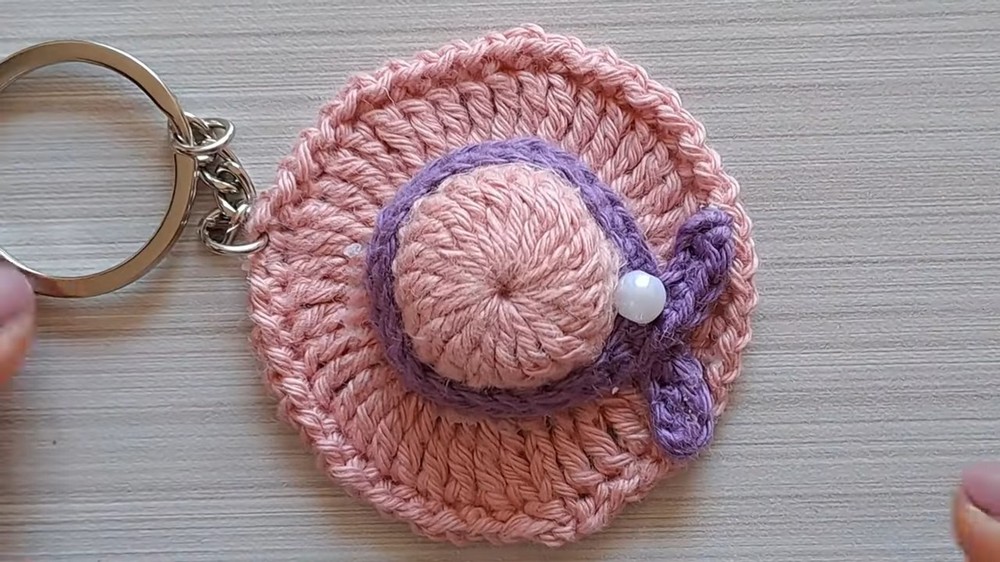
- A small pearl bead is added to the front of the hat for extra decoration using a dab of silicone.
- Finally, the keychain ring is attached to the top of the hat, completing the project
Video Guide