How to Crochet Double Crochet V-Stitch (Tutorial for Beginners)
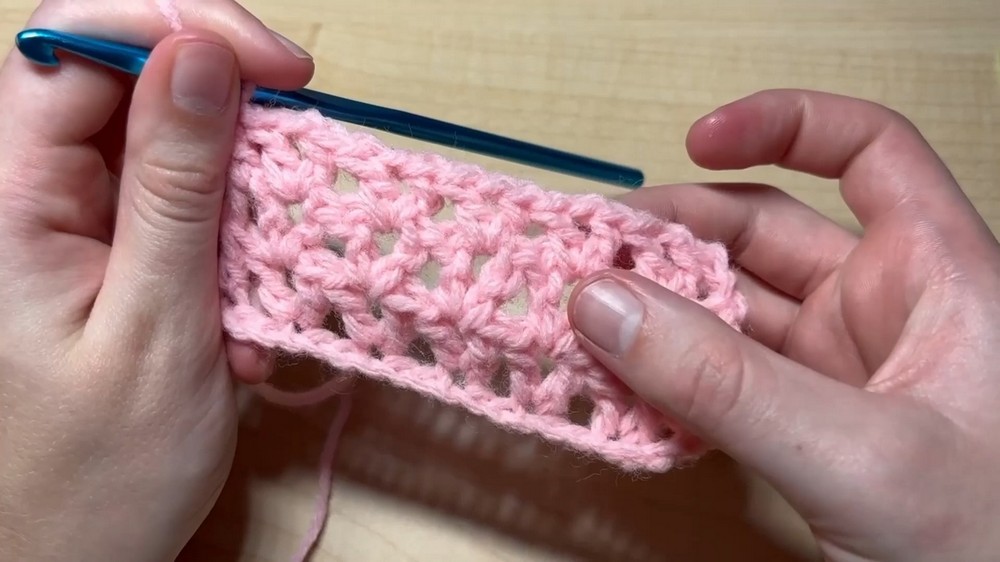
In this post, learn how to crochet double crochet V-stitch, beginning with a foundation chain of a multiple of three stitches. Using double crochet, the instructor demonstrates forming V-stitches by working into specific chain spaces and repeating the pattern across rows. Each V-stitch is made by double crocheting, chaining one, and double crocheting again in the same space. This beautiful stitch is perfect for lovely and quick projects!
V-Stitch Tutorial
The video provides step-by-step instructions on how to create the V-stitch in crochet, a versatile and decorative stitch pattern. It starts with foundational techniques, explains row progression, and highlights how to replicate the pattern for longer projects. The tutorial is clear and beginner-friendly, offering a detailed explanation of each step with practical demonstrations.
Key Features of the V-Stitch
- Simple Structure:
The V-stitch is created using a combination of double crochets and chain stitches worked into designated spaces. - Versatility:
This stitch is ideal for a variety of projects, such as blankets, scarves, and shawls, thanks to its light and open texture.
- Repetition-Based Pattern:
The tutorial focuses on repeating just two rows, making it simple to follow and easy to scale for larger projects.
Step-by-Step Process
Foundation Chain
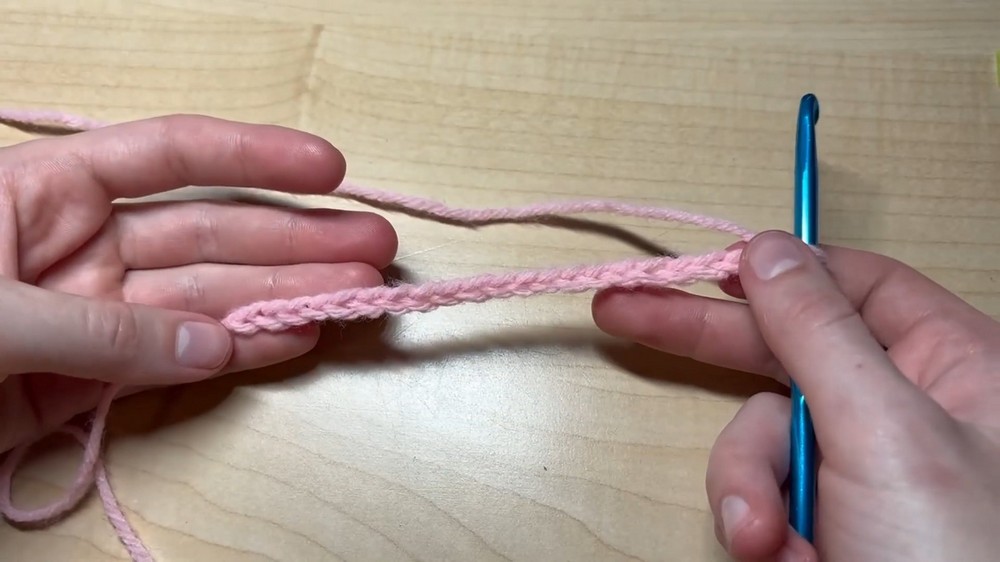
- Starting the Base:
- Begin with a foundation chain using a multiple of three stitches. While the instructor uses a specific number, viewers can adjust based on project needs.
- This base sets up the framework for subsequent V-stitches.
Creating the First Row of V-Stitches
-
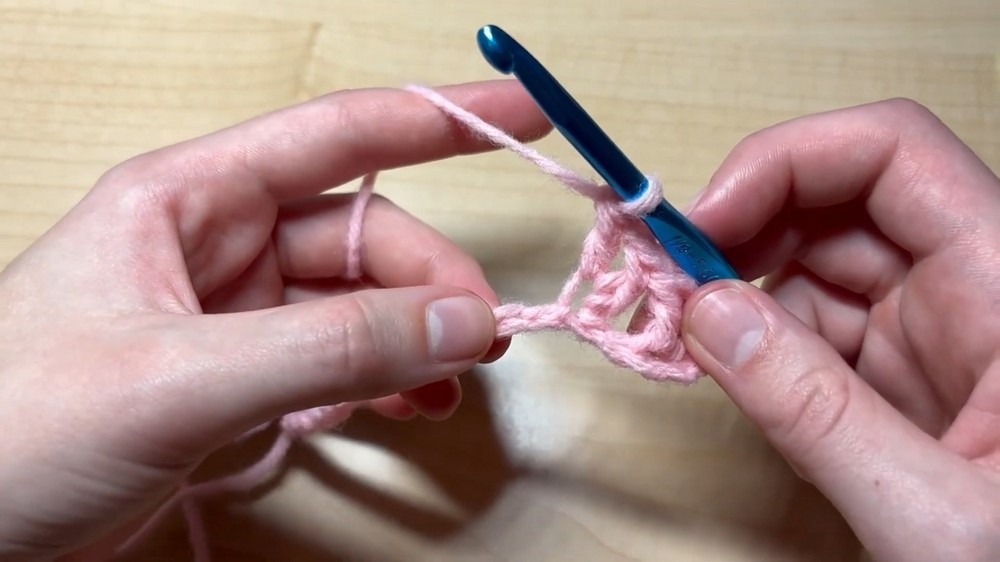
Starting the First V-Stitch:
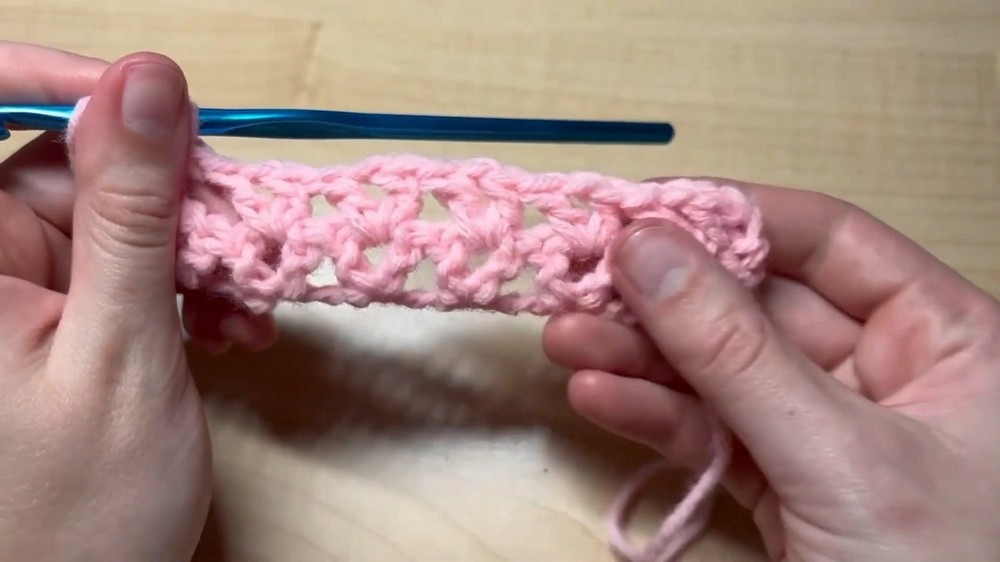
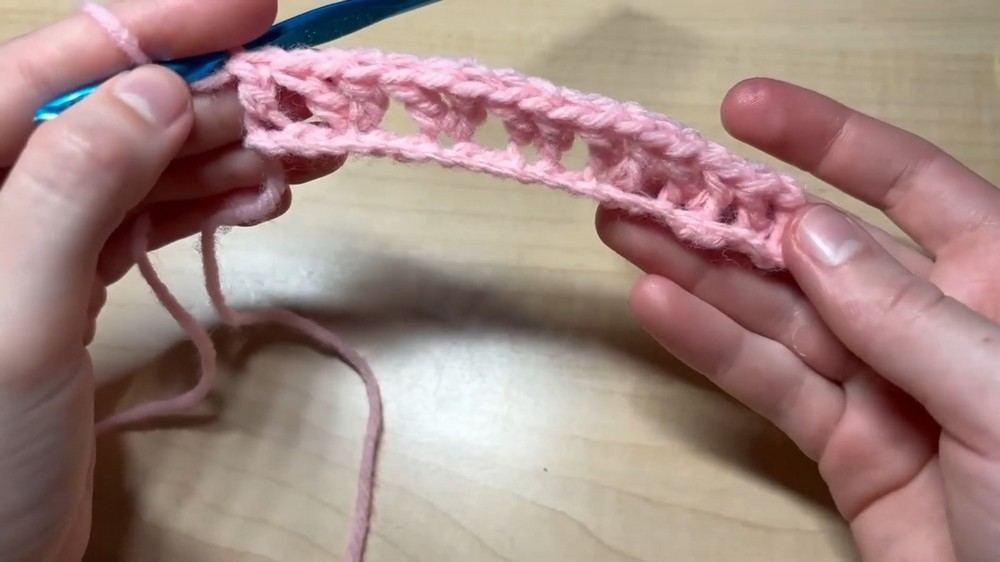
- The first V-stitch is created by working a double crochet, a chain, and another double crochet into the same stitch.
- This method establishes the “V” shape that serves as the defining feature of the stitch pattern.
-
Repeating the Pattern Across the Row:
- Each subsequent V-stitch is created by skipping two foundation chains and working into the third chain with the same combination of double crochet, chain, and double crochet stitches.
-
- Continue this process until reaching the end of the row.
-
Finishing the Row:
- At the end of the row, instead of working a V-stitch, finish with a single double crochet in the final chain space to maintain edge consistency.
Starting the Second Row
-
Turning the Work:
- Begin by chaining two stitches and turning the work to start the next row.
-
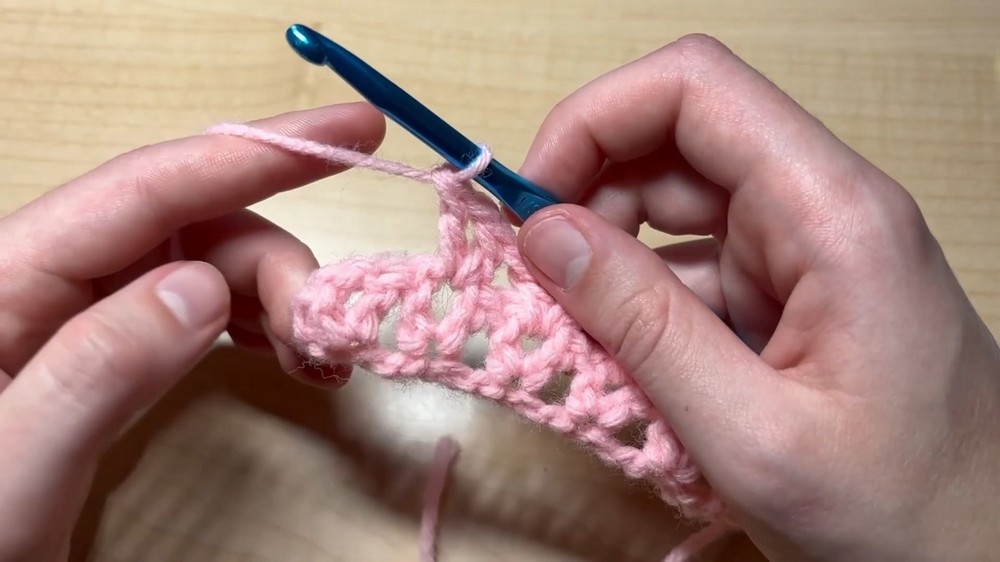
Working into Chain Spaces:
- For the second row onward, V-stitches are no longer worked into foundation chains but into the chain space created within the “V” of the previous row.
- Insert the hook into the chain space, work a double crochet, chain one, and another double crochet in the same chain space to form a V-stitch.
-
Repetition Across the Row:
- Continue creating V-stitches by working into each chain space from the previous row.
-
Ending the Row:
- At the end of the row, work a single double crochet into the chain space next to the last V-stitch to complete the edge.
Continuing the Pattern
- Row Progression:
Rows two and three form the basis of the V-stitch pattern, and these rows are repeated for the entire length of the project. - Consistency:
The tutorial explains how to maintain consistent edges by finishing each row in the same way for a clean and polished look.
Conclusion
The tutorial provides a comprehensive guide on creating the V-stitch, emphasizing its simplicity and adaptability. By repeating two rows, crocheters can easily extend the pattern for projects of any length. The video is ideal for beginners and intermediate crocheters looking to master a decorative stitch that balances texture and airy design.