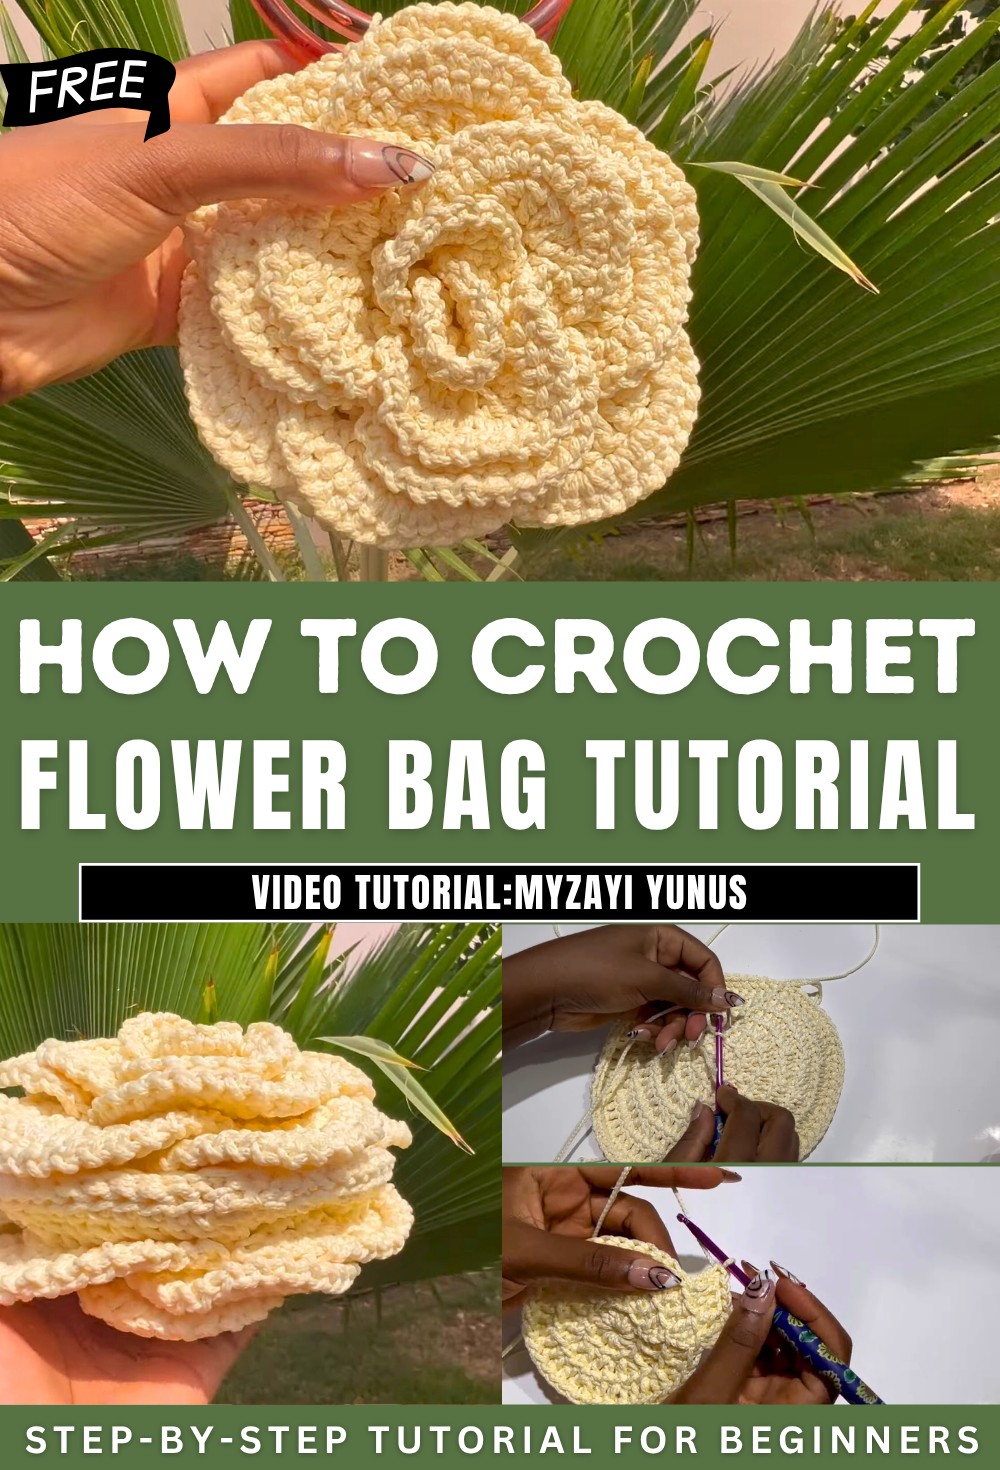
How to Free Crochet Flower Bag Pattern for Spring
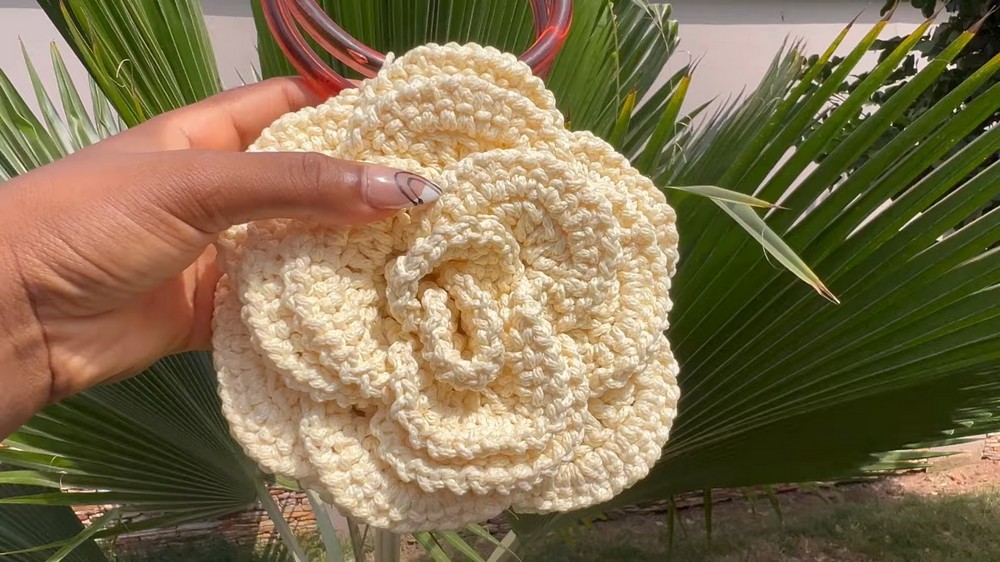
With a step-by-step tutorial for beginners and experts, with a beautiful flower bag including ring handles. Using a 3mm PP cord and a 4.5 crochet hook, it gets a high-quality finish. Starting with the magic circle, each row builds upon the previous with double crochet patterns, increasing stitches, and forming petals.
The tutorial concludes with attaching handles and securing the bag. It is perfect for crocheting enthusiasts looking to create custom-sized bags!
Flower Crochet Bag Pattern
Materials
- Yarn: 3 mm PP cord (or any sturdy bag yarn)
- Crochet hook: 4.5 mm
- Stitch markers
- Tape measure
- Scissors
- Bag handles: D-shaped or round ring handles (your choice)
Key Abbreviations (US Terminology)
- ch = chain
- sl st = slip stitch
- sc = single crochet
- dc = double crochet
- yo = yarn over
- st(s) = stitch(es)
- sp = space
- BL = back loop
- FL = front loop
Special Notes
- Pattern creates a round flower bag; size is adjustable by increasing additional rounds.
- All increases are worked in the back loop only for base rounds; petals are worked on the front loops.
- Handles can be attached with sc as shown; you may choose other attachment methods.
- For a seamless join, use slip stitch method and leave spaces for handles as instructed.
Step-by-Step Pattern
1. Bag Base (Make 2 Panels)
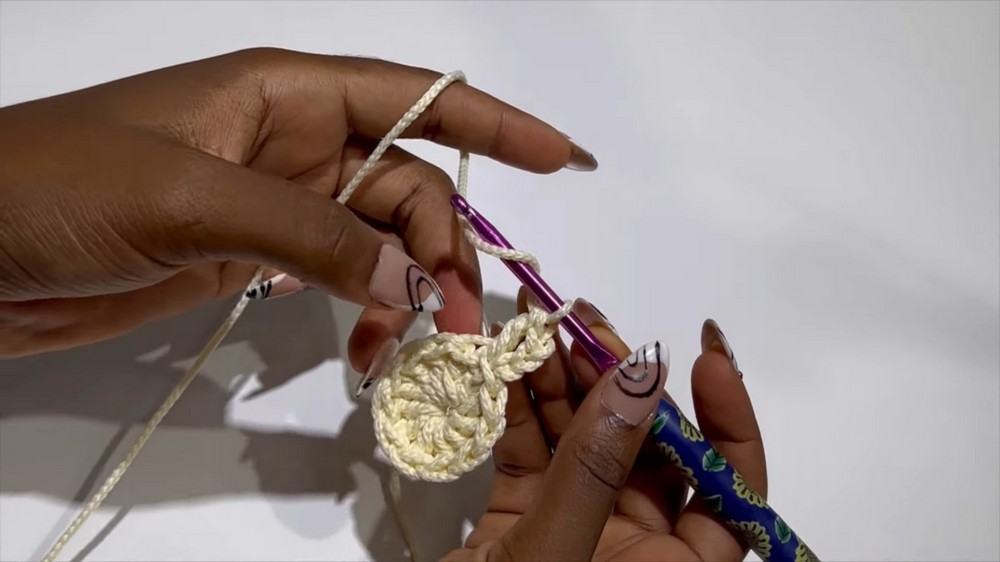
Round 1
- Begin with a magic circle.
- Ch 3 (counts as first dc).
- Work 11 dc into the ring (12 dc total).
- Pull circle tight, sl st to top of beginning ch-3.
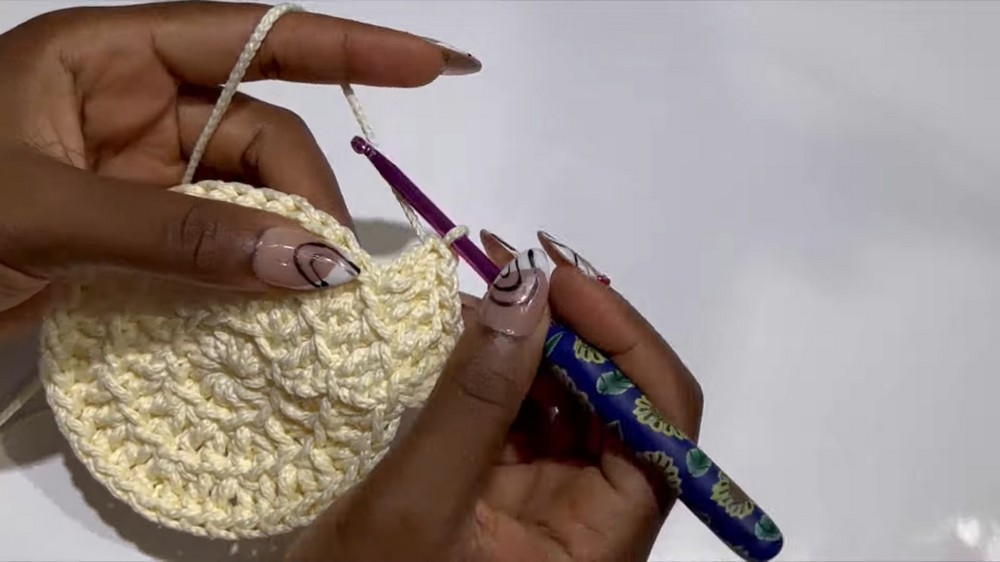
Round 2
- Ch 3 (counts as dc).
- Work in back loops only for this round.
- Dc in same st (increase).
- 2 dc in BL of each st around (24 dc).
- Sl st to top of ch-3.
Round 3
- Ch 3 (counts as dc).
- Dc in BL of same st (increase).
- Next st: 1 dc in BL, next st: 2 dc in BL; repeat to end (increase in every OTHER st).
- Should have 36 dc at end.
- Sl st to top of ch-3.
Round 4
- Ch 3 (counts as dc).
- Dc in BL of same st (increase).
- Next 2 sts: 1 dc in BL each. Then: 2 dc in BL (increase); repeat (increase in every third st).
- Should have 48 dc.
- Sl st to top of ch-3.
Round 5
- Ch 3 (counts as dc).
- Dc in BL of same st (increase).
- Next 3 sts: 1 dc in BL each. Then: 2 dc in BL (increase); repeat (increase in every fourth st).
- Should have 60 dc.
- Sl st to top of ch-3.
Round 6
- Ch 3 (counts as dc).
- Dc in BL of same st (increase).
- Next 4 sts: 1 dc in BL each. Then: 2 dc in BL (increase); repeat (increase in every fifth st).
- Should have 72 dc.
- Sl st to top of ch-3.
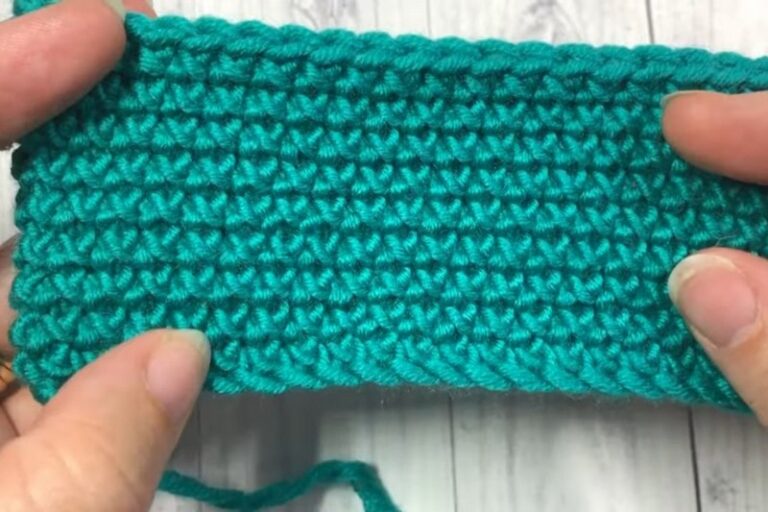
Edge Round
- Sc in each st around (72 sc).
- Sl st to top of first sc.
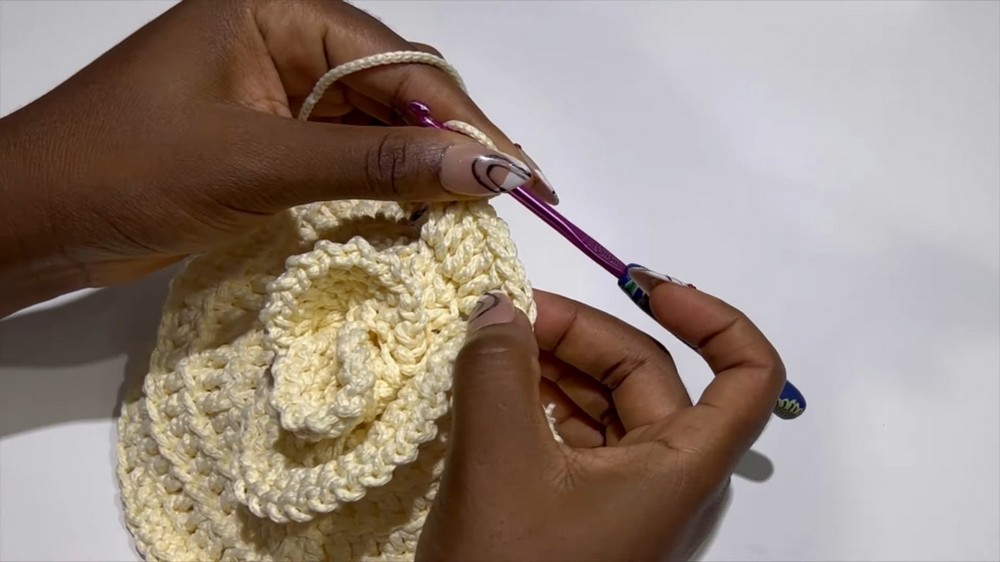
2. Flower Petals
Petals are worked on the front loops of previous rounds, starting at the base edge.
- Insert hook in FL of desired st (usually starting at slip st join).
- Ch 3 (counts as dc).
- 2 dc in same st.
- In next st: 3 dc.
- (You now have 6 dc.)
- Ch 1, turn.
- 2 sc in each dc (12 sc).
- Skip 4 base sts, sl st into 5th FL.
- Turn, sl st in first st, ch 1, sl st in next st; repeat across (sl st, ch 1 in each sc; 12 total).
- Skip 4 base sts, sl st into 5th FL.
- Repeat petal sequence to desired number of petals around.
For each subsequent round of petals:
- Follow above process, but for more dramatic petals:
- Start petal: Ch 3, 2 dc in same st, 3 dc in each of next 2 sts (9 dc).
- Ch 1, turn, 2 sc in each dc (18 sc).
- Skip 5 base sts, sl st into 6th FL.
- Slip stitch, ch 1 in each sc across row.
- Continue pattern as above.
Typically, work several rounds of petals as described until all FL are used.
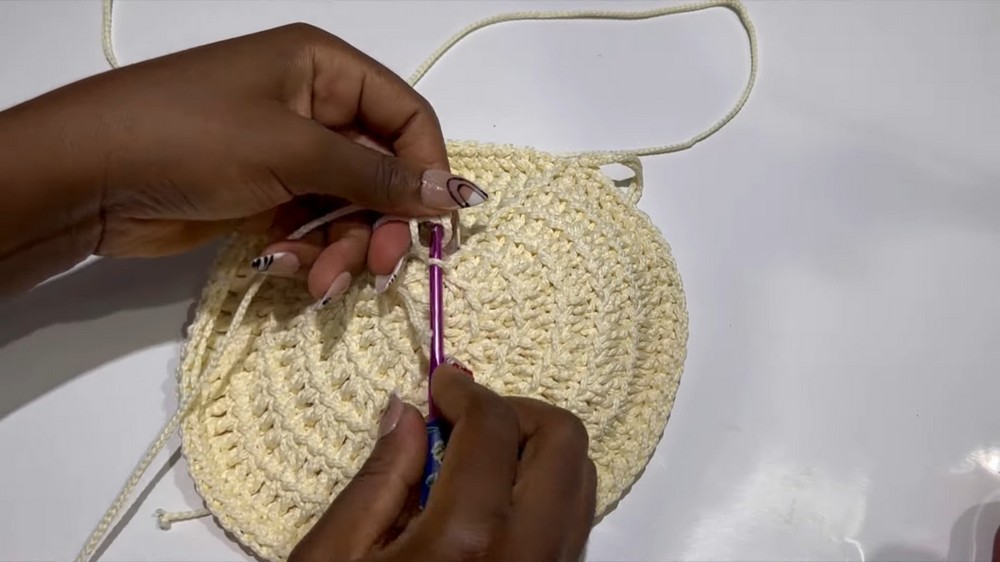
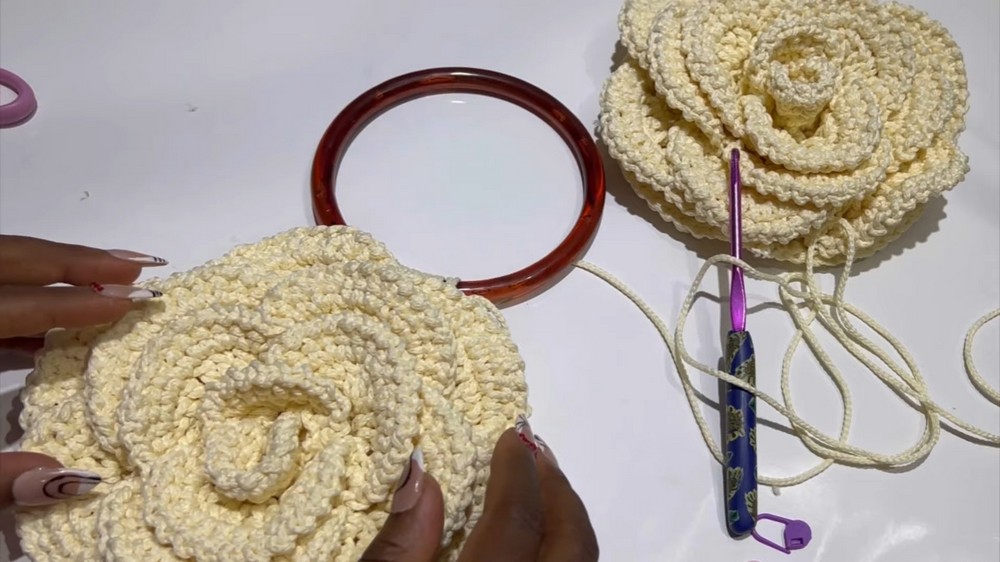
3. Panel Assembly & Handle Attachment
- For each bag panel, leave 8 unworked sts at the top (for handle attachment).
- Place stitch markers at handle spaces.
Attach Handle:
- With handle at opening, sc into ring handle through each of 8 sts.
- Repeat for other panel and handle.
Joining Panels:
- Align panels with right sides outward.
- Use sl st or sc to join panels together around the bag, starting at lower handle space and working down and around.
- Do not join the handle opening spaces.
- Leave a small opening at sides if desired (count 6–7 sts, mark and do not join).
- Fasten off, weave in ends.
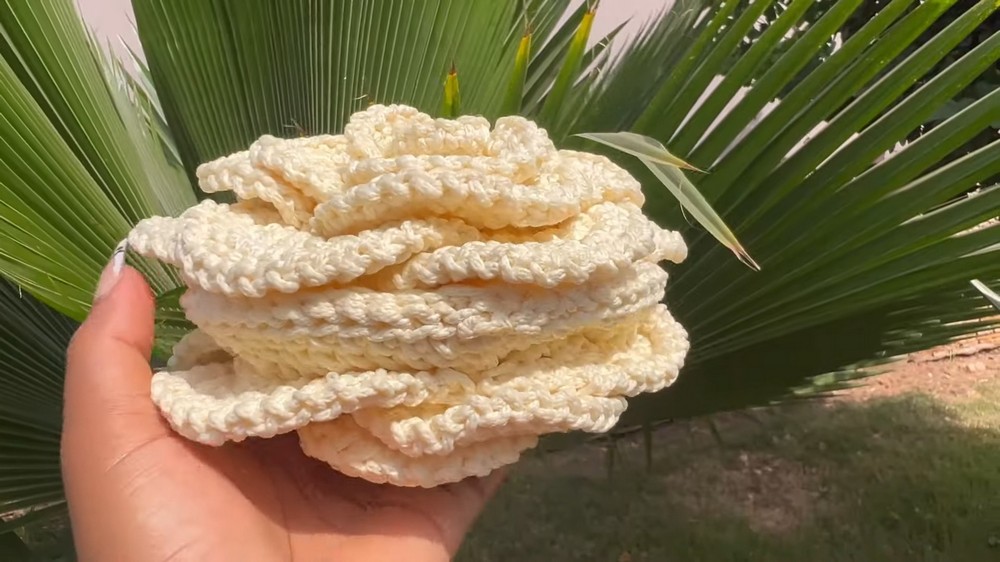
Conclusion
This flower bag pattern combines sturdy cord, bold petals, and ring handles for a fresh statement accessory. The design allows customization of size and number of petals. The use of back and front loops creates dimension, while slip stitch joining and sc handle attachment ensure bag stability.
Pattern Correction & Tips
Correction:
- Ensure all increases are worked in the back loop only for base rounds.
- For petals, use front loop only to make the flower pop.
Tips:
- Mark spaces for handles before joining panels.
- If running low on yarn, plan joining method or leave small side gaps for effect.
- When attaching handles with sc, be firm and evenly space stitches for strength.
- Weave in ends securely; reinforce joins where necessary.
- Size of bag is easily adjustable by adding more base rounds.