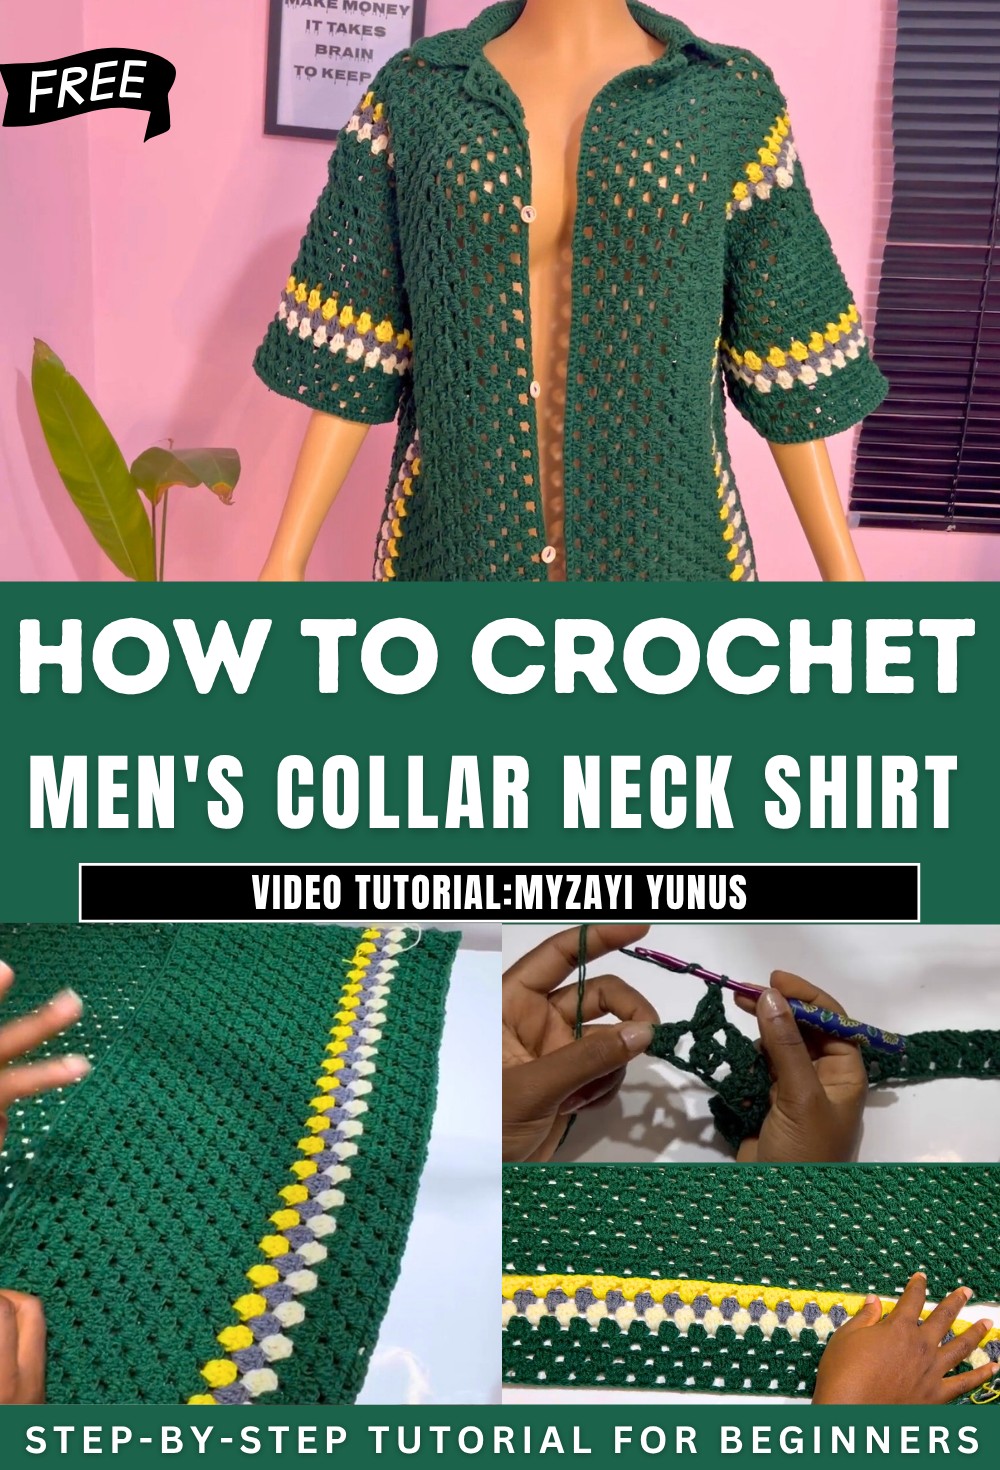
How To Crochet Men Collar Neck Shirt for Beginners
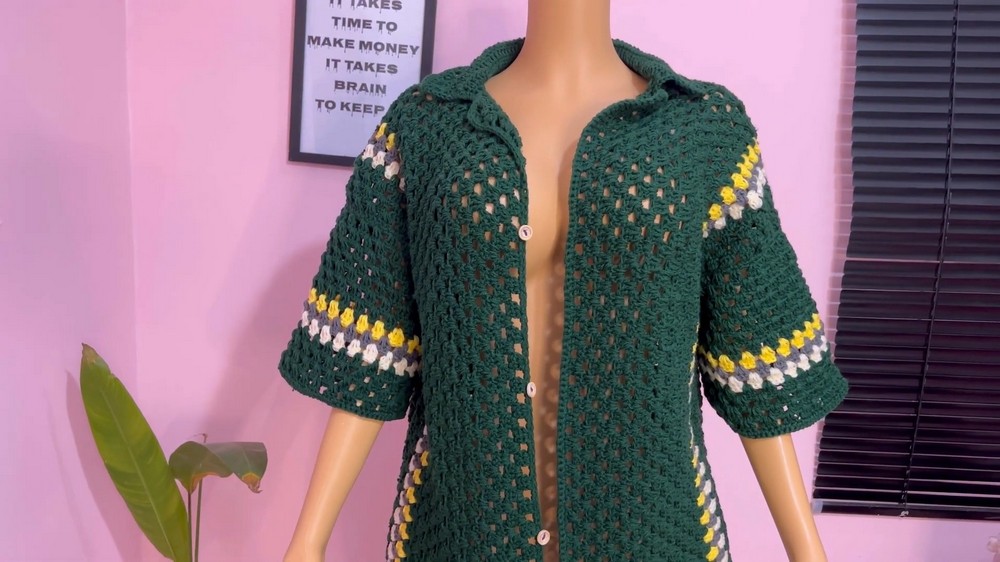
Learn how to crochet a men’s collar neck shirt, a stylish handmade garment, perfect for beginners, with a step-by-step tutorial. It covers creating panels for the front and back, using measurements like 28 inches for length and 20 inches for width. The tutorial explains steps such as forming chains, working double crochet clusters, and switching colors for added design.
Miss A also provides instructions for attaching panels, defining borders, and customizing armholes and collars, ensuring a polished and professionally finished piece. Let’s get started!
Men’s Crochet Cardigan Pattern
Materials
- Yarn: Worsted weight in main and contrasting colors (yardage depends on size; samples use at least four colors)
- Crochet hook: 5.0 mm (or size needed to achieve gauge)
- Stitch markers: Recommended for marking panels and armhole placement
- Measuring tape
- Yarn needle: For seaming and weaving in ends
- Scissors
- Buttons (optional, for closure)
Key Abbreviations (US Terminology)
- ch = chain
- sl st = slip stitch
- sc = single crochet
- dc = double crochet
- st(s) = stitch(es)
- yo = yarn over
Special Notes
- Panel measurements: Back: 20″ (width) × 28″ (length); Front panels: Each 10″ × 28″.
- Adjust chain length to match your measurement (100–110 chains suggested).
- Pattern includes color changes; customize color sequence as desired.
- Work with neat tension for best stitch definition.
- Panels are seamed using single crochet or slip stitch for a neat finish.
Step-by-Step Pattern
1. Back Panel
Foundation:
- Make a long chain (approx. 100–110 ch; adjust for 20″ width).
- Work first row until you reach 20″ in width; leftover chains can be removed at the end.
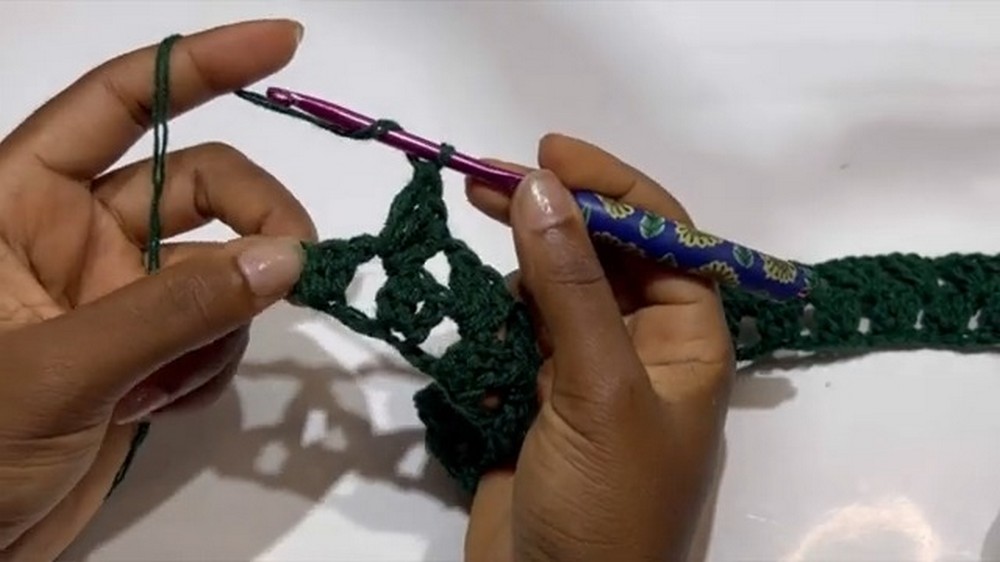
Row 1:
- Skip 3 ch, dc in 4th ch from hook (ch-3 counts as first dc).
- Dc in same st, ch 1.
- Skip 2 ch, 3 dc in next ch, ch 1; repeat from * to * until panel measures 20″.
- Fasten off at desired width.
Row 2 and following:
- Ch 4, turn.
- 3 dc in first ch-1 sp, ch 1.
- 3 dc in each ch-1 sp across, ch 1; repeat across row.
- At row end, 3 dc in last st.
Rows 3–End:
- Repeat Row 2, continuing 3 dc in each ch-1 sp, ch-1 between clusters, and 3 dc in last st.
- Continue until back panel measures 28″ in length.
2. Front Panels (Make 2)
Foundation:
- Make a long chain (approx. 110 ch).
- Work first row until panel measures 28″ in length vertically (not horizontally).
Row 1:
- Skip 3 ch, dc in 4th ch from hook (ch-3 counts as first dc).
- Dc in same st, ch 1.
- Skip 2 ch, 3 dc in next ch, ch 1; repeat from * to * until panel measures 10″ in width.
Rows 2–End:
- Ch 4, turn.
- 3 dc in first ch-1 sp, ch 1.
- 3 dc in each ch-1 sp, ch 1; repeat.
- 3 dc in last st at row end.
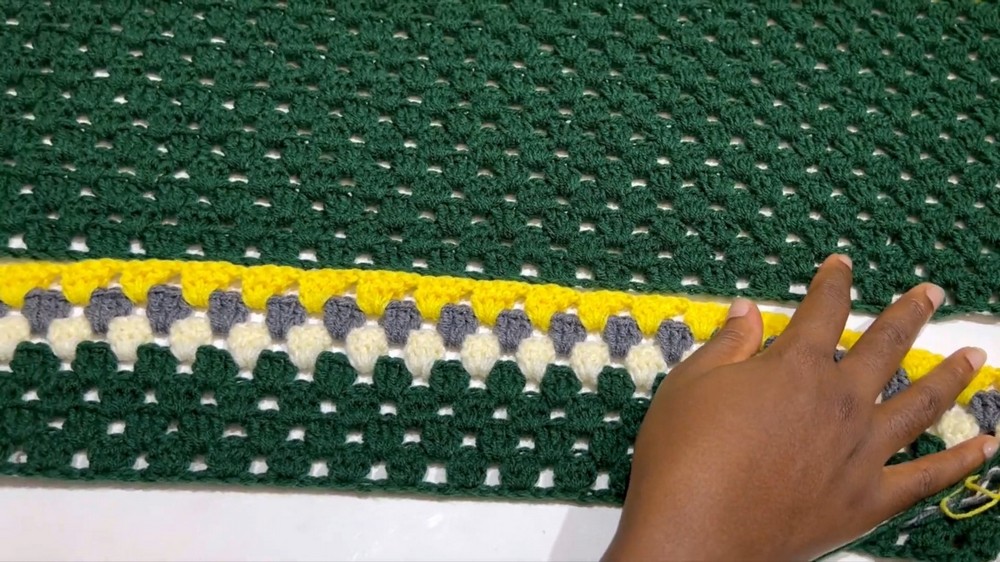
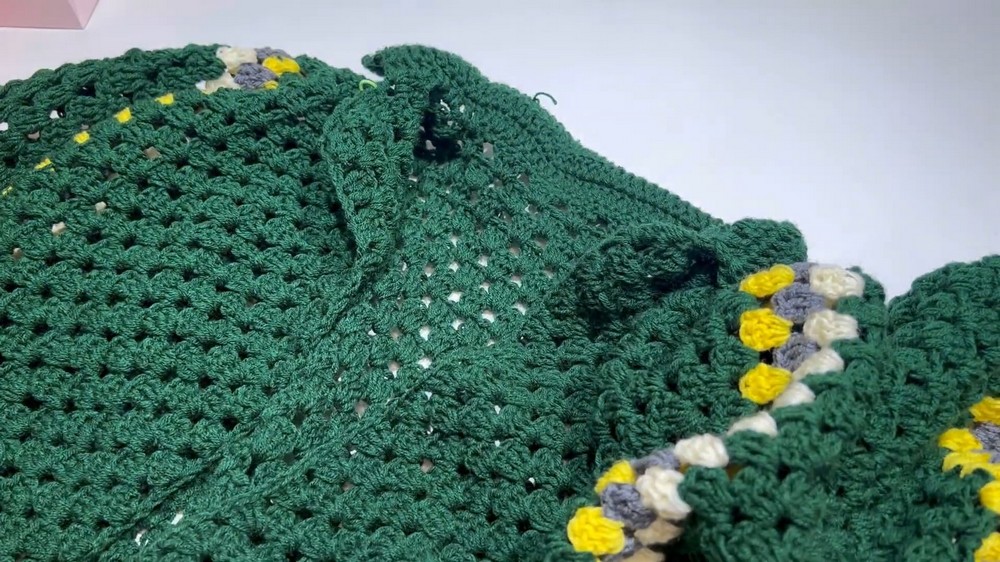
Color Changes:
- For one front panel: Work 15 rows in original color, switch contrasting colors (cream, gray, yellow; 1 row each), then 4 rows in original color.
- For second panel: Start with 4 rows original color, 3 contrasting colors, then 15 rows original color.
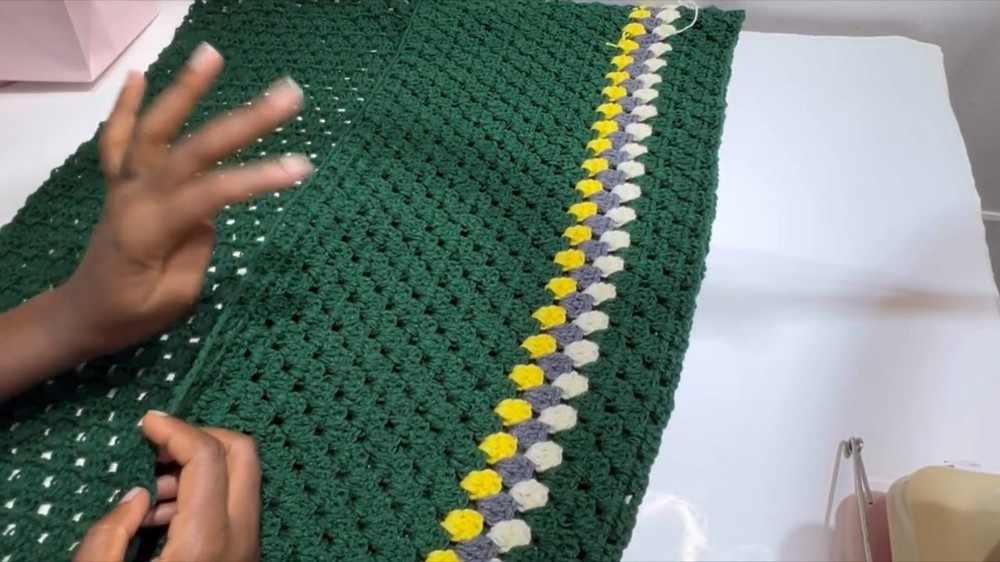
3. Panel Assembly
Join Shoulder Seams:
- Place back panel (right side up), front panels (wrong side facing up).
- Mark 17 sts from shoulder edge on both panels.
- Use single crochet or sl st to join first 17 sts of shoulders.
- Leave 5 rows at each end unworked for boundaries.
Join Side Seams:
- Mark armhole opening (9–9.5″) from shoulder edge.
- Join sides with single crochet (or slip stitch), alternating between back and front panels, up to stitch marker.
4. Armhole and Sleeve Finishing
Armhole Border:
- Attach yarn at side seam.
- Work sc all around armhole.
- For each skipped 2 ch, place 2 sc.
- For each cluster, place 1 sc.
- Continue around.
- Sl st to join, ch 3.
Sleeve Cuff (Optional):
- Begin sleeve pattern:
- 3 dc in first st, skip 2, 3 dc in next st, ch 1; repeat around.
- Repeat for 7 rounds or desired cuff length.
- For colorwork, switch yarn: 1 row each of yellow, gray, cream, then 4 rows main color.
- Finish with sc all around, sl st to join.
5. Collar and Border
Collar:
- Attach yarn at collar edge.
- Ch 2, 2 dc in same st (3 dc total).
- Work 2 dc in each row across collar edge.
- When working across sc, place 1 sc in each st.
- Place 3 dc in last space at both ends.
- Ch 3, turn.
- Dc in same st (increase), work dc across, place 2 dc in last st.
- Continue for 6–7 rows collar height.
- Fasten off.
Border:
- Attach yarn at bottom or collar edge.
- Work sc all around the cardigan.
- 2 sc in each row on sides, sc in each cluster, 2 sc in each chain space.
- At corners, ch 1 for turning.
- Work sc around collar and body for a neat edge.
6. Collar Edging (Decorative Row)
- Ch 2, skip 2, 3 dc in next st, ch 1; repeat until end.
- Finish with sc in each row, sl st to join.
7. Finishing
- Weave in all ends with yarn needle.
- Block panels if necessary.
- Sew on buttons if desired.
Conclusion
This pattern creates a stylish, customizable men’s crochet cardigan with a textured stitch pattern and colorwork accents. The construction is simple, using panels joined by single crochet or slip stitch. Borders and collar complete the look with subtle shaping and definition.
Pattern Correction & Tips
Correction:
- Always check your measurements as you crochet; adjust stitch or row count if necessary to match sizes.
- When joining panels, align clusters and rows precisely to avoid uneven edges.
Tips:
- Use stitch markers for panel and armhole placement before sewing.
- Block pieces before joining for best fit.
- You can add more colors or stripe variations.
- Use neat tension especially on borders/collars for a professional finish.
- For a more fitted cardigan, decrease stitch count on the sides or sleeves.
- Sew buttons neatly and reinforce with extra yarn.