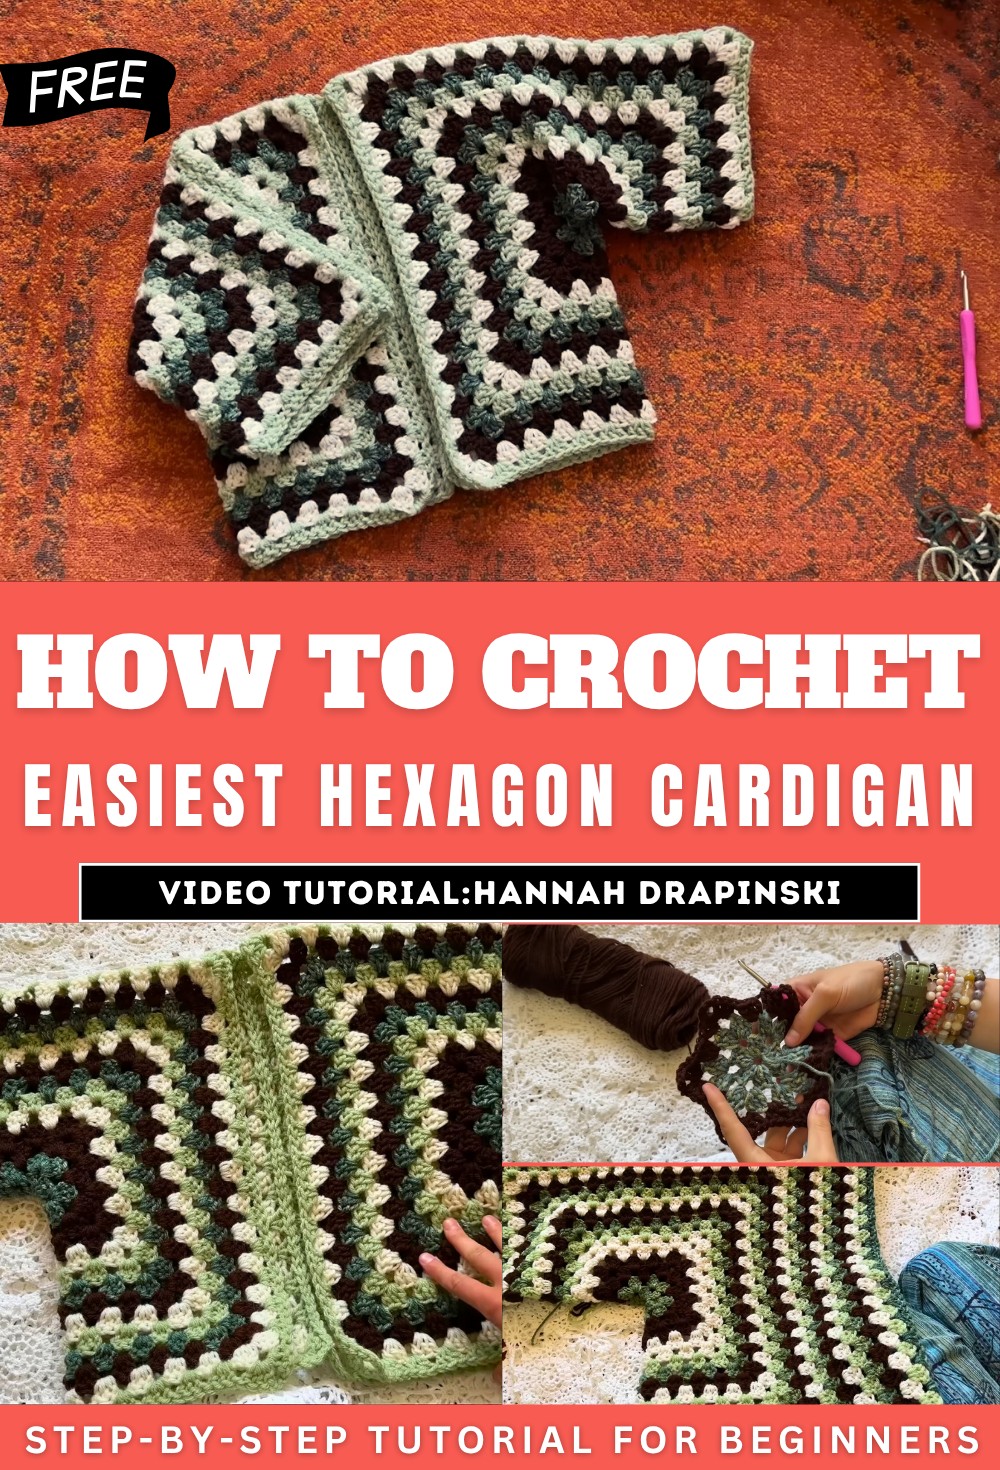
How To Crochet Easiest Hexagon Cardigan for Beginners
In this beginner-friendly post, learn how to crochet a cozy and colorful hexagon cardigan using basic crochet techniques perfect for winter. The step-by-step walk-through covers starting, switching colors, adding rows, and assembling the final cardigan.
With clear explanations, even novice crocheters can confidently follow along to create a stylish and customizable piece, perfect for personal use or gifting.
Easiest Hexagon Cardigan Tutorial
- The tutorial focuses on creating a beginner-friendly hexagon cardigan using simple crochet techniques.
- Emphasizes that this is suitable for beginners, providing step-by-step guidance on essential crochet methods like a magic circle, slip stitch, double crochet, and chain stitches.
- The setup for the tutorial is straightforward, using a thrifted blanket as the background. Supplies needed are:
- Crochet hook (size 5.25 mm).
- Yarn (four different colors, all acrylic, sourced from Hobby Lobby and Walmart).
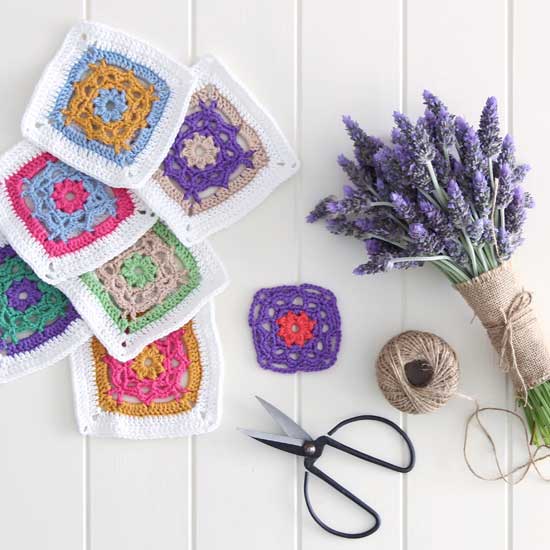
- Scissors.
- Tapestry needle.
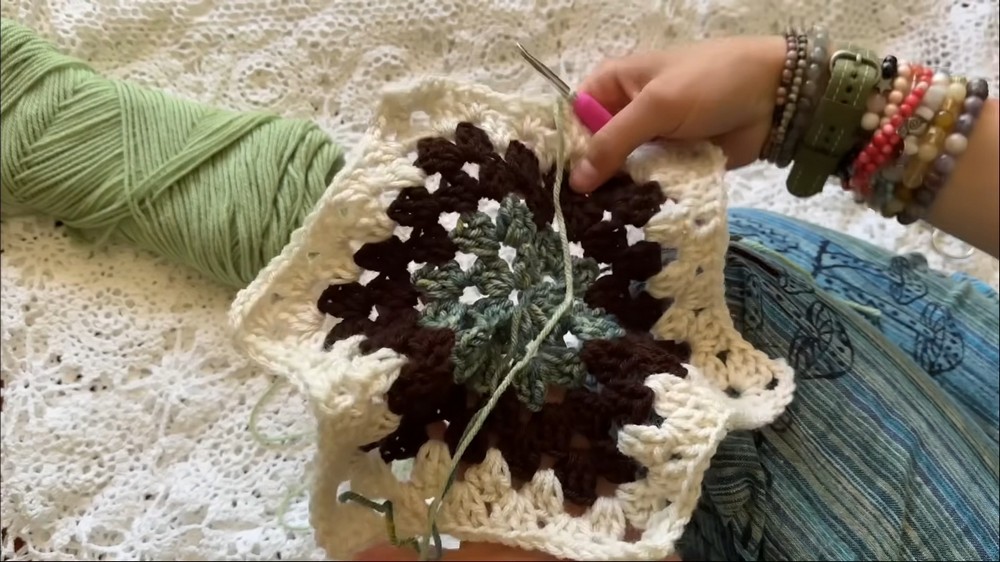
Creating the Hexagon Base
Starting with a Magic Circle
- Start the hexagon base by creating a magic circle, explaining how to wrap the yarn around the fingers and secure the loop.
- Begin with a chain-3 and then proceed with double crochet clusters within the magic circle.
Building the First Row
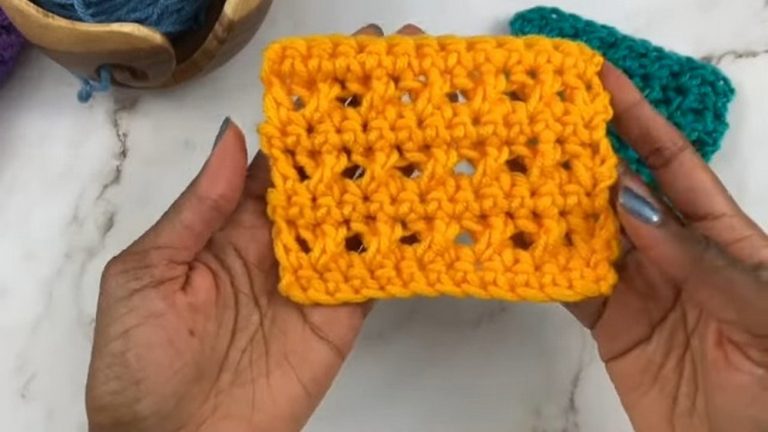
- Work six clusters of double crochets separated by chain-3 spaces to create the foundational shape of the hexagon.
- Slip stitch into the first chain to close the row, forming the base shape.
Expanding the Hexagon
General Pattern for Subsequent Rows
- Each row begins with a chain-3, which acts as the starting step.
- The corners of the hexagon always consist of the same pattern: clusters of double crochets separated and surrounded by chain-3 spaces.
- For the side spaces, work three double crochets directly into the space without chains in between.
Adding New Colors
- Explains the process of switching colors by knotting the new yarn to the previous one and continuing the pattern.
- Alternates between two rows of certain colors at the start, eventually shifting to one row per color for a varied look.

Adjustments for Beginning and Ending
- The rows alternate between scenarios where there is space for double crochets versus moving directly to the next cluster without adding them near the chain-3 start.
- End each row with a slip stitch into the chain-3 from the row’s beginning.
Customizing the Size
- The size of the hexagon cardigan depends on the number of rows completed:
- Tutorial creator’s daughter’s cardigan: 14 rows for a toddler size.

-
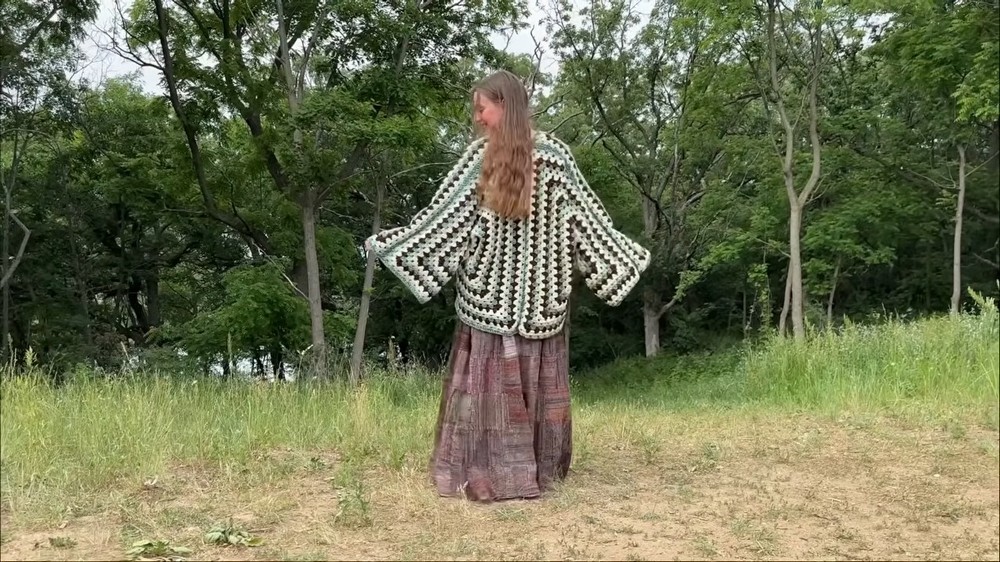
- The adult cardigan: Oversized design, comprising 24 rows.
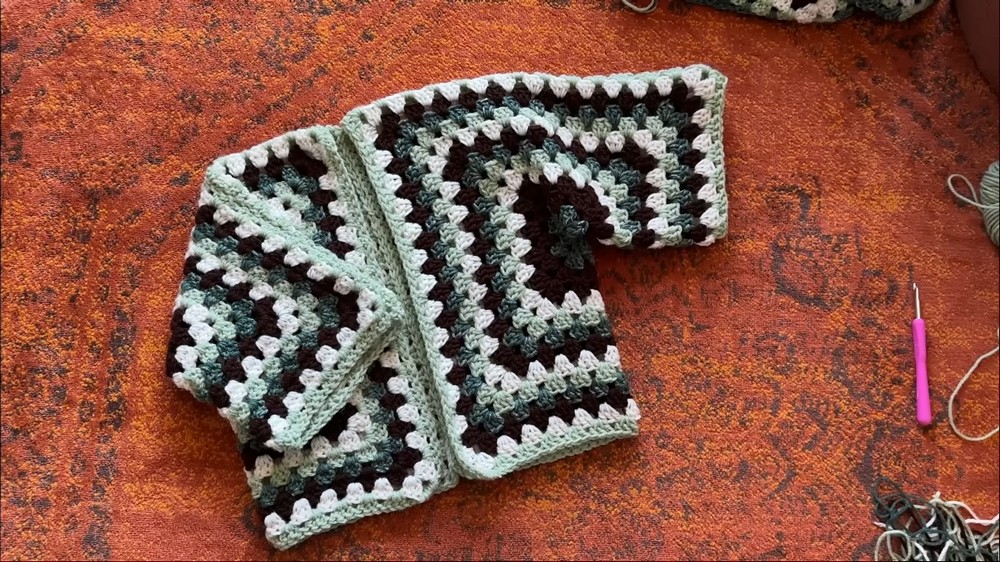
Assembling the Cardigan
- Folding each completed hexagon to form half the cardigan, including the body and sleeves.
- Demonstrates how to align two hexagon halves together to create the full cardigan.

Sewing Together the Pieces
- With a tapestry needle and matching yarn:
- Sew the edges together, ensuring the stitches align properly for a clean finish.
- Focus on stitching double crochet clusters precisely to avoid a “wonky” result.
- Use the same sewing method for connecting the back panels and sleeves.

Final Steps
Finishing Touches
- Flip the cardigan inside out to ensure the seams are hidden.
- Weave in the loose ends before the final reveal of the completed piece.

Final Reveal
- The completed cardigan is displayed on both the toddler and oversized adult versions. Options for customization include the number of rows and the selection of colors.
Video Guide