How to Crochet EASY Tulip Stitch for Spring

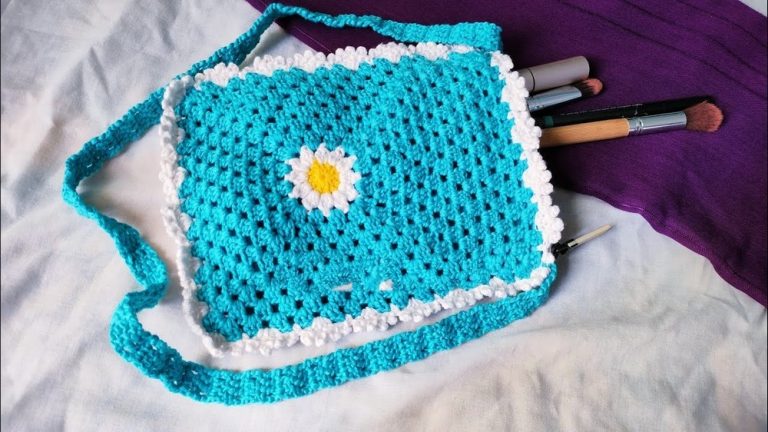
Learn how to crochet the basic tulip stitch, a versatile pattern ideal for lightweight projects such as baby blankets, shawls, and scarves. The stitch creates a dense yet airy fabric resembling the texture of a corner-to-corner blanket but is worked in horizontal rows. Kimberly provides a step-by-step guide, using “I Love This Yarn” from Hobby Lobby and a 5.5mm crochet hook, to demonstrate the process from creating a foundation chain to completing the pattern.
The tutor highlights helpful tips, including using stitch markers and color changes, to make the most of this elegant and beginner-friendly design.
@sleepykittycrochetwithkimb3489
How to Crochet the Tulip Stitch
- Kimberly introduces the tulip stitch as a new and exciting pattern she has recently learned.
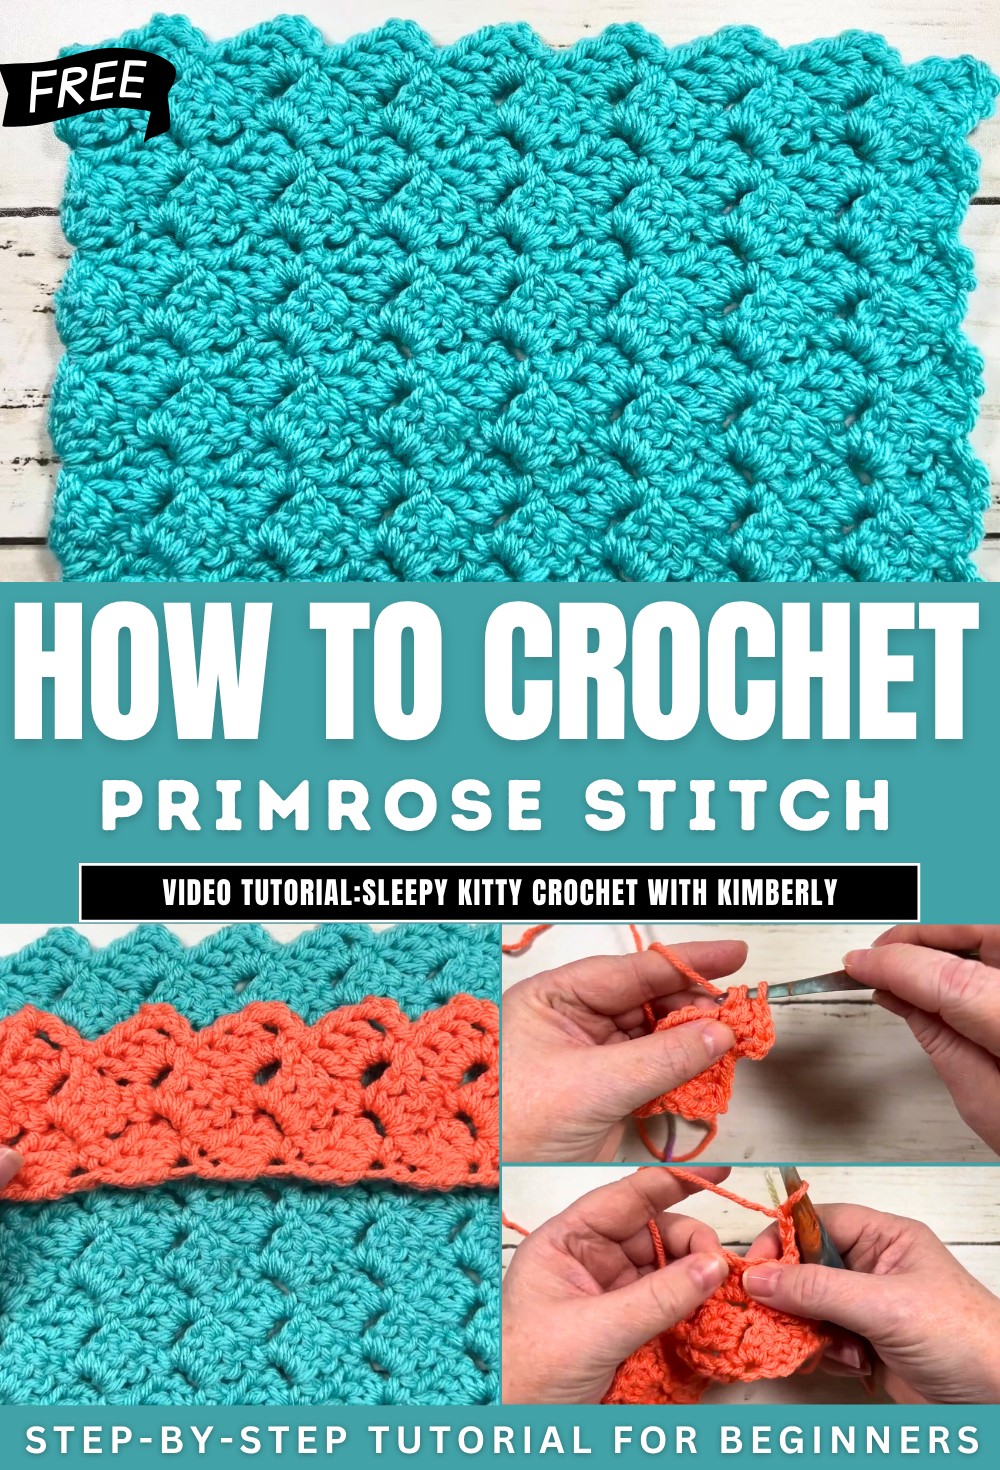
- This stitch creates a dense yet airy fabric, similar in appearance to the corner-to-corner (C2C) blanket pattern but is worked in horizontal rows instead of diagonals.
- She suggests using this stitch for lightweight projects such as baby blankets, shawls, scarves, or sweaters. She also highlights that the scalloped edge of the stitch may eliminate the need for a border.
Materials Used
- Yarn: “I Love This Yarn” by Hobby Lobby in the mango colorway. The yarn is soft, 100% acrylic, machine-washable, and categorized as medium-weight (#4).
- Hook: A 5.5 mm (I/9) hook by Furls, though Kimberly mentions any brand can be used.
- Optional Accessories: Stitch markers or scrap yarn to help track key points in the pattern.

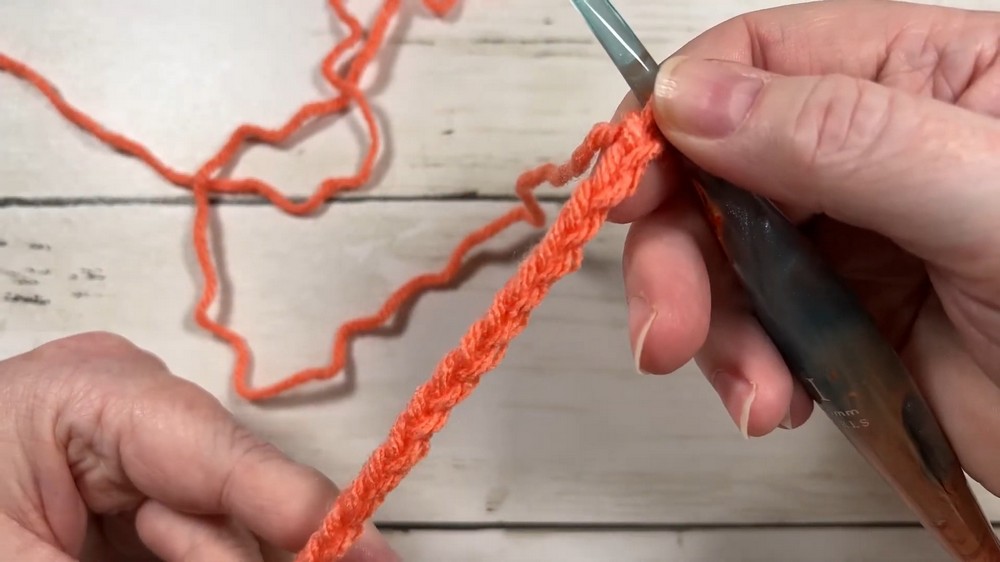
Starting the Foundation Chain
- The tutorial begins with a demonstration of how to create a slip knot and a foundation chain.
- Kimberly explains that the chain must be worked in multiples of four to fit the tulip stitch’s repeating pattern.
- She shows how to double crochet into the fourth chain from the hook and recommends working into the back bump of the chain for a neater finish.
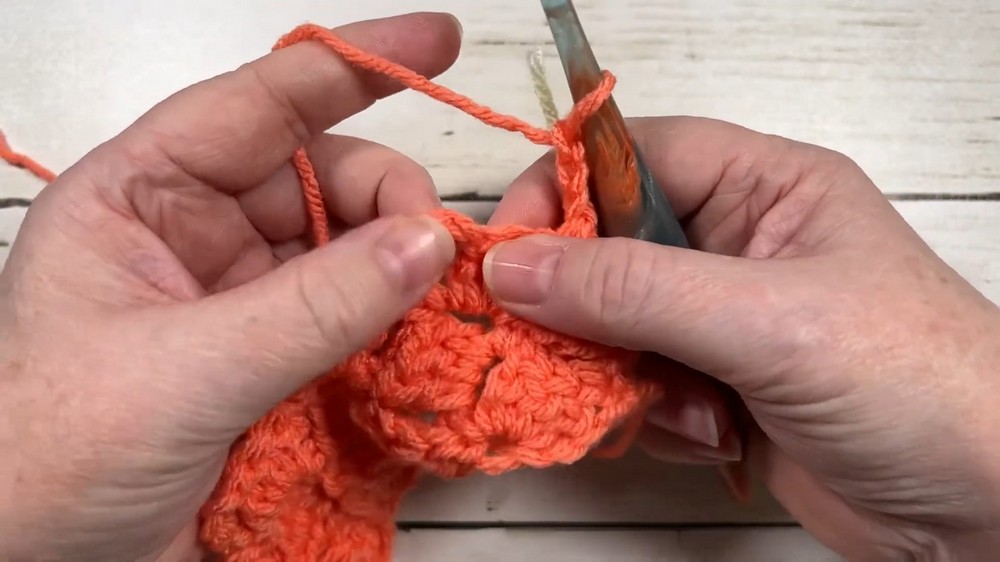
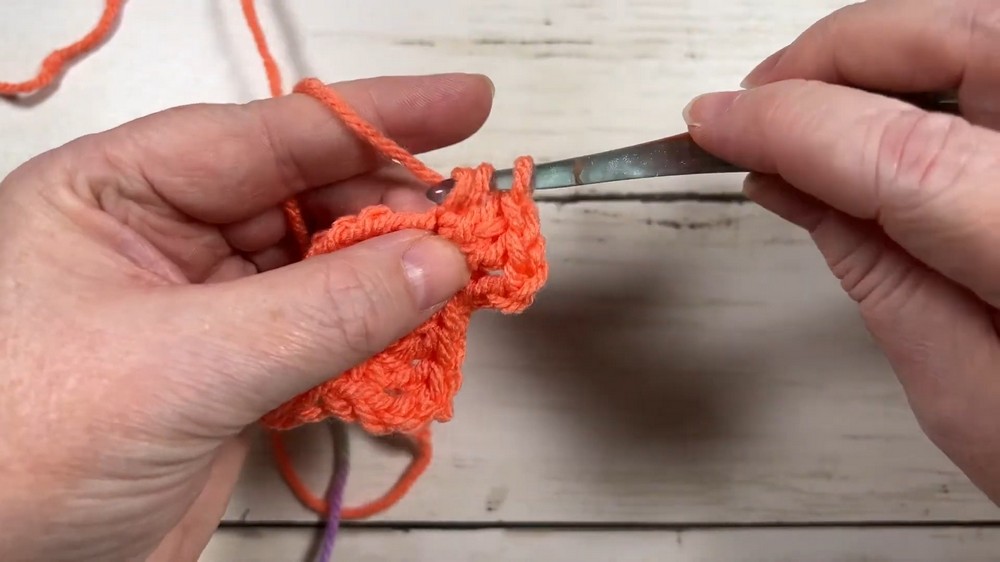
Working the First Row
- Kimberly walks viewers through creating the first row, using a combination of double crochet clusters, chain spaces, and single crochet stitches.
- She provides tips on spacing stitches evenly and using stitch markers to track the beginning and end of each row.
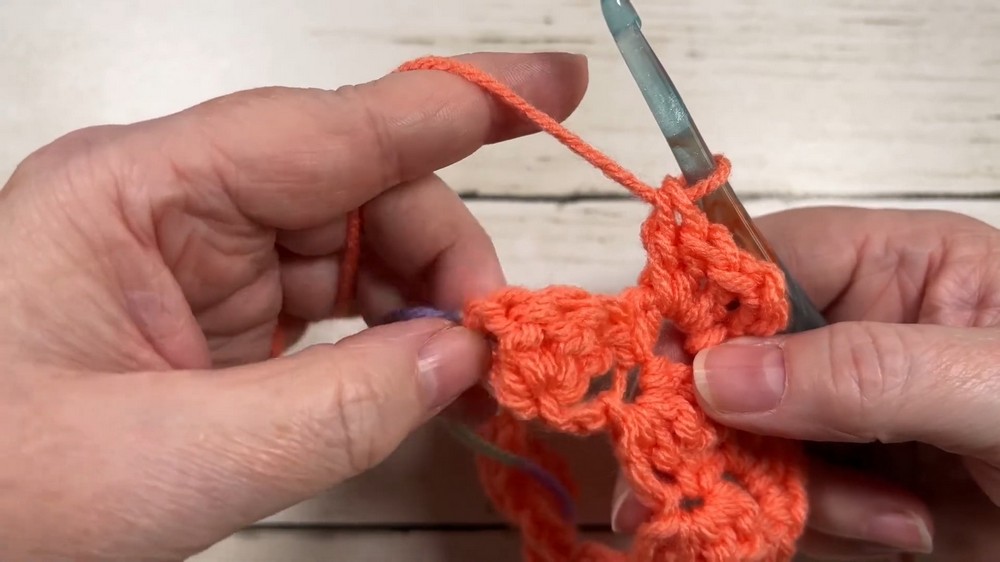
Forming Subsequent Rows
- The second row begins with a chain four, which serves as part of the double crochet cluster.
- Kimberly demonstrates how to locate the chain spaces in the previous row and work stitch clusters into these spaces while skipping other stitches.
- She emphasizes consistency in the placement of single crochet, chain spaces, and double crochets to maintain the pattern’s texture and structure.
Continuing the Pattern
- The tulip stitch’s row-by-row structure is built using repeated stitch clusters, ensuring the scalloped edges remain even on all sides.
- Kimberly advises crocheters to repeat the rows until the project reaches the desired length.
Finishing the Project
- As the project concludes, Kimberly explains how to taper off the design. She uses slip stitches and chains for a clean finish before tying off the yarn.