How To Crochet Easy Twisted Headband Tutorial
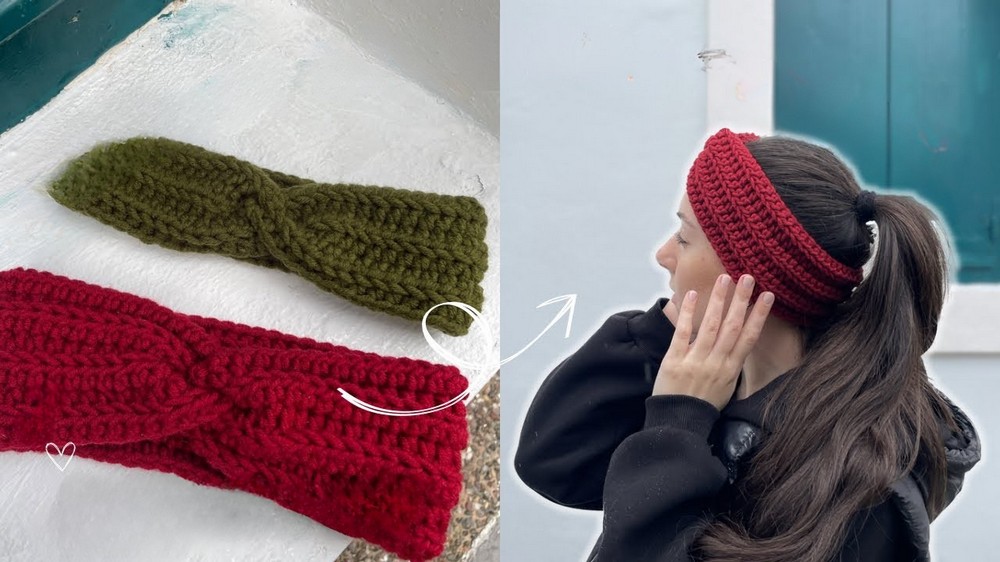
Learn how to crochet a beautiful twisted headband with ribbing, perfect for crocheting this winter, following a step-by-step tutorial for beginners. The tutorial is beginner-friendly and easy to follow. You can easily adjust the size for any age with this guide, getting a super cozy and soft crochet headband. So, grab your hook!
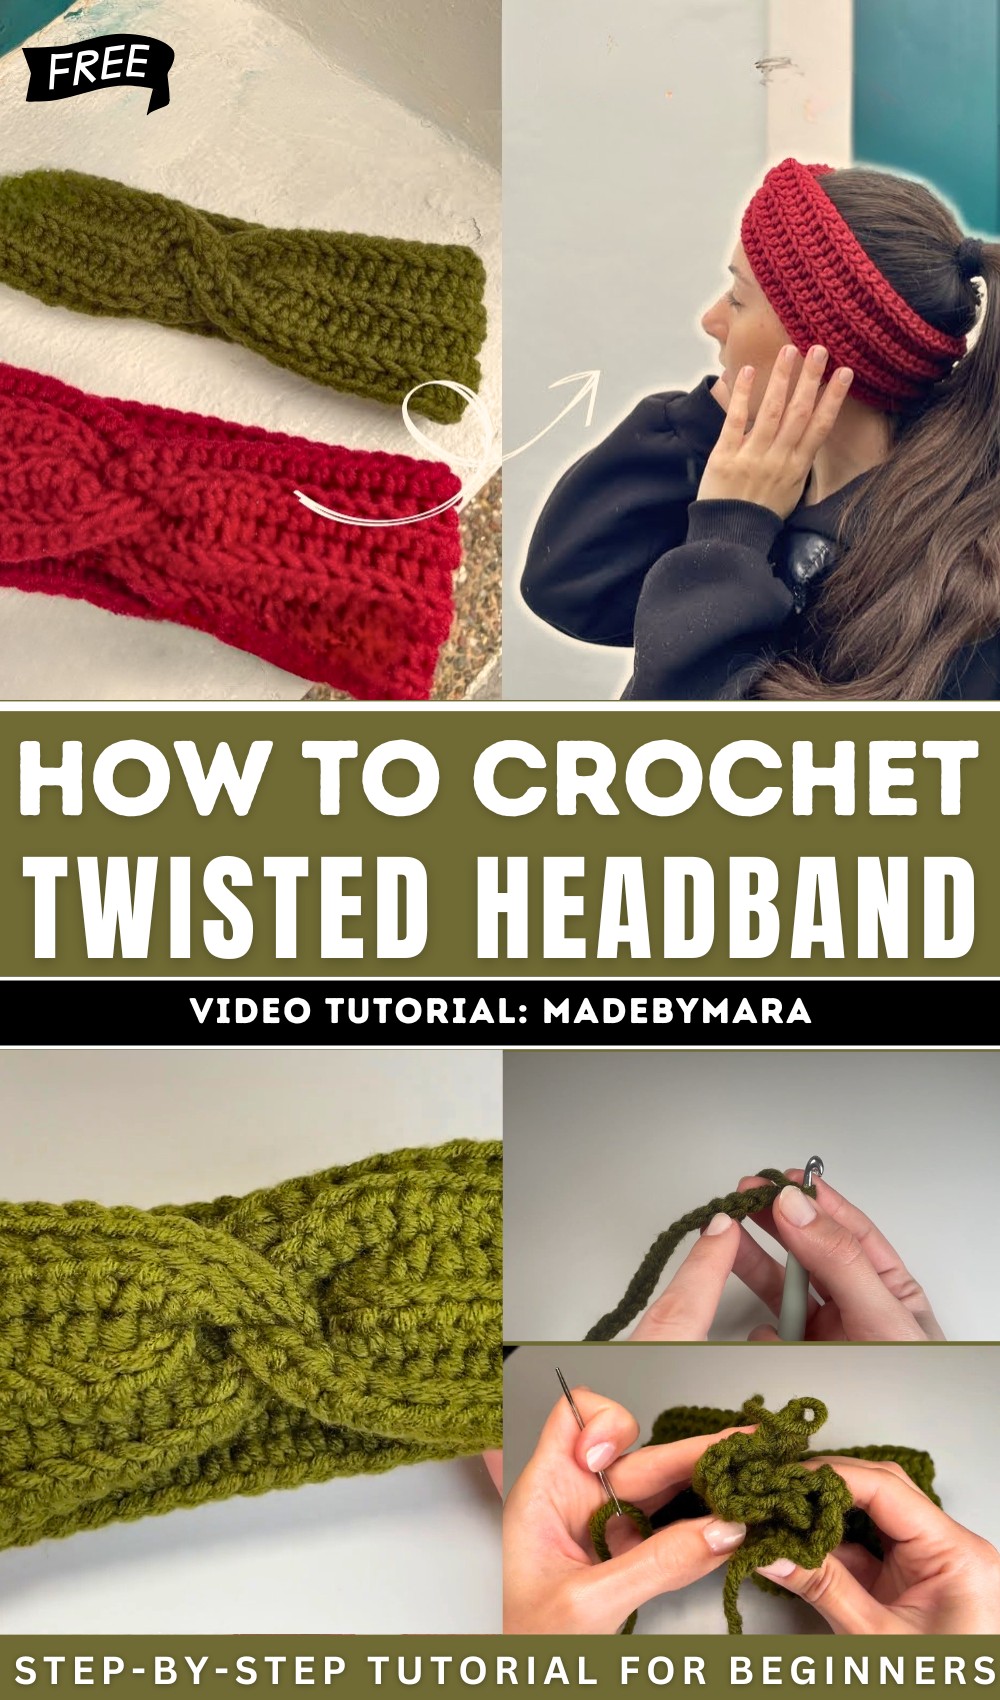
This step-by-step tutorial demonstrates how to crochet a twisted headband, focusing on simple techniques suitable for beginners. Using a size 5 bulky yarn, a size 6 crochet hook, scissors, and a yarn needle, it demonstrates creating a slip knot, chaining 60 (adjustable to your head size), and working half-double crochets into the back loops for a textured look.
Twisted Crochet Headband Pattern
Materials
- Yarn: Bulky acrylic yarn (Size 5 recommended)
- Hook: 6.0 mm crochet hook
- Scissors
- Yarn needle (for weaving/seaming)
- Measuring tape (optional, for sizing)
Key Abbreviations
- ch = chain
- hdc = half double crochet
- st(s) = stitch(es)
- sl st = slip stitch
Special Notes
- Pattern is worked flat and then seamed into a twisted headband.
- Use the back loop only for added texture after the foundation row.
- Adjust chain length to fit head circumference.
- Always count stitches to maintain correct measurements.
Step-by-Step Pattern
1. Foundation Chain
- Begin with a slip knot.
- With your bulky yarn and 6.0 mm hook, ch 60 (or customize the number to your head circumference, around 45 cm; remember it will stretch).
- Add 2 extra chains (for turning).

2. Row 1: Half Double Crochet
- Turn your chain over to work into the back bumps (not regular loops), which creates a neater edge.
- Skip the first 2 chains (these are your turning chains).
- In the third chain:
- Yarn over, insert hook into the back bump, yarn over, pull up a loop (3 loops on hook), yarn over and pull through all 3 loops.
- Repeat hdc in each back bump across.
- You should have 60 hdc (or the number you started with) at the end of the row.

3. Rows 2–7 (or desired width): HDC in Back Loop Only
- Ch 2 (turning chain), turn work.
- Skip first 2 chains; begin in first stitch.
- Work hdc in back loop only of each stitch across.
- Back loop only: Insert hook in the loop furthest from you (creates ridges).
- Repeat for each row until headband is your desired width (sample: 7 rows for 7.5 cm width).
- At the end of each row, check you have same number of stitches.

4. Fastening Off
- After final row, ch 1.
- Cut yarn, leaving a long tail for sewing.
- Pull yarn tail through to secure.
5. Seaming
- Thread yarn needle with tail.
- Fold headband with right sides facing each other, align edges.
- Sew ends together, using a whip stitch or backstitch, catching both sides.
- For corners, sew back and forth for security.
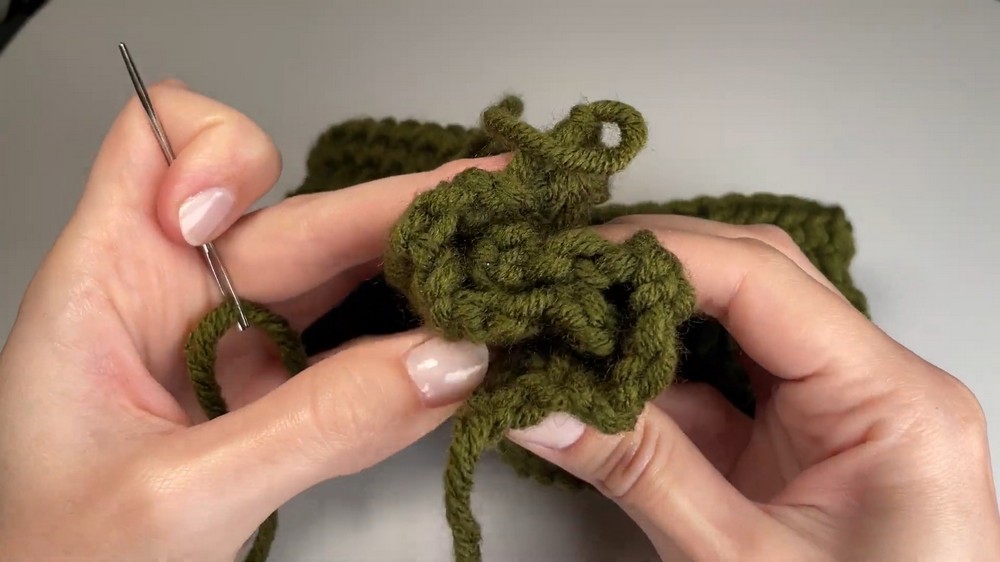
6. Weaving in Ends
- Weave remaining yarn tails in through stitches using yarn needle.
- Trim excess yarn.
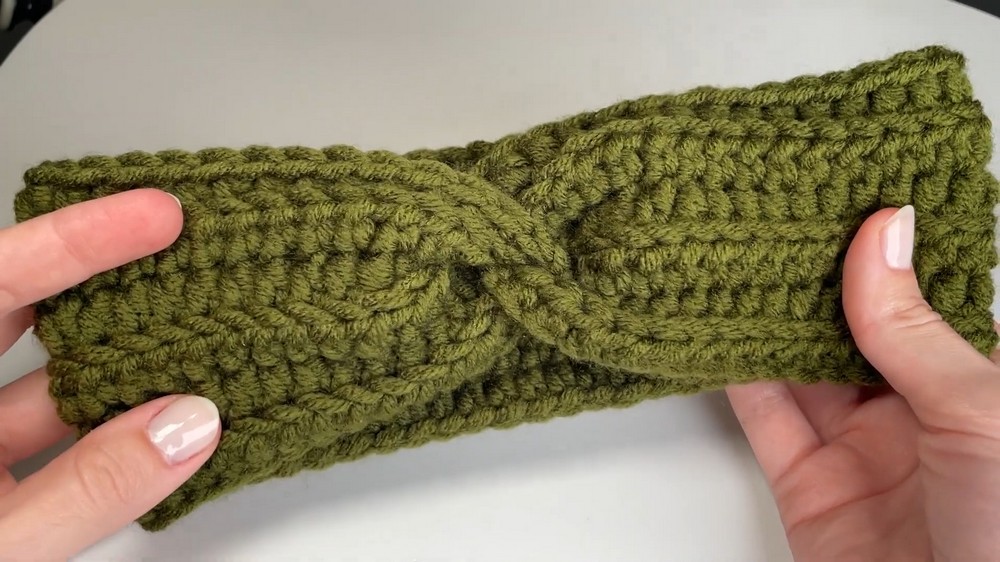
7. Finishing
- Turn headband right side out.
- Arrange seam into a twist (if desired).
- Headband is complete!
Conclusion
This beginner-friendly twisted crochet headband uses simple half double crochet stitches, worked in the back loop to add texture. It’s customizable for size and width, quick to make, and ideal for gifts or personal use.
Pattern Correction
- Ensure to use hdc in back loop only for all rows except the first to achieve the ridge effect.
- If you prefer a flatter look, work regular hdc across instead of back loop only.
- For a secure seam, double back at corners.
Tips
- Measure your starting chain around your head snugly—headband stretches with wear.
- Count stitches every row to maintain even edges.
- Use a yarn needle with a large eye for easier weaving/seaming.
- Adjust yarn and hook size as desired for a thicker or thinner headband.