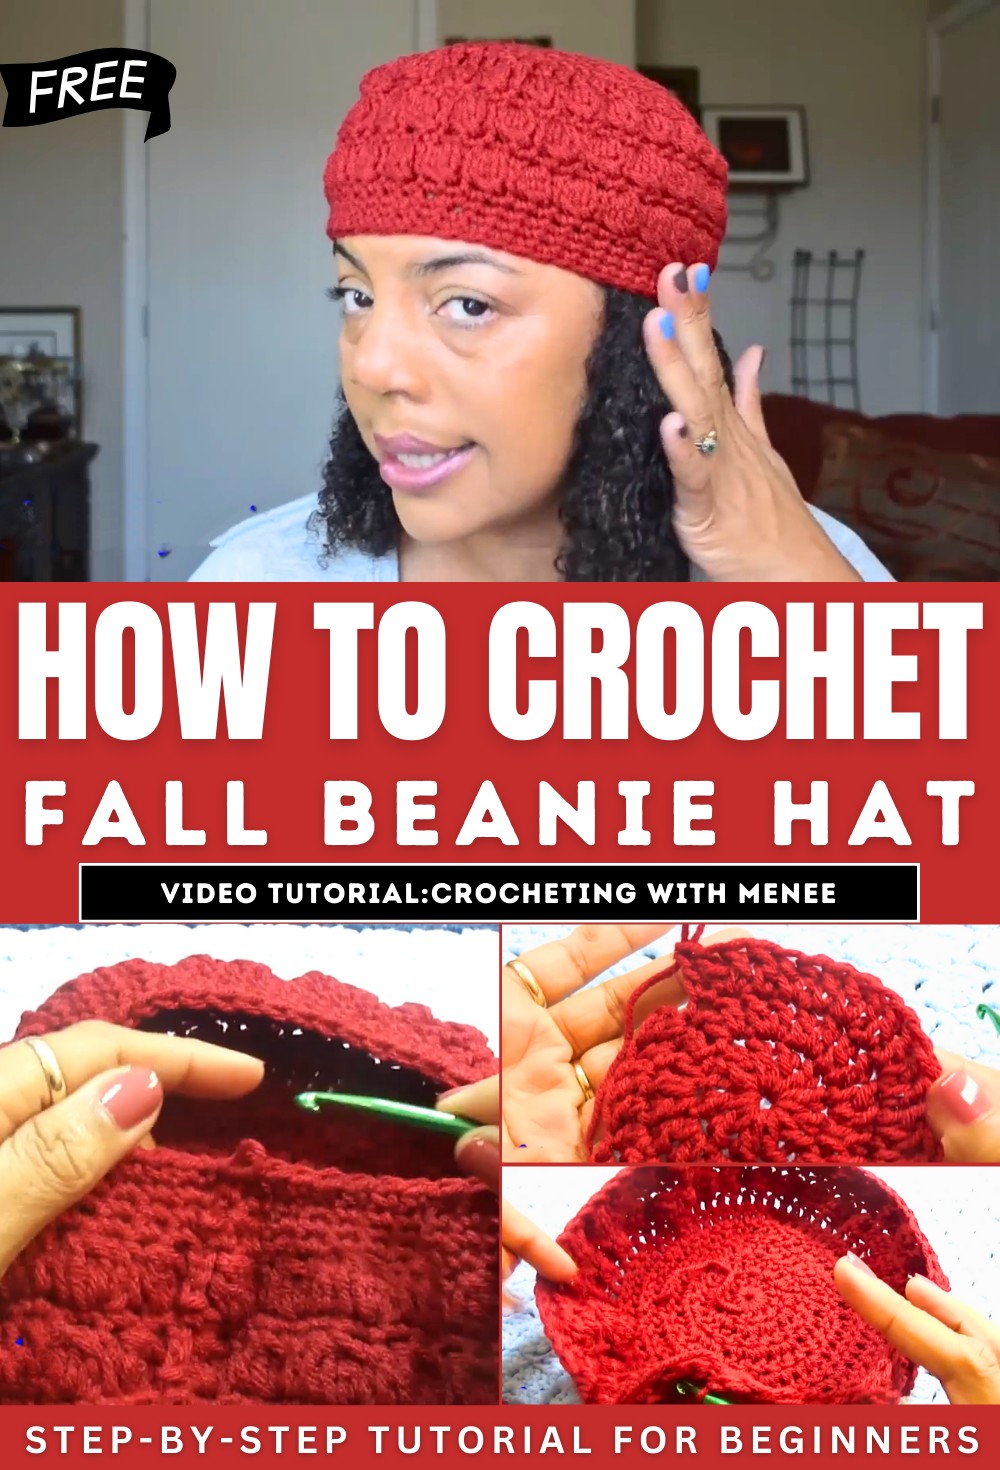
How to Crochet Fall Beanie Hat for Beginners

In this post, you’ll learn how to crochet a beginner-friendly beanie cap using upcycled Red Heart yarn. The tutor will guide you step-by-step, starting with creating a loop, chaining stitches, and progressing through rounds of double crochets, cluster stitches, and single crochets to shape the cap. The tutorial emphasizes checking gauge, maintaining tension, and using tools like a J-hook, tapestry needle, and scissors.
The detailed instructions make the project approachable even for beginners, while offering tips for adjustments and finishing touches like weaving in ends. It’s a creative and sustainable craft project for crochet enthusiasts! So, follow through with us for the complete tutorial.
Crochet Beanie Cap Tutorial
Miss Roosevelt, on the “Colors of Lily” YouTube channel, walks viewers through a simple and beginner-friendly tutorial for crocheting a beanie cap. Using minimal materials, clear instructions, and easy techniques, this project is approachable for those who are new to crochet.
Materials Needed
- Red Heart yarn (upcycled from a previous project).
- Size 10 J-hook (6mm crochet hook).
- Tapestry needle for weaving in ends.
- Scissors for clipping yarn.
Getting Started
-
Creating the First Loop and Chain Foundation:
The tutorial begins with creating a slip knot and chaining a small foundation chain. This is the base of the project. -
Working Double Crochets:
The initial round involves working a series of double crochets into the first chain to form a circular base. The round is closed with a slip stitch.

Increasing Rounds
-
Subsequent rounds involve adding double crochets, using specific patterns to increase the size of the circle evenly. Miss Roosevelt demonstrates:
- Adding double crochets in the same stitches.
- Alternating between single and grouped double crochets to maintain proper increases.
-
Checking Gauge:
After completing the initial rounds, viewers are advised to check the gauge to ensure proper sizing. Adjustments can be made by tightening or loosening yarn tension as required.

Building the Body of the Beanie
-
Once the base is complete, even rows of double crochets are worked without increases to shape the body of the beanie.
-
Adding Texture with Cluster Stitches:
A pattern of cluster stitches and double crochets is introduced to add texture to the beanie. Miss Roosevelt explains the steps for creating each cluster in detail, ensuring clarity for beginners. -
Alternating Rows for Design:
The textural design continues with alternating rows of cluster stitches and single crochet rows, which help shape the hat into a bowl-like form.

Decreasing for the Crown
- As the beanie nears completion, decreasing rows are introduced:
- Single crochets are worked between decreases to tighten and shape the crown.
- Miss Roosevelt demonstrates how to crochet two stitches together to create seamless decreases.
Final Touches
- After completing the crown, the tutorial concludes with two rows of single crochet for a polished finish.
- The beanie is tied off, and the ends of the yarn are woven in using a tapestry needle. This step ensures the stitches are secure and the beanie has a clean look.

Tips and Advice
- Gauge Adjustment: Regularly check the gauge using a ruler to ensure the proper size is being achieved.
- Count Stitches: Keep track of stitches at the end of each round to avoid errors in the pattern.