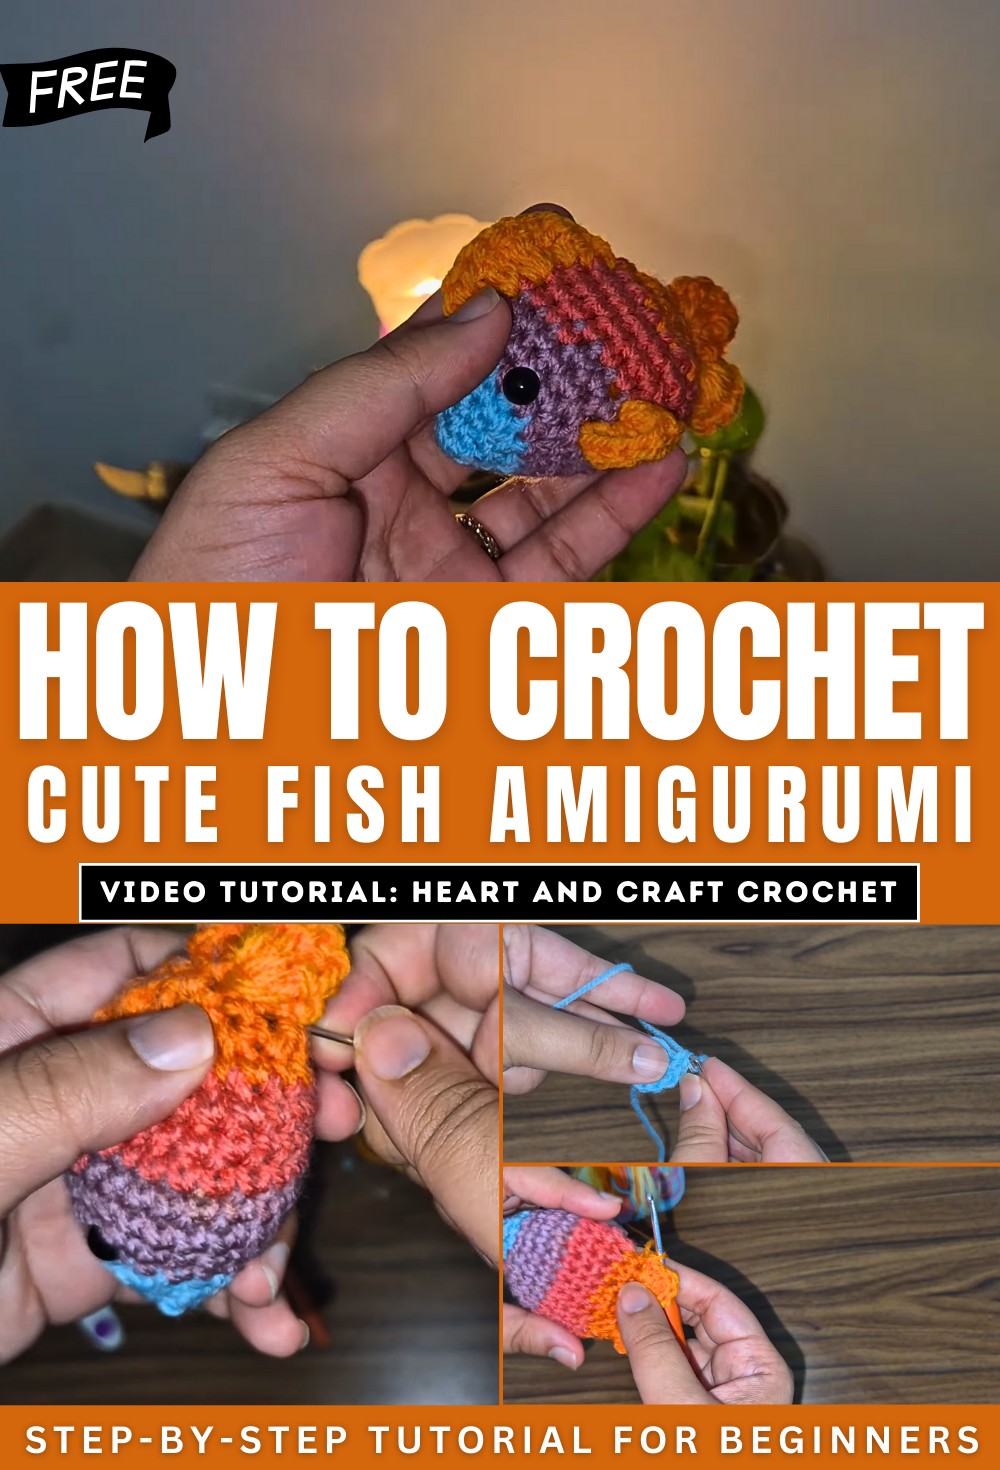
How to Crochet Fish in Less than an Hour| Amigurumi for Beginners
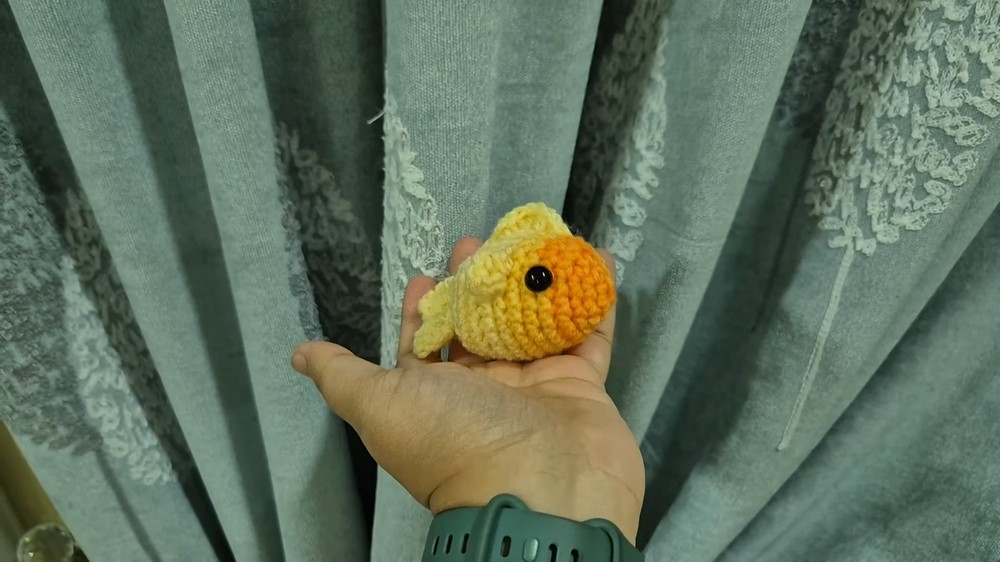
Learn how to crochet a quick and adorable fish, perfect for using scrap yarn or preparing items for small markets. Using basic supplies like yarn, a 3 mm crochet hook, safety eyes, stuffing, and a stitch marker, the instructor guides viewers through each step, from forming a magic ring to creating the body, tail, fins, and facial details.
The project is beginner-friendly, customizable with different yarn weights, and uses simple techniques like single crochet, half double crochet, and double crochet. The result is a charming fish that’s fun to make and great for gifting or decorative use. So, follow through with us for the complete tutorial.
Crochet Fish Tutorial
This crochet tutorial, designed for beginners and led by the creator, demonstrates how to make a delightful crocheted fish using leftover yarn. The instructor takes viewers step-by-step through the process, from materials needed to assembly, resulting in a cute project that’s perfect for small markets, gifts, or personal use. Below is a detailed breakdown of the tutorial:
Introduction
The instructor begins by introducing the project and highlighting how it is ideal for using scrap yarn, making it a budget-friendly and sustainable creation. They encourage viewers to subscribe to the channel and share completed projects via email or Instagram links provided in the description.
Materials Needed
To create the fish, the following supplies are required:
- Scrap yarn of any weight, though a medium worsted-weight or variegated yarn is used in the tutorial.
- A crochet hook, sized appropriately for your chosen yarn (3 mm is used in the video).
- Scissors.
- Stitch marker (a bead and safety pin can work if you don’t have one).
- Yarn needle for weaving ends.
- Polyfill stuffing or similar material.
- Safety eyes, small in size.
The tutorial discusses how different yarn and hook sizes can alter the size of the fish, giving flexibility to customize.
Steps to Crochet the Fish
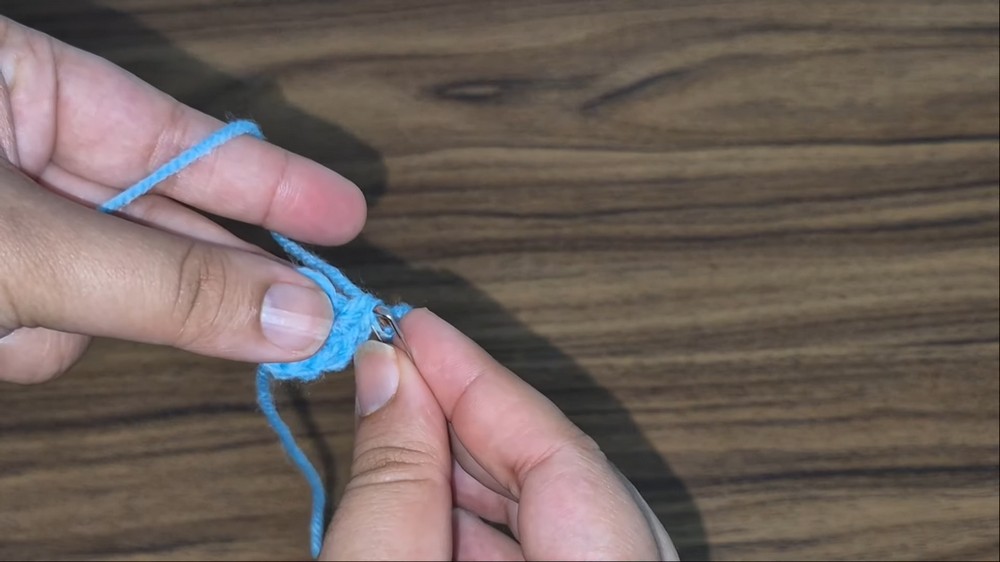
1. Starting the Body
- The project begins with a magic ring, which is demonstrated in detail for beginners. This creates the base of the fish’s body.
- Through repeated rounds of increases and single crochet stitches, the body is built up into a rounded shape. Stitch markers are used to track the progress as the pattern works in continuous rounds.
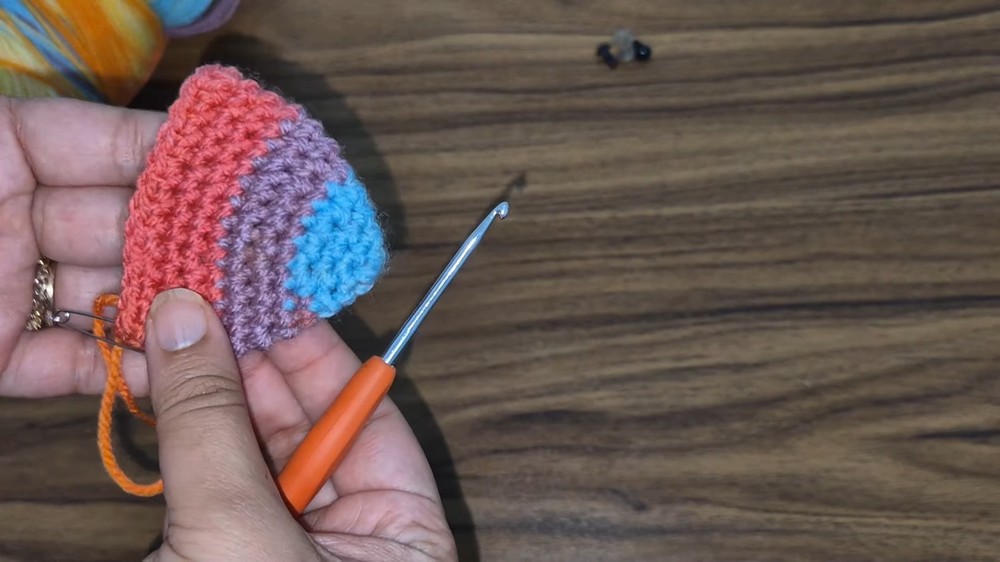
2. Shaping the Body
- Once the increasing rounds are complete, several rows of even single crochet stitches give the body its rounded height.
- A significant portion of this section is used to explain how to maintain symmetry and tension while crocheting.
3. Adding the Safety Eyes
- The safety eyes are placed midway along the fish’s body. The instructor folds the body in half to position them symmetrically.
- Detailed instructions are provided to help with proper placement, ensuring the eyes align neatly for a balanced look.

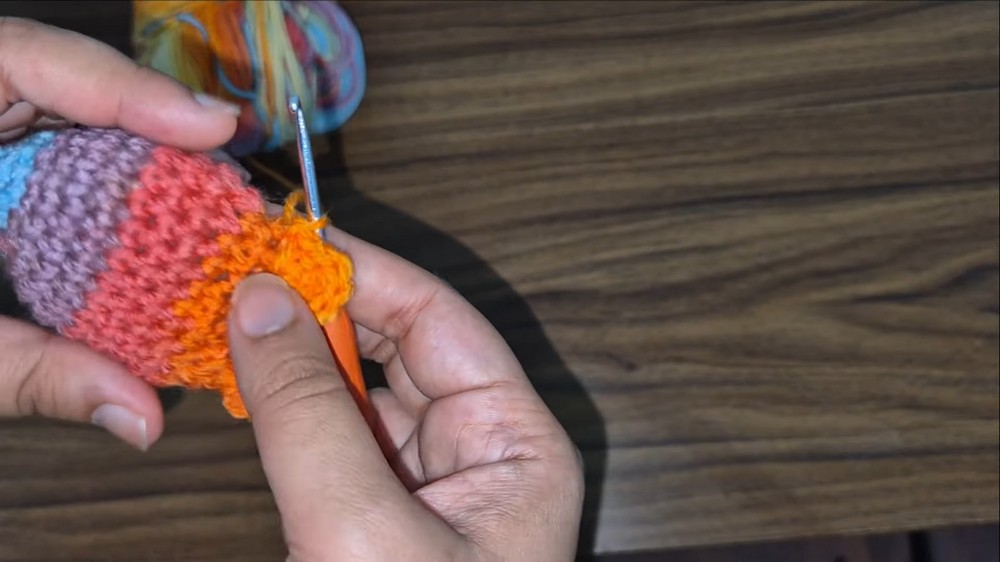
4. Closing the Body
- Decrease rounds are begun, gradually narrowing the open end of the body.
- Before fully closing, stuffing is added to provide the fish with its soft and plump shape. Care is taken to ensure the stuffing is even.
Creating Fins and Tail
1. Crochet the Tail Fin
The tail is formed by folding the remaining open stitches of the body and crocheting rows of decorative stitches. This gives the tail its distinct fan-like shape.
2. Side Fins
Small side fins are attached to either side of the body, just below the eyes. The placement is explained step-by-step, ensuring equal alignment on both sides.
3. Top Fin
A small top fin is added on the fish’s back near the midline. A variety of stitches are used to create a textured effect.
Final Touches
- After completing the fins, all loose ends are woven in and trimmed.
- If needed, adjustments are made to shape the tail and fins further.
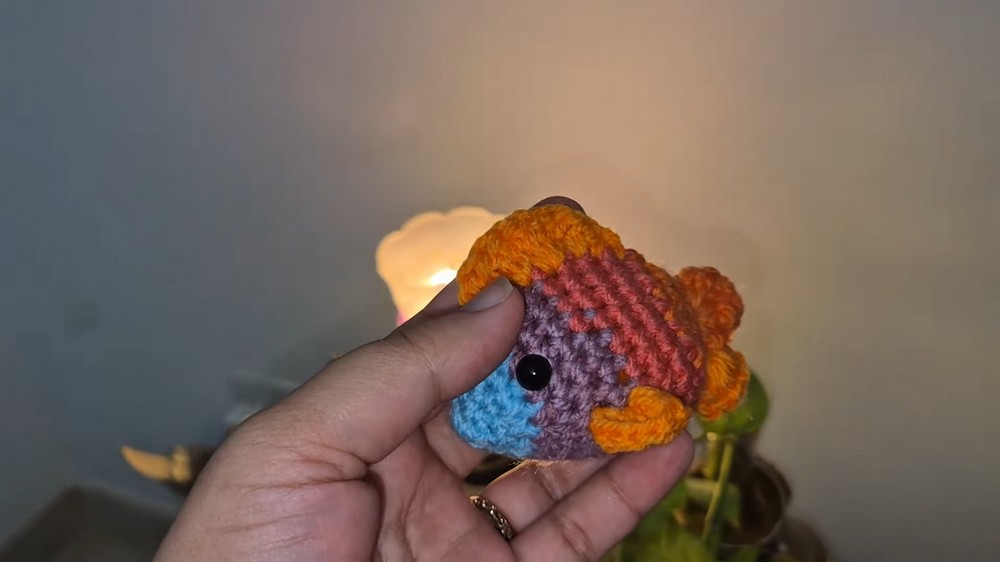
Conclusion
The tutorial concludes with the instructor showing the finished fish, emphasizing how quick and fun the project is. They encourage viewers to share their own creations and look forward to presenting future crochet projects. This tutorial is not only beginner-friendly but also versatile and perfect for using up leftover yarn.