How to Crochet A Made To Fit Sweater for Beginners
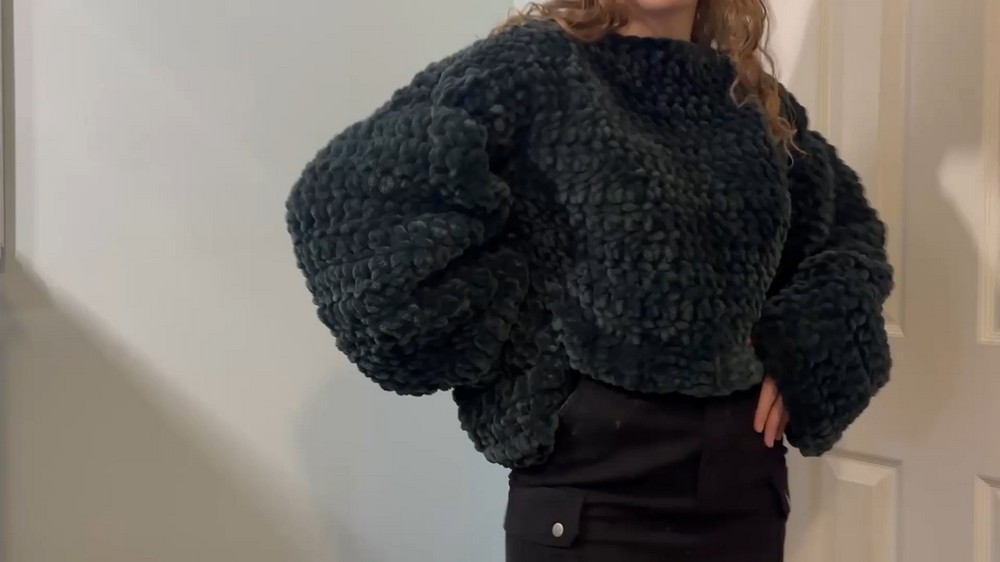
Learn how to crochet a simple chunky sweater using plush yarn with a step by step tutorial for beginners for all skill levels. Using chunky yarn (weight 7), an 11.5 mm crochet hook, a large yarn needle, and scissors, you’ll crochet body panels, sleeves, and assemble the sweater. Techniques such as foundation chains, half double crochet, double crochet, and shaping with decreases are explained in detail.
The tutorial also covers finishing touches like creating the neckline and weaving in ends for a clean and polished result.

Crochet Fit Sweater
Materials Used
- Chunky yarn with a weight of 7.
- 11.5 mm crochet hook.
- Large yarn needle.
- Scissors.
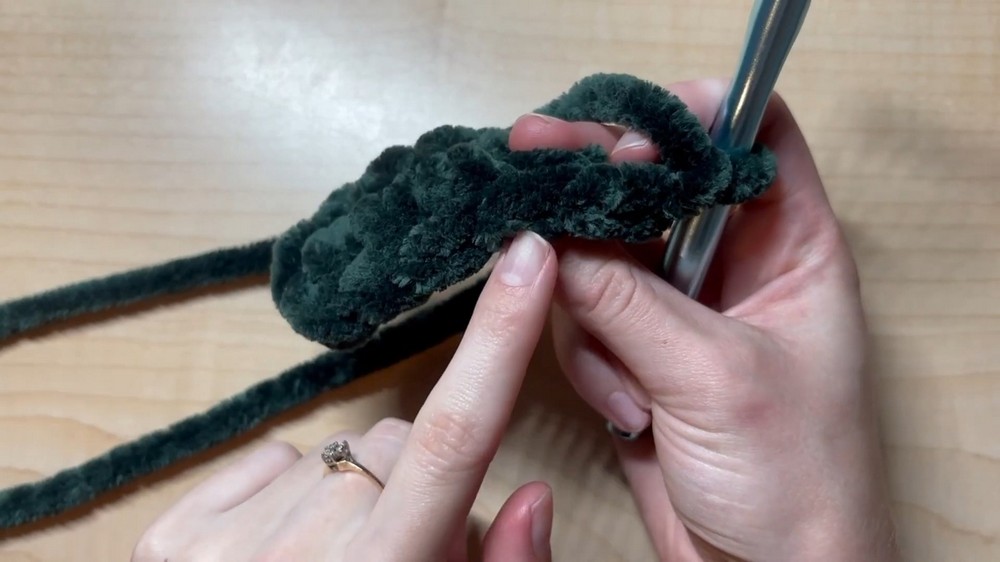
Step 1: Creating the Hem
- Start by making a foundation chain after creating a slip knot.
- Use loose stitches for chunky yarn.
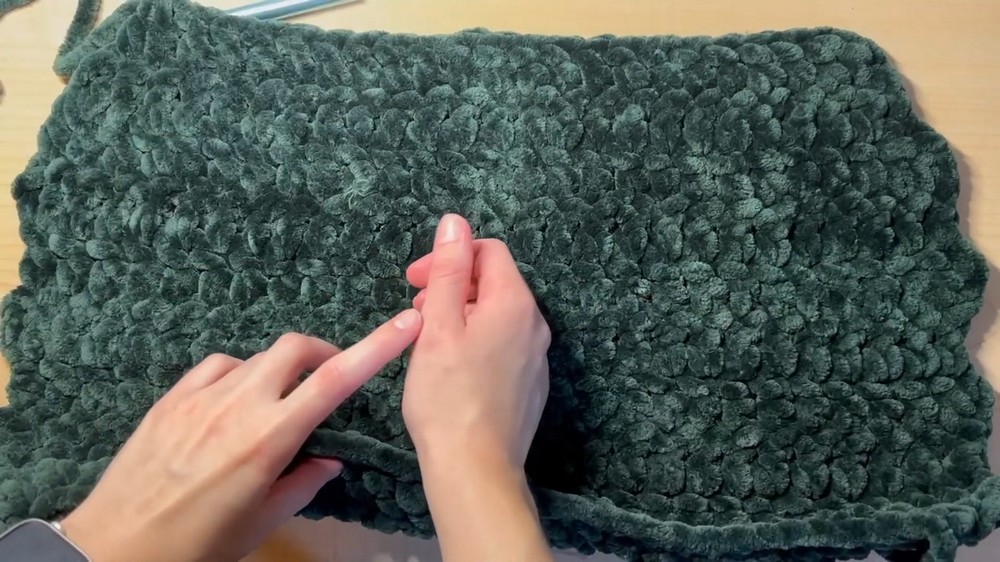
- Construct rows of half double crochets in the back loop only to build the hem.
- Make enough rows to fit snugly halfway around your waist.
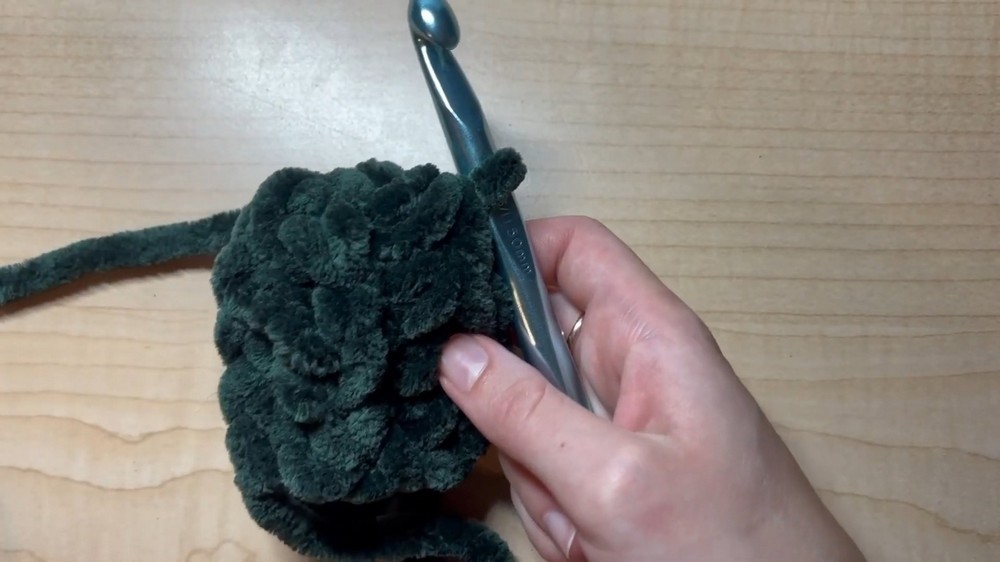
Step 2: Creating the Body Panels
- Attach the Body Panel to the Hem: Begin double crocheting along the edge of the hem.
- Perform one double crochet in the first row of the hem and two in each subsequent row.
- Keep repeating rows of double crochets until the panel reaches the desired fit—covering the base of the neck and shoulders.
- Once one body panel is complete, create an identical panel.
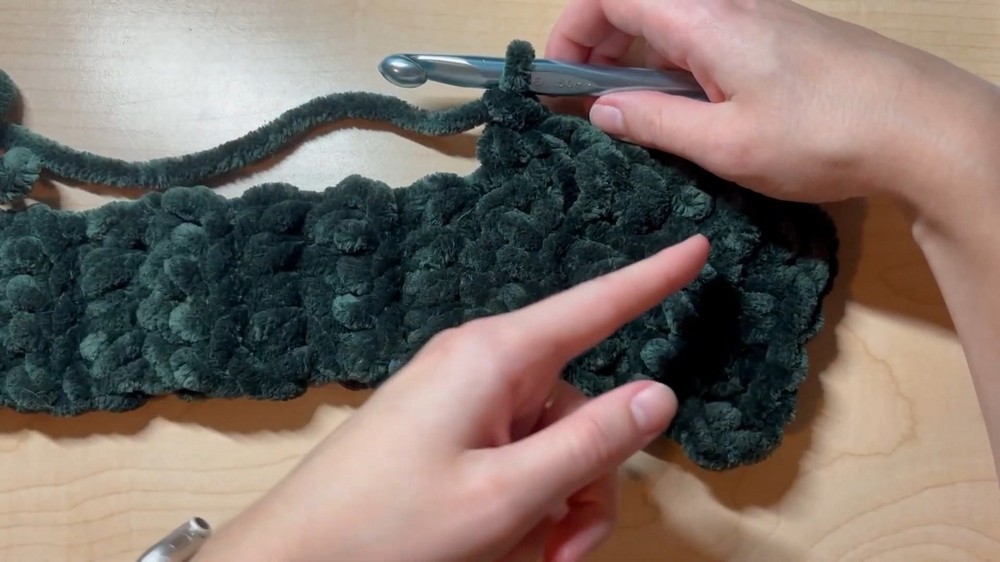
Step 3: Constructing the Sleeves
- Foundation Chain: Chain the initial stitches for the width of the sleeve, factoring in a loose fit.
- Perform rows of double crochet up to the elbow.
- Decreasing Rows: Gradually taper the sleeve by incorporating decrease stitches for three rows. Each decrease involves merging two stitches into a single top stitch.
- Continue crocheting regular double crochet rows until the length reaches the knuckle of the thumb when measured against your arm.
- Create the second sleeve in the same manner.
Step 4: Assembling the Sweater
-
Attaching Sleeves to Body Panels:
- Lay out the body panels and sleeves. Ensure the hem is at the bottom and the larger end of the sleeves is aligned with the body panels’ edges.
- Use safety pins to keep the pieces aligned.
- With a large yarn needle, weave through the edges of the sleeve and body panel to attach them.
-
Connecting the Body Panels:
- Fold the sweater in half. Attach the front and back panels together using the same weaving method with a yarn needle.
- Continue weaving along the edges of the sleeves to create a seamless look.
-
Testing and Adjusting the Neckline:
- Use safety pins to temporarily hold the neckline together while testing the fit.
- Adjust the length to ensure symmetry on both sides.
Step 5: Adding the Neckline
- Perform a round of single crochet around the neckline’s perimeter to create a clean finish.
- Connect the front and back panels by slip-stitching the beginning and end of the single crochet round.
Step 6: Final Touches
-
Weaving in Loose Ends:
- Tie knots for added security before weaving in extra yarn ends.
- Use a yarn needle and follow row patterns for a hidden finish.
-
Turn the sweater inside out to reveal the finished product.
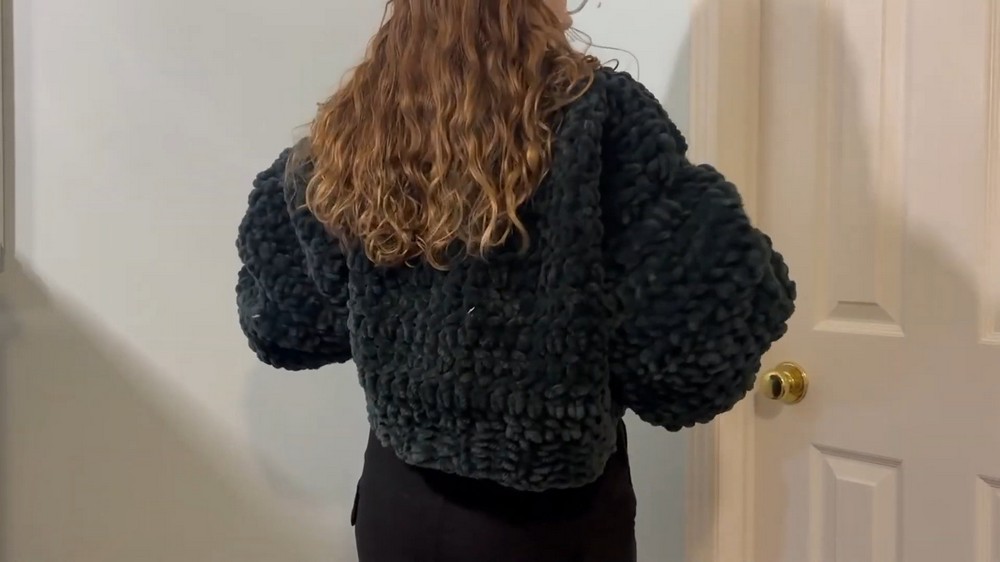
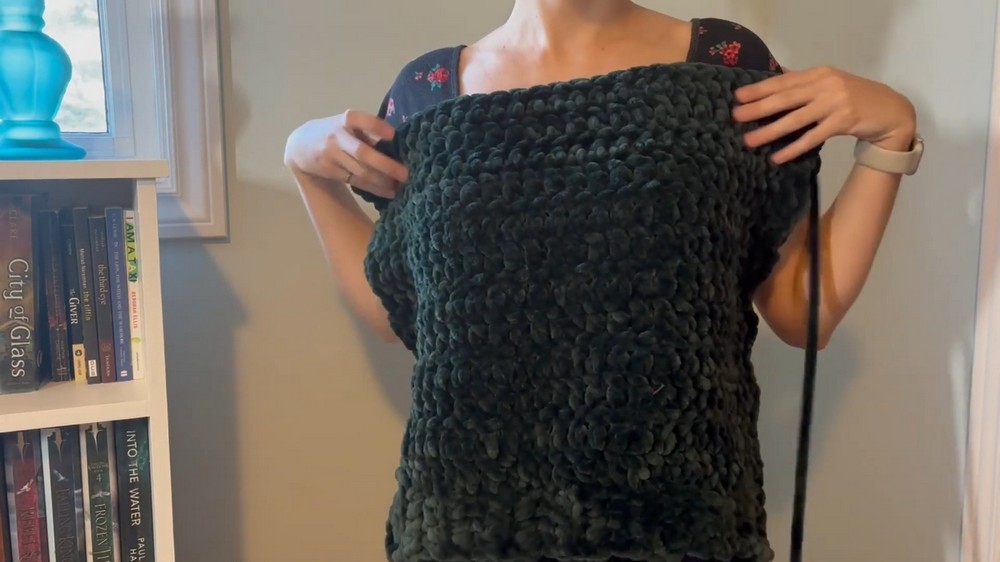
Overview of the Completed Sweater
This tutorial builds a cozy chunky sweater with body panels, sleeves, and a clean neckline. Through careful assembly and finishing touches, the sweater offers both a loose fit and a polished look.