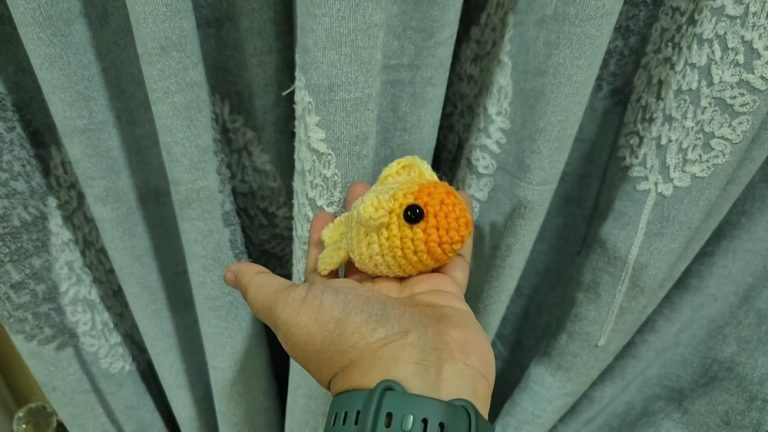
How to Crochet Orange Drawstring Pouch With No Magic Ring

Learn how to crochet a little orange drawstring pouch, perfect for holding small gifts, with a step-by-step tutorial from Yarn Symphony. This quick pouch can double as a bag charm and cleverly starts without using the magic ring, making it perfect for beginners. You can also use it as a pumpkin pouch for Halloween or Thanksgiving gifting and customize it in a range of ways.
The complete guide for crocheting this little orange drawstring bag will be available at the end of this post. Let’s get started!

Skills Used: Skills include making a slip knot, chaining, single crochet, increasing stitches to form a round base, maintaining consistent stitch count for the right shape, and making chain spaces for the drawstring closure.
The tutorial also demonstrates basic leaf shaping using single crochets, half-double crochets, double crochets, and treble crochets, along with techniques for securing loose yarn tails and assembling parts neatly.
Guide Span: 20 Minutes
Personalization Tips: The orange drawstring pouch can be easily customized by changing yarn colors to create different fruit-inspired designs. Using yellow yarn can turn it into a lemon pouch, while red can create a strawberry version with embroidered seeds. The drawstring can be replaced with ribbons, braided yarn, or even a beaded cord.
The tutorial explains how to create a round base without a magic ring, shape this fruit pouch, form chain spaces for the drawstring, and crochet a leaf for decoration. The project is quick, easy, and customizable. Here is a quick overview of this guide:
Free Crochet Little Orange Pouch Pattern
Materials
- Yarn: Orange acrylic yarn (DK / light worsted, or use preferred weight for desired pouch size)
- Hook Size: 3 mm crochet hook
- Tapestry needle (for weaving in ends)
- Stitch marker (optional but recommended)
- Scissors
Optional
- Green yarn (for leaf)
- Decorative button or bead (for closure)
Abbreviations (US Terminology)
| Abbreviation | Meaning |
|---|---|
| ch | chain |
| sc | single crochet |
| hdc | half double crochet |
| dc | double crochet |
| tr | treble (triple) crochet |
| sl st | slip stitch |
| inc | increase (2 sc in same st) |
| st(s) | stitch(es) |
| rnd | round |
Special Notes
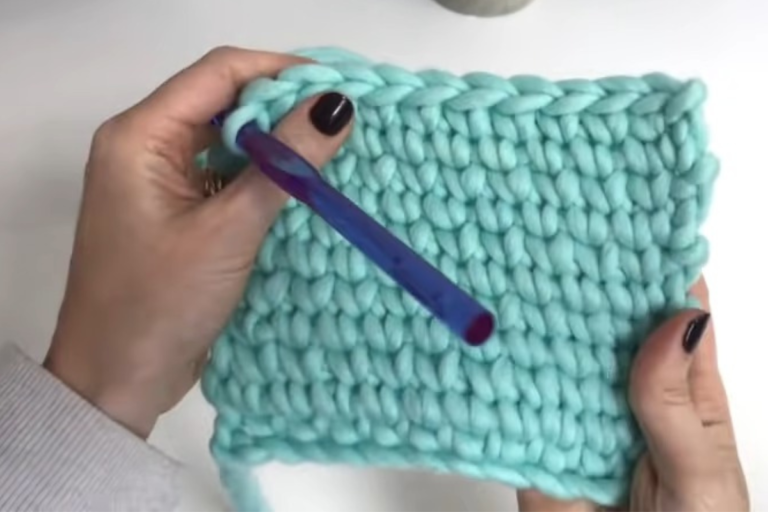
- The pouch is worked in the round, in a continuous spiral (mark the first st of each round).
- Leaf is made separately and attached last.
- Final round of pouch creates drawstring holes.
Pattern

1. Slip Knot and Foundation Chain
- Make a slip knot.
- Ch 2.
2. Round 1: Form the Base
- Work 6 sc in the first ch made (the first chain).
- [6 sts]
3. Round 2: Increase
- 2 sc in each st around (inc in each st) [6 increases].
- [12 sts]
4. Round 3: 1 sc, inc around
- [1 sc in next st, 2 sc in next st]; repeat around.
- [18 sts]
5. Round 4: 1 sc, inc, 1 sc around
- [1 sc, inc in next st, 1 sc]; repeat around.
- [24 sts]
6. Round 5: 3 sc, inc around
- [sc in next 3 sts, 2 sc in next st]; repeat around.
- [30 sts]
7. Round 6: 2 sc, inc around
- [sc in next 2 sts, 2 sc in next st]; repeat around.
- [36 sts]
8. Round 7: 5 sc, inc around
- [sc in next 5 sts, 2 sc in next st]; repeat around.
- [42 sts]
9. Rounds 8–18: No Increase
- Sc in each st around.
- At end of each round, move stitch marker up for first stitch.
- [42 sts per round]
10. Round 19: Create Drawstring Holes
- [sc in next 2 sts, ch 1, skip 1 st]; repeat until end of round.
- (That is: sc, sc, ch 1, skip next st, repeat)
- You should have 14 ch-1 spaces (gaps) at the end of this round.
- Finish round with 2 sc and a ch 1, sl st in next st to join.
11. Fasten Off
- Sl st in next st to join. Cut yarn, leaving a tail about 6″ for weaving in.
- Use tapestry needle to weave in the end by hiding the tail in and out of several stitches.

Leaf Pattern
- Slip Knot & Leaf Chain
- Use green yarn.
- Make a slip knot and ch 25. Mark the last ch.
- Chain for Leaf Tip
- Ch 8 more (for the tip).
- First Side of Leaf
- In 2nd ch from hook: sc
- Next ch: hdc
- Next ch: dc
- Next ch: 2 tr in the same ch
- Next ch: dc
- Next ch: hdc
- Last ch: sc
- Turn and Second Side
- Ch 2 to turn, work on opposite side of the foundation chain:
- Next ch: sc
- Next ch: hdc
- Next ch: dc
- Next ch: 2 tr in the same ch
- Next ch: dc
- Next ch: hdc
- Last ch: sc
- Ch 2 to turn, work on opposite side of the foundation chain:
- Leaf Midrib/Stem
- Sl st in next st to anchor at the tip of the leaf.
- Work sl st down the center of the leaf: insert hook through gaps of previous rows, pull green yarn through, and sl st to form a line.
- Finish at the start of the leaf.
- Ch 25 for the drawstring stem.
- Fasten Off and Weave in Tail
- Cut yarn, pull through.
- Repeat for the other side if desired.
- Weave in ends for a neat finish.
Assembly
- Attach Leaf Drawstring
- Thread both leaf chains through the ch-1 spaces (gaps) of the pouch’s last round, weaving in and out to create a drawstring closure.
- Pull ends to gather pouch closed.
- Tie ends or fasten with a decorative bead or button if desired.

Conclusion
This delightful orange pouch is perfect for tiny treasures, gifting, or as a coin purse. The project is suitable for absolute beginners and includes practice with basic stitches, increasing in the round, making a simple leaf, and assembly. Enjoy your adorable orange pouch!
Pattern Corrections & Tips
- Pattern Correction: In Round 19 (drawstring holes), be sure that you always finish with 2 sc and a ch-1 gap to end with 14 ch-1 spaces.
- Stitch Counting: Always count your stitches at the end of each round to maintain shape.
- Marker Use: Use a stitch marker or a scrap of contrasting yarn to mark the first stitch each round.
- Leaf Variation: Adjust the number of chains in the leaf to make it longer or shorter as desired.
- Finishing: To avoid unraveling, securely weave in all yarn tails. If joining the leaf drawstrings, tie a secure knot.

Additional Tips
- Practice basic stitches before beginning if you are an absolute beginner.
- Change yarn color for a multi-colored effect or add embellishments as desired.
- To customize size, use thicker yarn and a larger hook for a bigger pouch, or work fewer (or more) rounds for desired height.
Video Guide
https://youtu.be/gjwZwn-vTys