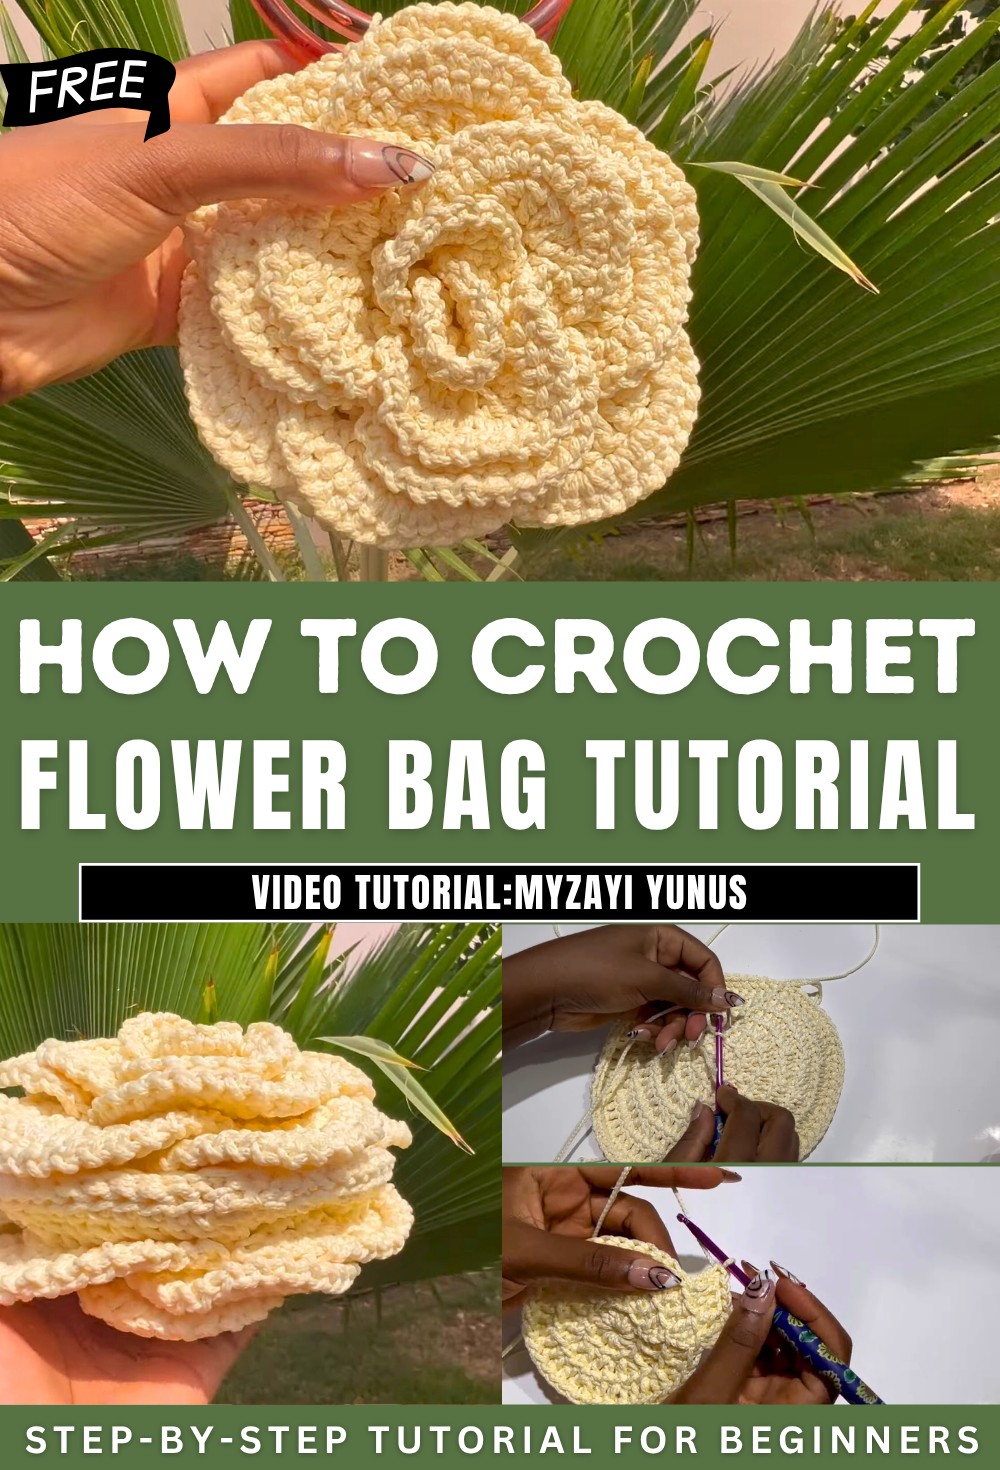
How to Crochet Flower Bag for Spring
With a step-by-step tutorial for beginners and experts, with a beautiful flower bag including ring handles. Using a 3mm PP cord and a 4.5 crochet hook, it gets a high-quality finish. Starting with the magic circle, each row builds upon the previous with double crochet patterns, increasing stitches, and forming petals.
The tutorial concludes with attaching handles and securing the bag. It is perfect for crocheting enthusiasts looking to create custom-sized bags!
Crochet Flower Bag Tutorial
- Tutor introduces the project: a beautiful flower bag that can be customized to any desired size.
- Miss A lists the required materials:
- 3mm PP cord
- 4.5mm crochet hook
- Scissors
- Stitch marker
- Tape measure
- Bag handle (she later selects a round handle).
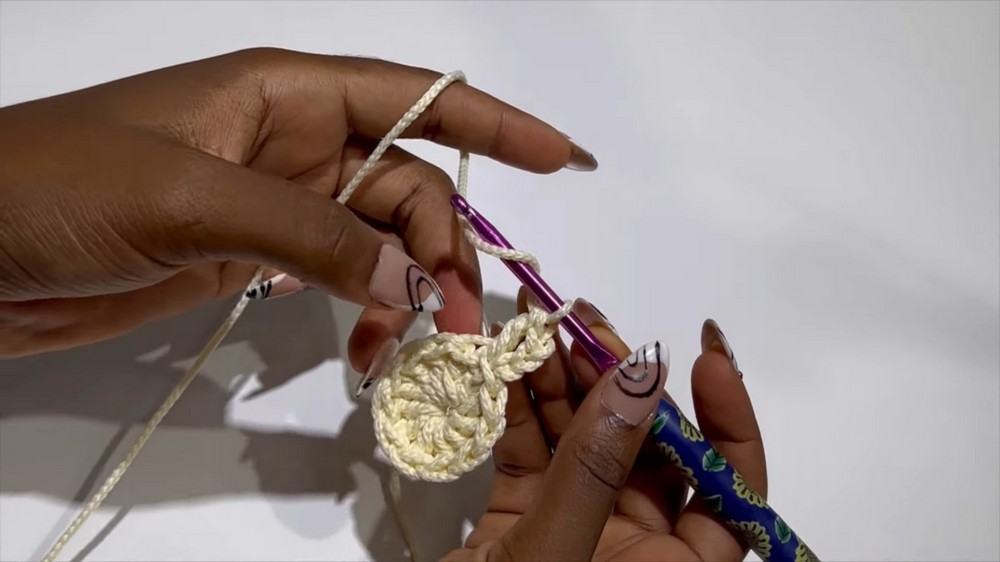
2. Starting with the Magic Circle
- The tutorial begins with creating a magic circle as the foundation of the base.
- Miss A provides guidance on how to make the circle, followed by several rounds of crocheting using double crochets.
- Slip stitches are used at the end of each round to secure the base.
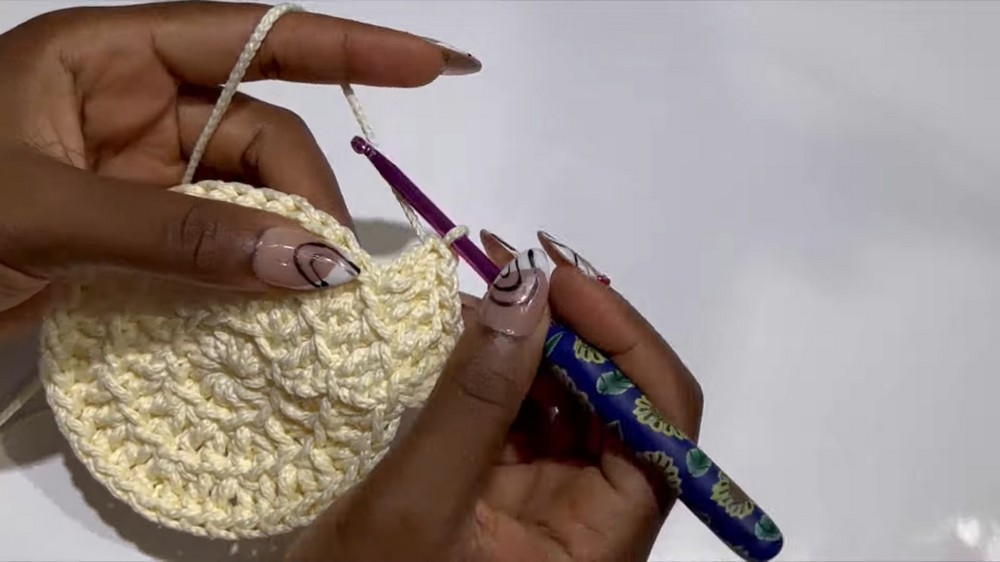
3. Increasing Rounds for the Base
- The base of the bag is built by increasing the stitch count in each subsequent row.
- The pattern alternates between normal and back-loop-only double crochets.
- As the rows progress, the tutorial explains a systematic way of increasing stitches to create a flat, circular base.
- After completing six rows, the base diameter is measured (approximately 7 inches or 19cm).
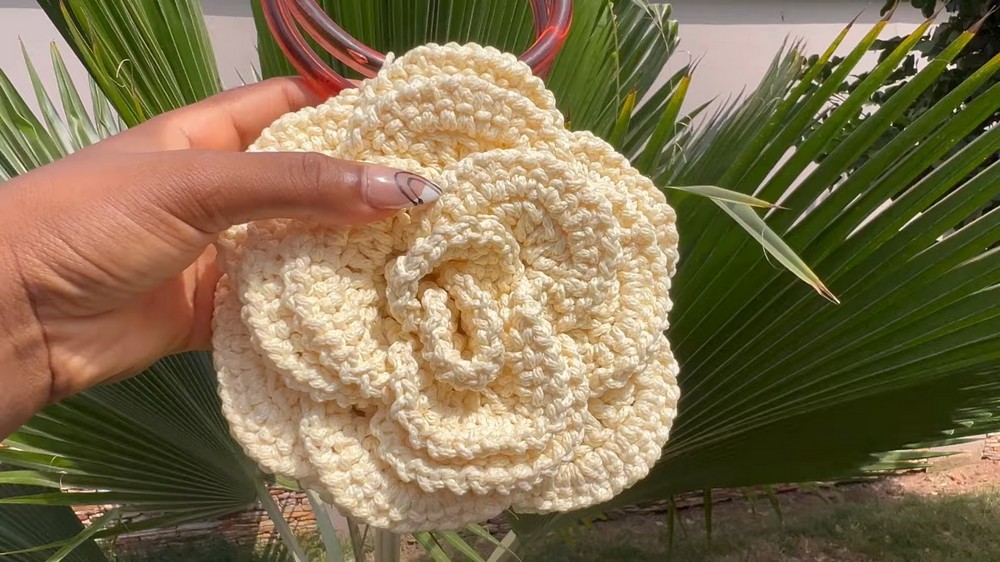
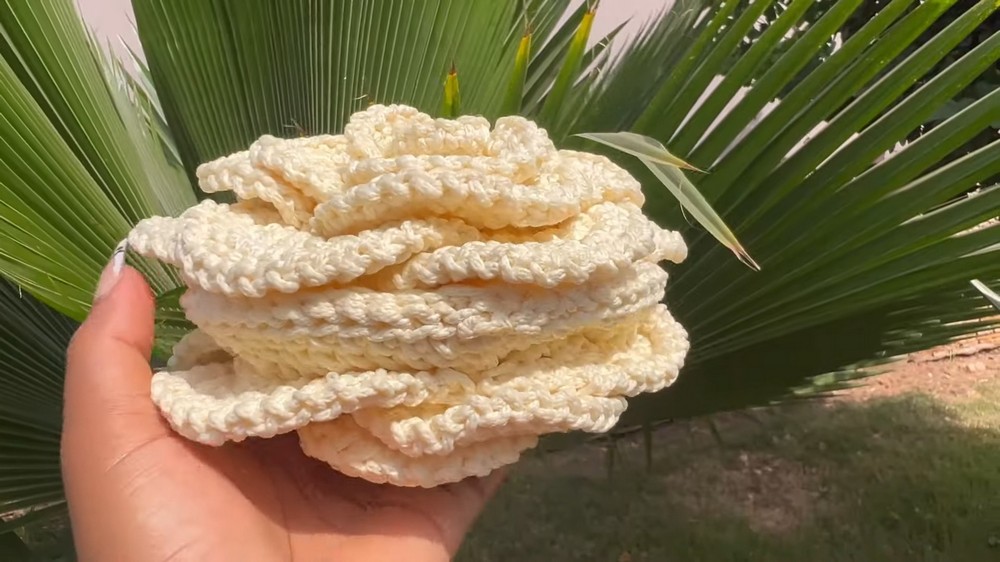
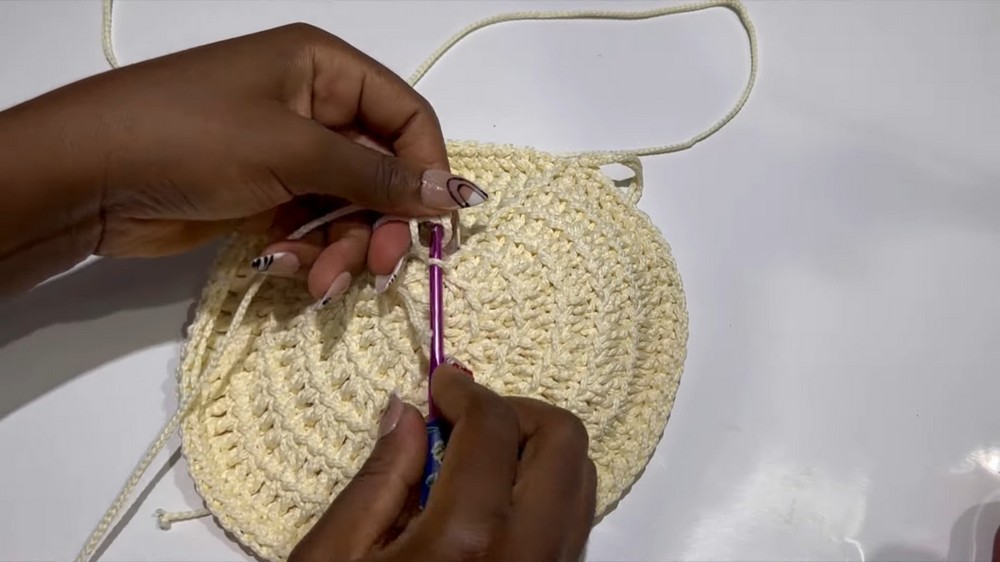
4. Working on the Flower Petals
- The flower petals are created in front loops of the base stitches.
- The petals are built using a combination of double crochets, single crochets, and slip stitches.
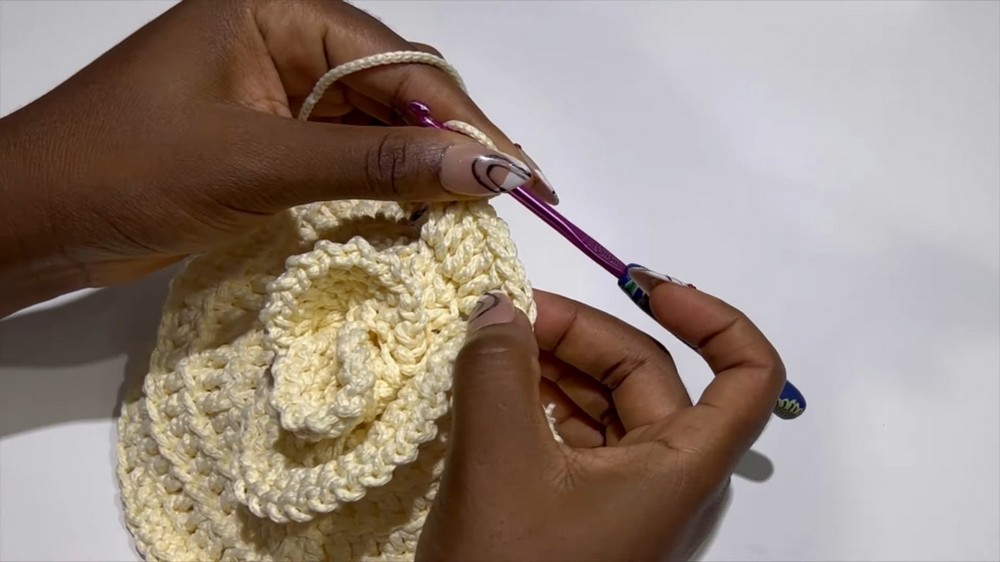
- Each petal consists of multiple layers, including increases and chains to give them a three-dimensional, rounded appearance.
- The process includes repeating the petal pattern for consistency and completing multiple rounds of petals around the base.
5. Shaping the Bag
- Once the petals are complete, Miss A moves to shaping the bag.
- She carefully transitions from working on the individual petals to assembling the sides.
- The petals are evenly spaced and connected to ensure symmetry.
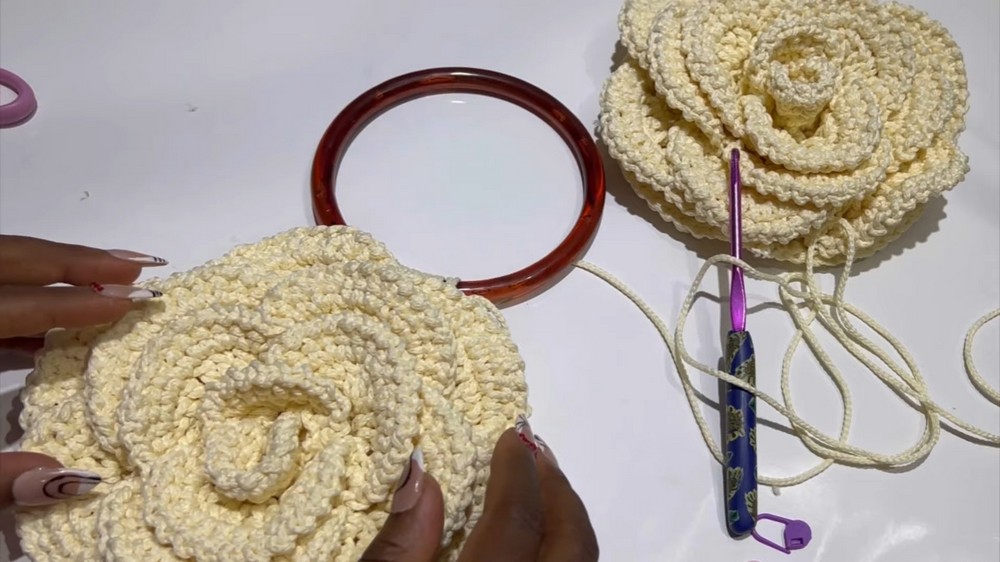
6. Attaching the Handles
- Handles are attached to the top edge of the bag using single crochets for secure placement.
- Miss A initially uses a specific handle type but later decides a round handle looks better and switches it.
- Precise stitch markers are added to ensure the handles are correctly aligned.
7. Joining and Final Assembly
- The two halves of the bag are joined using slip stitches.
- Miss A demonstrates how to align the edges, ensuring all parts are neatly and symmetrically connected.
- She leaves a small space near the top of the bag for additional flexibility and handles.
8. Finishing Touches
- Loose ends are carefully fastened and trimmed to give the bag a clean and polished look.
- Miss A emphasizes tightening and securing all stitches for durability.
- The final flower bag is showcased, featuring a vibrant design suited for various uses.
Conclusion
- Miss A encourages her viewers to personalize their bags according to their preferences (e.g., size or color).
This tutorial is detailed and beginner-friendly, breaking down each step to ensure viewers can replicate the project successfully.