How to Crochet Flower Bookmark (5-minute Project)

In this post, you’ll learn how to crochet a beautiful flower bookmark in 5-minutes with a step-by-step tutorial for spring projects. Perfect for beginners, it involves simple techniques like making a magic ring, crocheting petals with treble crochet stitches, and creating a decorative bookmark tail.
Using acrylic or cotton yarn, a 4mm crochet hook, and basic tools, you’ll crochet a personalized handmade gift or accessory. Follow through with us for the complete tutorial!

5-minute Crochet Bookmark Tutorial
Aimed at beginners, it provides clear step-by-step instructions to create a functional and decorative piece.
Introduction
- Nha introduces herself and the project — a cute and simple crochet flower bookmark.
- The tutorial caters to beginners, offering a quick and manageable craft project.
- The bookmark is described as perfect for gifting or enhancing reading time with a personal touch.

Materials Used
- Nha outlines the basic materials required for the project:
- Yarn: Acrylic or cotton yarn recommended for better visibility of stitches; she uses acrylic yarn.
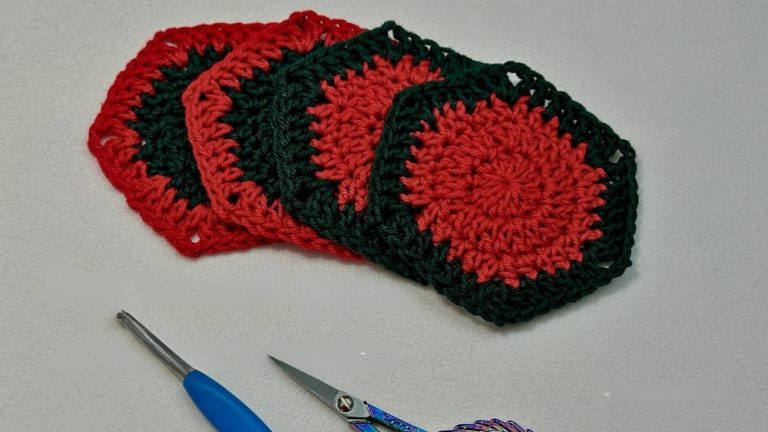
- Tools: A 4mm crochet hook, scissors, and a tapestry needle for finishing touches.
- Flexibility is encouraged, allowing viewers to adjust yarn types and lengths depending on their preferences.
Step 1: Crocheting the Flower
- Starting the Base
- The process begins with the creation of a magic ring, which serves as the foundation for the flower.
- A chain secures the ring before moving into the petals.
- Making the Petals
- Each petal is constructed with a sequence of stitches, giving it a delicate shape and height.
- The first petal is demonstrated, followed by repeating the same steps for the remaining four petals.
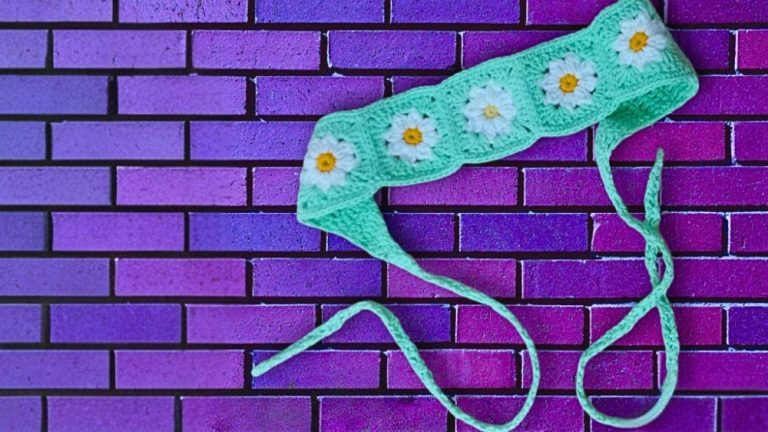
- A total of five petals are crafted to form the completed flower.
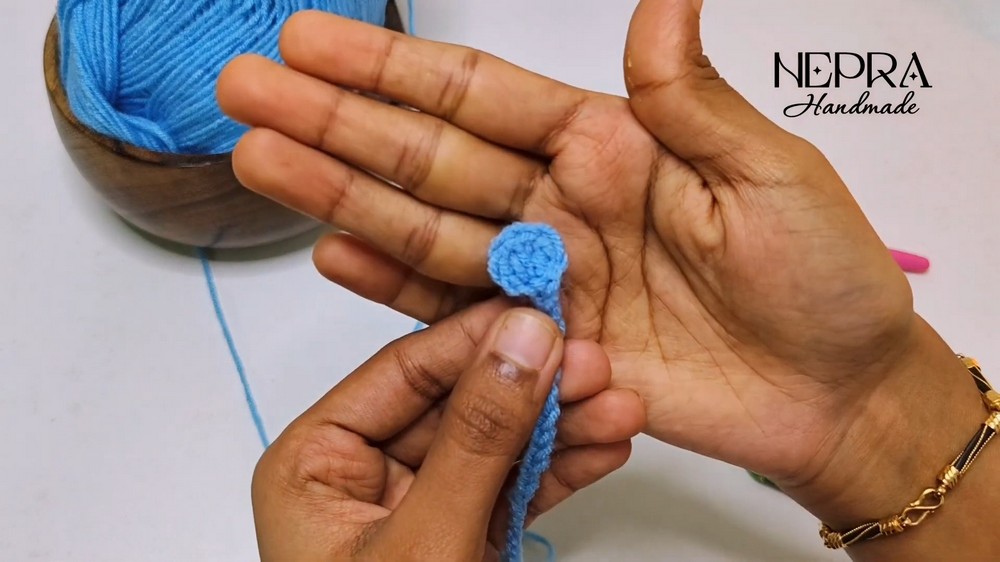
- Finishing the Flower
- Once the petals are done, the magic ring is tightened by pulling the yarn tail gently.
- The flower is closed with a slip stitch into the first single crochet.
- This creates a neat and polished finish for the floral centerpiece of the bookmark.
Step 2: Creating the Bookmark Tail
- Building the Tail
- The bookmark tail begins with a chain stitch to create the desired length.
- Viewers are encouraged to adjust the length based on their needs.
- Crafting the Decorative End
- A decorative leaf-shaped end is added to the tail to enhance its design.
- The process involves simple stitches worked into the first chain, ending with a slip stitch to finalize the shape.
- The decorative end adds charm and individuality to the bookmark.
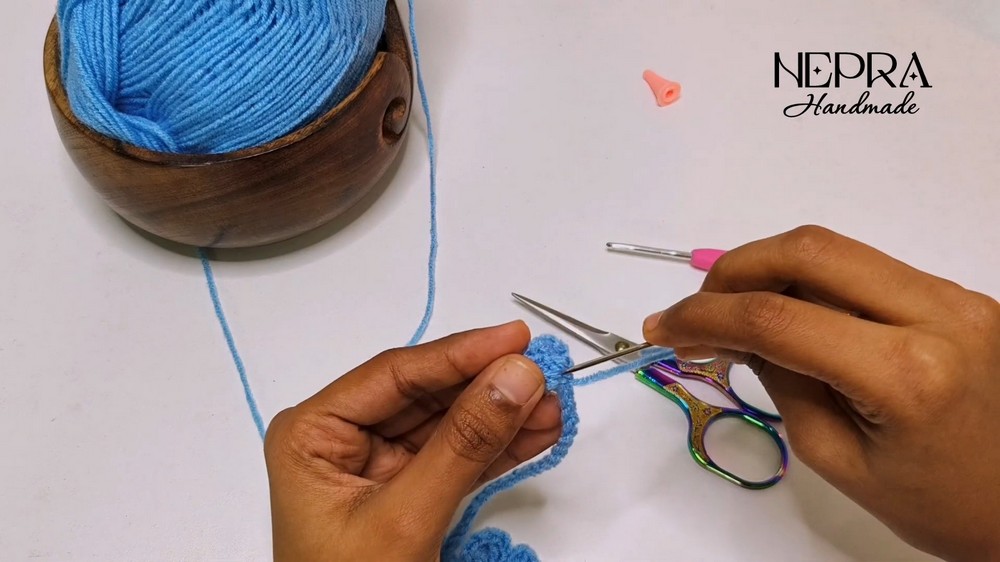
- Finishing Up
- Once completed, the yarn is fastened off securely.
- Loose ends are carefully woven into the stitches with a tapestry needle for a clean finish.

Final Notes and Suggestions
- Nha shares that the flower bookmark is a perfect handmade gift or personal accessory for readers.
- She invites viewers to reach out on Instagram to purchase bookmarks if they prefer not to crochet.
- For those interested in learning crochet techniques, she highlights her beginner-friendly online and offline classes, offering step-by-step guidance.
This flower bookmark tutorial is both practical and creative, guiding viewers through a fun DIY project that blends simplicity and elegance. For crafting enthusiasts, it’s an excellent way to enhance crochet skills while making a beautiful and useful item.