How to Crochet Flower for Decoration
With a step-by-step guide, learn how to crochet a flower that can be used to decorate items like hats, bags, and headbands. Using selective yarn and a suitable crochet hook, you’ll learn techniques such as creating a magic circle, double crochet stitches, and adding beautiful edges. The tutorial also explores color options and shows flower variations with different yarn types and sizes. Perfect for beginners, this guide allows for creativity and customization in crafting beautiful crochet flowers.
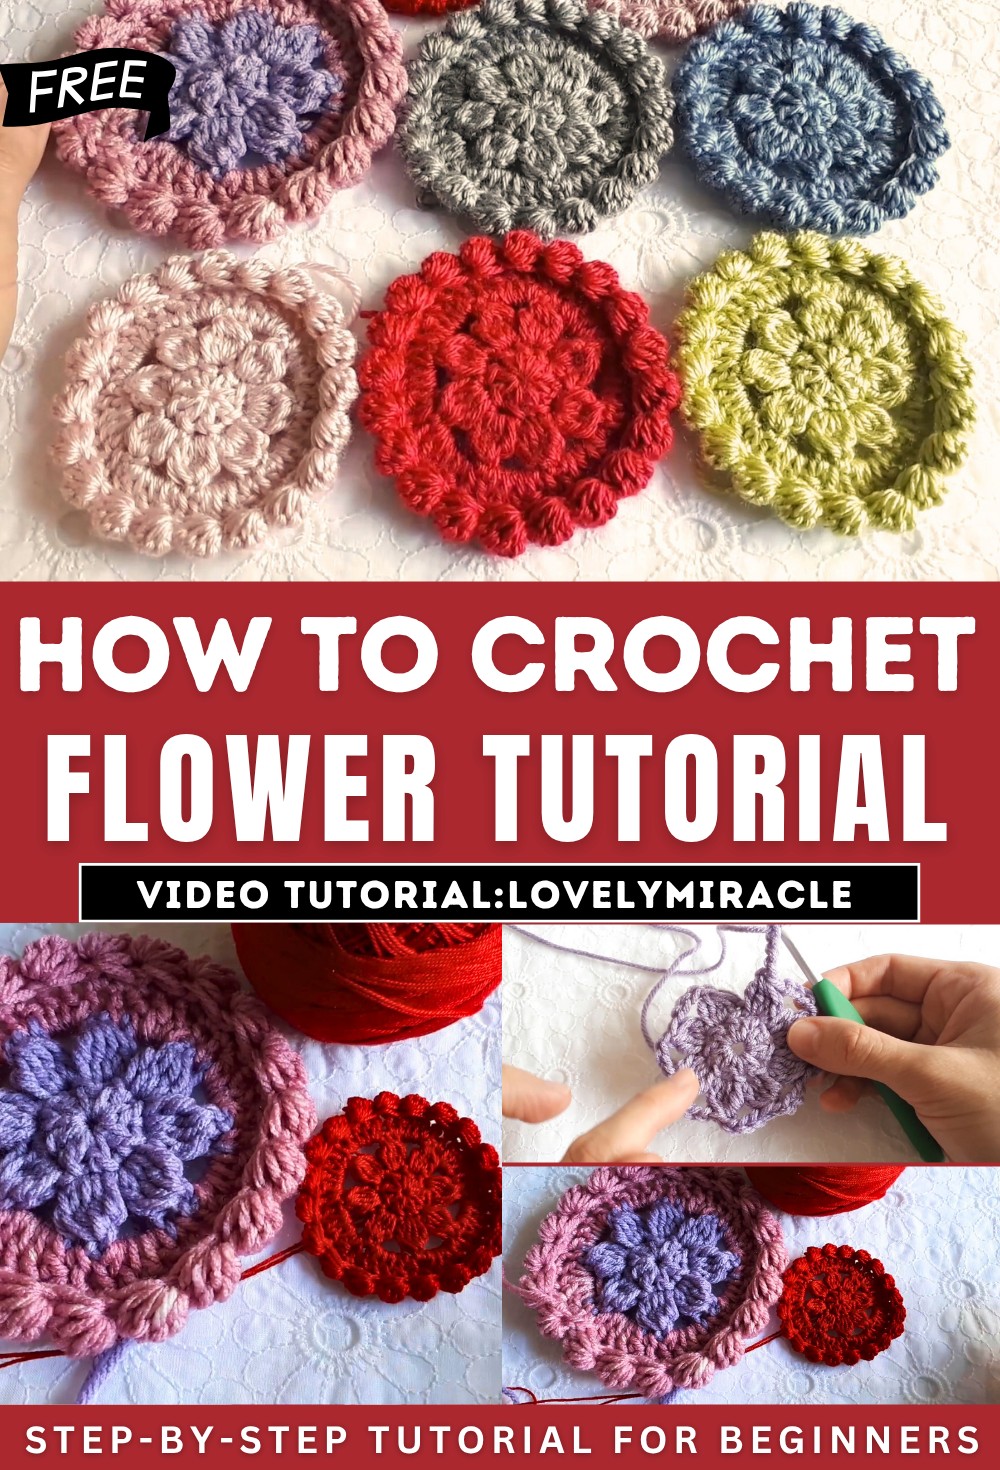
Crochet Flower Tutorial
Introduction
- The tutorial provides a step-by-step guide to crochet a versatile flower.
- The crocheted flower can be attached to various items such as hats, beanies, jumpers, bags, and headbands.
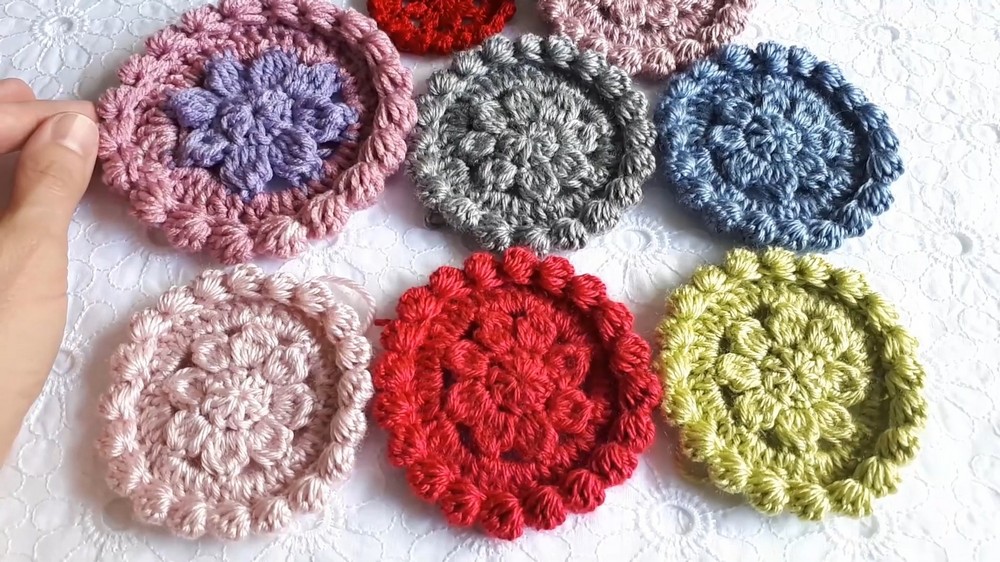
- The presenter uses two colors of yarn for this demonstration but mentions that the flower can be crocheted in one, two, or three colors depending on personal preference.
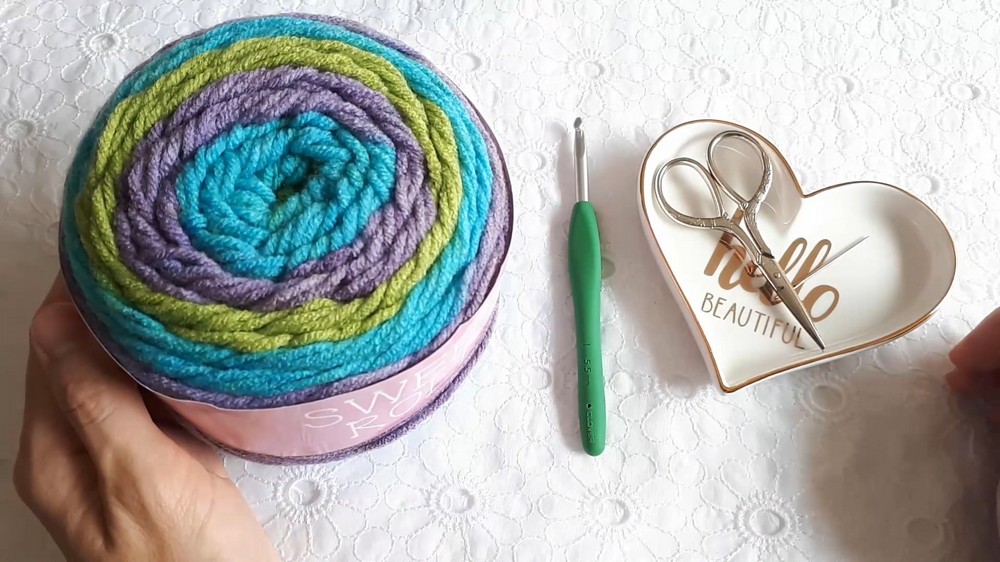
Materials Required
- Selective yarn: The presenter uses a sweet roll yarn that is 100% acrylic.
- Crochet hook: 5.5mm (or size I, depending on the yarn used).
- Scissors.
- Yarn needle (optional for sewing in ends).
- The presenter emphasizes using the correct hook size for the chosen yarn, though any yarn type can be used.
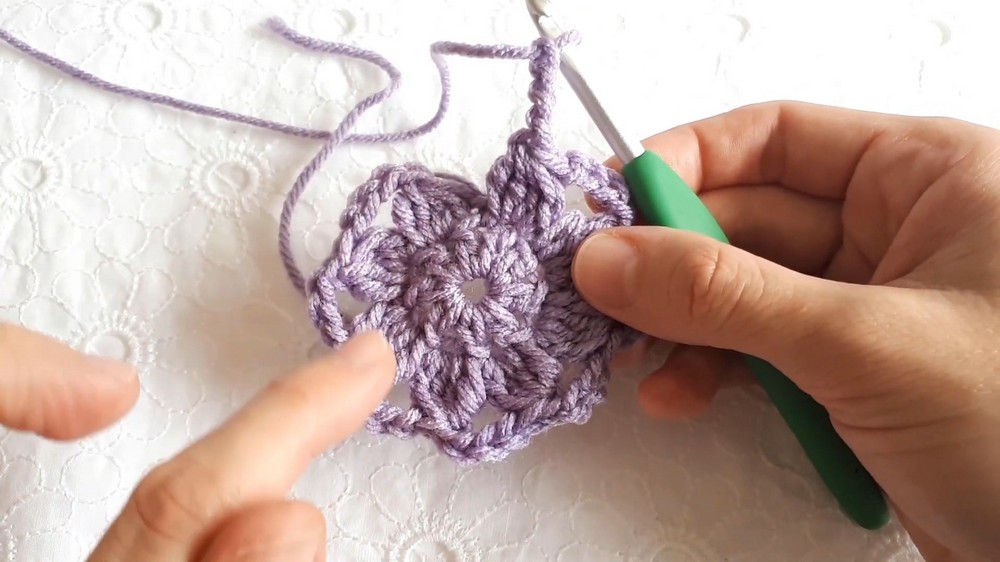
Step 1: Creating the Base
- Begin by making a magic circle to form the base of the flower.
- The magic circle is secured with a chain stitch.
- Once the circle is formed, work a series of double crochets into the center of the circle to create the foundation of the flower.
- A slip stitch is used to close the initial round after completing the double crochets.
Step 2: Building the Petals
- Work clusters of four double crochets in each stitch, bringing them together at the top. This creates the petal effect.
- A chain stitch secures each petal, followed by additional chaining to create spacing between petals.
- Repeat this process in every stitch of the base round, ensuring evenly spaced petals around the flower.
- Once the petals are completed, slip stitch to close the round.
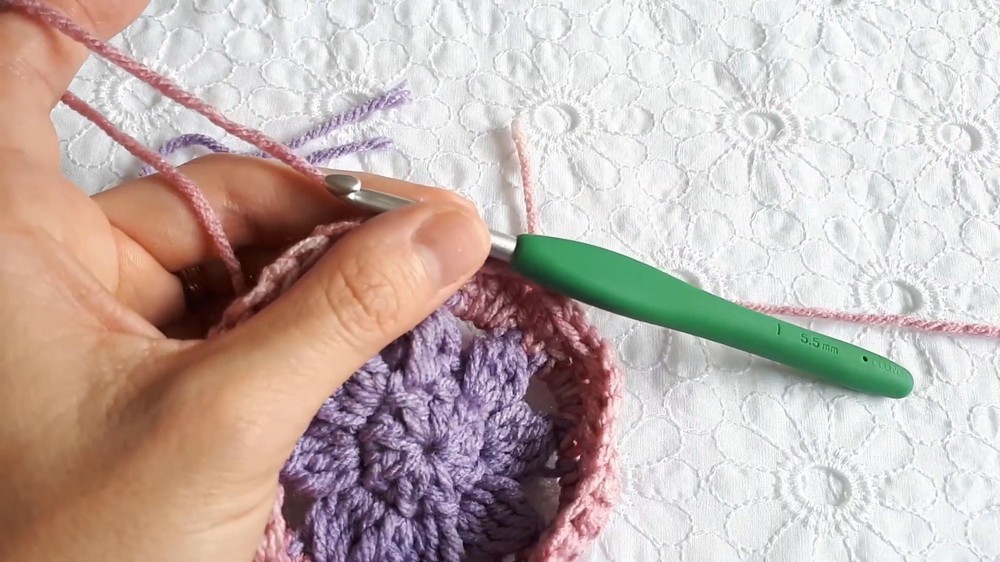
Step 3: Changing Colors (Optional)
- A yarn color change can be introduced after finishing the initial layer if desired.
- Tie off the previous color and secure the new yarn with a slip knot to integrate it into the pattern.
- The presenter ties the two yarn tails together for additional security before moving on to the next round.
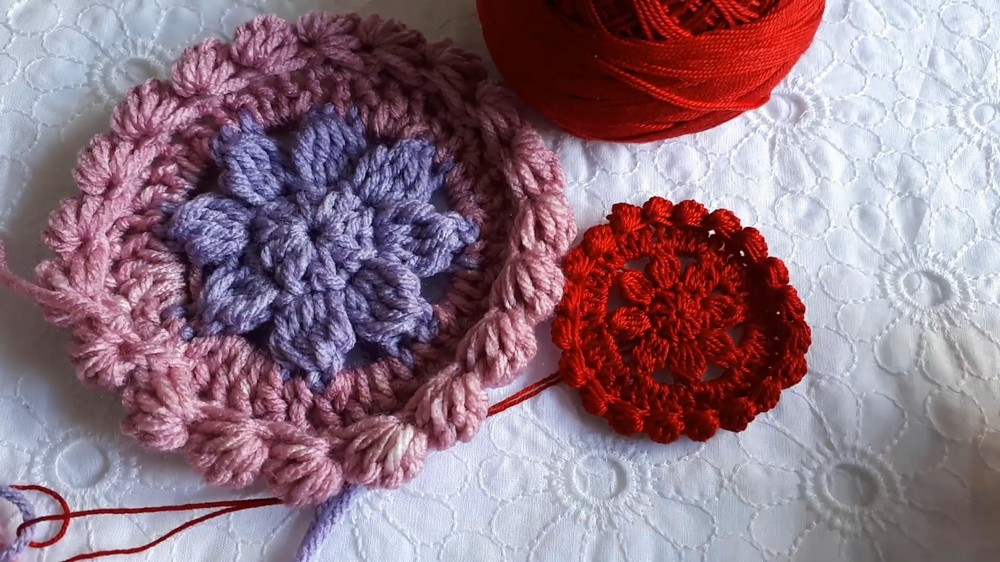
Step 4: Adding Depth to the Flower
- In the spaces between the petals, work four double crochets followed by a single crochet into the stitch next to the space.
- This step creates layers of texture and depth while enhancing the petal design.
- Continue this pattern of double crochets and single crochets around the entire flower.
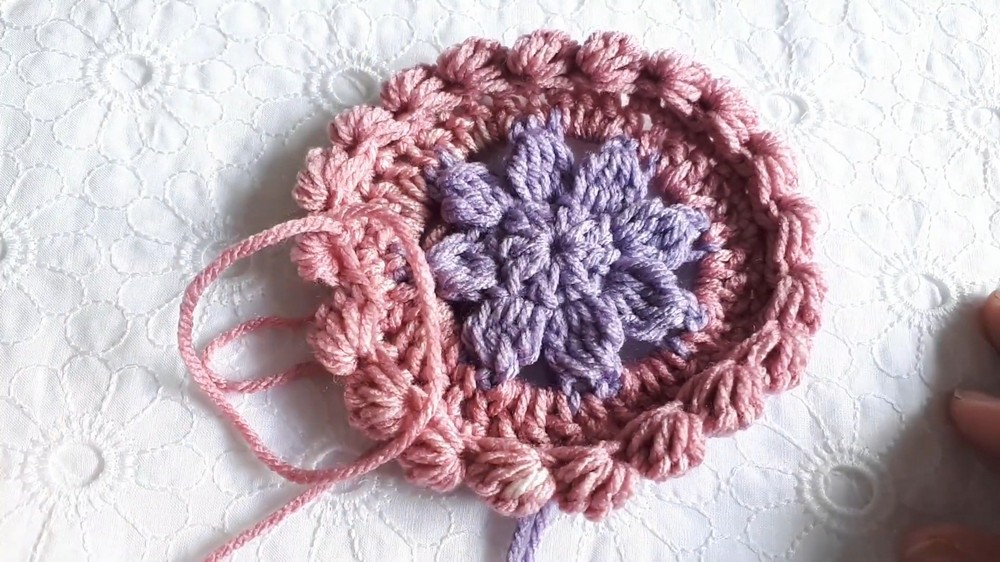
Step 5: Adding the Edging
- To complete the flower, work a bobble stitch-like edge around the petals. This creates a 3D effect and gives the flower a polished appearance.
- Each bobble stitch combines multiple unfinished double crochets completed together, followed by a chain to secure.
- The edging is repeated for every stitch around the flower until the round is finished.
Final Touches
- Once the flower is complete, cut the yarn and pull the tail through the final loop to secure it.
- Weave in the loose ends using a yarn needle for a neat finish.
- The flower can be sewn onto various items or left as a standalone piece.
Variations
- The tutorial showcases flowers made with different types of yarn to demonstrate variations in size and appearance.
- Thicker yarn results in larger flowers, while thinner yarn creates smaller and more delicate designs.
- Flowers can also be customized by using multiple colors or experimenting with different stitch patterns.
Conclusion
- The crocheted flower is a versatile accessory that can be adapted for different items and personal preferences.
- The tutorial encourages experimentation with yarn types and colors for customization.
- The presenter concludes by showcasing completed flowers and offering tips for attaching the flower cleanly to items like headbands or bags.