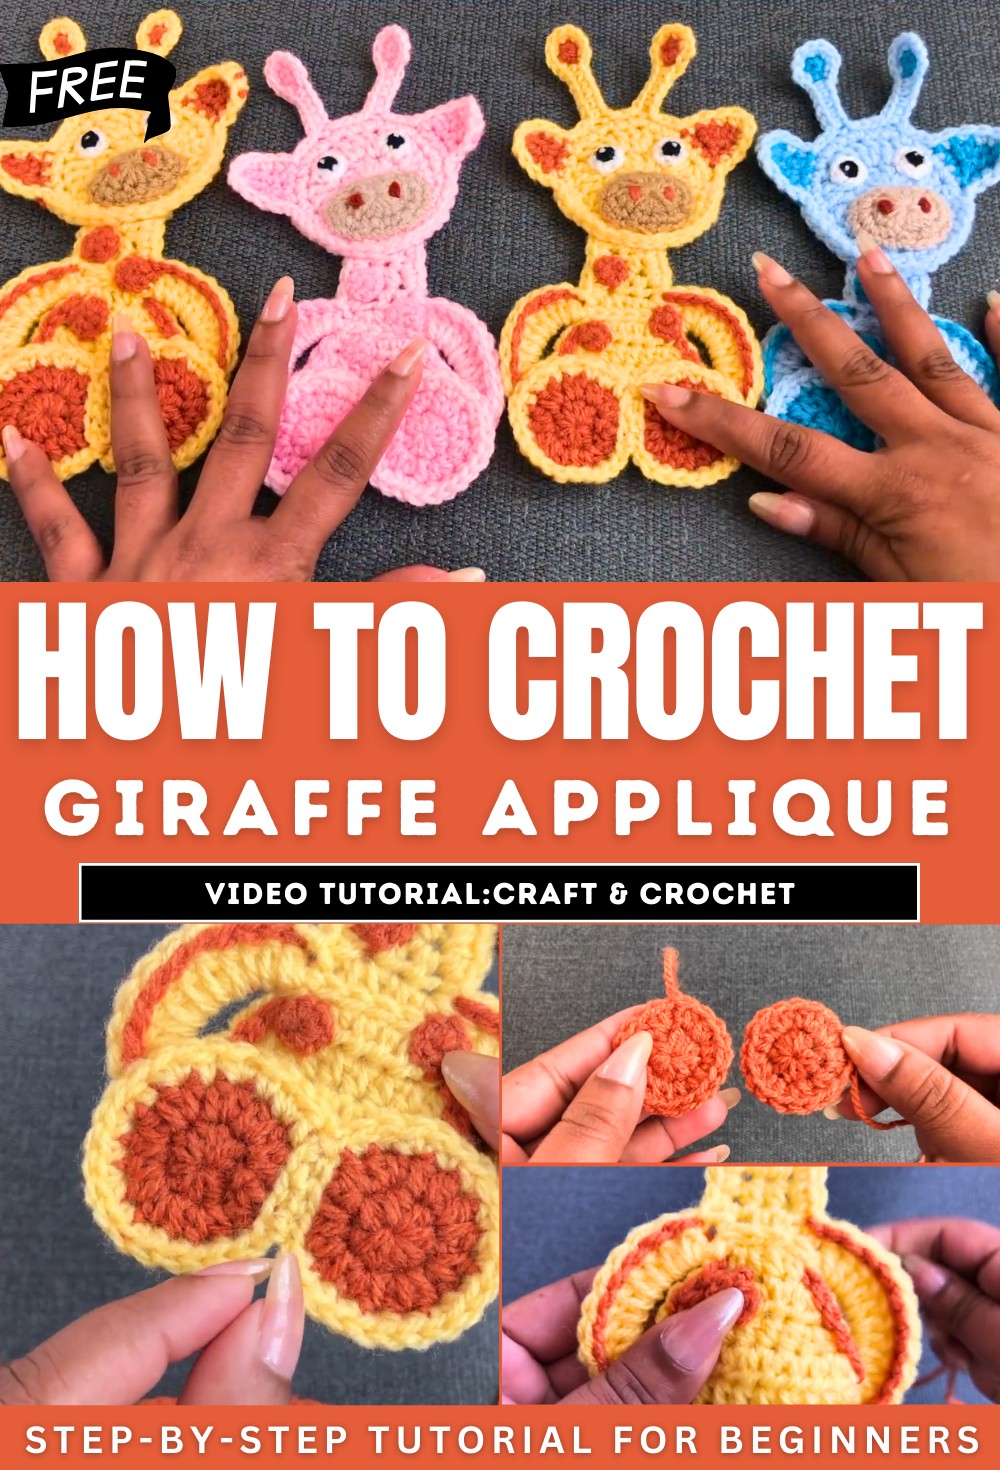
How To Crochet Giraffe Applique for Beginners

With a step-by-step tutorial, learn how to crochet a baby giraffe appliqué with a tutorial for beginners. The project uses two colors of yarn (light and dark) and two different size crochet hooks (4mm and 2.5mm) to create various parts. The video guides you through the process of making the feet, body, and then adding details such as hands, a dark-colored outline, and small spots and eyes to the face.
The tutorial for the face is mentioned as being in a separate video linked in the description. So, follow through wit us for the complete tutorial.
Baby Giraffe Crochet Tutorial
Introduction
- The video is a step-by-step guide on crocheting a baby giraffe.
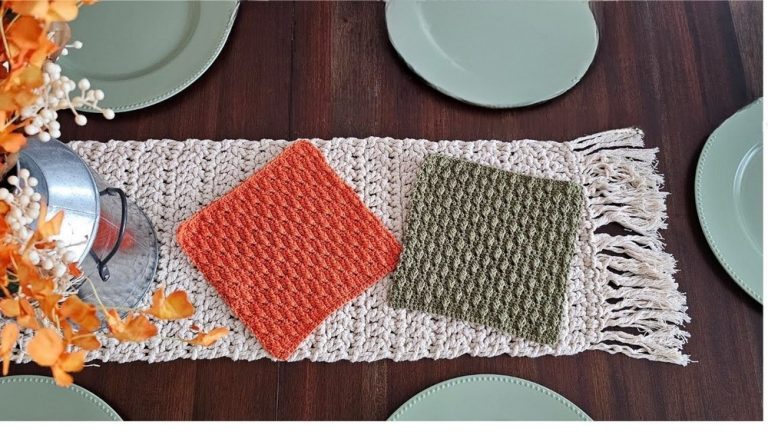
- The design is versatile and can be used for baby blankets, clothing, or boots.
- The tutorial is suitable for beginners, thanks to its simple and clear instructions.
- The creator emphasizes the use of different color combinations to make the giraffe suitable for boys or girls.
- The materials used include:
- Double knitting yarn in multiple colors (a lighter and darker shade).
- A 4mm crochet hook for the majority of the project.
- A 2.5mm crochet hook for smaller details like the face.
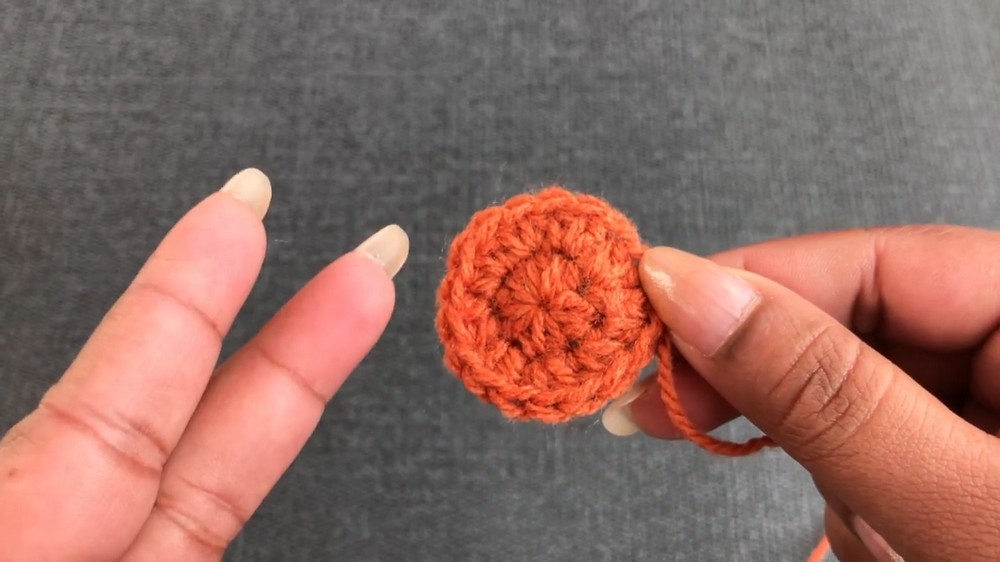
Creating the Feet
- Starting the Magic Ring:
- Begin by forming the base circles for the feet using a dark-colored yarn.
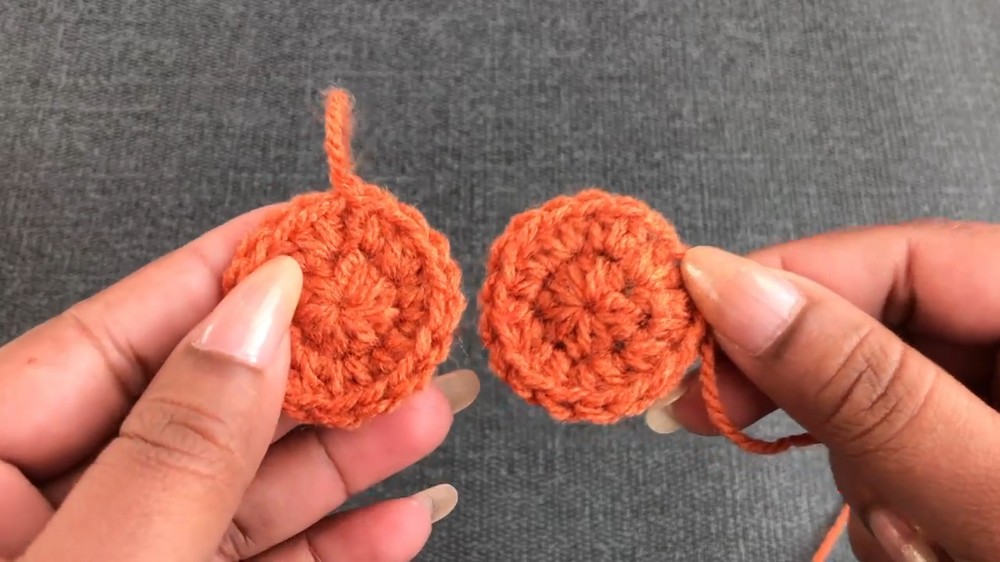
- Building the Circle:
- Construct two identical crocheted circles that form the foundation of the feet.
- Joining the Circles:
- Use a needle and yarn to stitch the two circles together.
- Secure and hide the yarn ends for a neat finish.
- Switching to Yellow Yarn:
- Attach yellow yarn and build the upper portion of the feet.
- Use slip stitches to achieve a uniform shape.

Making the Body
- Starting with the Neck:
- Create the neck using a magic ring and proceed to form rows to establish the structure.
- Forming the Torso:
- Increase and shape the rows to create a gradually widening body.
- Ensure symmetry for a clean and uniform appearance.
- Creating the Arms (Hands):
- Add arms by chaining and attaching them symmetrically to the body.
-
- Add double crochets to create volume for the arms.
- Adding an Outline:
- Use a contrasting dark yarn to crochet an outline around the body and the arms via slip stitches.
Adding Decorative Features
- Creating Spots:
- Use a smaller crochet hook and dark yarn to create small dots (spots) to mimic a giraffe’s markings.
- Prepare multiple dots to attach to different body parts.
- Adding Eyes:
- Create small white circles for the eyes.
- Use dark yarn to highlight the pupils.
Assembling the Pieces
- Attaching the Feet:
- Align and attach the feet to the bottom of the body, ensuring proper orientation.
- Use small, neat stitches to maintain a polished look.

- Adding the Head:
- Create and attach the giraffe’s head at a slight angle for a cuter look.
- The face design is part of a separate video tutorial linked in the description.
Finishing Touches
- Secure and hide all yarn tails to complete the design cleanly.
- Optional adjustments include varying the size by using different hook sizes.
Conclusion
- The baby giraffe crochet design is easy, customizable, and adorable.
- The tutorial provides detailed guidance, making it accessible for beginner crocheters.