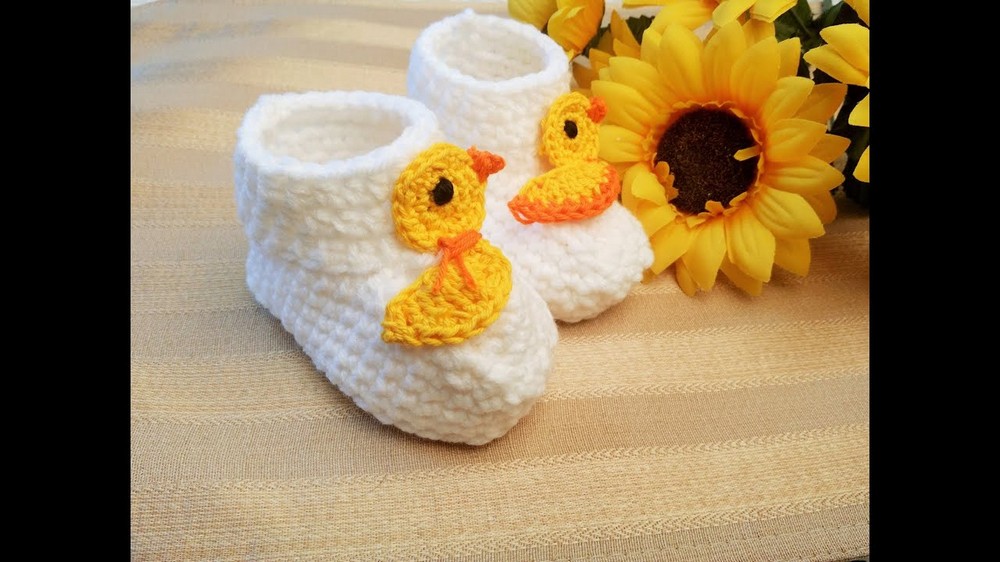
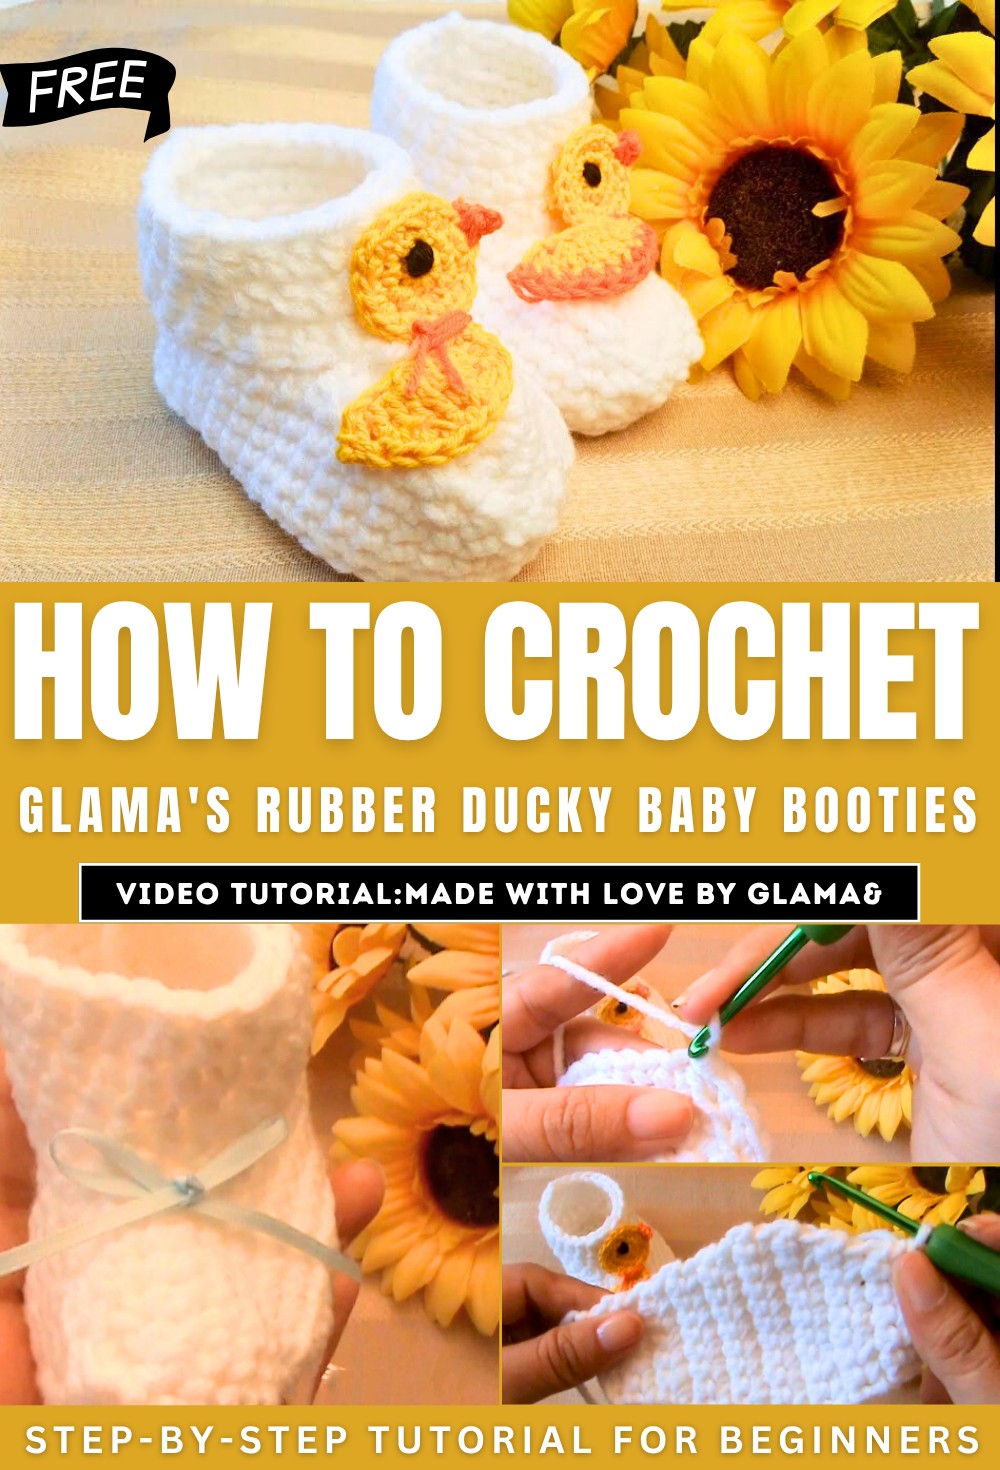
How to Crochet Glama’s Rubber Ducky Baby Booties
With a step-by-step tutorial, learn how to crochet an adorable crochet baby bootie slippers, sized for 3 to 6 months. Glamma guides through each step with clear instructions and helpful tips, like adjusting sizes and incorporating creative embellishments.
The tutorial is beginner-friendly, and the final product can be customized with ribbons, buttons, or fun appliques, making it a thoughtful handmade gift. So, follow through with us for the complete tutorial.
Glama’s Rubber Ducky Baby Booties
The tutorial, hosted by Leticia from “Made with Love by Glamma,” demonstrates how to crochet baby booty slippers for a 3-6 month-old size. Leticia guides viewers through step-by-step instructions, providing details on required materials, key techniques, and tips for completing the project.
Materials Needed
- Yarn (worsted weight or cotton in any color)
- Crochet hook (3.75mm or size F)
- Scissors
- Tapestry needle
- Stitch marker
- Row counter (optional)
Part 1: Creating the Sole
- Foundation Chain: Leticia begins by creating a slip knot and a series of chains to form the base of the booty slipper.
- Rows of Single Crochet: The sole is constructed by working rows of single crochet, with increases and decreases to shape the heel and toe areas.
- Transition: After completing the sole, Leticia explains how to transition to working around the piece to form the base and sides of the booty.
Part 2: Building the Body
- Working Around the Sole: Single crochet stitches are worked evenly around the edges of the sole, creating smooth and structured sides.
- Adding Rows for Shape: Several rows of single crochet (worked in both loops) are added to build height for the slipper body.
- Decreases: Leticia incorporates decreases near the toe and heel areas to refine the shape of the booty.
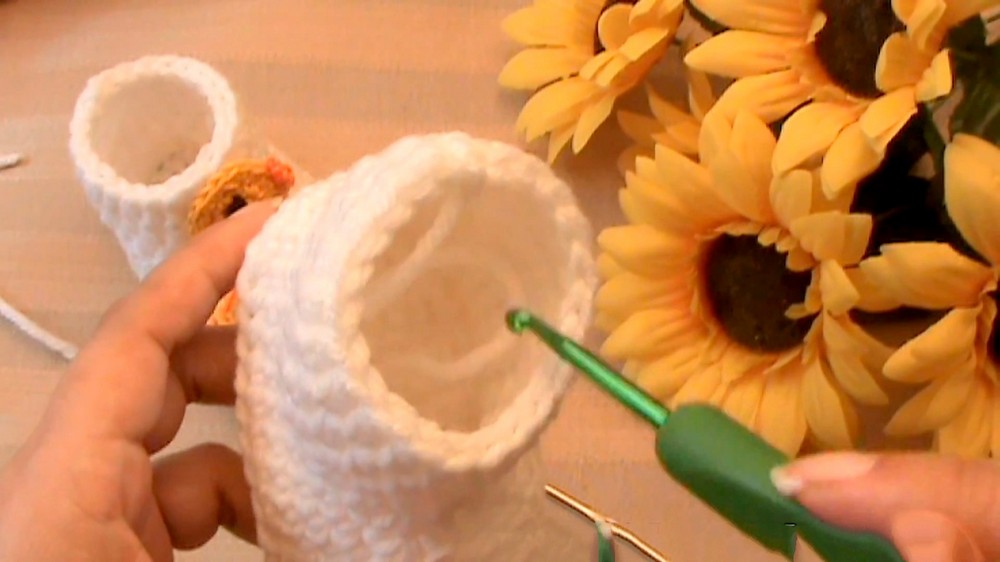
Part 3: Creating the Ankle Section
- Adding New Yarn: The ankle portion is crocheted using half double crochets.
- Height of the Ankle: Viewers can customize this section’s height by adding more rows. In the tutorial, Leticia completes three rows.
- Finishing: After finishing the ankle section, she secures the yarn and weaves in the tails.
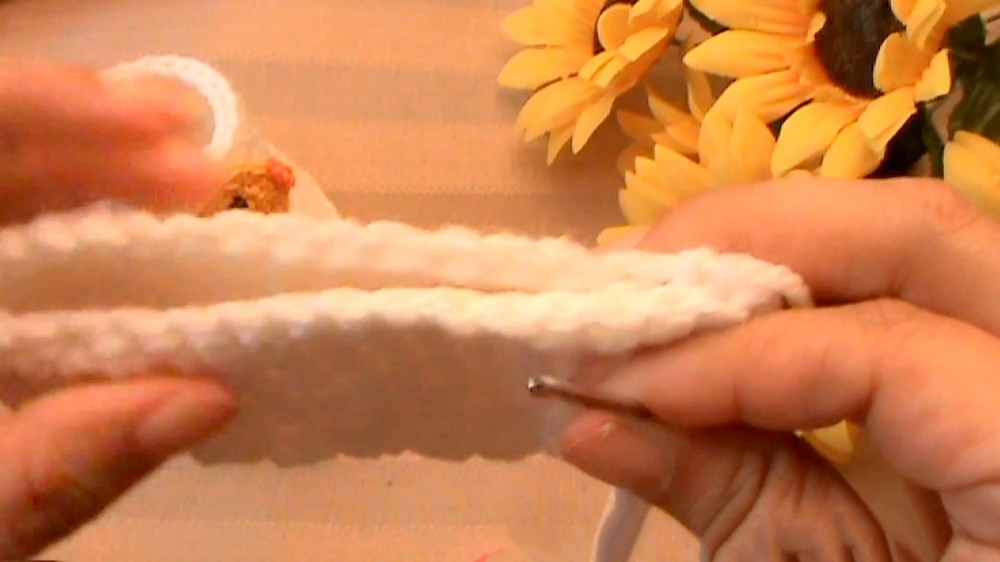
Optional: Adding Embellishments
Leticia provides creative ideas for embellishing the baby booty slippers, including:
- Ribbon: Weaving thin ribbon through the ankle area to tie a bow.
- Buttons: Adding decorative buttons for charm, such as ladybugs, cars, or butterflies.
- Personalization: Viewers are encouraged to experiment with their own creative touches.

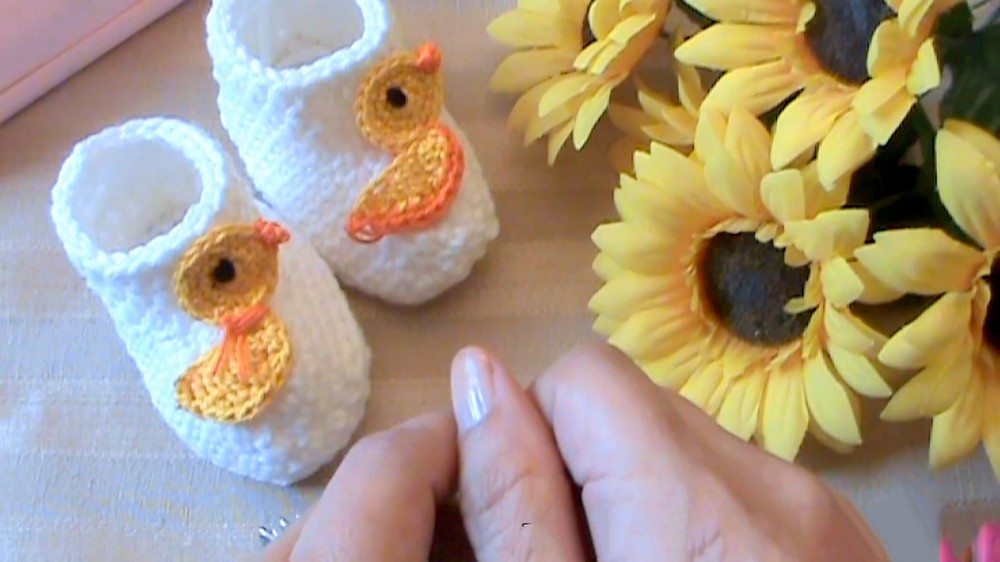
Optional: Add-On – Rubber Duck Appliqué
Leticia provides a demonstration of making a rubber duck appliqué. She uses yellow yarn for the duck and orange yarn for its beak. Key steps include:
- Magic Ring: Starting the duck’s body using the magic ring technique.
- Crocheting the Head and Body: Single crochet stitches are worked in the round to form the duck’s shape.
- Adding Features: The beak and eyes are added using thread and clever techniques for detail.
- Stitching to the Booty: The duck can be sewn onto the slipper as a decorative enhancement.