How to Crochet Granny Square Bag for Beginners

Learn how to crochet a functional granny square bag using three squares and colorful yarn with a step-by-step tutorial for beginners. The tutorial covers forming granny squares, joining them together, and building the bag’s structure.
The process also includes adding a single crochet border and crocheting a sturdy handle. By the end, you’ll have a stylish, handmade bag perfect for shopping or casual outings.

Crochet Granny Square Bag Tutorial
This video tutorial provides a comprehensive guide on creating a stylish and functional crochet granny square bag using three squares. The process involves crocheting colorful granny squares, joining them together, adding a single crochet border, and creating a sturdy handle. Below is a detailed summary of the steps explained in the video:
Introduction
- The creator introduces the project, explaining that the bag uses three granny squares and is designed for versatile use, such as shopping or casual outings.
- Materials needed include yarn (in multiple colors), a crochet hook (4.5mm), scissors, and basic crochet skills.
- The creator reassures viewers of alternative methods for beginners, such as starting with a slip knot instead of a magic circle.
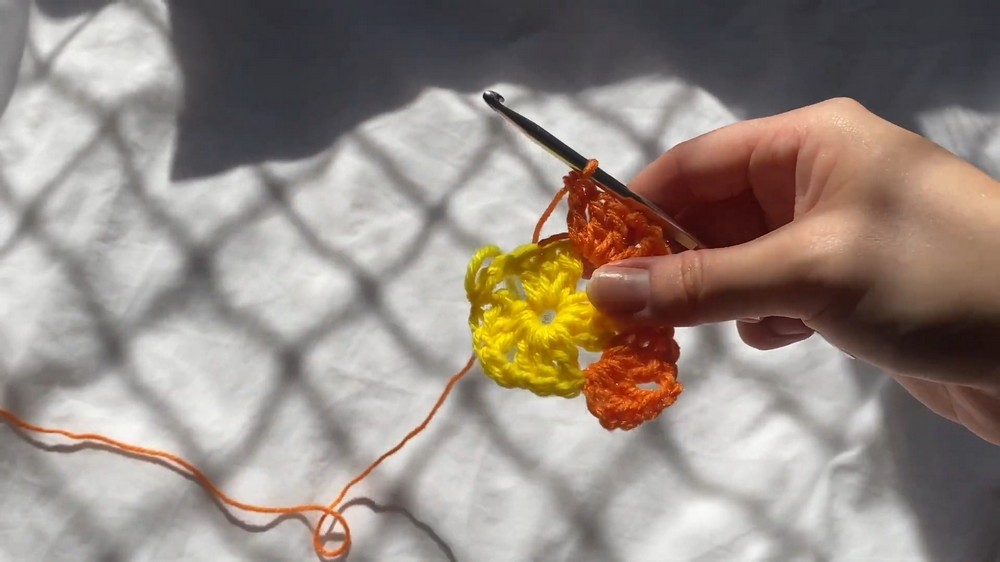
Step 1: Creating the Granny Squares
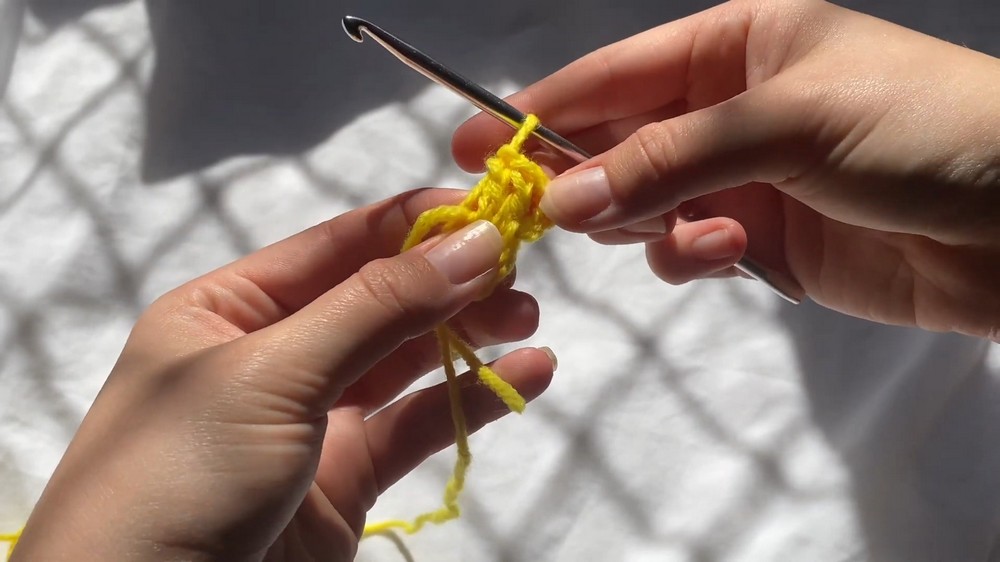
- Magic Circle or Slip Knot Method:
- The granny squares begin with either a magic circle or a slip knot. The creator explains both methods, making the tutorial accessible for all skill levels.
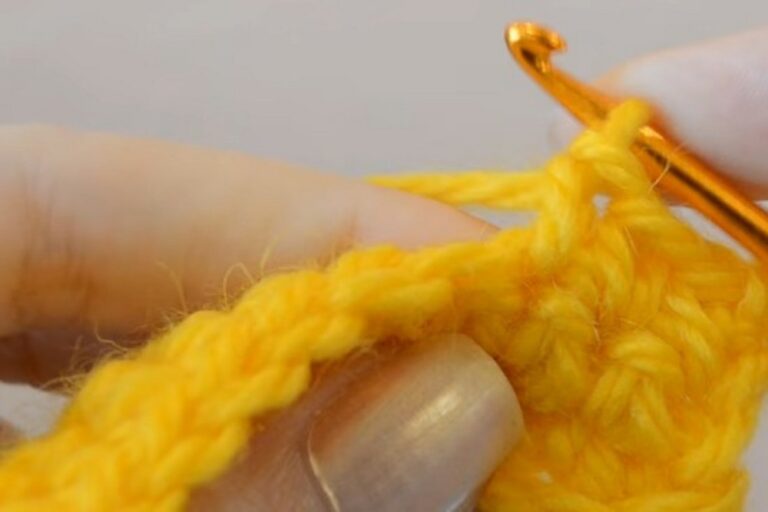
- Building the Granny Square:
- Using colorful yarn, the square is formed by crocheting clusters into the center loop.
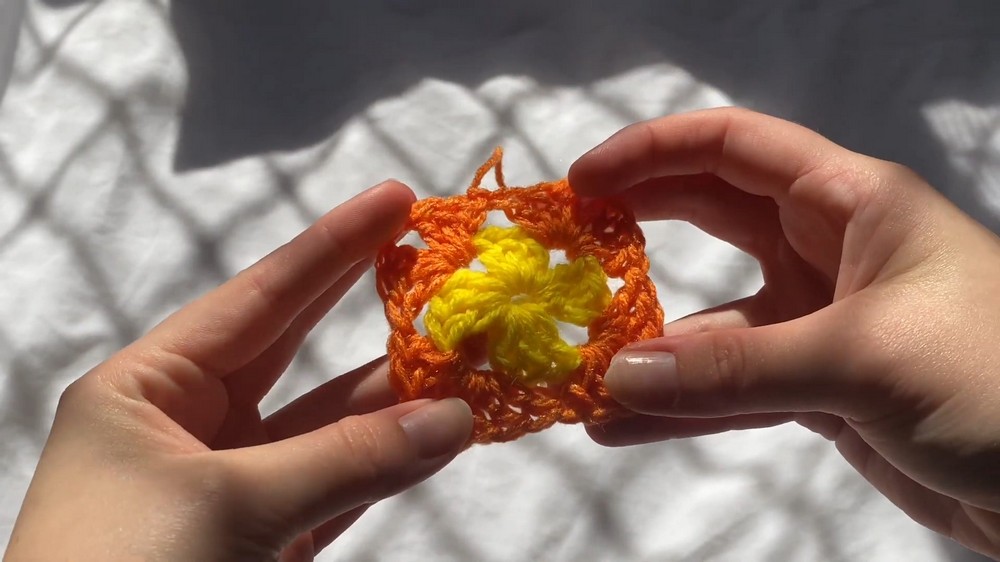
- The creator adds additional rows of clusters while alternating colors, building the square outward until seven rows are completed.
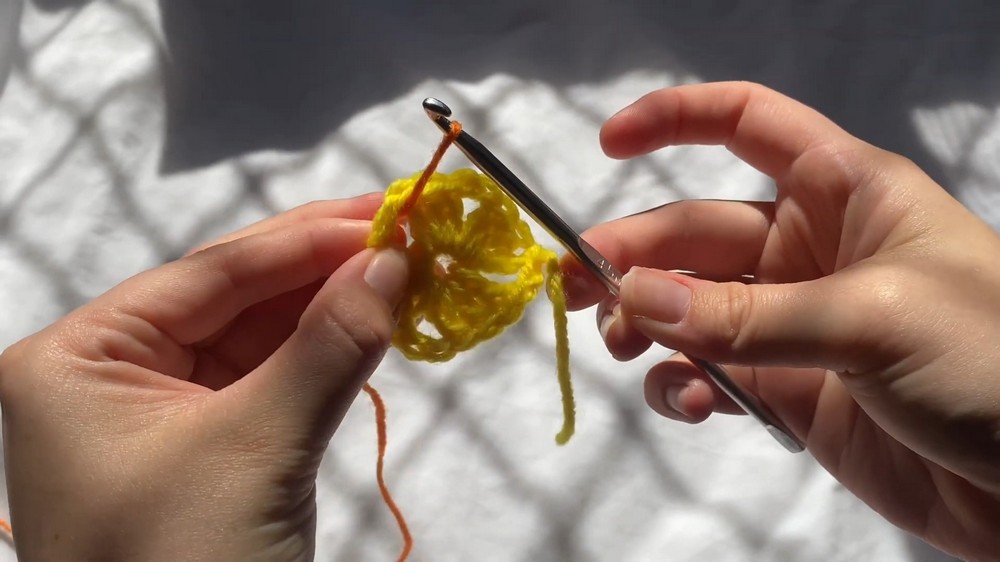
- Changing Colors:
- New colors are added at each round by tying knots and inserting the hook into the cluster corners of the previous rows.
- This step ensures the squares have a vibrant appearance and can include as many colors as desired.
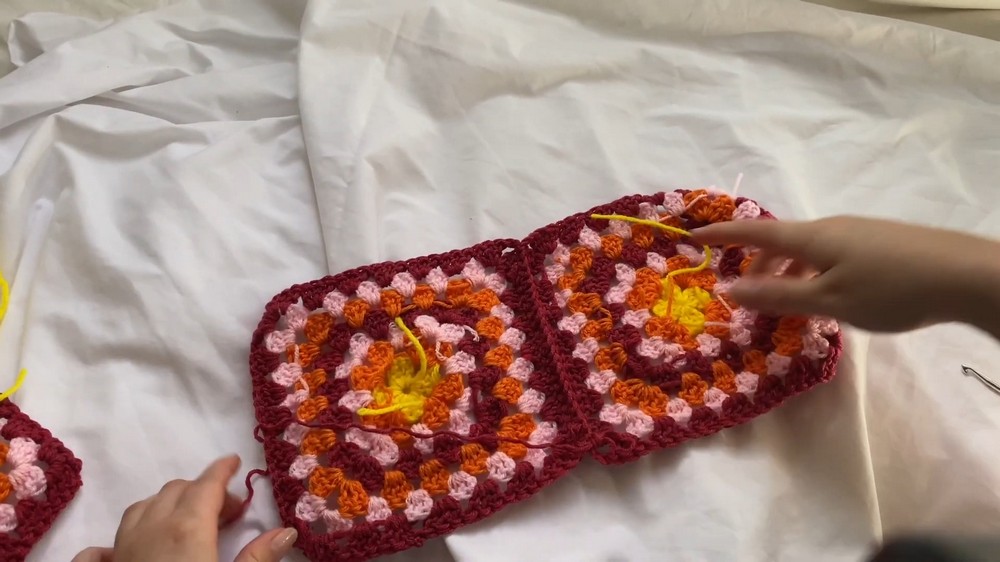
Step 2: Joining the Granny Squares
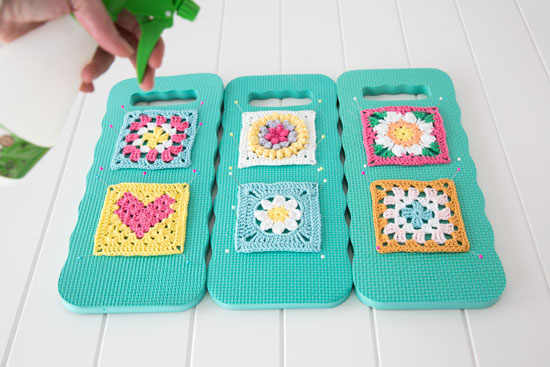
- Folding and Positioning:
- Once all three squares are completed, they are folded in half and positioned to form the body of the bag.
- Side Stitching:
- The folded squares are joined by crocheting along their sides using single crochet stitches.
- To ensure clean seams, the squares are flipped so the “good sides” (outer designs) are facing inward during stitching.
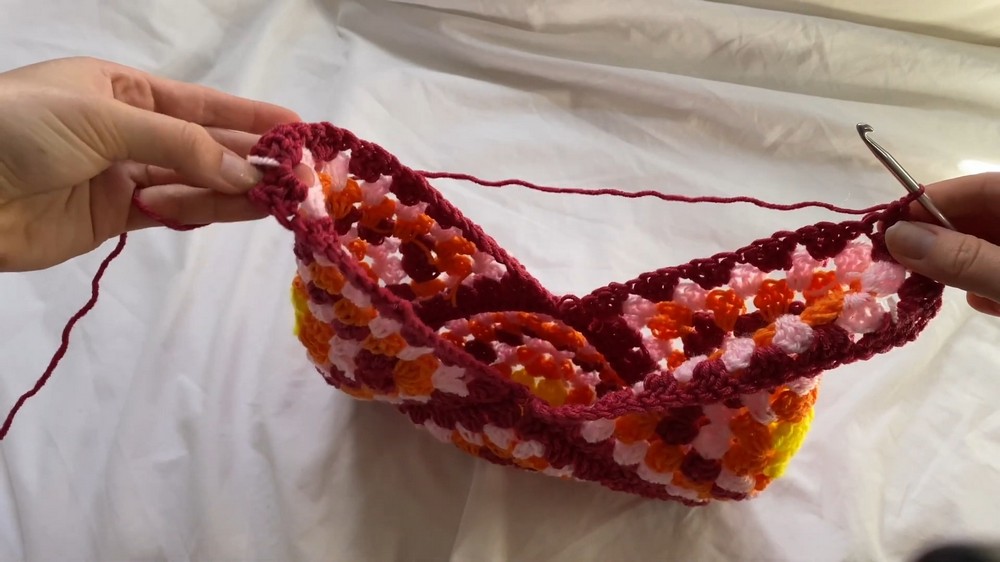
- Testing the Bag Shape:
- After joining all sides, the stitched shape resembles the final bag structure.
Step 3: Adding the Border and Handle
- Single Crochet Border:
- A single crochet border is added to the bag along the top edge, creating a clean finish and preparing the area for attaching the handle.
- Creating the Handle:
- The handle starts with single crochet and double crochet stitches, forming a sturdy design.
- The creator completes 16 rows (or enough rows to create the desired length).
- Attaching the Handle:
- The finished handle is attached to the edges of the bag using single crochet stitches. Care is taken to match up the stitches and ensure the handle is securely fastened.
Step 4: Finishing Touches
- Securing Loose Ends:
- All loose ends are tied off and woven back into the project for a polished, professional look.
- Testing the Bag:
- The completed bag is tested to ensure it is functional, durable, and stylish.
Final Product
- The finished granny square bag is a versatile, handmade accessory suitable for markets, shopping, or casual outings.

- The creator highlights how to personalize the bag by choosing different colors, making it truly unique.
Video Guide