How to Crochet Granny Square CHRISTMAS TREE for Beginners

Learn how to crochet a festive Christmas tree using a single granny square that features a star or snowflake at its center. The project allows creative freedom with yarn choices, including sparkle or classic color combinations like burgundy, white, and gold. Step-by-step, the tutorial covers creating the granny square, shaping it into a tree, sewing the structure, and adding a stem. Viewers are encouraged to personalize their trees with decorations such as beads, ribbons, or bells.
This simple yet charming crochet project is perfect for creating unique handmade Christmas gifts or decorations. So, follow through with us for the complete tutorial.

Crochet Christmas Tree Tutorial
This tutorial demonstrates how to crochet a festive and elegant Christmas Tree using a single granny square. It is a versatile and beginner-friendly project that can be customized with different colors, yarn textures, and decorations for a personalized touch. Below is a detailed breakdown of the tutorial.

Introduction
- The presenter introduces the project as a beautiful crochet Christmas tree made from a single granny square.
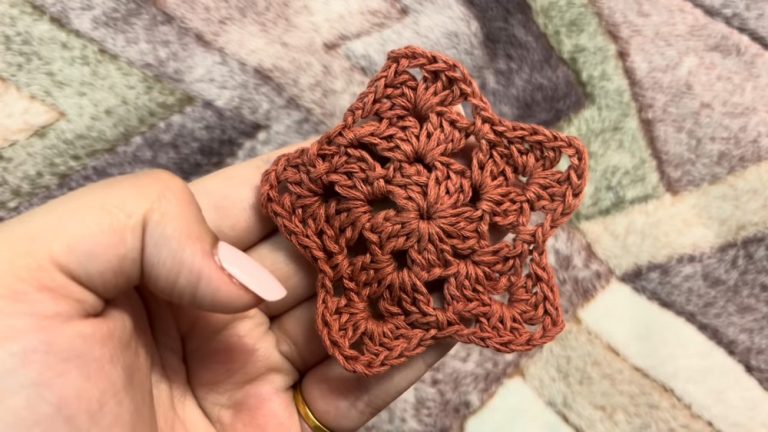
- The tree can be made using any type of granny square, but this tutorial specifically features one with a star or snowflake pattern in the center.
- The design emphasizes the creative process of selecting and combining yarn colors. The presenter highlights the use of sparkle gold yarn for an added festive effect and shares her preference for the classic Christmas color palette of burgundy, white, and gold.

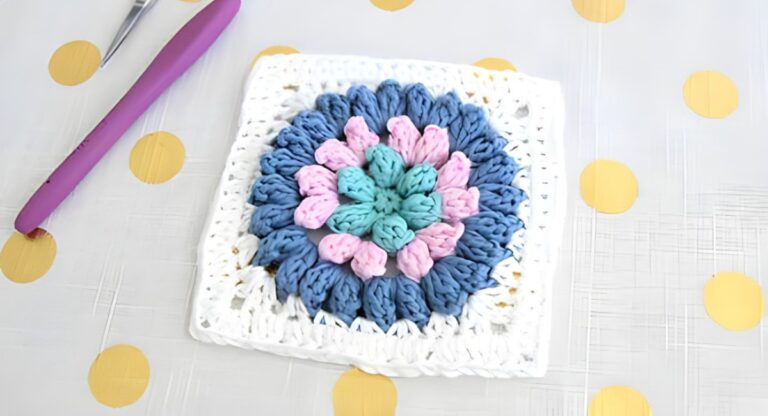
Creating the Granny Square
Foundation and First Round
- A ring is created as the base for the granny square.
- Double crochet clusters are made with chain spaces between them to form the circular foundation of the square.
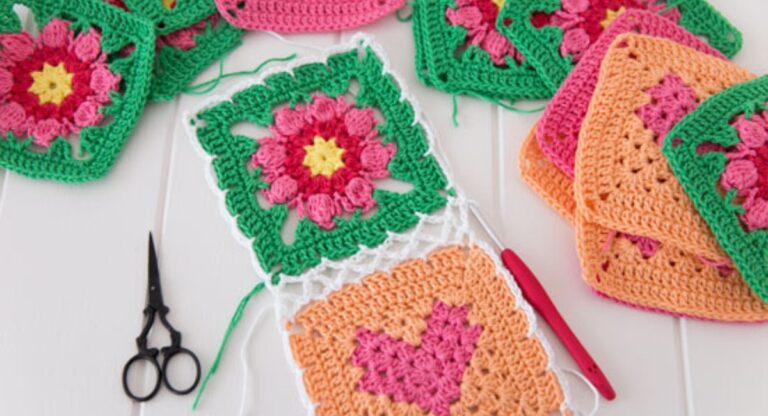
Second and Third Rounds
- The pattern is extended by working double crochet and chain spaces into the stitches of the previous round.
- Color changes are introduced, with each round featuring a new yarn color for added vibrancy.

Fourth Round – Transitioning to a Square
- The circular pattern is transformed into a square through strategic placement of stitches.
- Corners (angles) are created by working a specific combination of stitches into selected chain spaces.
- Between the corners, groups of double crochet stitches are worked to give the square its structure.
Fifth Round
- Another round of double crochet stitches is added to complete the granny square.
- The presenter recommends starting and ending at a specific point in the pattern to simplify sewing the tree shape later.
- A long tail of yarn is left at the end to be used for sewing and attaching the stem.

Shaping the Christmas Tree
- The completed granny square is folded and sewn together to create the triangular shape of the tree.
- Sewing is done carefully by joining matching stitches from opposite sides of the square, ensuring the stitches are neat and aligned.
- The top of the triangle is left open for a sharp, clean tree shape.
Adding the Stem
- The stem is crocheted separately using simple stitches.
- Once complete, it is sewn to the base of the tree as a final touch.
Decorating the Tree
- The presenter encourages viewers to decorate their crochet Christmas tree with items such as:
- Beads
- Jingle bells
- Ribbons
- Bows
- Buttons
- These embellishments add a personal and festive touch to the design.

Conclusion
- The crochet Christmas tree is showcased as a simple yet elegant decoration idea, perfect for the holiday season.
- The presenter thanks viewers for watching and invites them to experiment with different colors, materials, and decorations in their projects.
- Viewers are encouraged to explore her other videos for additional crochet ideas.
This tutorial is an excellent Christmas project for both beginners and experienced crocheters, allowing for creativity and personalization while producing a functional and festive decoration.
https://youtu.be/KslwVMHdpXU