How to Crochet Granny Square Jewelry Rings for Kids

Learn how to crochet granny square jewelry rings with this beginner-friendly tutorial requiring minimal yarn, making it perfect for scrap yarn projects. Using thin yarn like lace or single-ply acrylic, the step-by-step guide covers the entire process, including magic rings, double crochet blocks, and attaching chains for the rings.
The finished product is elegant and customizable, available in various colors. It’s a quick project ideal for crocheting multiple pieces in a day. Follow through with us for the complete tutorial
Materials Needed
- Yarn:
- Thin yarn is recommended, such as lace yarn or single-ply acrylic.
- Alternatives include cotton yarn or mercerized yarn.
- For a polished look, separate 2-ply yarn into a single ply if using thicker yarn.
- Crochet Hook:
- A small-sized crochet hook is required (1.5 mm suggested in the tutorial).
- Miscellaneous:
- Scissors for cutting yarn.
- Optional needle for weaving in yarn ends.
Making the Granny Square
Round 1: Creating the Center
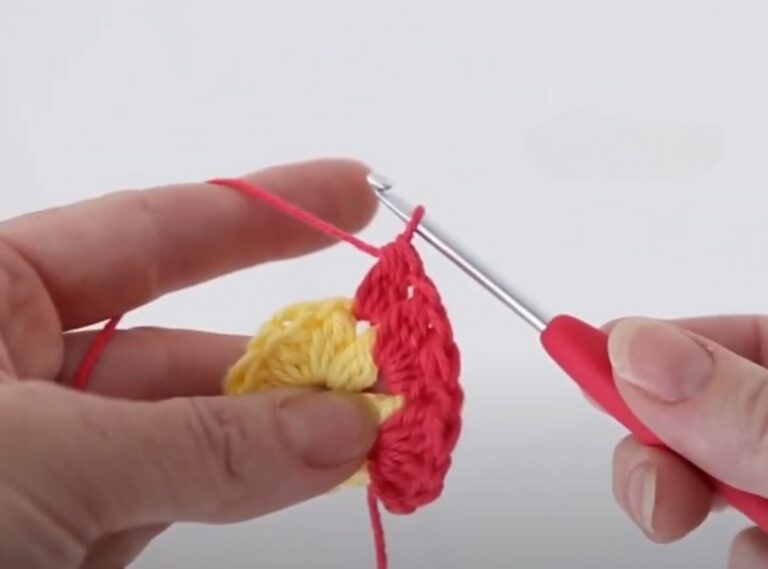
- Use the magic ring technique to start the granny square.
- Work double crochet clusters and chain spaces to form the first round.
- The first round creates a square with 4 “blocks” and 3 completed spaces.
- Pull the yarn end to close the center tightly, ensuring a neat appearance.
Round 2: Adding the Second Color
- Change to the next yarn color (white in the tutorial) and begin in any corner space.
- Work additional double crochet clusters in the corner spaces to expand the square.
- Follow the pattern with additional double crochet clusters and chain spaces to maintain the granny square structure.
Round 3: Adding the Final Color
- Switch to the third yarn color (purple in the tutorial).
- Continue the granny square pattern, working double crochet clusters in the spaces and corners.
- Complete the square by joining the rounds with slip stitches.
Creating the Rings for the Rings
- Attach yarn to one corner of the granny square to begin the first chain.
- Create the foundation chain (e.g., 13 chains for the tutorial).
- Attach the chain to the opposite corner and test the fit around your finger.
- Repeat the process for the second chain, attaching it to the other two opposite corners.
Finishing the Jewelry
- Using scissors, trim any excess yarn after making knots for security.
- Hide the yarn ends by weaving them through the back of the granny square.
- Ensure all ends are neatly tucked in to create a clean and professional finish.


