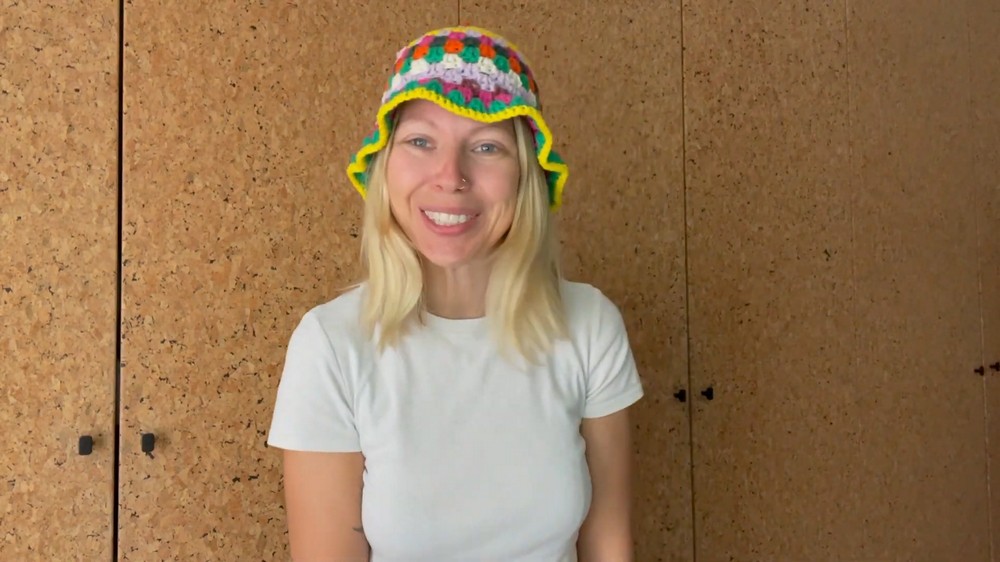
How to Crochet Granny Stitch Bucket Hat for Ladies

Follow a step-by-step tutorial on how to crochet a solid granny stitch bucket hat with colorful yarns, perfect for beginners. Using cotton yarn and a 5mm hook, the creator demonstrates techniques such as making a magic loop, double crochets, and color changes while offering tips for customizing the fit and look. The tutorial includes instructions for forming the main body of the hat, increasing rounds for the brim, and finishing with single crochet for a polished edge.
With clear guidance, this tutorial is beginner-friendly and encourages creativity to make the design your own. So, follow through with us for the complete tutorial.

Granny Stitch Bucket Hat Tutorial
This tutorial walks you through the step-by-step process of crocheting a granny stitch bucket hat using a simple and customizable method. The instructor thoroughly covers each stage, from selecting yarn and tools to completing the finishing touches.
Introduction
- The tutorial begins with a brief overview of the project: a charming granny stitch bucket hat.
- The instructor highlights the hat’s versatility and explains how the pattern can be adapted for various sizes and styles.
Materials and Tools Needed
- Yarn: The tutorial uses cotton yarn (brand is not important). To achieve a thick texture, the instructor works with two threads held together, pulling from both the inside and outside ends of the yarn cake.
- Hook Size: A 5mm hook is recommended for crocheters with loose tension, while tighter crocheters may benefit from a 5.5mm hook.
- Other Tools: Scissors and a tapestry needle for weaving in ends.
Getting Started
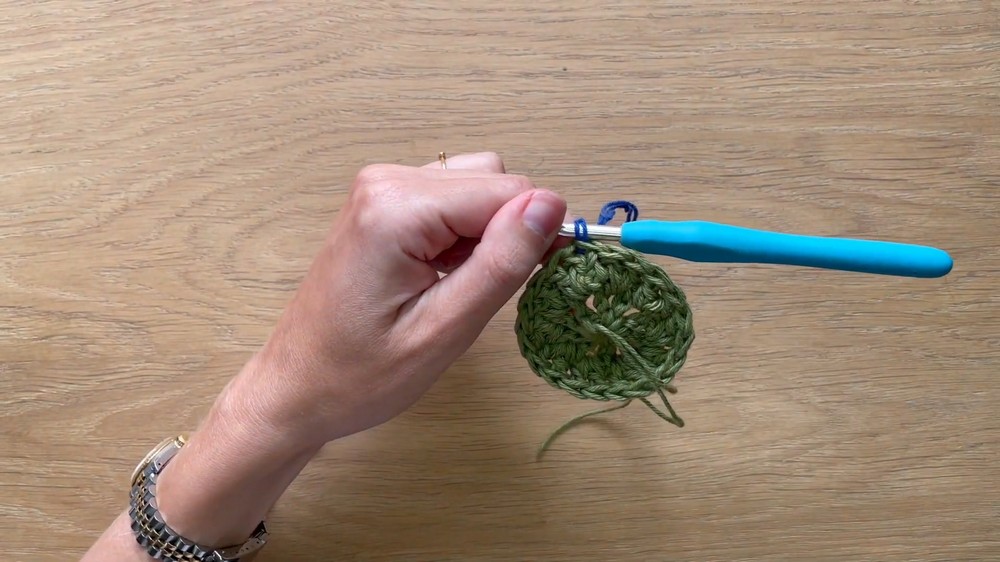
- Magic Loop: The project begins with a magic loop, which the instructor demonstrates in detail. This technique creates a tight, circular base for the hat.
- Foundation Round: The first round involves creating double crochets separated by chains. The loop is tightened to form a small circle, which acts as the starting point of the hat.
Building the Crown
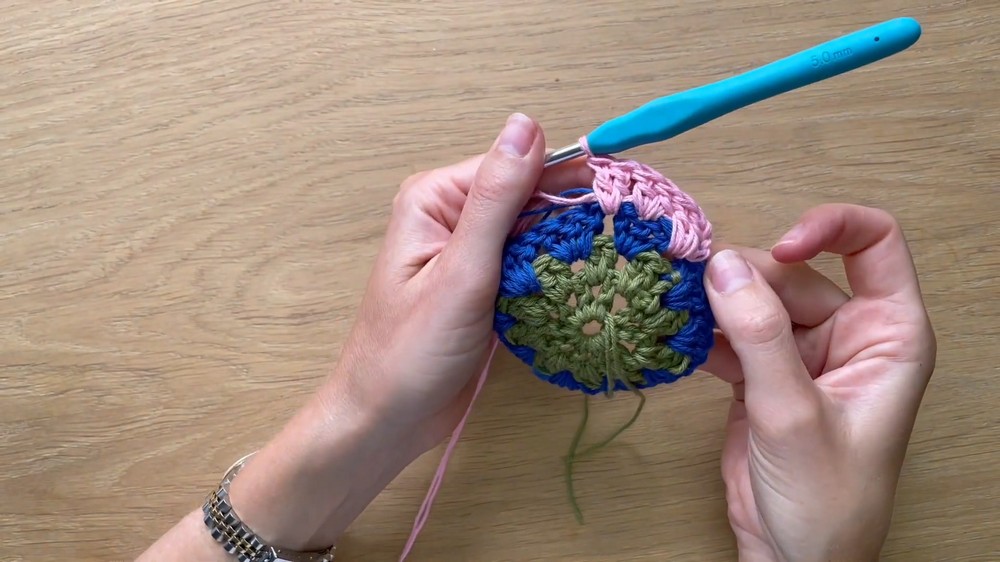
- Increasing Rounds: Subsequent rounds are worked by adding clusters of double crochets between the stitches of the previous round. The number of stitches per cluster increases as the rounds progress, creating a wider crown.
- Color Changes: The tutorial demonstrates how to change yarn colors seamlessly. After tying off and securing the old color, the new yarn is added using a slip knot. These transitions allow you to customize your hat with stripes or color blocks.
Adjusting Hat Size
- The hat size can be adjusted by adding or reducing the number of rounds in the crown. For larger heads, the instructor suggests repeating the increasing round described earlier.
Creating the Body of the Hat
- After completing the crown, the next 12 rounds (or however many are needed for your desired size) are worked without increases. The instructor emphasizes that yarn stretches, so the fit will adjust slightly when worn.
Shaping the Brim
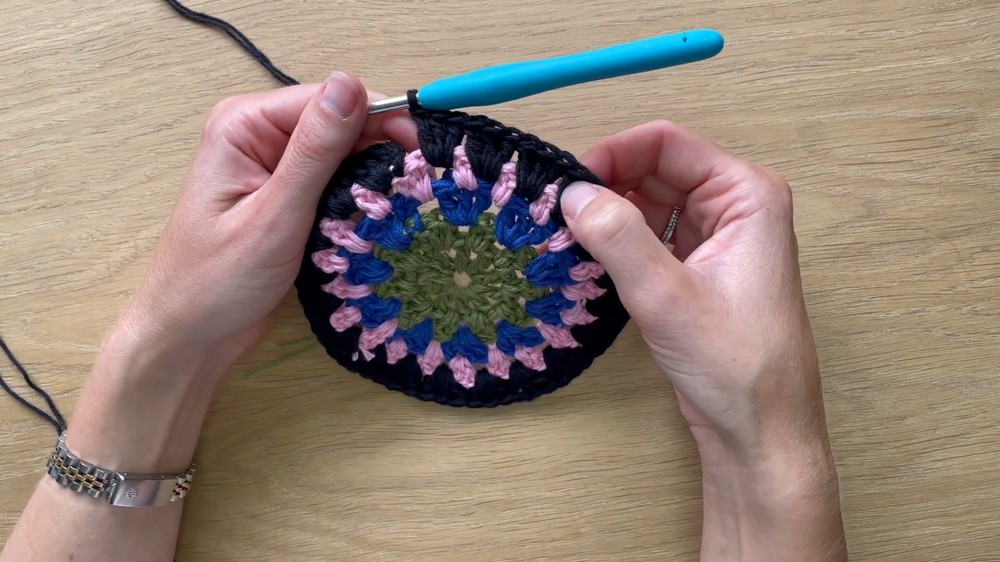
- Increasing for the Brim: To transition into the brim, the tutorial includes an increase round, where granny stitch clusters are added both in the middle of previous clusters and in the spaces between them.
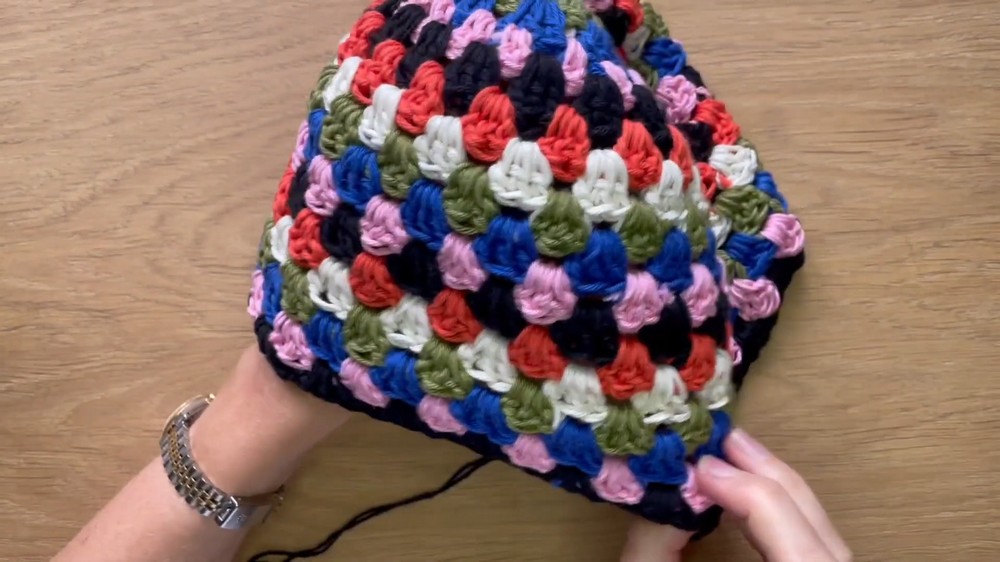
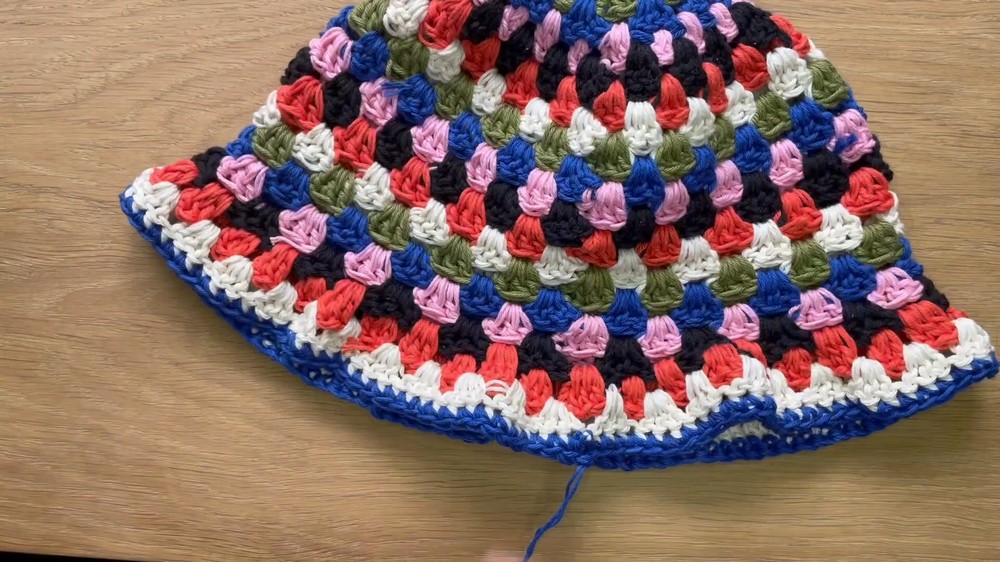
- Final Rounds: The brim is completed by working granny stitch clusters in each space, gradually creating a flared, bucket-hat shape.
Finishing Touches
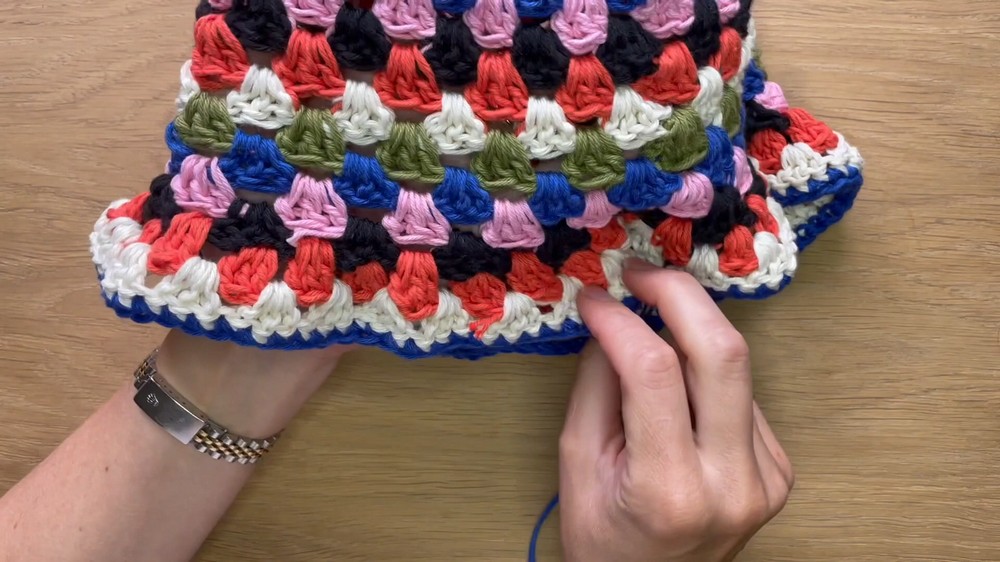
- Edging: The edge of the brim is finished with a single crochet border for a neat and polished look.
- Weaving in Ends: The instructor demonstrates how to weave in loose yarn ends using either a crochet hook (as you progress) or a needle for a cleaner result.
Conclusion
- The instructor offers encouragement and points out that slight irregularities add charm to the handmade hat. A final try-on of the completed hat showcases its stylish and snug fit.