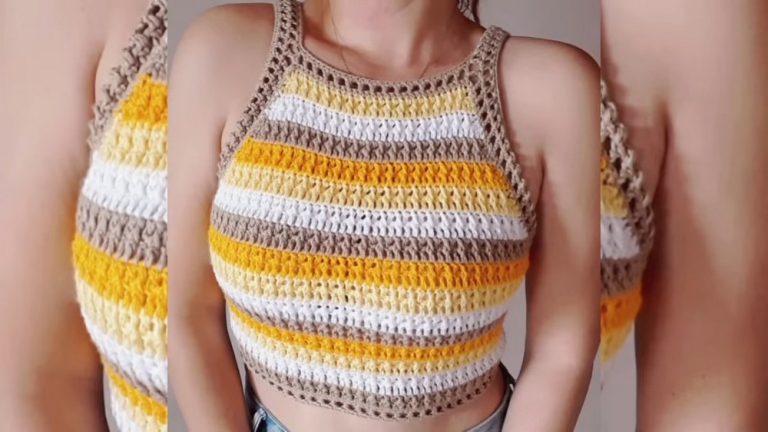
How to Crochet Halter Top for a Little Girl

Learn how to crochet a baby girl’s top, suitable for ages 4 to 6 years, with a tutorial for beginners. Using medium-weight yarn and a 3.5mm crochet hook, the project begins with a chain foundation and incorporates double crochet stitches to create a stylish, lightweight design. The tutorial demonstrates how to decrease stitches for shaping, add decorative borders, and create straps for the top.
Optional fringe detailing is added at the end for extra flair. The tutorial is ideal for beginners and intermediate crocheters, offering clear explanations throughout. The final piece is a beautiful handmade top, perfect for any little girl! So, follow through with us for the complete tutorial.

Baby Girl’s Top (Ages 4–6 Years)
This crochet tutorial demonstrates how to make a beautifully lightweight and stylish baby girl’s top that fits ages 4 to 6 years. The tutorial walks viewers through each step of the process, from creating the foundation rows to adding decorative borders and straps. The project is beginner-friendly, uses a simple stitch pattern, and can be customized further with fringes. Below is a detailed summary of the steps:
1. Materials Required
- Medium-weight yarn.
- 3.5 mm crochet hook.
- Tape measure.
- Scissors.

2. Making the Foundation Rows
The top begins with a chain foundation and the creation of initial rows.
- Start with a long chain that measures approximately 20 inches when slightly stretched.
- Work the first row by crocheting evenly along the foundation chain. This establishes the width of the top.
- Continue building rows while following the pattern of double crochets, chains, and skipped stitches as instructed in the video.
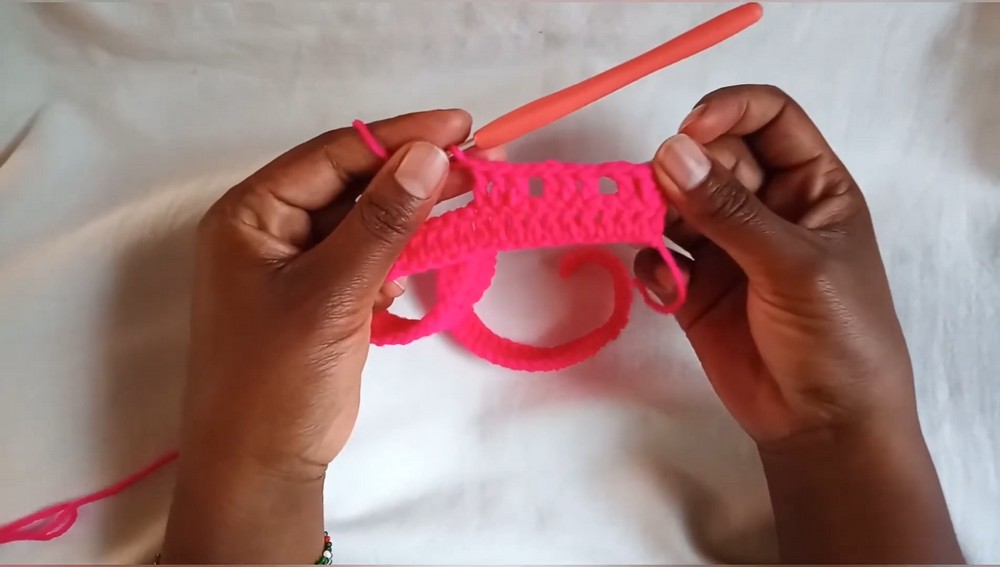
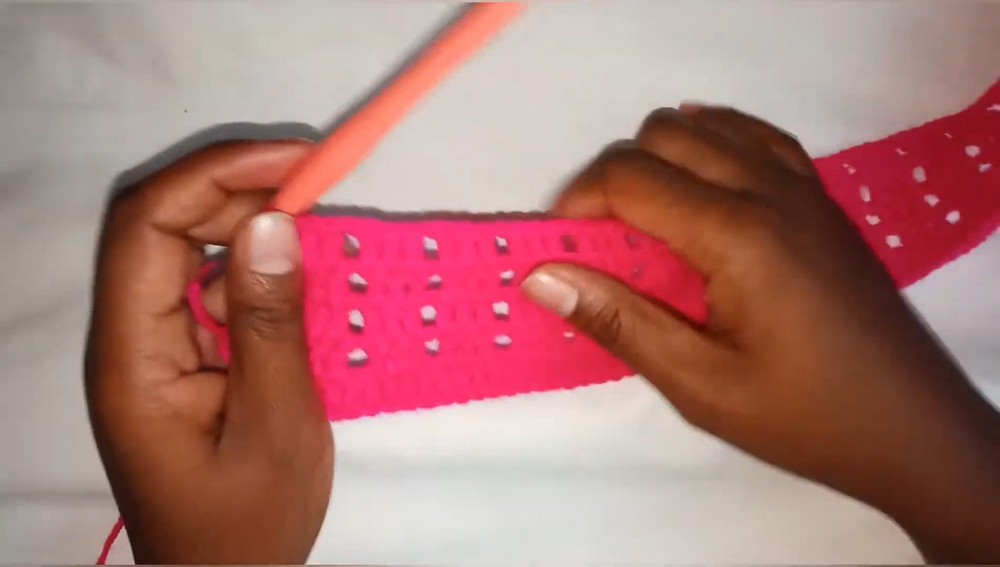
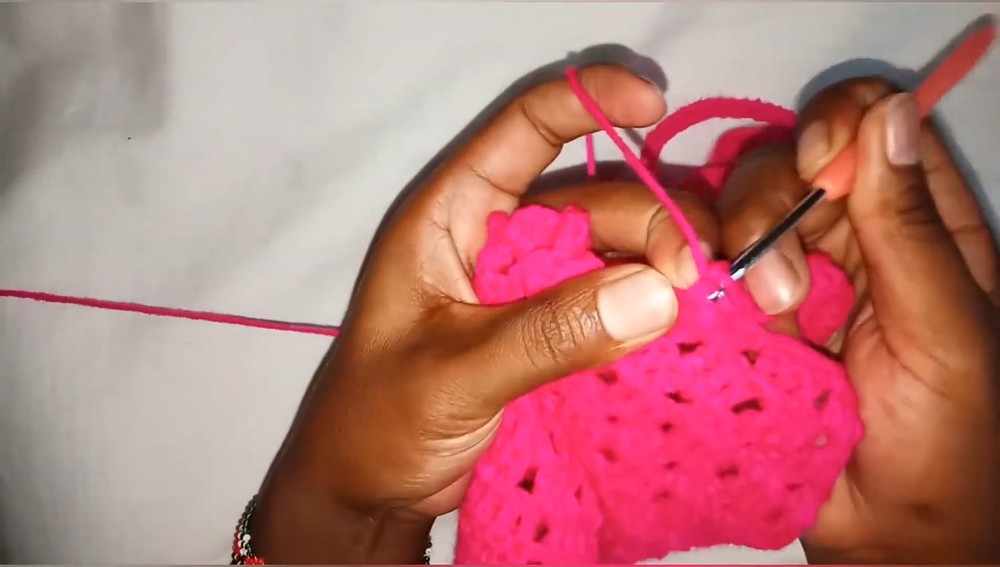
3. Creating the Main Crochet Pattern
The tutorial focuses on alternating sections of stitches to create texture and design.
- Work a pattern of double crochets combined with chains and skipped stitches across multiple rows.
- The main pattern is repeated consistently across four rows to form the base of the top.
4. Shaping the Top
Once the base is complete, shaping begins to taper the structure of the top for a better fit.
- Begin decreasing stitches at the start and end of each row to shape the body of the top.
- Slip stitches are used at the beginning of each row, and stitches are skipped at the end of the row.
- This process is continued over several rows to complete the tapered section of the top.

5. Adding Borders
To finish the edges of the top, decorative borders are added.
- Attach yarn to one side of the top and begin creating a series of chain loops combined with slip stitches at the edges of each row.
- This creates a neat edging that enhances the final look of the top.
6. Creating the Straps
Straps are added for functionality and style.
- At the top corners of the top, create long chains for the straps.
- Work back along the straps to reinforce them with additional stitches, ensuring durability.
7. Adding the Back Strap
A long back strap is made specifically for securing the top.
- Create a long chain, reinforce it with stitches, and attach it to the back portion.

8. Adding Fringes (Optional)
The creator embellishes the top with fringes for a playful and decorative touch.
- Attach grouped yarn pieces to the bottom rows of the top using a crochet hook.
- Space the fringes evenly, skipping a few stitches between each attachment.
9. Final Thoughts
The tutorial concludes by showcasing the finished baby girl’s top, emphasizing its versatility and aesthetic appeal. The creator encourages viewers to try the design and optionally modify it, such as adding fringes for extra flair. The final result is a unique and charming handmade garment perfect for any little girl.
This tutorial guides crocheters step-by-step, making it suitable for both beginners and intermediate creators. The result is a stylish and durable top that can be adjusted for different designs or decorations.