How to Crochet Happy Meal Drinks Too Cute to Resist
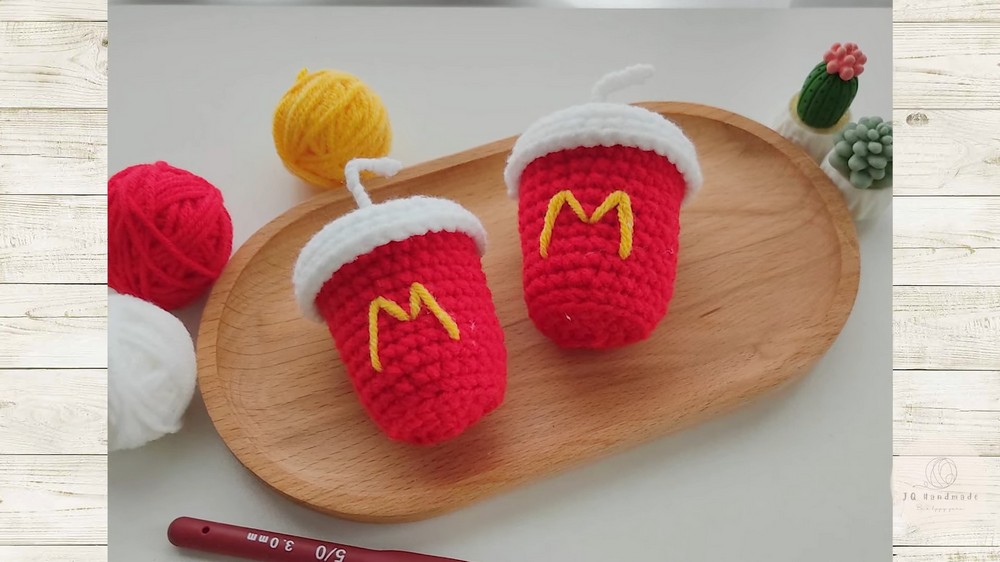
This tutorial demonstrates how to crochet a McDonald ’s-style drinks keychain, starting with the red cup, followed by the lid, and finishing with the straw. Using a 3mm hook, four-ply yarn, and basic crochet techniques such as single crochets, increases, and slip stitches, the project is broken into clearly explained steps.
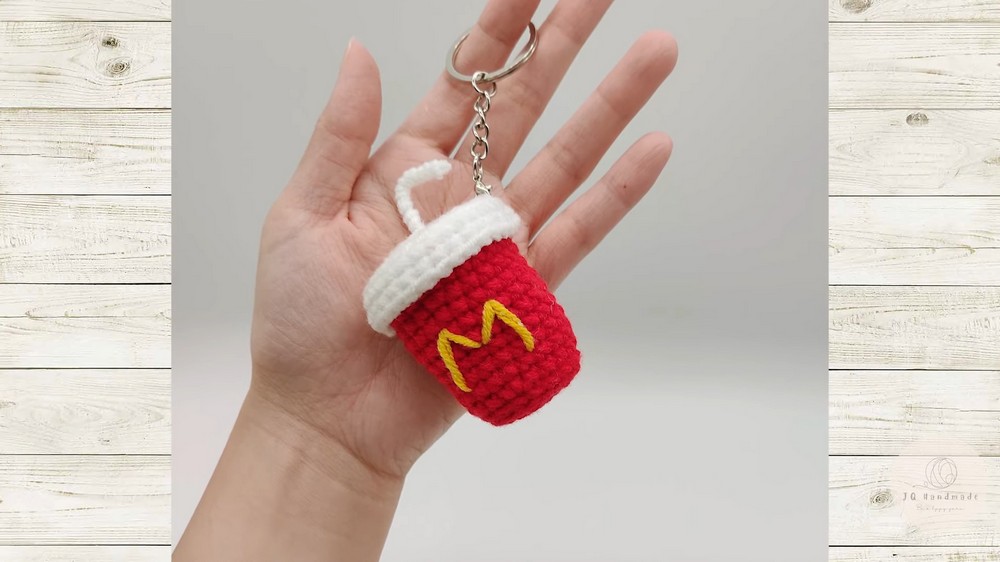
The final keychain is assembled by stuffing the cup with fiber cotton, attaching the lid, and adding a yarn-covered wire straw. It’s a fun and beginner-friendly craft project! So, follow through with us for the complete tutorial.

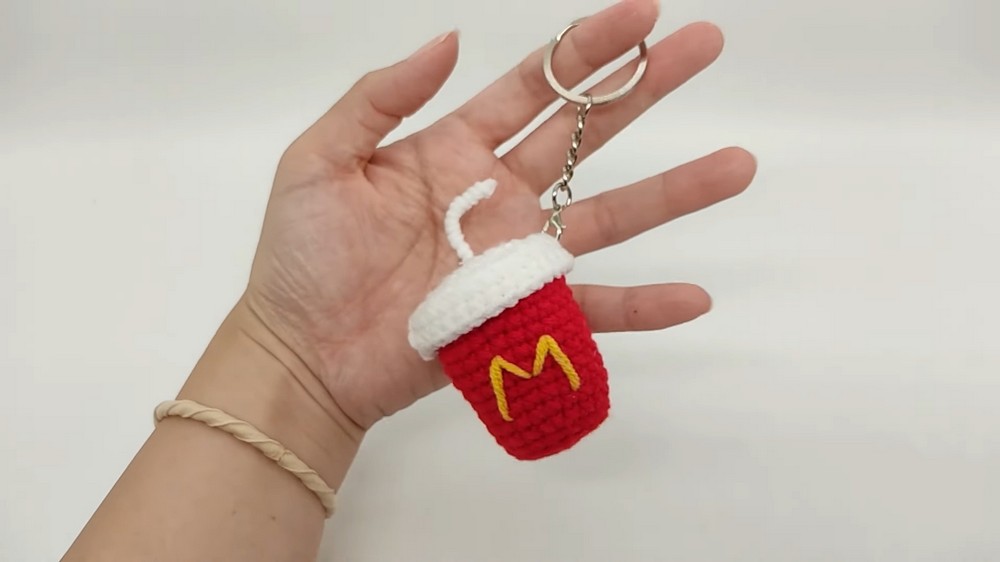
How to Crochet a McDonald’s Style Drinks Keychain
This tutorial walks viewers through the steps to crochet an adorable McDonald’s-style drinks keychain. Featuring clear, structured instructions, this guide covers the creation of the cup, lid, and straw, as well as the assembly of the final piece. Here’s the summary of the tutorial:
Introduction
- The video begins with an introduction to the project – a McDonald’s-inspired drinks keychain.
- The creator advises familiarity with basic crochet skills and suggests her beginner tutorials for newcomers.
- Materials include a 3mm crochet hook, four-ply yarn (red, white, and yellow), fiber stuffing, glue, and some iron wire.
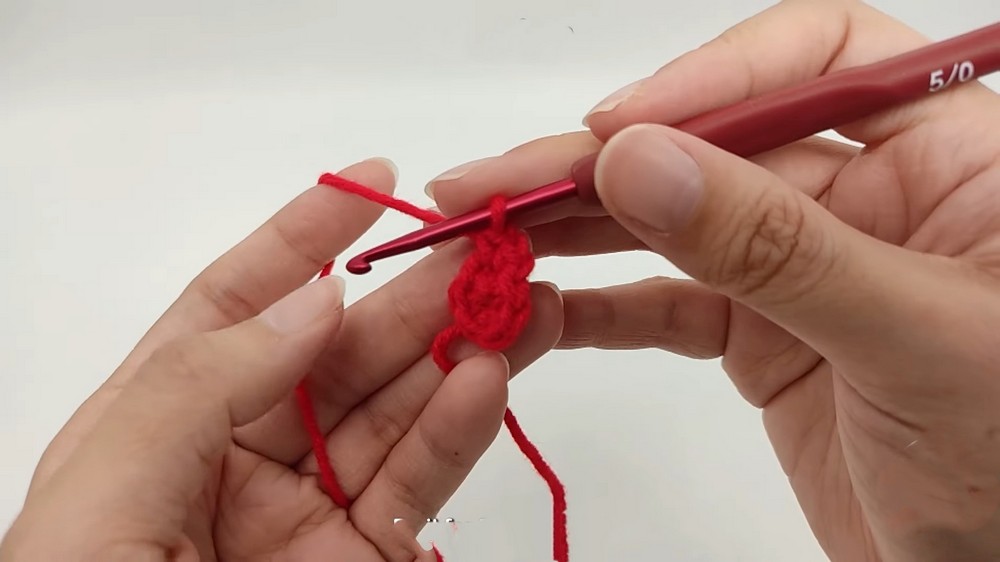
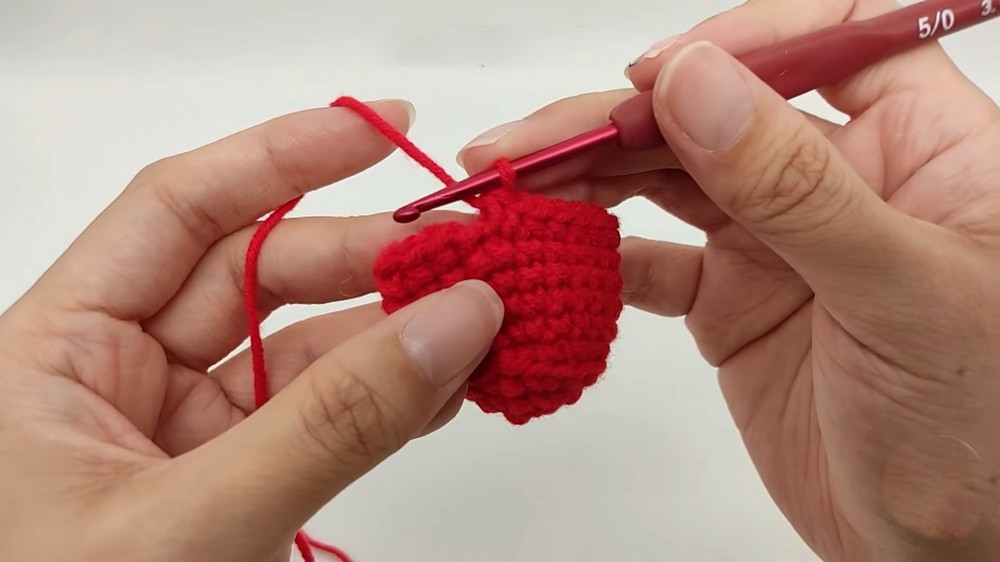
Creating the Cup (Main Body)
-
Starting the Cup:
- The cup is made using the magic ring technique, and the pattern involves single crochet stitches and increases to shape the cup.
- A repetitive increase pattern is followed to gradually expand the base and form the sides of the cup.
-
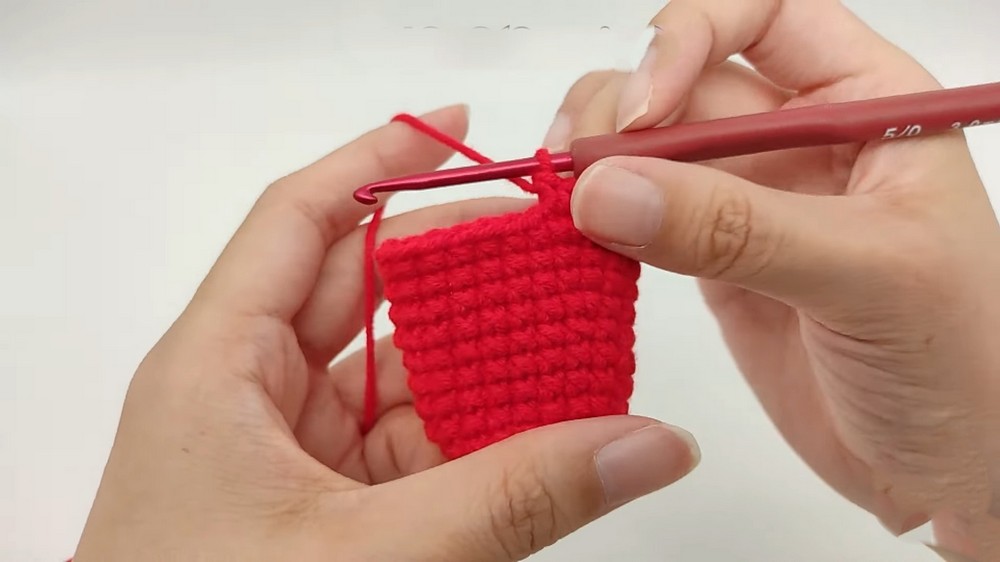
Mid-Section of the Cup:
- The tutorial includes shaping techniques like working in back loops for added texture and structure.
- Rows are crocheted until the body of the cup fully takes shape.
-
Finishing the Cup:
- Once the cup structure is complete, the yarn is cut, and the ends are hidden.
- The “M” logo is sewn onto the cup using yellow yarn for that signature McDonald’s branding.
Making the Lid
-
Building the Lid Base:
- The lid starts similarly to the cup, beginning with a magic ring and repeating the initial rows.
- In subsequent rows, the tutorial introduces a combination of single crochets and increases to shape the lid to fit snugly onto the cup.
-
Adding Texture and Finishing:
- Specific rows use back-loop-only techniques to create a distinct ridge around the lid for added detail.
- Once completed, the yarn is tied off, and the ends are hidden.
Adding the Straw
- A straw is made by wrapping yarn around an iron wire for shape and stability.
- The tutorial demonstrates securing the yarn with glue and bending the wire into a straw-like shape.
- The cup is filled with fiber stuffing to give it a plush-like texture.
- The lid is glued securely onto the top of the cup.
- The straw is then attached to the lid for the finishing touch.
- The keychain hook is added to complete the design and make it functional.