How to Crochet Hat for Men & Women for Beginners

With a step-by-step tutorial, learn how to crochet a textured hat for beginners. Using Bernat Premium medium-weight yarn in royal blue and a combination of 5mm and 6mm crochet hooks, she patiently demonstrates each step. The process begins with making a snug chain for the hat’s brim, followed by rows of front and back post double crochets to create the band.
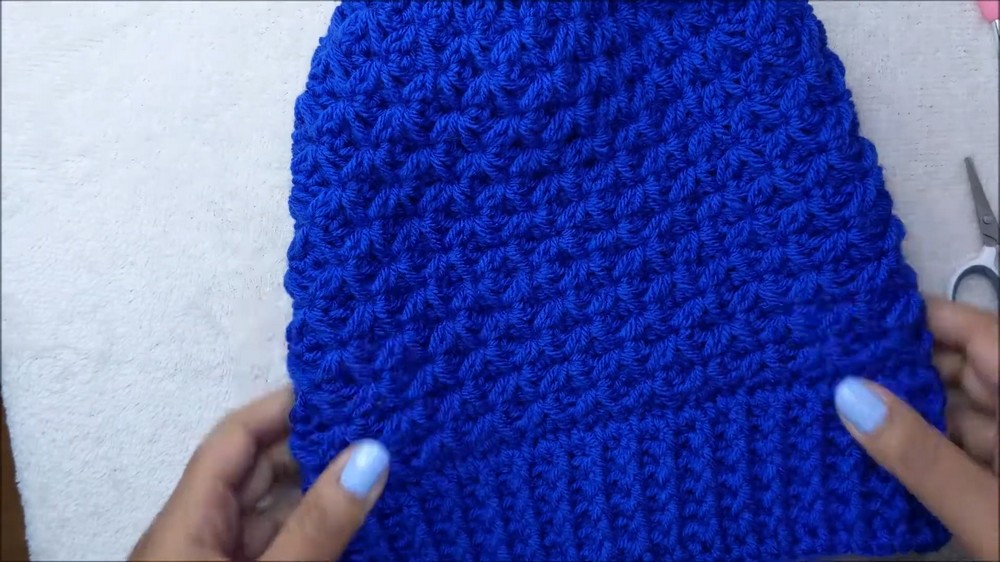
The body of the hat features intricate crisscross stitches, ensuring a rich texture, and concludes with a simple technique to close the top. This beginner-friendly tutorial is perfect for crochet enthusiasts seeking a stylish and cozy hat project. So, follow through with us for the complete tutorial.

The Crochet Hat Tutorial
- Yarn Used: Bernat Premium, a 4-ply medium-weight yarn in the color “Royal Blue.”
- Hook Sizes: A 5mm crochet hook for the base and a 6mm crochet hook for the main body of the hat.
- Goal: Create a beautifully textured hat, including a band (brim), a textured body, and a closed top. Optional pom-pom can be added (not included in the tutorial).
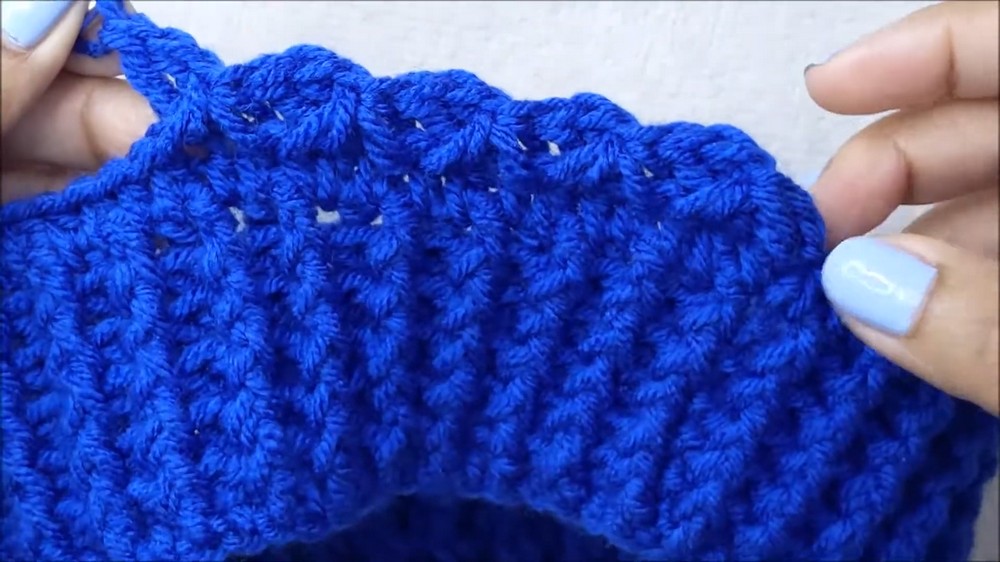
Step 1: Creating the Hat Band
- Foundation Chain: Create a chain long enough to fit snugly around your head. This chain will form the band (brim) of your hat.
- Row 1: Work double crochet into each chain space to form the first row.
- Post Stitch Work:
- Alternate between front post double crochets and back post double crochets to create a ribbed look.
- Repeat this row for 4–6 rounds, depending on your desired band width.
- Tip: Use consistent tension to ensure even stitches and a neat finish.
Step 2: Preparing for the Hat’s Body
- Adjust Stitch Count:
- Ensure your total number of stitches aligns with a multiple of 3. Add small increases if necessary.
- Use stitch markers to track where the increases should be made for uniformity.
- Half Double Crochet Row:
- Complete one row of half double crochets before moving to the textured body of the hat.
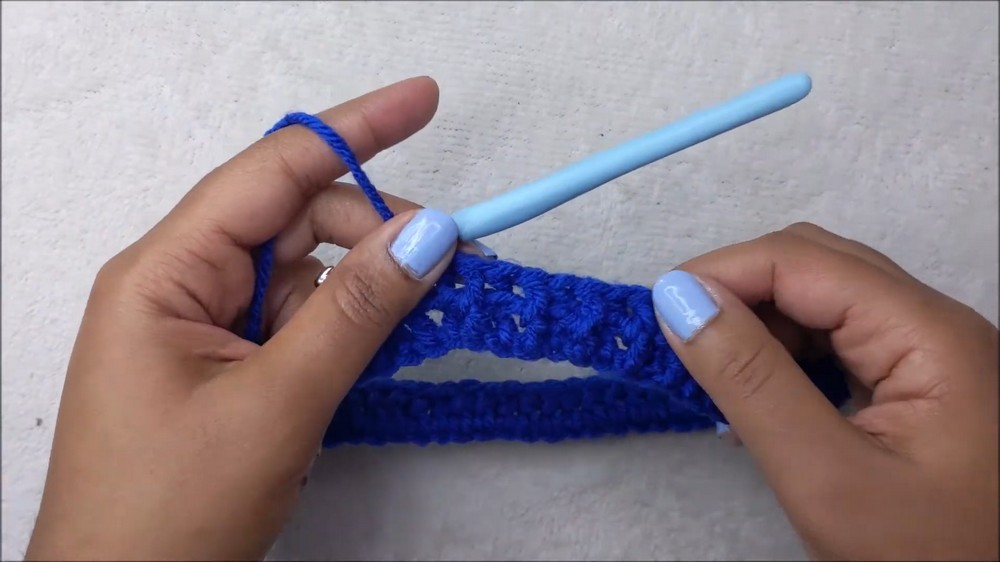
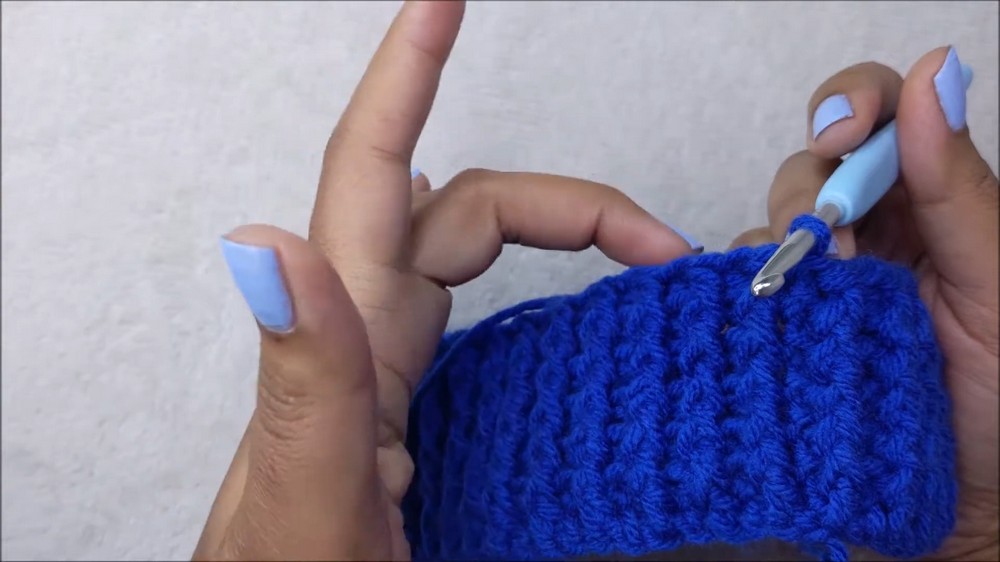
Step 3: Crafting the Textured Body
- Switch Hook Size:
- Swap to the 6mm crochet hook for a looser and textured body.
- Creating the Criss-Cross Stitch:
- Form clusters of criss-cross stitches by alternating skipped spaces and working into the back of skipped stitches.
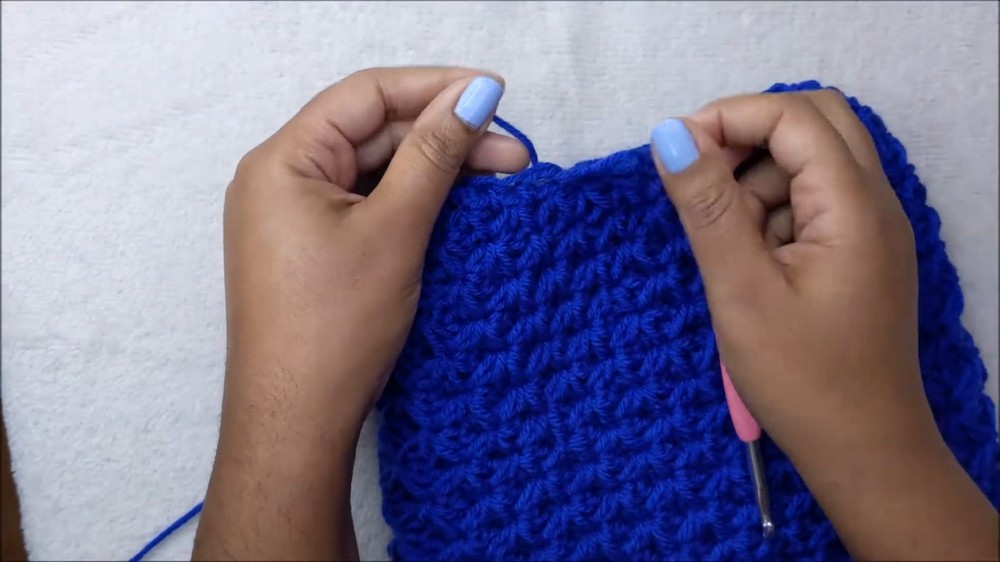
- Repeat the criss-cross pattern around. The texture builds as rows are added.
- Subsequent Rows:
- Continue working your textured stitches by maintaining the spacing and repeating the pattern.
- Slip stitch into the chain one space at the end of each round to complete the rows.
Step 4: Shaping and Closing the Top
- Decreasing Rows:
- Gradually decrease stitches by combining two double crochets into one during specific rows (refer to video for detailed process).
- Maintain the texture by working X stitches (criss-cross pattern) while skipping over the double crochets at the back.
- Progressively reduce the stitch count while shaping the top of the hat.
- Final Decrease:
- Complete with a round of half double crochets, placing one stitch in each open space, and skip any additional gaps.
- Closing the Hat:
- Use a yarn needle to weave through the loops at the top of the hat.
- Pull tight to close the opening securely.
- Reinforce the closure by weaving through the loops a few times.
Customization and Finishing Touches
- Measurements: The completed hat in the video measures about 10 inches in depth.
- Optional Pom-Pom: Add a pom-pom for a decorative touch, or leave it plain if preferred (ideal for a minimalist style).
- Final Look: Tuck away the yarn tail inside the hat after closing the top.
Conclusion
Danielle’s tutorial provides a clear and concise method to create a textured crochet hat with a stylish ribbed band and decorative body. The video includes detailed instructions, helpful tips, and close-up demonstrations to simplify the process. This hat design is ideal for gifting or personal use.