How to Crochet Headband with Flower for Beginners

Learn how to crochet a beautiful headband with flower perfect for spring wear with this step-by-step tutorial for beginners and experts. With the Tunisian-style method and adjusted to the desired size, it is a customizable and beautiful project. This simple yet detailed guide is perfect for beginners looking to make a stylish handmade accessory.

Crochet Headband with Flower Tutorial
The video begins with an introduction to the tutorial, which focuses on creating a crochet headband adorned with a flower. The instructor explains that the process is divided into three steps: crocheting the flower, making the headband, and assembling them together. A 4 mm crochet hook is used for the project, making it suitable for all skill levels.
Crocheting the Flower
Step 1: Set Up the Flower
- The tutorial starts with creating a magic circle, a common method in crochet.
- The magic circle is formed by wrapping yarn around the fingers in a specific manner.
- Single crochets are worked inside the magic circle, which serves as the foundation for the flower.
Step 2: Round One
- The first round involves working specific stitches to create individual petals.
- The process includes combining different stitches such as single crochet, half double crochet, double crochet, and triple crochet.
- This pattern is repeated five times to form the petals, creating a complete floral shape.
Step 3: Round Two
- In the second round, a new yarn color is introduced to add dimension to the flower.
- The stitches alternate between single crochet, half double crochet, double crochet, and triple crochet combinations to enhance the petal structure.
- After completing the second round, the flower is finalized by securing and weaving in the yarn ends.

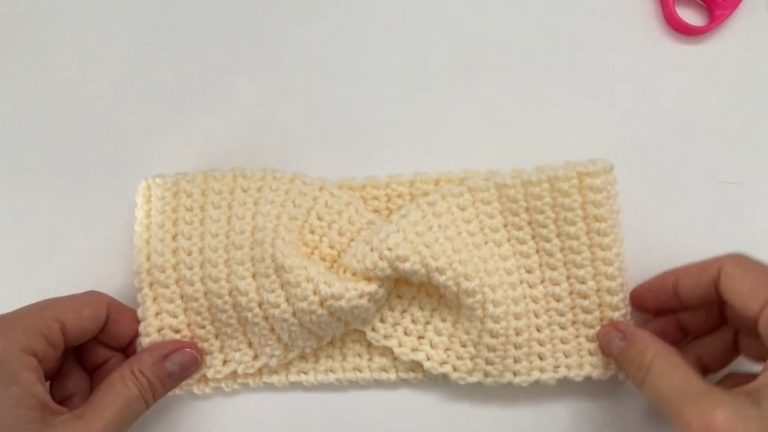
Crocheting the Headband
Step 1: Starting the Foundation
- A Tunisian-style crochet technique is used for the headband, providing a unique texture.
- The elastic band is incorporated by chaining stitches directly onto it to form the base of the headband.
Step 2: Forward Pass
- The tutorial describes how to work through vertical bars to create the fabric for the headband.
- Careful attention is given to catching both the front and back loops when working the edge stitches to ensure uniformity.

Step 3: Standard Return Pass
- The return pass involves pulling loops through in a rhythm that is described as relaxing.
- This step is repeated until the headband reaches the desired length, which is adjusted for the wearer’s head size.
Step 4: Finishing the Headband
- The headband is completed by attaching the loose end to the elastic band using single crochet stitches.
- Yarn tails are carefully woven in at the back to create a polished look.

Assembling the Headband
Step 1: Attaching the Flower
- The flower is sewn onto the headband using the yarn tail from the magic circle.
- Several stitches are made to securely attach the flower to the headband.
- The flower is positioned to suit the desired aesthetic, ensuring it stays firmly in place during wear.

Conclusion
- The tutorial wraps up by showcasing the finished headband and encouraging viewers to customize their projects.