How to Crochet Ice Cream Hair Clips for Beginners
Learn how to crochet a charming ice cream hair clip using foam material, crochet techniques, and a hair clip base perfect for beginners. The tutorial guides viewers through creating the lower and upper sections, including the magic ring and half-double crochet stitches. The clip is assembled with glue for durability, ensuring a neat and secure finish. The final product is a cute, handmade accessory perfect for dessert lovers. Let’s get started!

Crochet Ice Cream Hair Clips
This video provides a detailed tutorial on how to crochet an ice cream hair clip. Below is a summary of the materials and steps involved:
Materials Needed
-
Hair Clip: A 2-inch hair clip is essential for the project.
-
Foam Material: A soft foam material, easily found at stationery stores, is used to provide structure and support for the hair clip.
-
Glue: A glue gun or a tube of strong adhesive glue is required for securely assembling the different components of the hair clip.
-
Yarn: Four-ply wool is the recommended yarn type for crocheting the ice cream and cone parts.
-
Crochet Hook: An 11-number (3 MM) crochet hook is specified for this project, ensuring the correct gauge for the stitches.
-
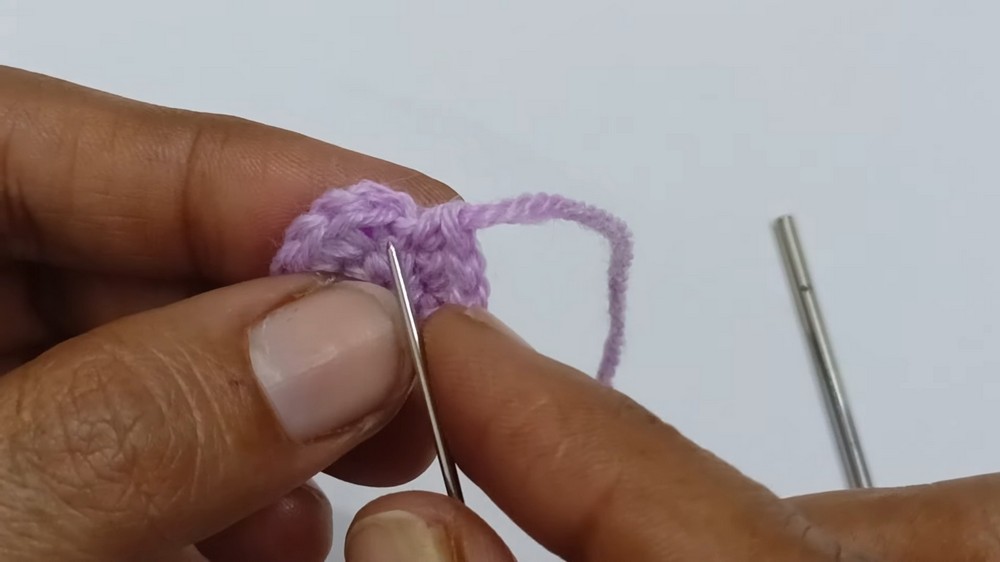
Needle: A needle is used for weaving in loose ends of yarn and for neatly joining the crocheted pieces together.
Crocheting the Base (Cone)
The process begins with creating the cone shape for the ice cream.
-
Starting: Begin by making a slip knot.
-
Initial Chain: Chain three stitches to form the foundation of the cone.
-
First Row: Skip the first two chains and then make a double crochet stitch into the very first chain.
-
Turning: Chain two and turn your work to start the next row.
-
Increasing Stitches: Make a half double crochet in the same stitch where the chain was just made. Continue making half double crochets, increasing by one stitch in each subsequent row. This gradual increase helps to create the widening cone shape. The goal is to have six half double crochets in the final row of the cone.
-
Finishing the Cone: Once the desired size is reached, chain one and cut the yarn, making sure to leave a sufficiently long tail. This long tail will be used later for weaving in.
-
Securing Ends: Use a needle to carefully weave in all the yarn tails on the wrong side of the crocheted cone. This ensures a neat and secure finish.

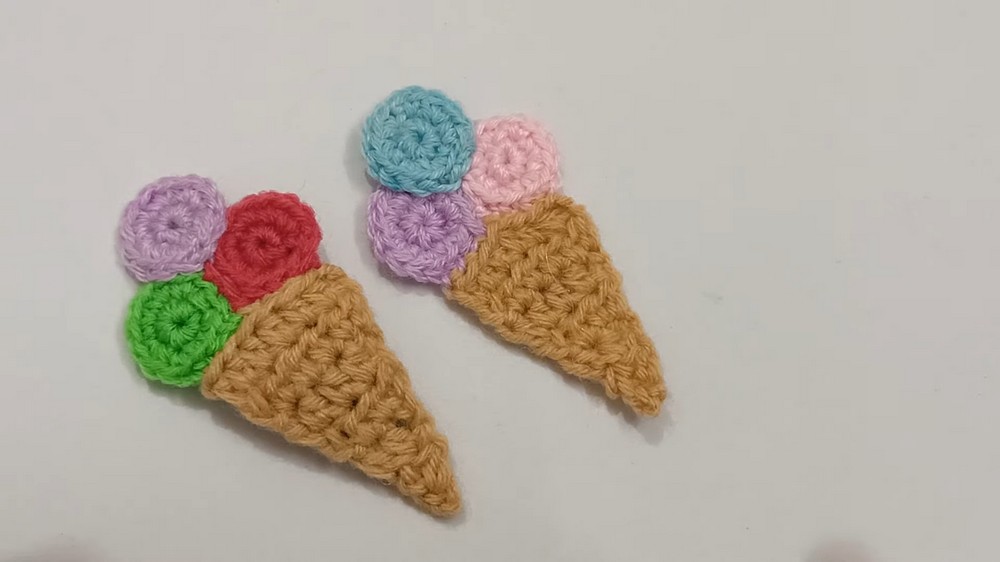
Crocheting the Ice Cream Scoops
Next, the individual ice cream scoops are crocheted.
-
Magic Ring: Start by creating a magic ring, which provides a tight center for the scoop.
-
Initial Chain: Chain one stitch.
-
First Round: Make six single crochet stitches into the magic ring.
-
Closing the Ring: Gently pull the loop of the magic ring to close it tightly.
-
Joining: Join the round with a slip stitch into the first single crochet stitch to complete the circle.
-
Second Round: Chain one. Then, make two single crochet stitches in each stitch around the circle. This will increase the stitch count to 12, forming the rounded shape of the scoop.

-
Finishing Scoops: Leave a long tail of yarn after cutting, as this will be used for joining the scoops later.
-
Multiple Scoops: Repeat these steps to create a total of three identical ice cream scoops.
-
Joining Scoops: Stitch the three scoops together side-by-side using the long yarn tails. This creates the multi-scoop ice cream top.

Assembling the Hair Clip
The final stage involves assembling all the crocheted and material components.
-
Foam Preparation: Cut the foam material to precisely match the size of the hair clip.
-
Inserting Clip: Create a small slit in the foam material and carefully insert the hair clip into it.
-
Attaching Foam to Cone: Apply glue to the prepared foam material and securely attach it to the crocheted cone base.
-
Attaching Scoops: Finally, attach the crocheted ice cream scoops to the top of the cone base, completing the ice cream hair clip.