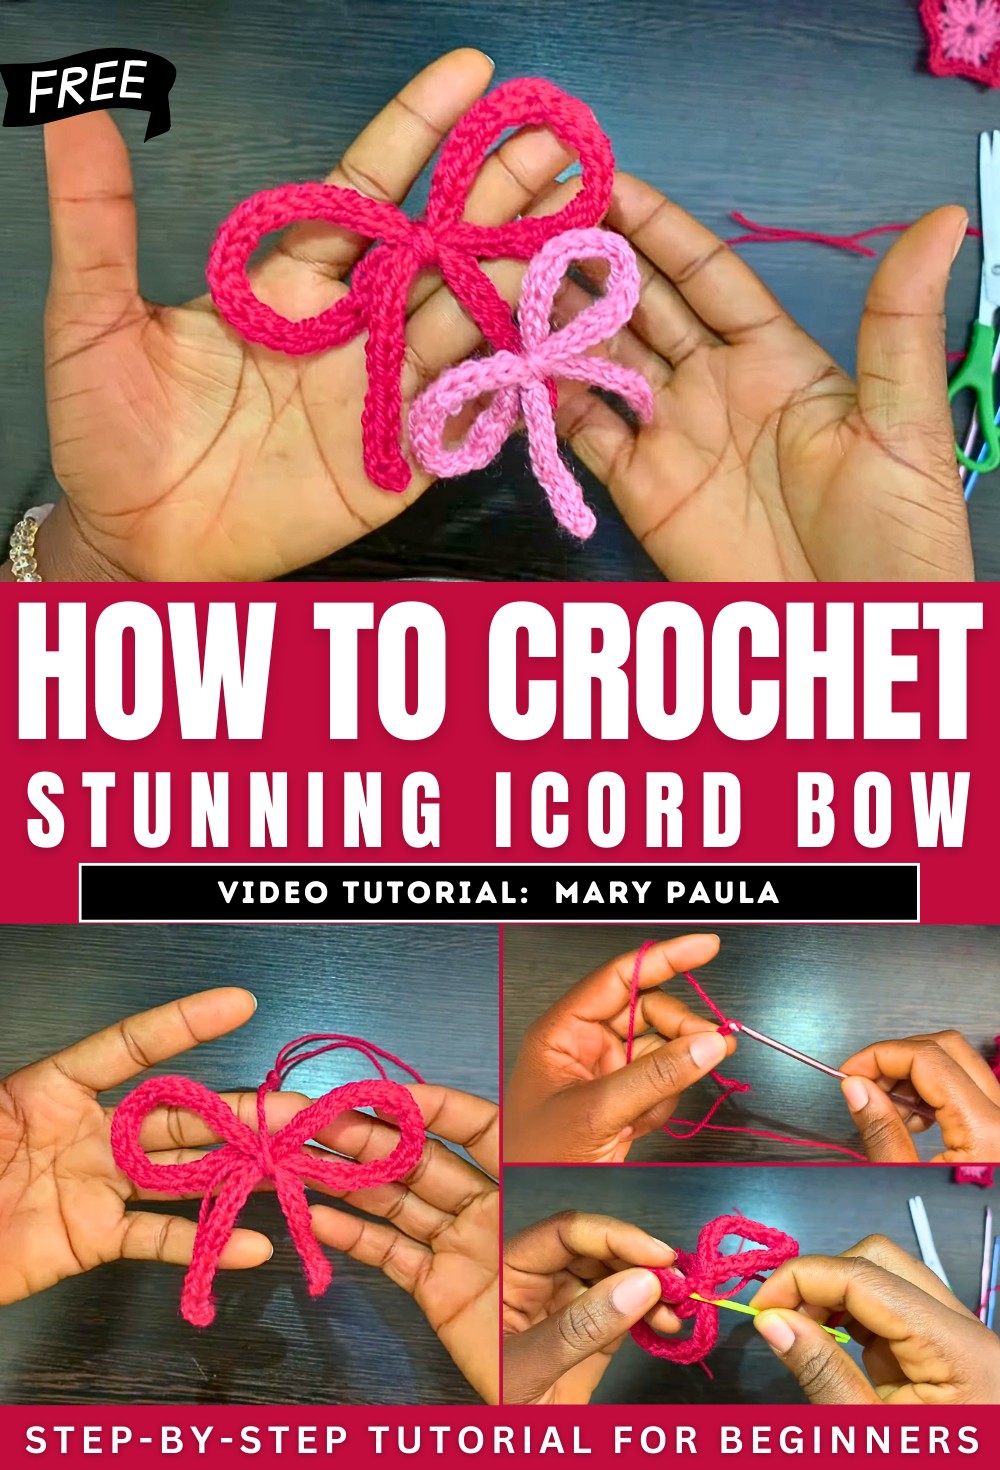
How to Crochet Icord Bow In 5 Minutes for Beginners

In this tutorial, learn how to crochet a cute and versatile bow, perfect for adding festive charm to wreaths, gift packages, or holiday decorations. Using medium-weight yarn, a 3.5mm crochet hook, and a detailed series of simple steps, viewers learn how to create the bow and its tails. The video guides you through techniques like slip knots, chaining, and pulling loops to achieve the desired shape.
Finishing touches include wrapping, tying, and securing the bow for a neat, professional look. This straightforward project is ideal for beginners and adds a handmade touch to your seasonal decor. So, follow through with us for the complete tutorial.
Crocheting a Bow Tutorial
This crochet tutorial demonstrates how to create an adorable bow, which is perfect for Christmas decorations, gift packages, or wreath embellishments. The step-by-step instructions make it beginner-friendly while allowing room for creativity.
Materials Needed
- Medium-weight yarn (any color of your choice).
- Size 3.5 mm crochet hook.
- Pair of scissors.
- Darning needle for finishing touches.

Steps to Crochet the Bow Cord (Main Section)
- Begin with a Slip Knot
- Create a slip knot, ensuring you leave a short tail for finishing.
- Chaining and Loop Formation
- Chain stitches and insert the hook into specific loops to prepare for weaving the cord.
- Repeat the looping process until the desired cord length is achieved.
- Finishing the Cord
- To finish, pull the yarn through all loops on the hook.
- Use slip stitches to attach the ends of the cord together.
- Leave a long tail at the end for tying the bow later.
- Steps to Crochet the Bow Tails (Short Cord Section)

- Create the Shorter Cord
- Follow the same method as the main bow cord but stop at a shorter length.
- Once finished, weave in the yarn tail to ensure the cord looks neat.
- Neaten the Edges
- Work the yarn into the stitches on both ends for clean finishing.

Constructing the Bow
- Shaping the Main Cord
- Fold the long cord into a bow-like shape.
- Ensure it maintains symmetry during folding.
- Adding the Tails
- Place the shorter cord underneath the folded bow to resemble bow tails.
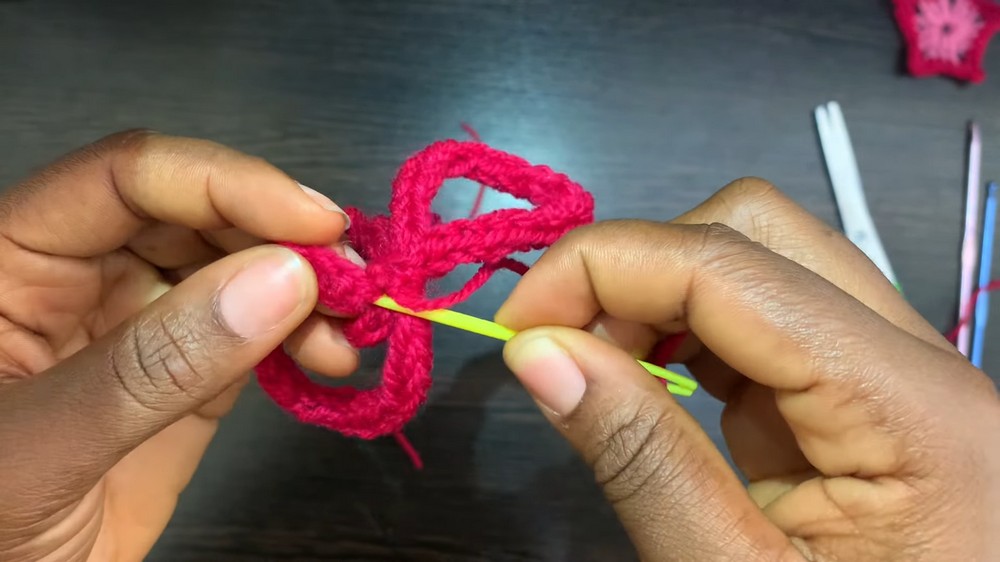
- Securing the Bow
- Wrap the long tail from the first cord around the middle of the bow structure.
- Tie it securely behind the bow.
Finishing Touches
- Secure the Wrapped Yarn
- Use a darning needle to reinforce the wrapping.
- Insert the needle into the middle of the cord and pull through for added stability.
- Hide Loose Yarn Ends
- Tuck in all yarn tails using the darning needle.
- Ensure the finishing stitches are placed at the back of the bow to keep the front neat.
- Trim Excess Yarn
- Carefully cut off any excess yarn to finalize the bow’s neat and polished appearance.
Final Thoughts
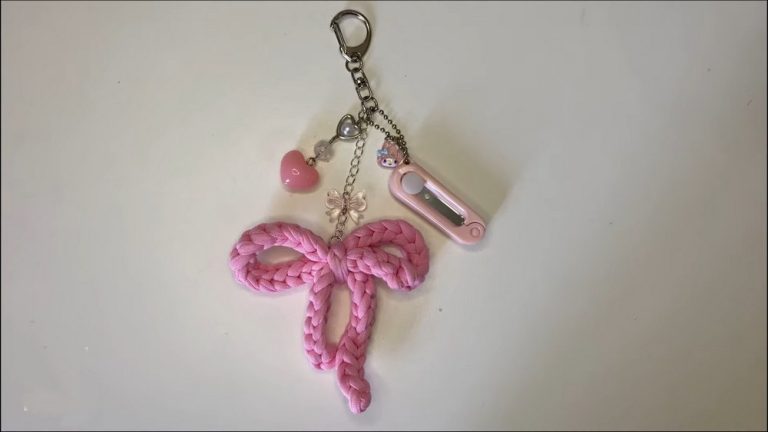
The end result is a short yet elegant bow that is versatile and charming. The tutorial provides clear instructions, suitable for beginners or those seeking a quick handmade project. By following the process, you can use your bow for various creative purposes, adding a personalized touch to your items.