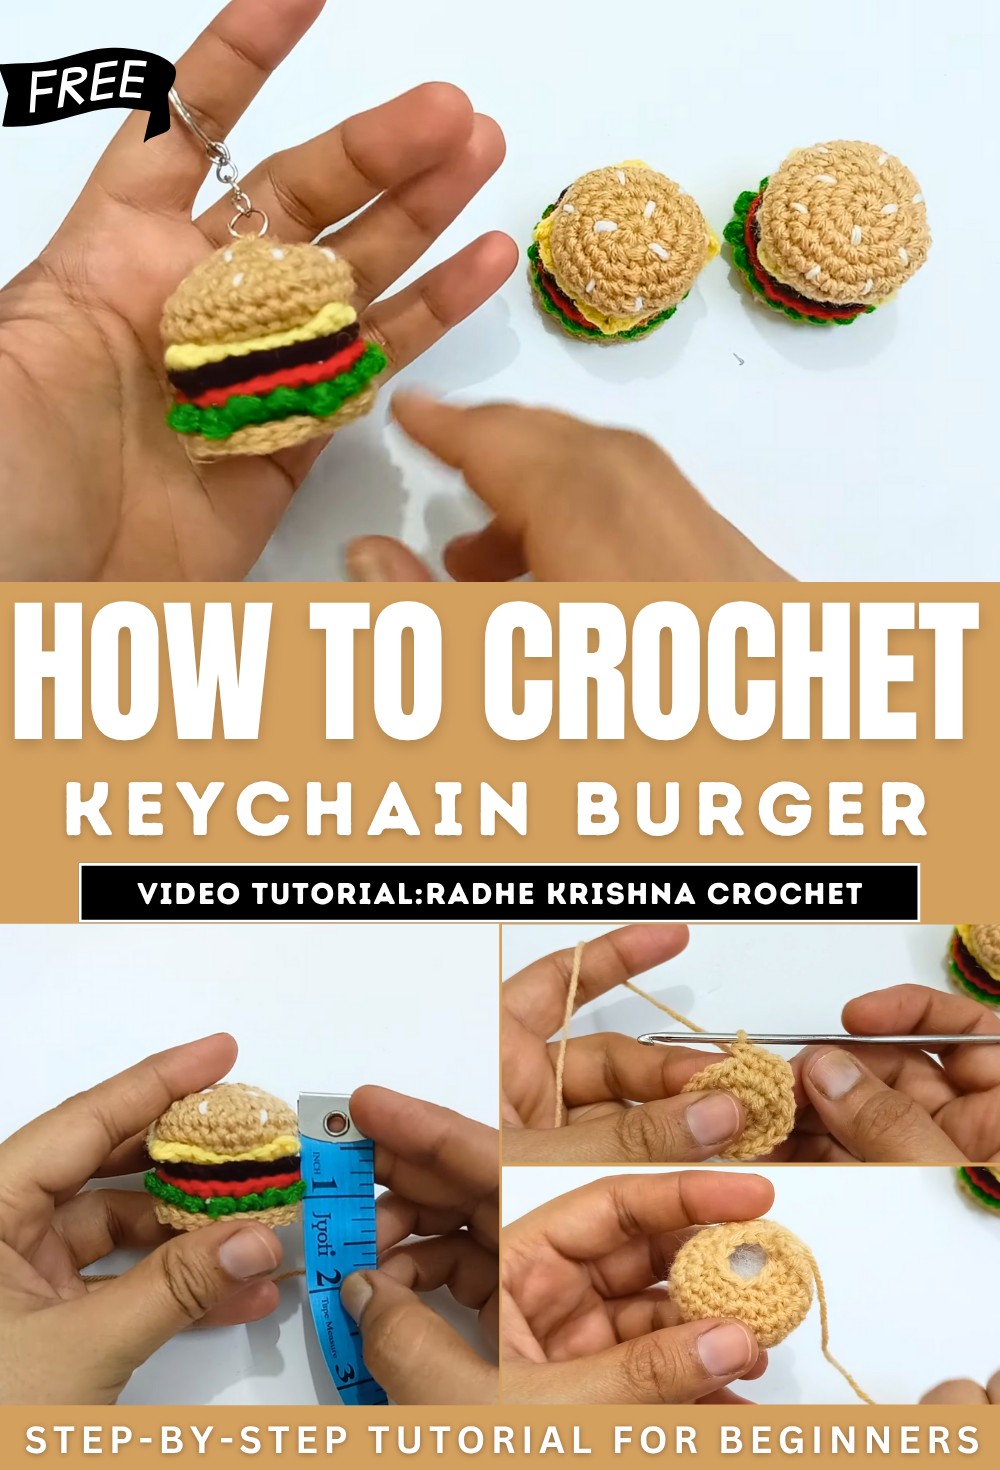
How to Crochet Keychain Burger for Beginners

With a tutorial, learn how to crochet an adorable burger keychain using crochet techniques for all skill levels. In a step-by-step tutorial, the creator uses four-ply wool and crochet tools to form different layers of the burger, including the bread, patty, vegetables, and cheese slices. The video provides detailed guidance on creating single crochets, magic rings, slip stitches, and assembling the pieces.
A glue gun is used to secure the parts, creating a compact and realistic look. Ideal for beginners, the project is both creative and versatile, perfect for gifting or fun accessories. Follow them on Instagram for more designs! So, follow through with us for the complete tutorial.
Crocheting a Burger Keychain
This video is a detailed tutorial on how to crochet a keychain burger. The creator introduces the project and mentions that it can be used for various purposes, such as attaching to a child’s items. The tutorial is broken down into three main sections: crocheting the top bun, creating the other burger layers, and assembling the final product.
Materials Needed
-
Five different colors of four-ply wool yarn
-
An 11-number (3mm) crochet hook
-
A small amount of cotton for stuffing
-
A needle and thread
Crocheting the Top Bun
-
Starting: The process begins with creating the top bun using a light brown yarn. A magic ring is made, and a series of single crochet rows are worked, with increases in the initial rows to expand the circle.
-
Shaping the Bun: After the initial increases, several rows are worked without any increases to build the height of the bun. The final rows involve decreasing the stitches to create the bun’s dome shape.
-
Finishing Touches: After the last row, the yarn is cut, and a small amount of cotton is stuffed into the bun to give it volume. The opening is then stitched closed with a needle. Using white yarn and a needle, small white dots are embroidered on the top of the bun to resemble sesame seeds.
Crocheting the Burger Layers
The tutorial then moves on to creating the other layers of the burger, including the bottom bun, patty, cheese, lettuce, and tomato.
-
Circular Layers: The bottom bun, patty (coffee color), and tomato (red) layers are made similarly, starting with a magic ring and increasing the single crochet stitches to form flat circles. A decorative edge is created on the green lettuce layer with a final row of slip stitches.
-
Square Layer: The yellow cheese layer is made in a square shape by working in rows of single crochet.
Assembling the Burger
-
-
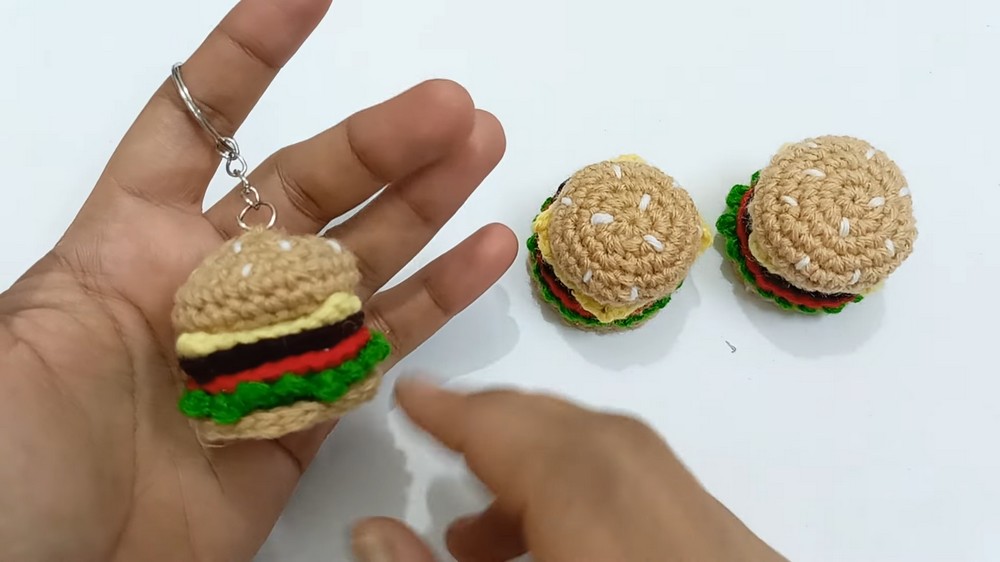
Once all the individual layers are crocheted, they are assembled using a glue gun. The creator demonstrates how to stack and glue each piece together in the correct order: bottom bun, tomato, patty, lettuce, cheese, and finally, the top bun.
-
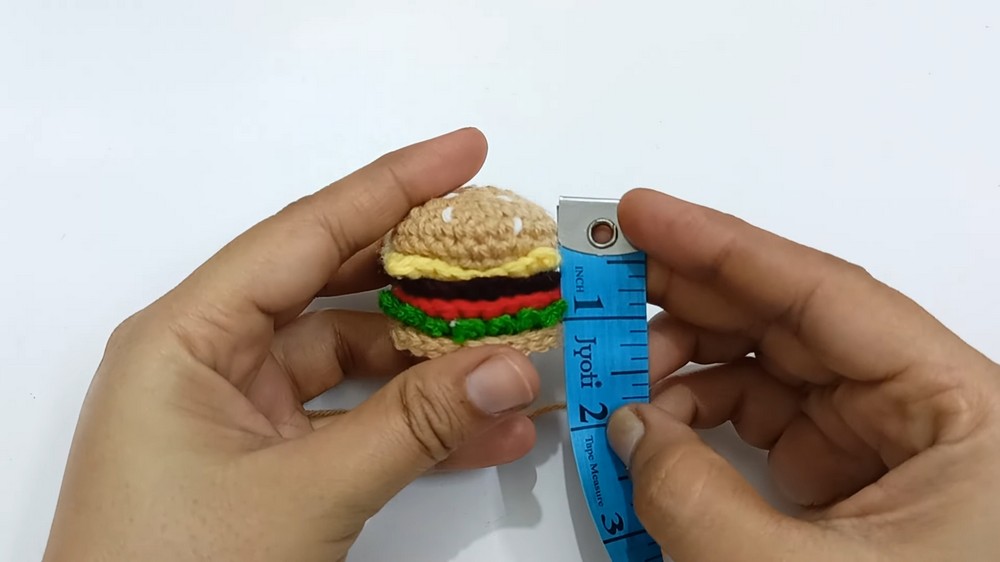
The final size of the crocheted burger is slightly more than 1 inch in height and a little less than 5 inches in circumference.
-